Phase 7: Multicassette Assembly (structural + maturation inserts)
Multicassette Assembly (Structural & Maturation Inserts):
After preparing and validating all the synthesis fragments, I moved to the in silico assembly step in Benchling to digitally reconstruct the complete Structural and Maturation multicassettes before any physical cloning work. For this step, I used the native Gibson Assembly tool available in Benchling because all fragments were already designed with 40 bp overlaps to enable seamless assembly.
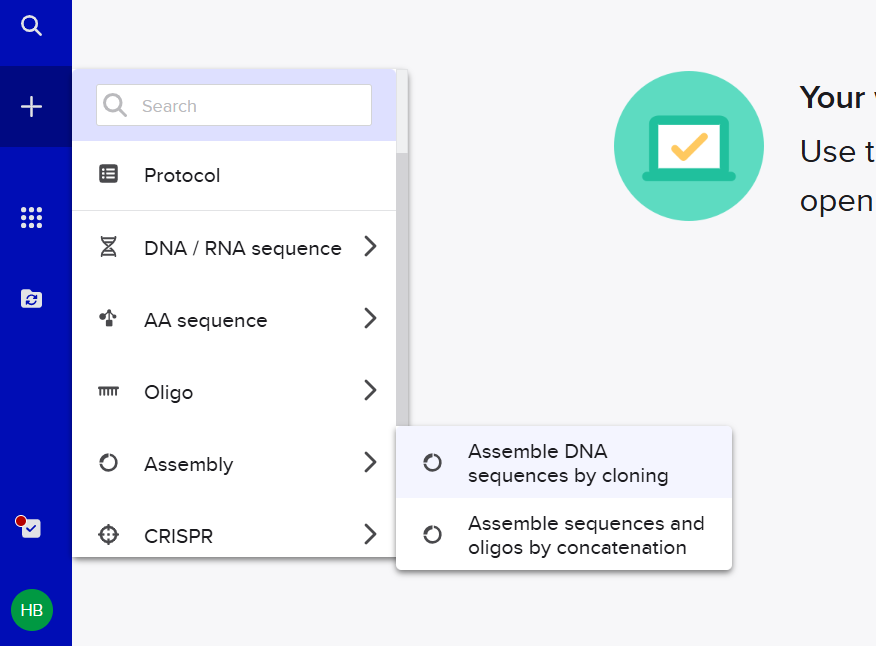
First, I opened Benchling and clicked on the Create (+) button from the left sidebar. Then, from the Assembly options, I selected “Assemble DNA sequences by cloning.” This opened the Gibson Assembly workflow interface where I configured all the assembly parameters.
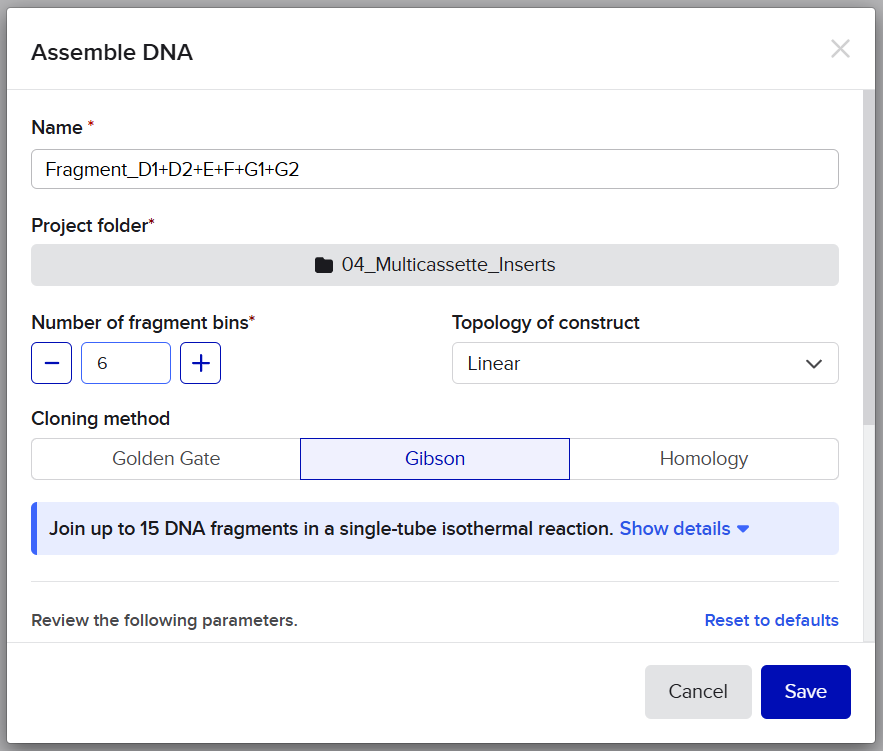
 For the assembly settings, I selected the destination project folder dedicated to the multicassette constructs. Since I wanted to generate standalone insert sequences rather than circular plasmids at this stage, I set the construct topology to Linear. Then, I selected Gibson Assembly as the cloning method. For fragment joining, I chose the option “Find existing overlaps” because all overlaps had already been engineered during the previous fragment preparation phase.
Next, I adjusted the homology parameters to match the overlaps used in my fragment design. I fixed both the minimum and maximum overlap length to 40 bp, corresponding to the overlaps added between all neighboring fragments. I also kept the minimum melting temperature around 39°C to ensure proper overlap recognition during the digital assembly process.
![]()
![]()
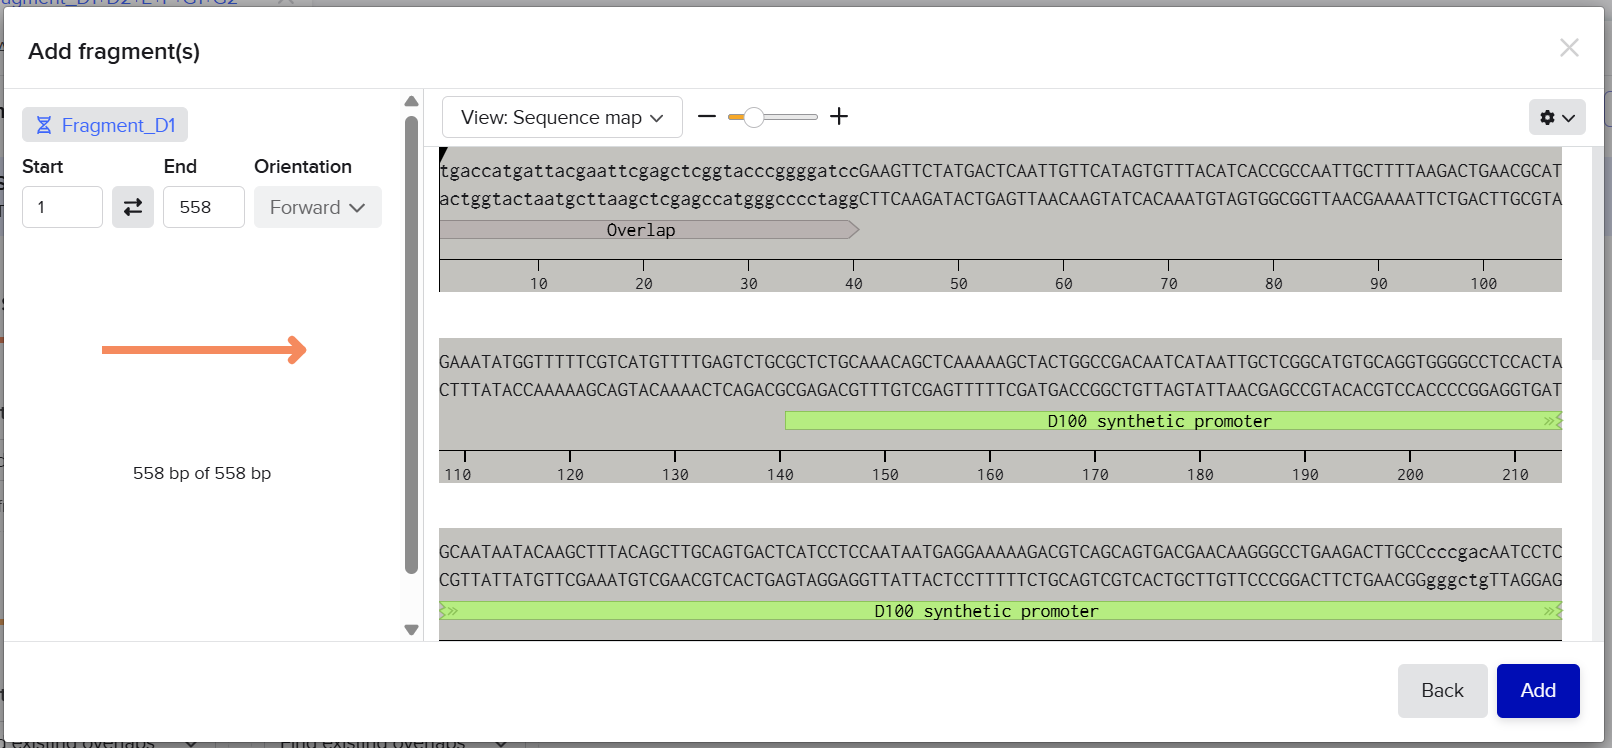
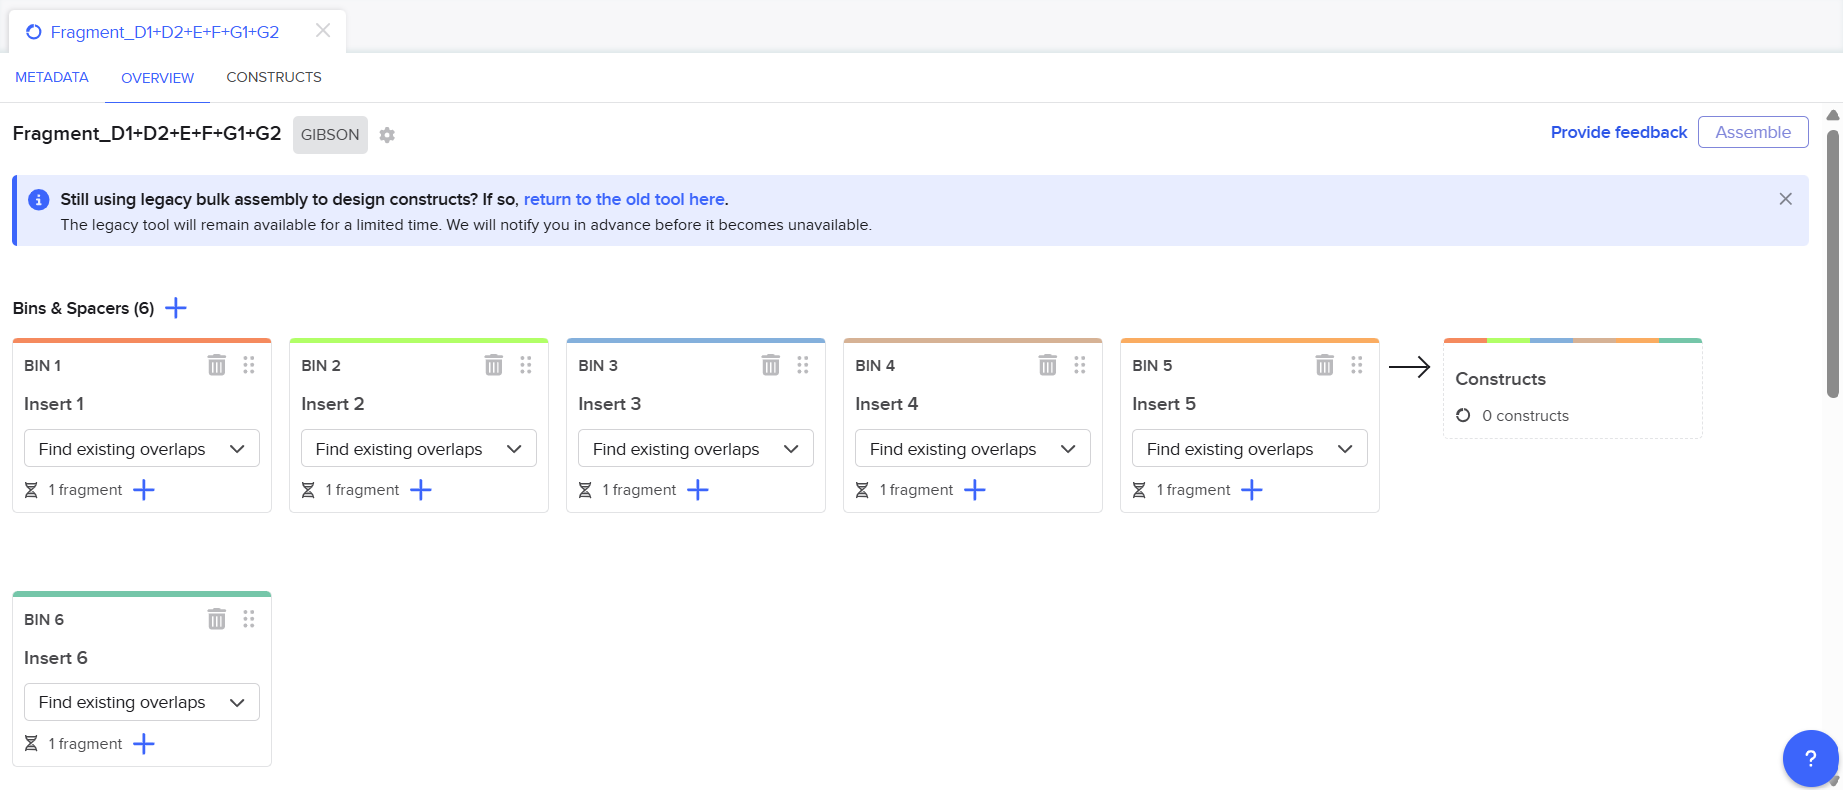
 After configuring the assembly settings, Benchling generated a linear assembly lane containing several fragment bins. I then imported all fragments sequentially from left to right according to their assembly order.
 For the Structural multicassette, I imported the fragments in the following order:
- Fragment_A1
- Fragment_A2
- Fragment_B
- Fragment_C
For the Maturation multicassette, I imported:
- Fragment_D1
- Fragment_D2
- Fragment_E
- Fragment_F
- Fragment_G1
- Fragment_G2
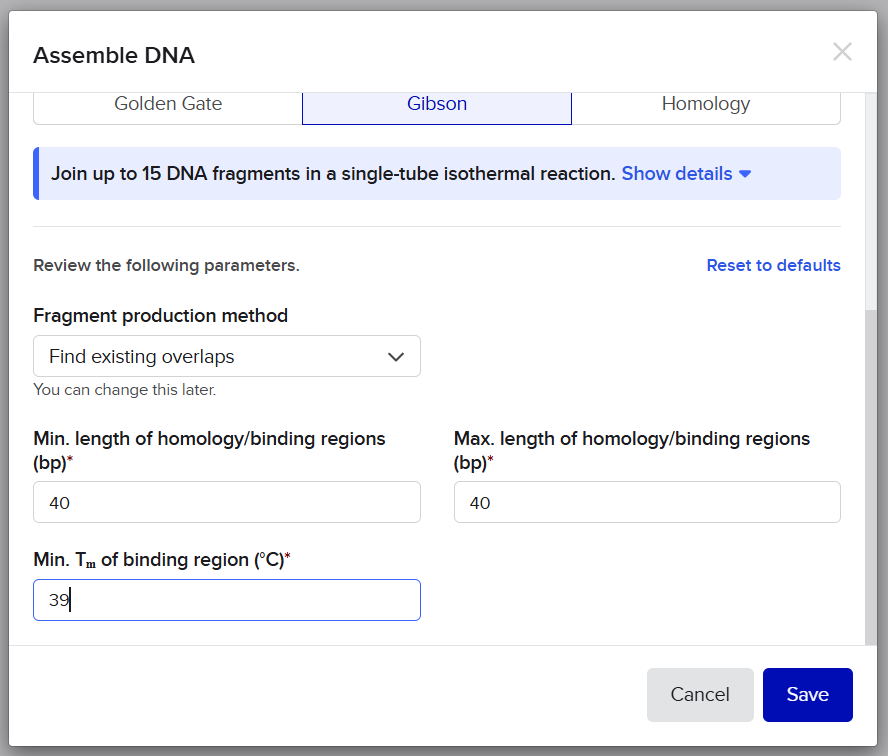
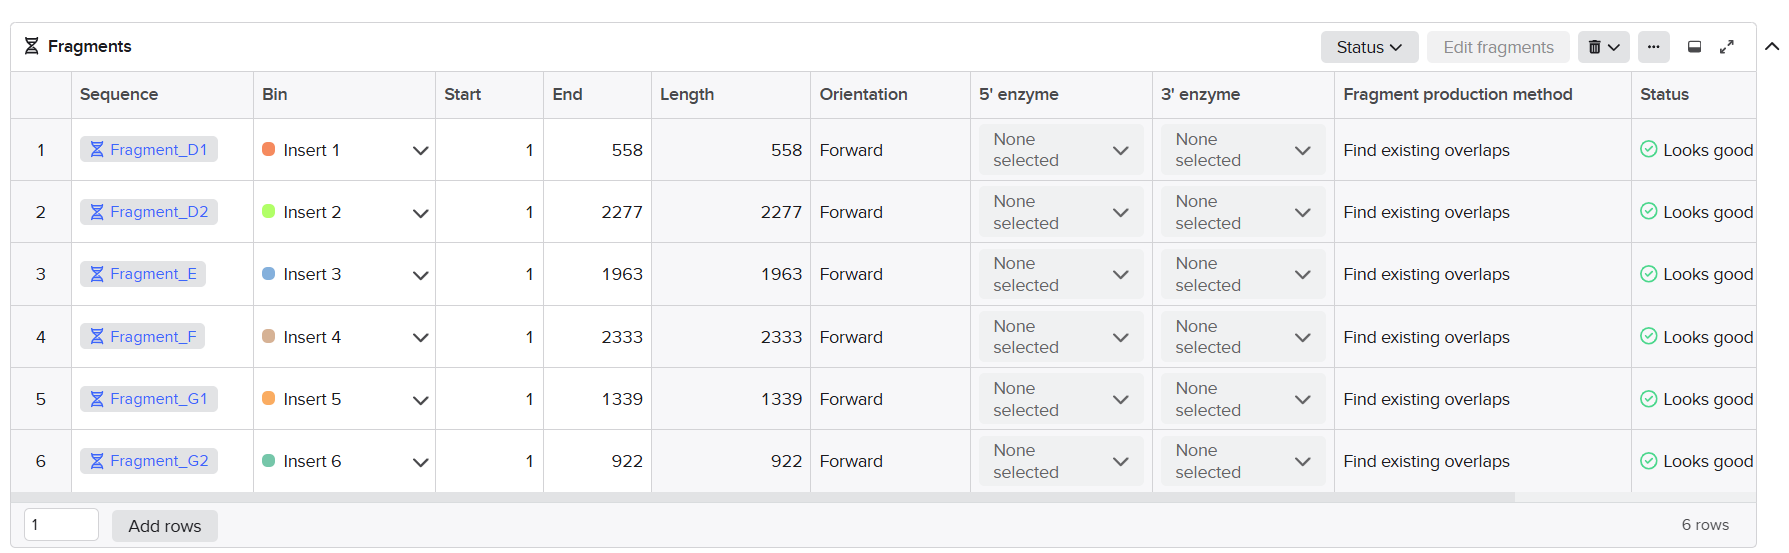
Inside each bin, I used the “Search for sequences” option to retrieve the fragments directly from my Benchling project files. I also ensured that every junction remained configured on “Find existing overlaps” so Benchling could automatically detect and validate the engineered Gibson homology regions between adjacent fragments.
![]()
![]()
 Once all fragments were added, Benchling automatically analyzed the overlaps between neighboring fragments.
![]()
![]()
![]()
![]()

![]()
![]()
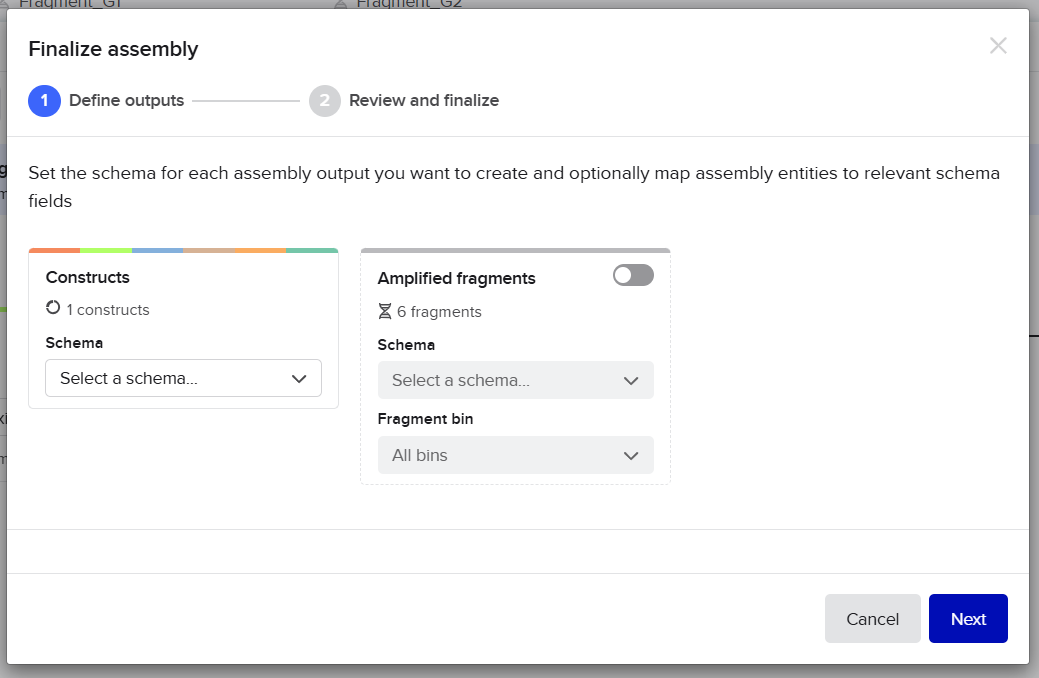
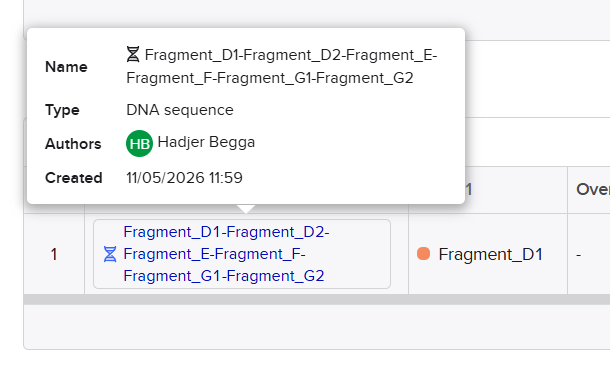
 When all homology regions matched correctly, the assembly status changed from 0 constructs to 1 construct, confirming that the fragments were compatible and could assemble successfully into a continuous sequence. I then clicked the “Assemble” button to generate the final multicassette sequences. Benchling created new linear DNA constructs corresponding to the complete Structural and Maturation inserts assembled from all validated sub-fragments.

![]()
![]()
![]()
![]()

![]()
![]()
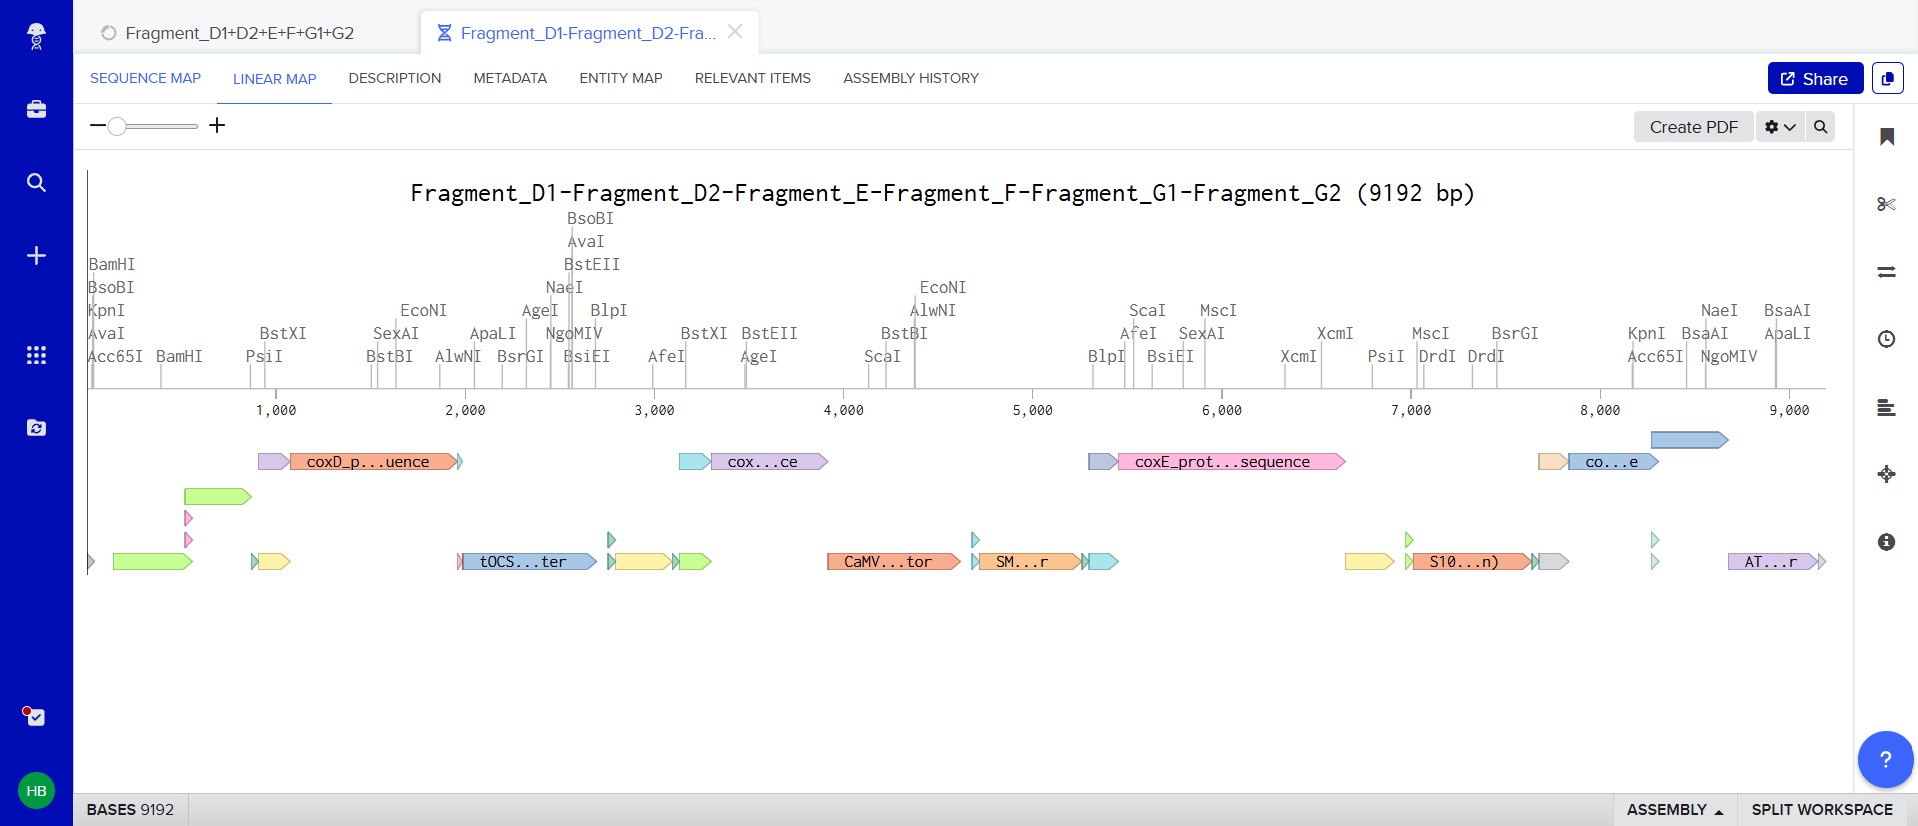
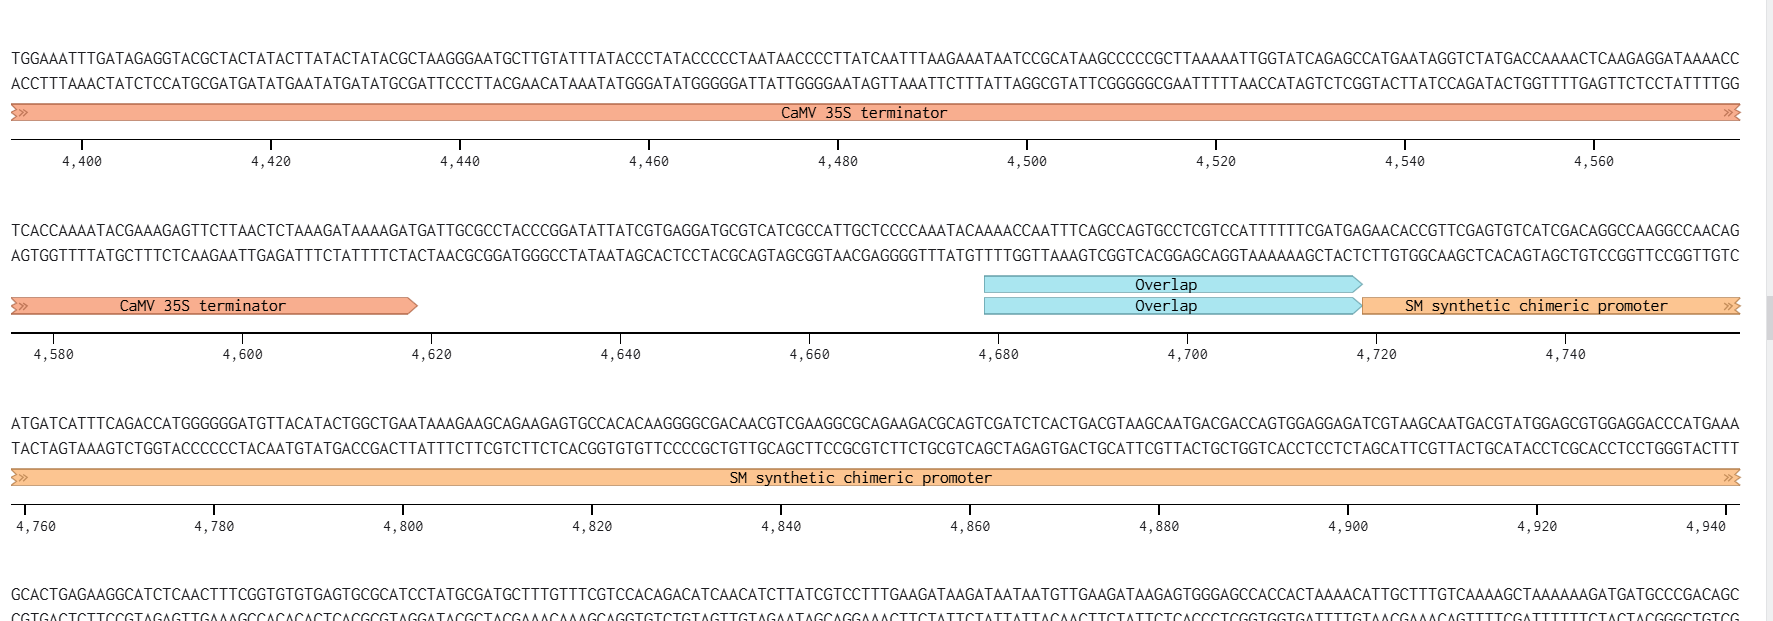
 Finally, I opened the resulting linear maps to verify the integrity of both assembled structural and maturation multicassettes. I carefully checked that all annotations were preserved correctly across the final constructs, including promoters, AMV enhancers, chloroplast transit peptides (CTPs), coding sequences, purification tags, spacers, and terminators. I also verified that all junctions were seamless and that no gaps, inversions, or frame disruptions appeared between adjacent fragments.
![]()
![]()
 This final in silico Gibson Assembly simulation confirmed that both multicassette inserts were correctly designed and fully ready for downstream cloning and plasmid integration steps.
The objective of this phase was to digitally assemble all synthesized DNA fragments into the final structural and maturation multicassette constructs using Gibson Assembly simulation in Benchling . This step allowed me to verify fragment compatibility, overlap integrity, correct orientation, and successful reconstruction of the complete plasmids before experimental cloning.