Labs
Lab writeups:
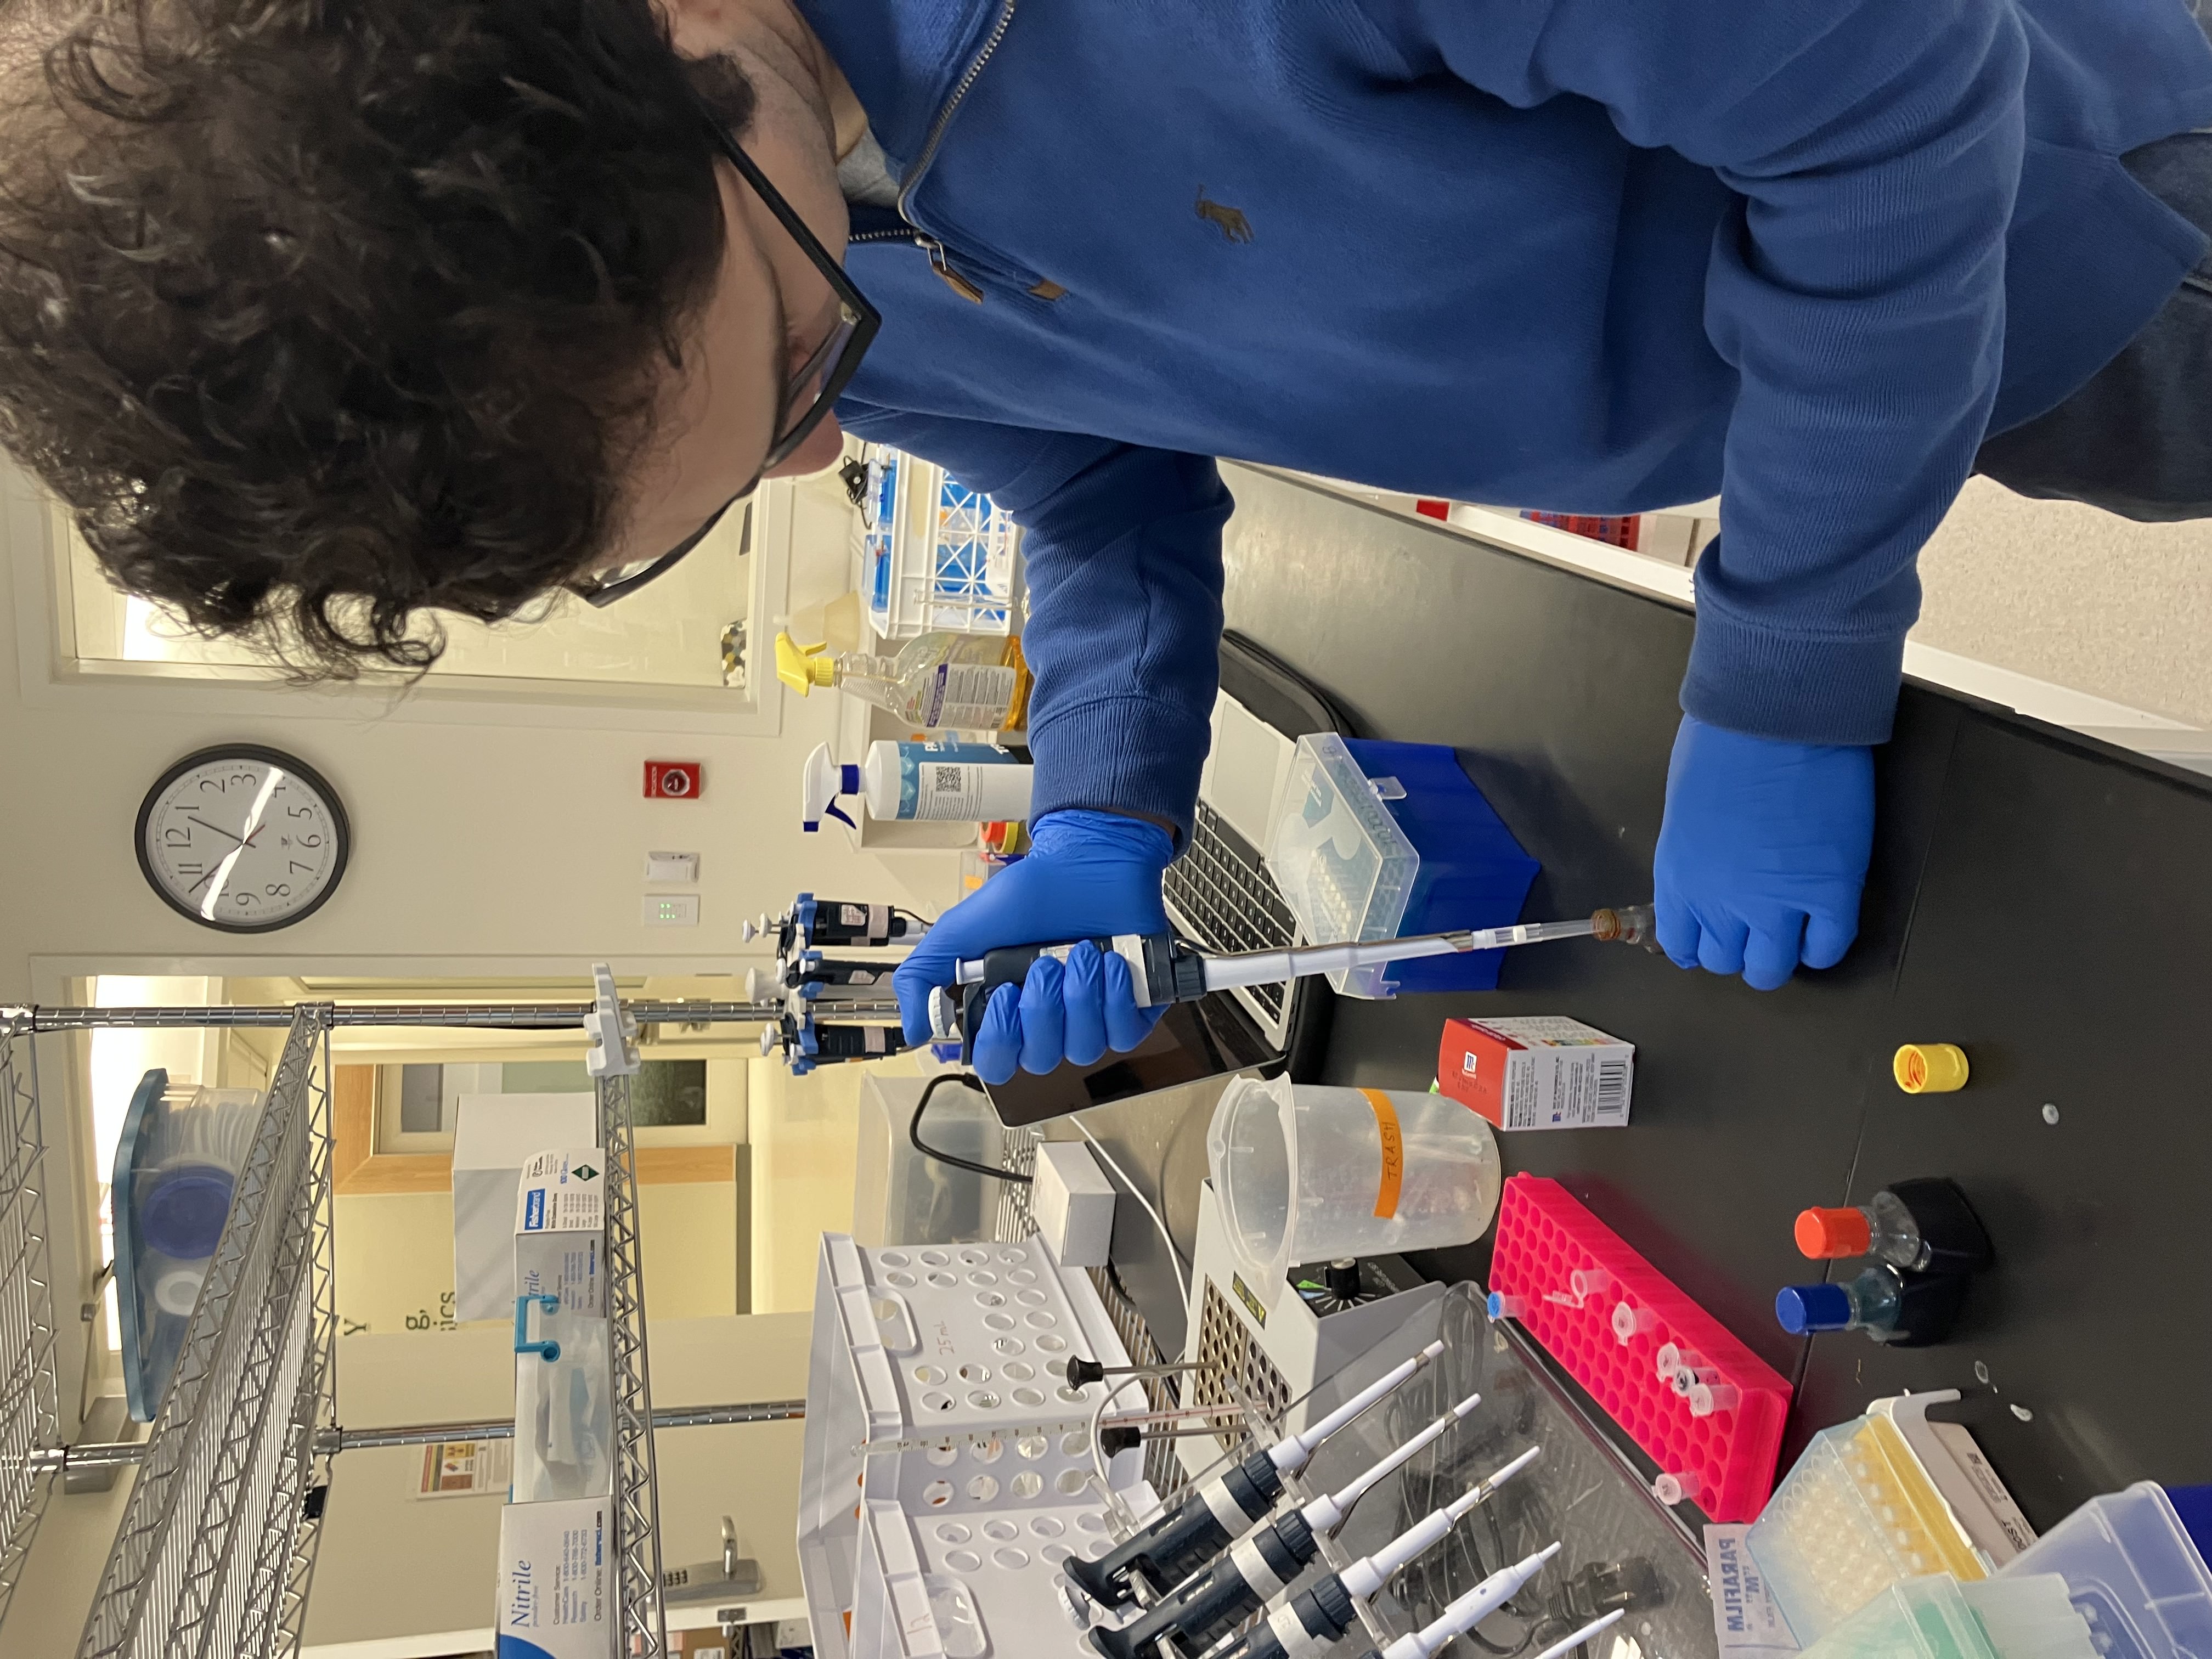
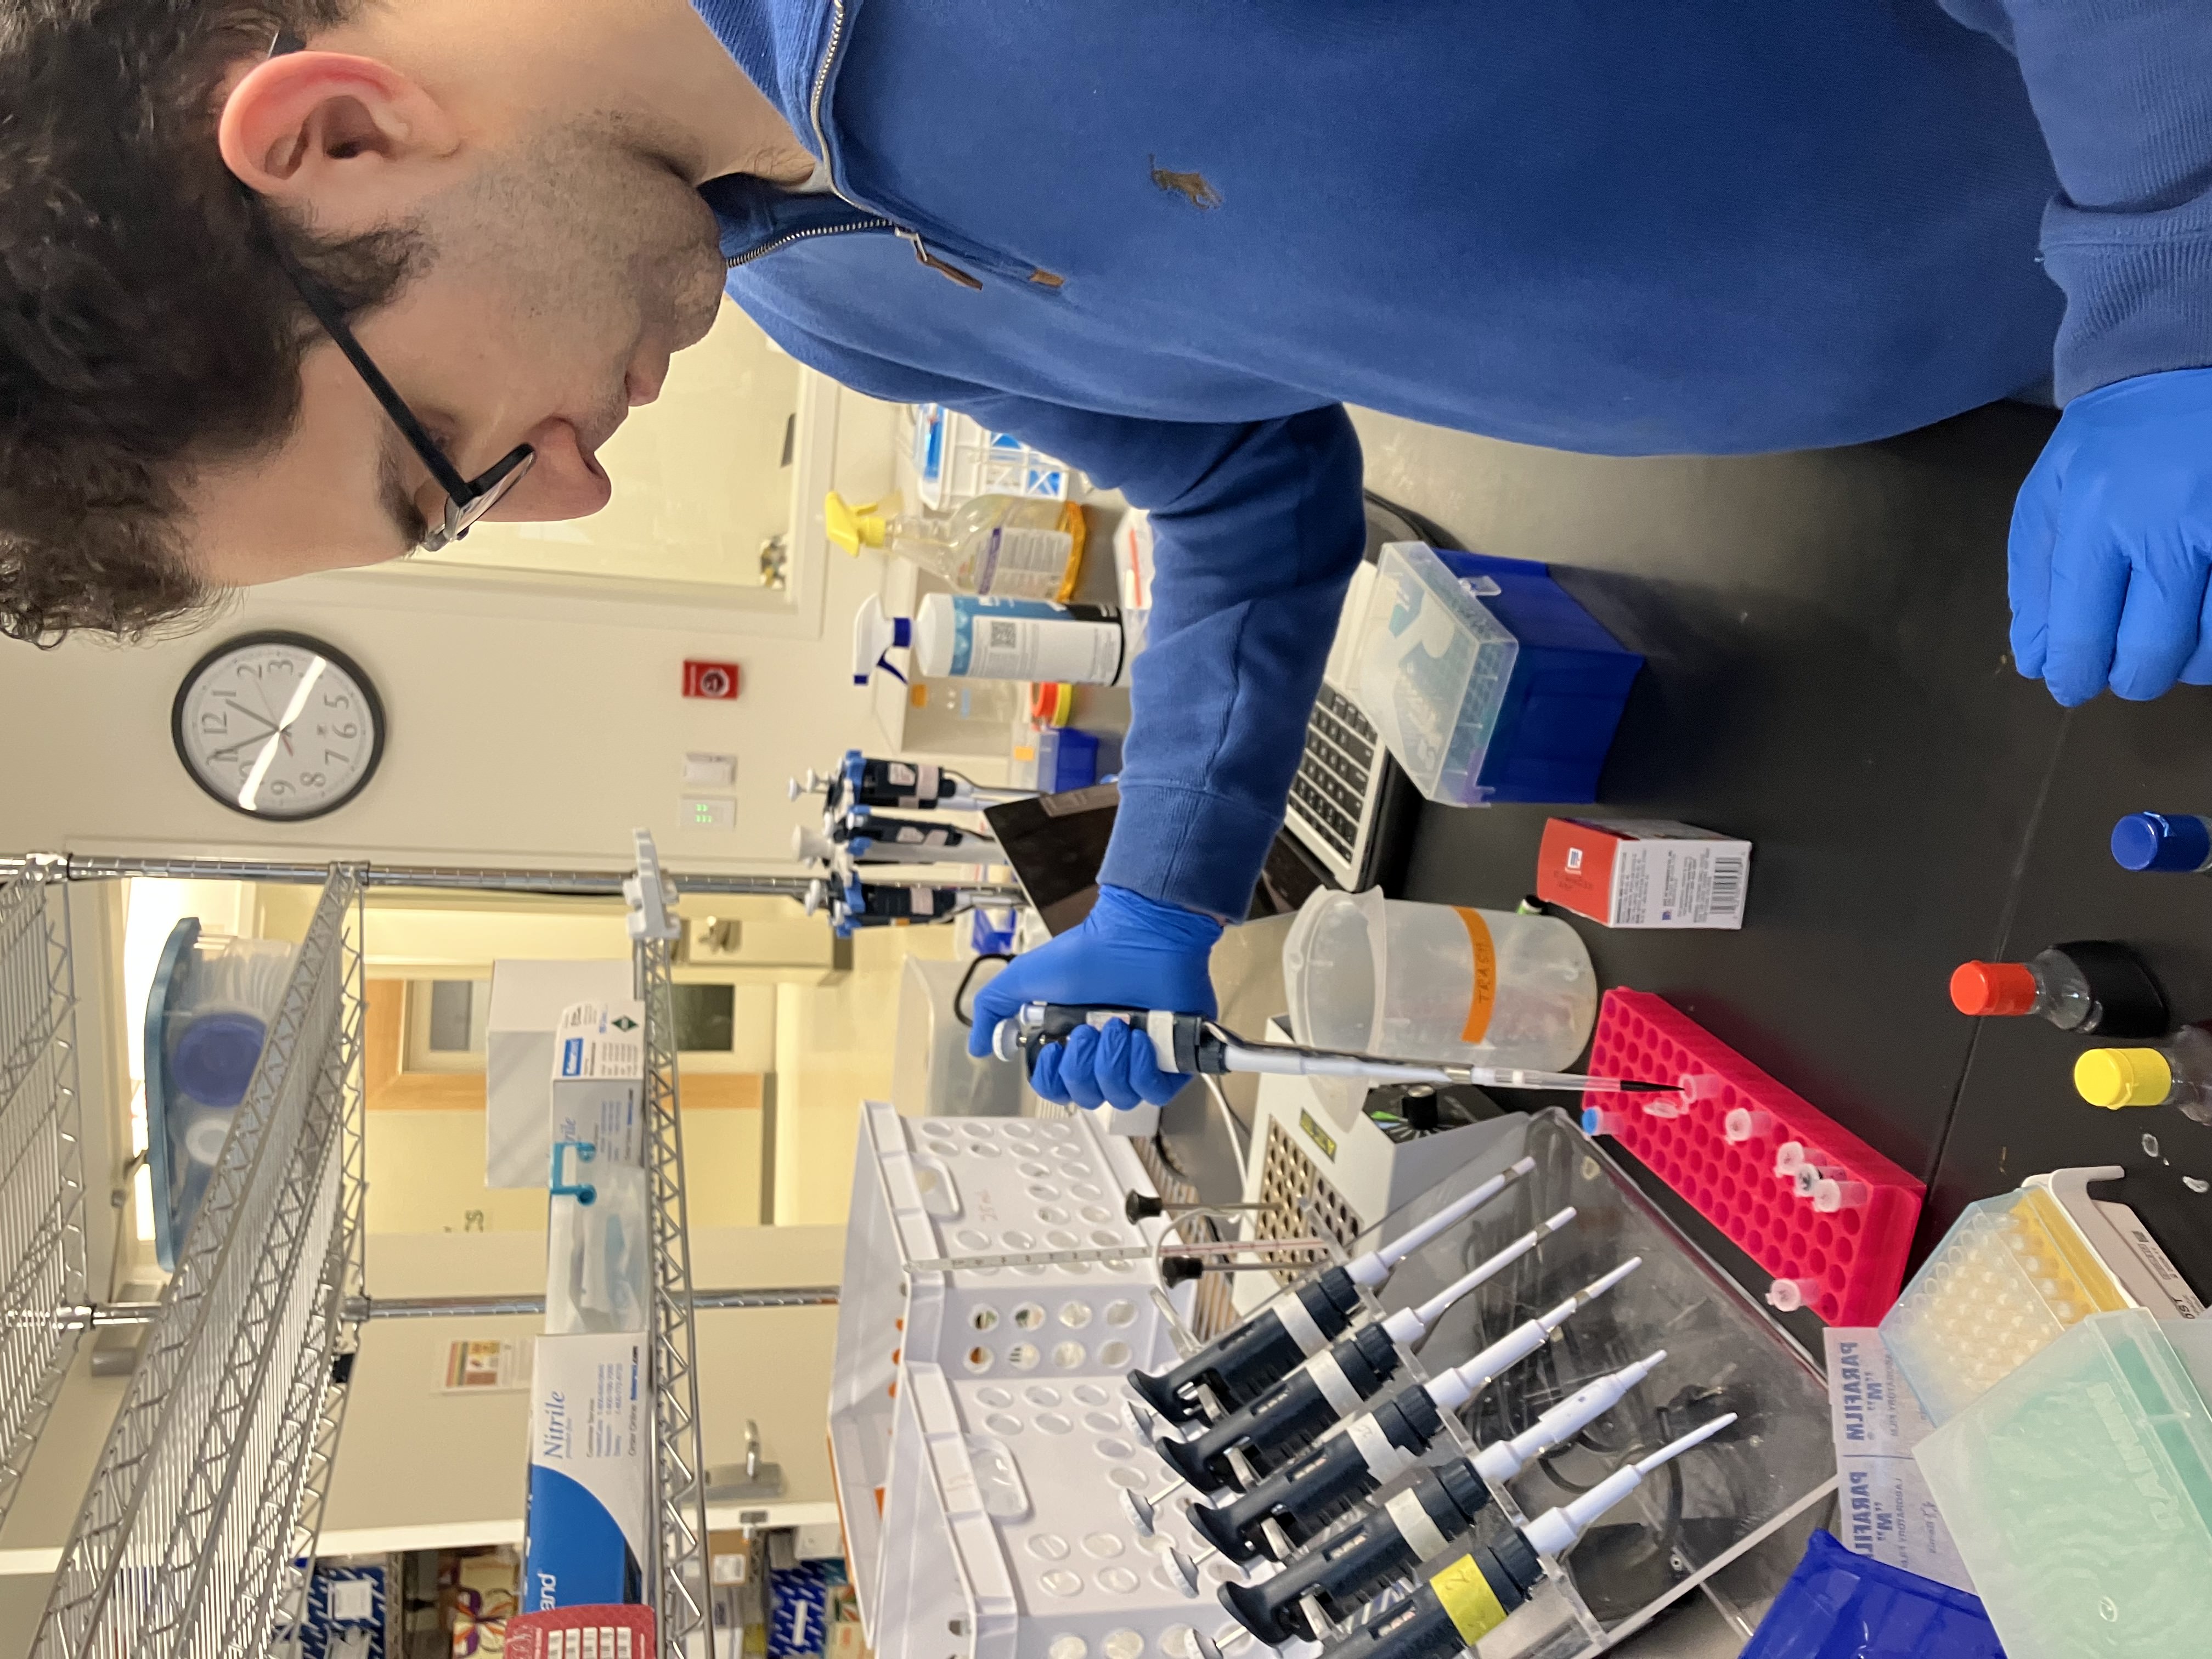
Week 1 Lab: Introduction to Pipetting and Dilutions
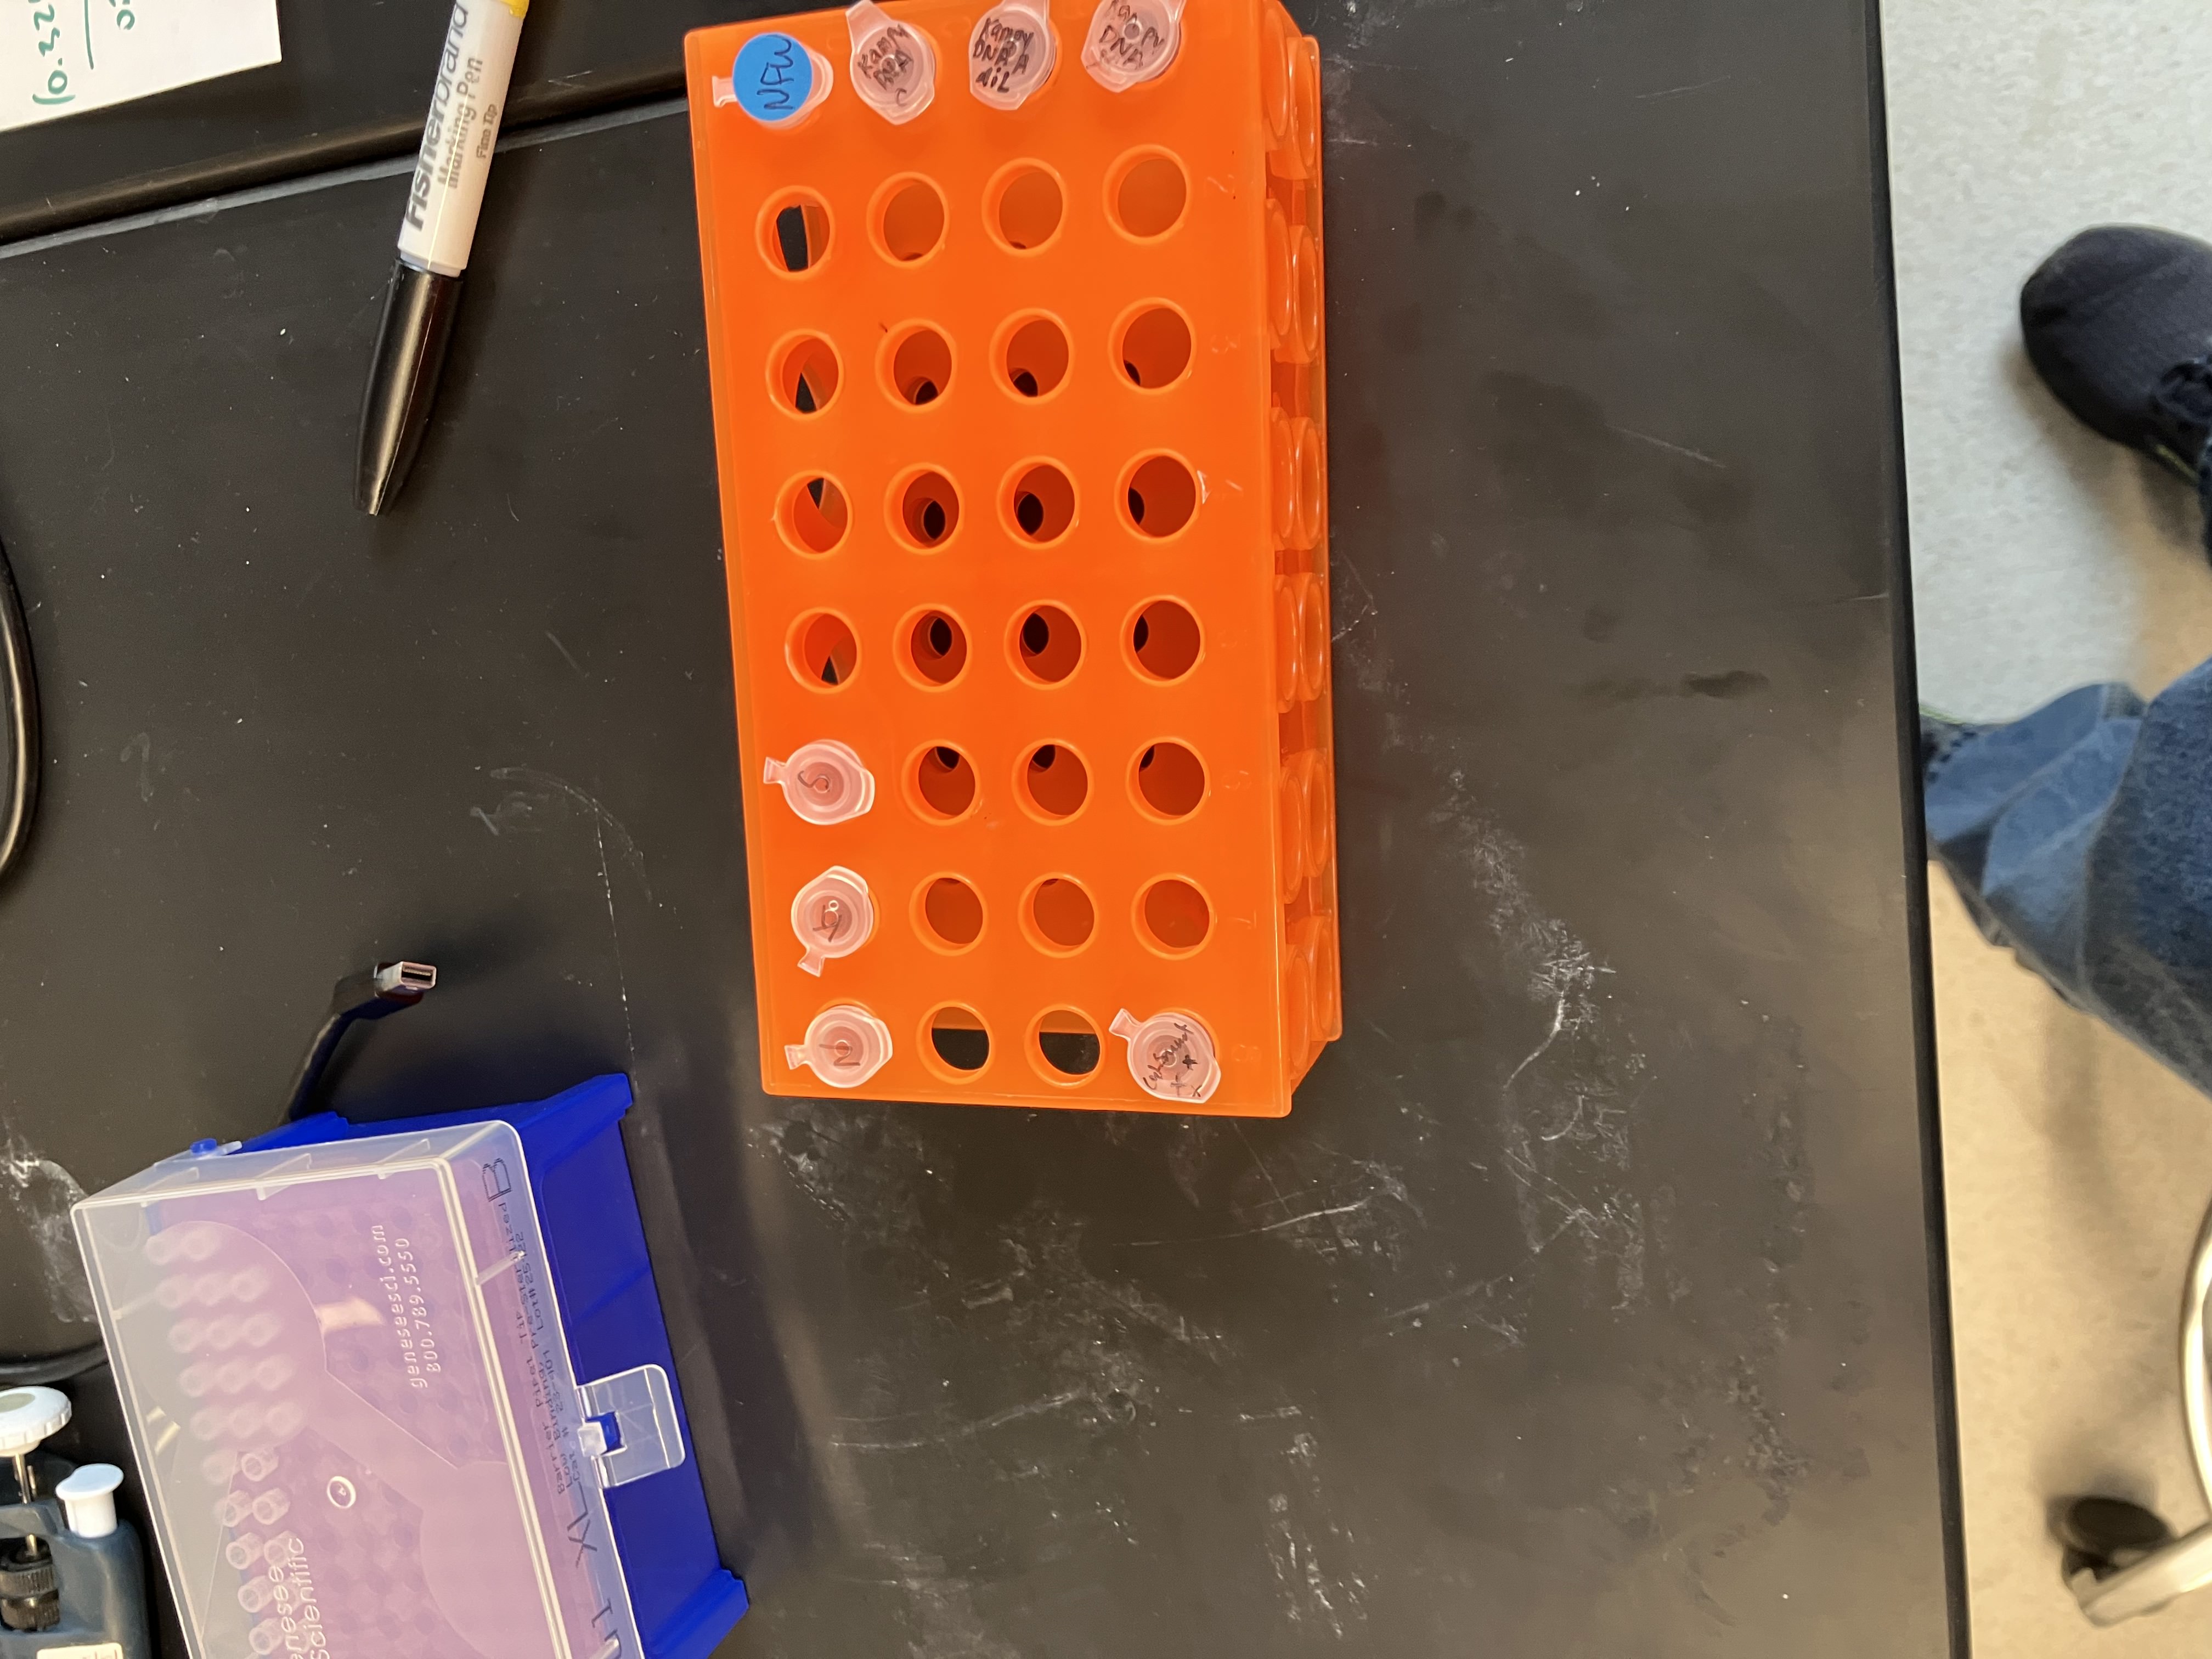
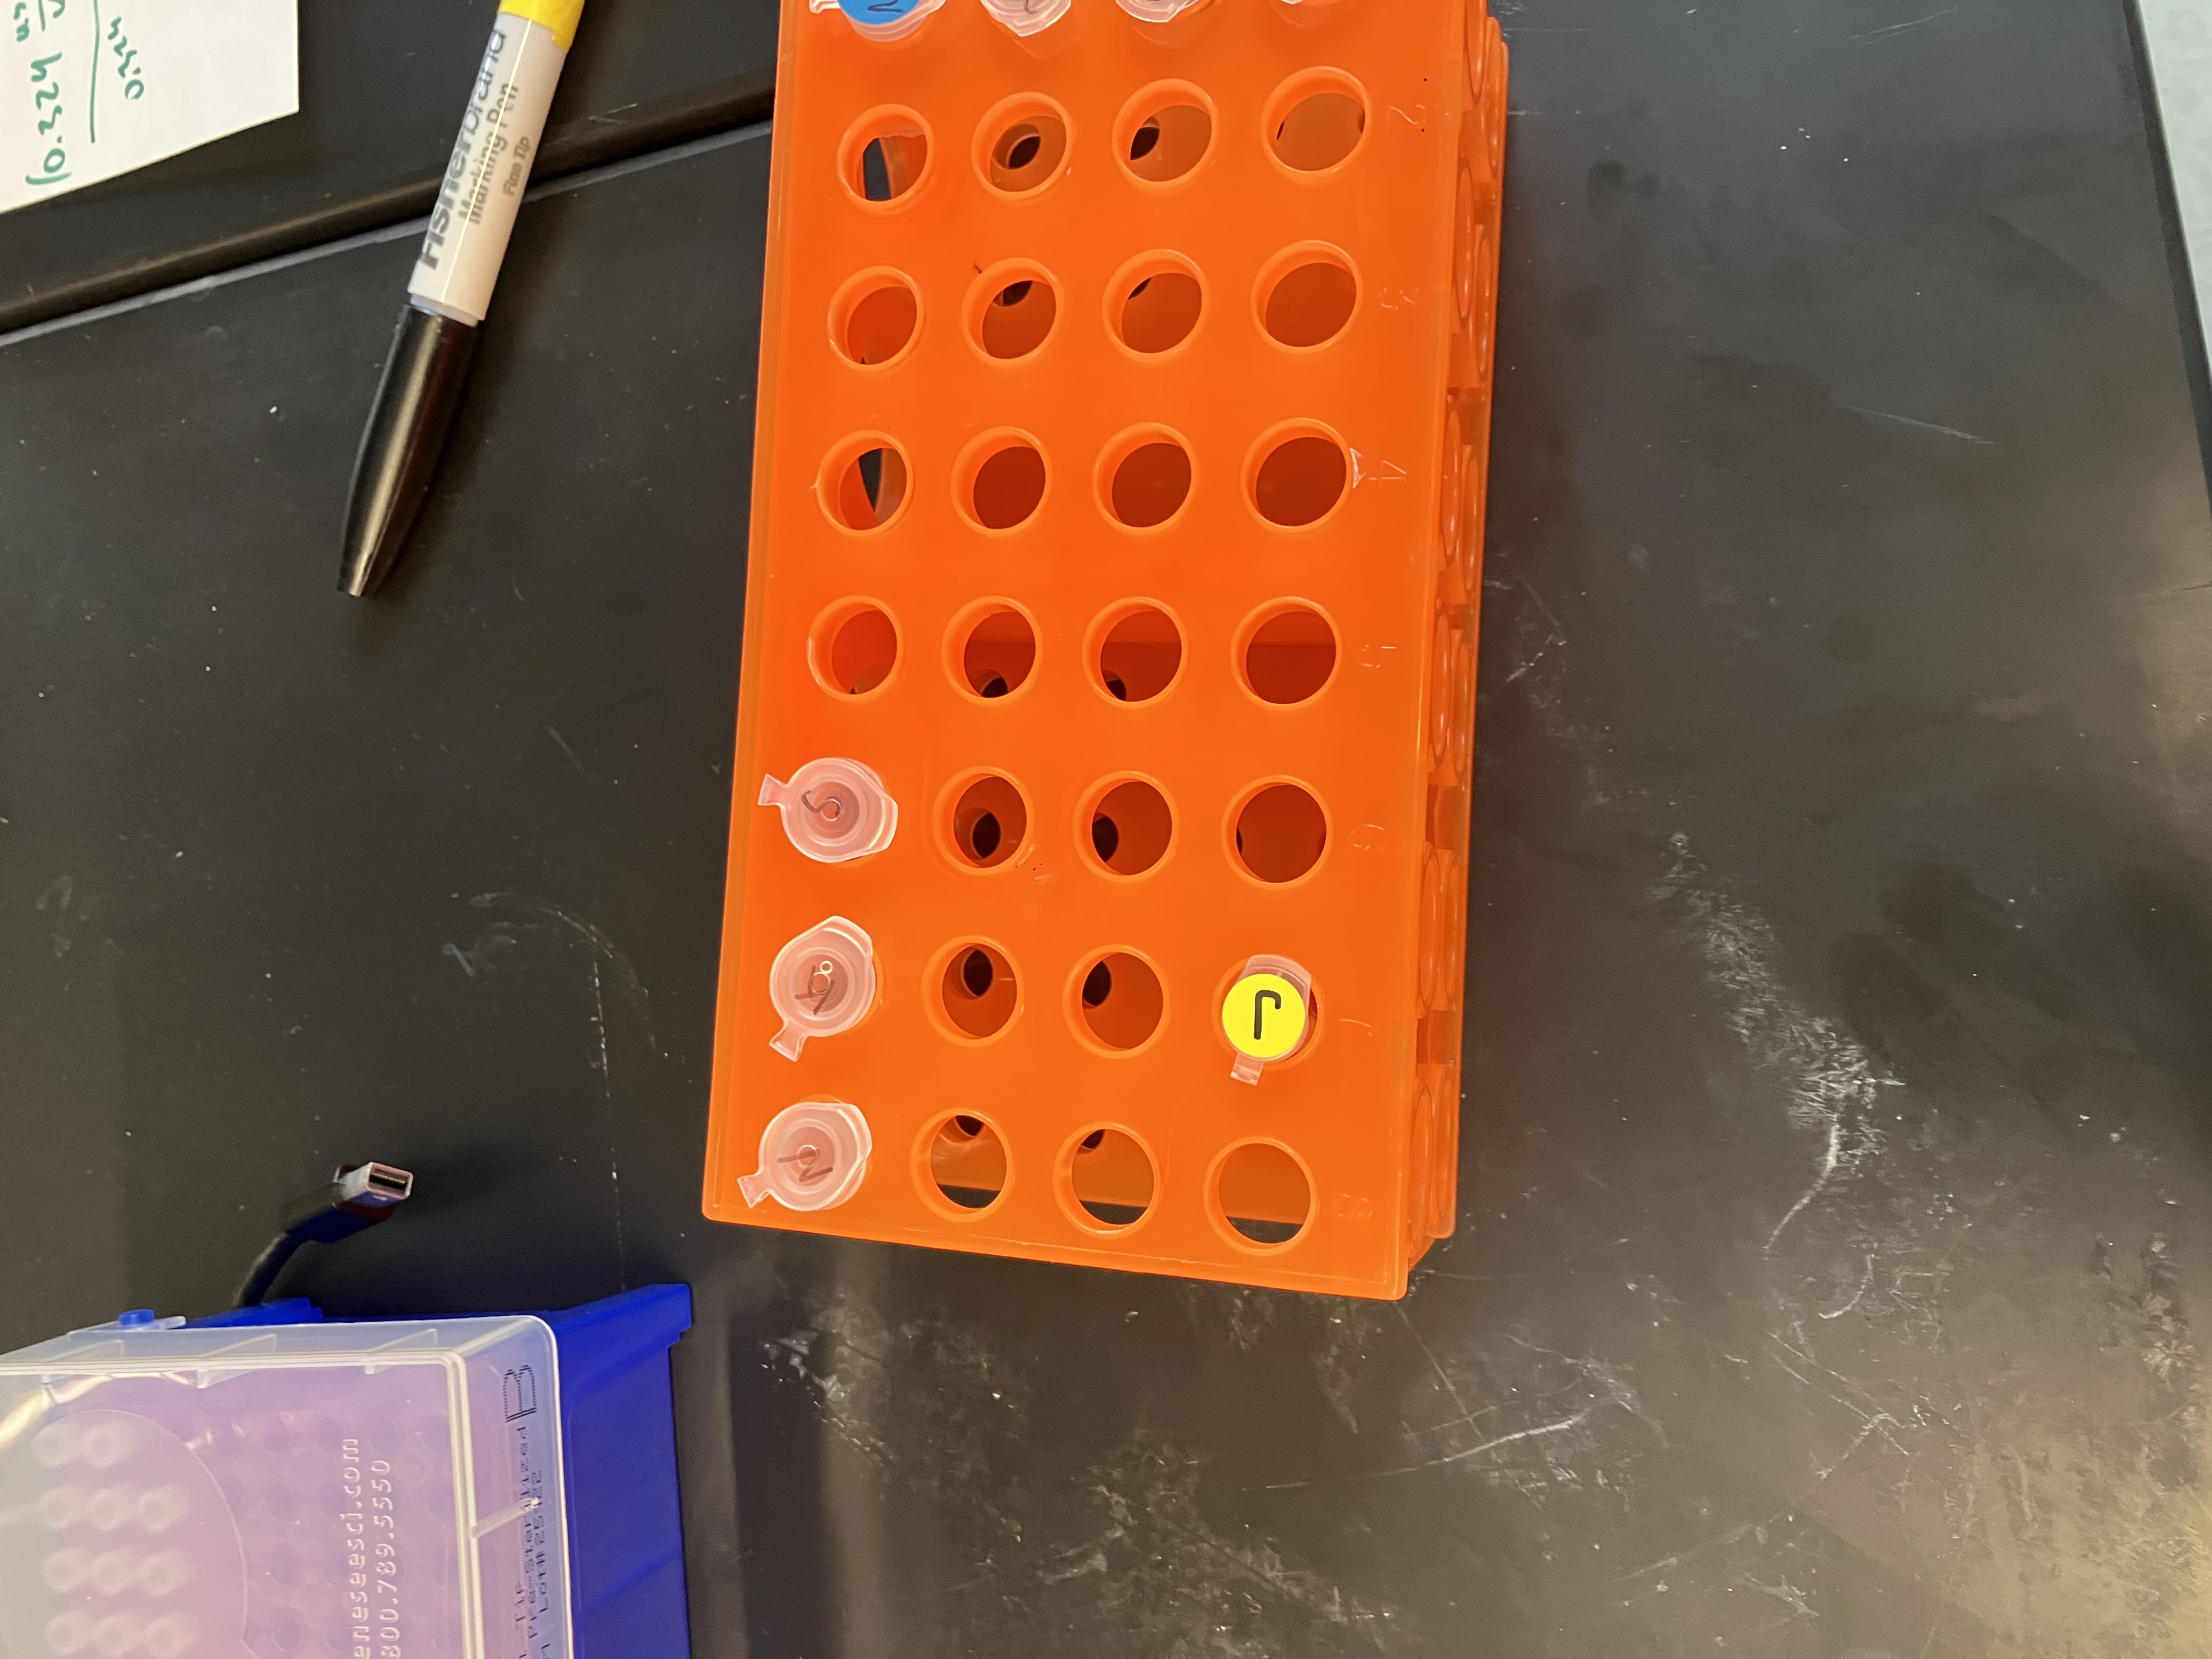
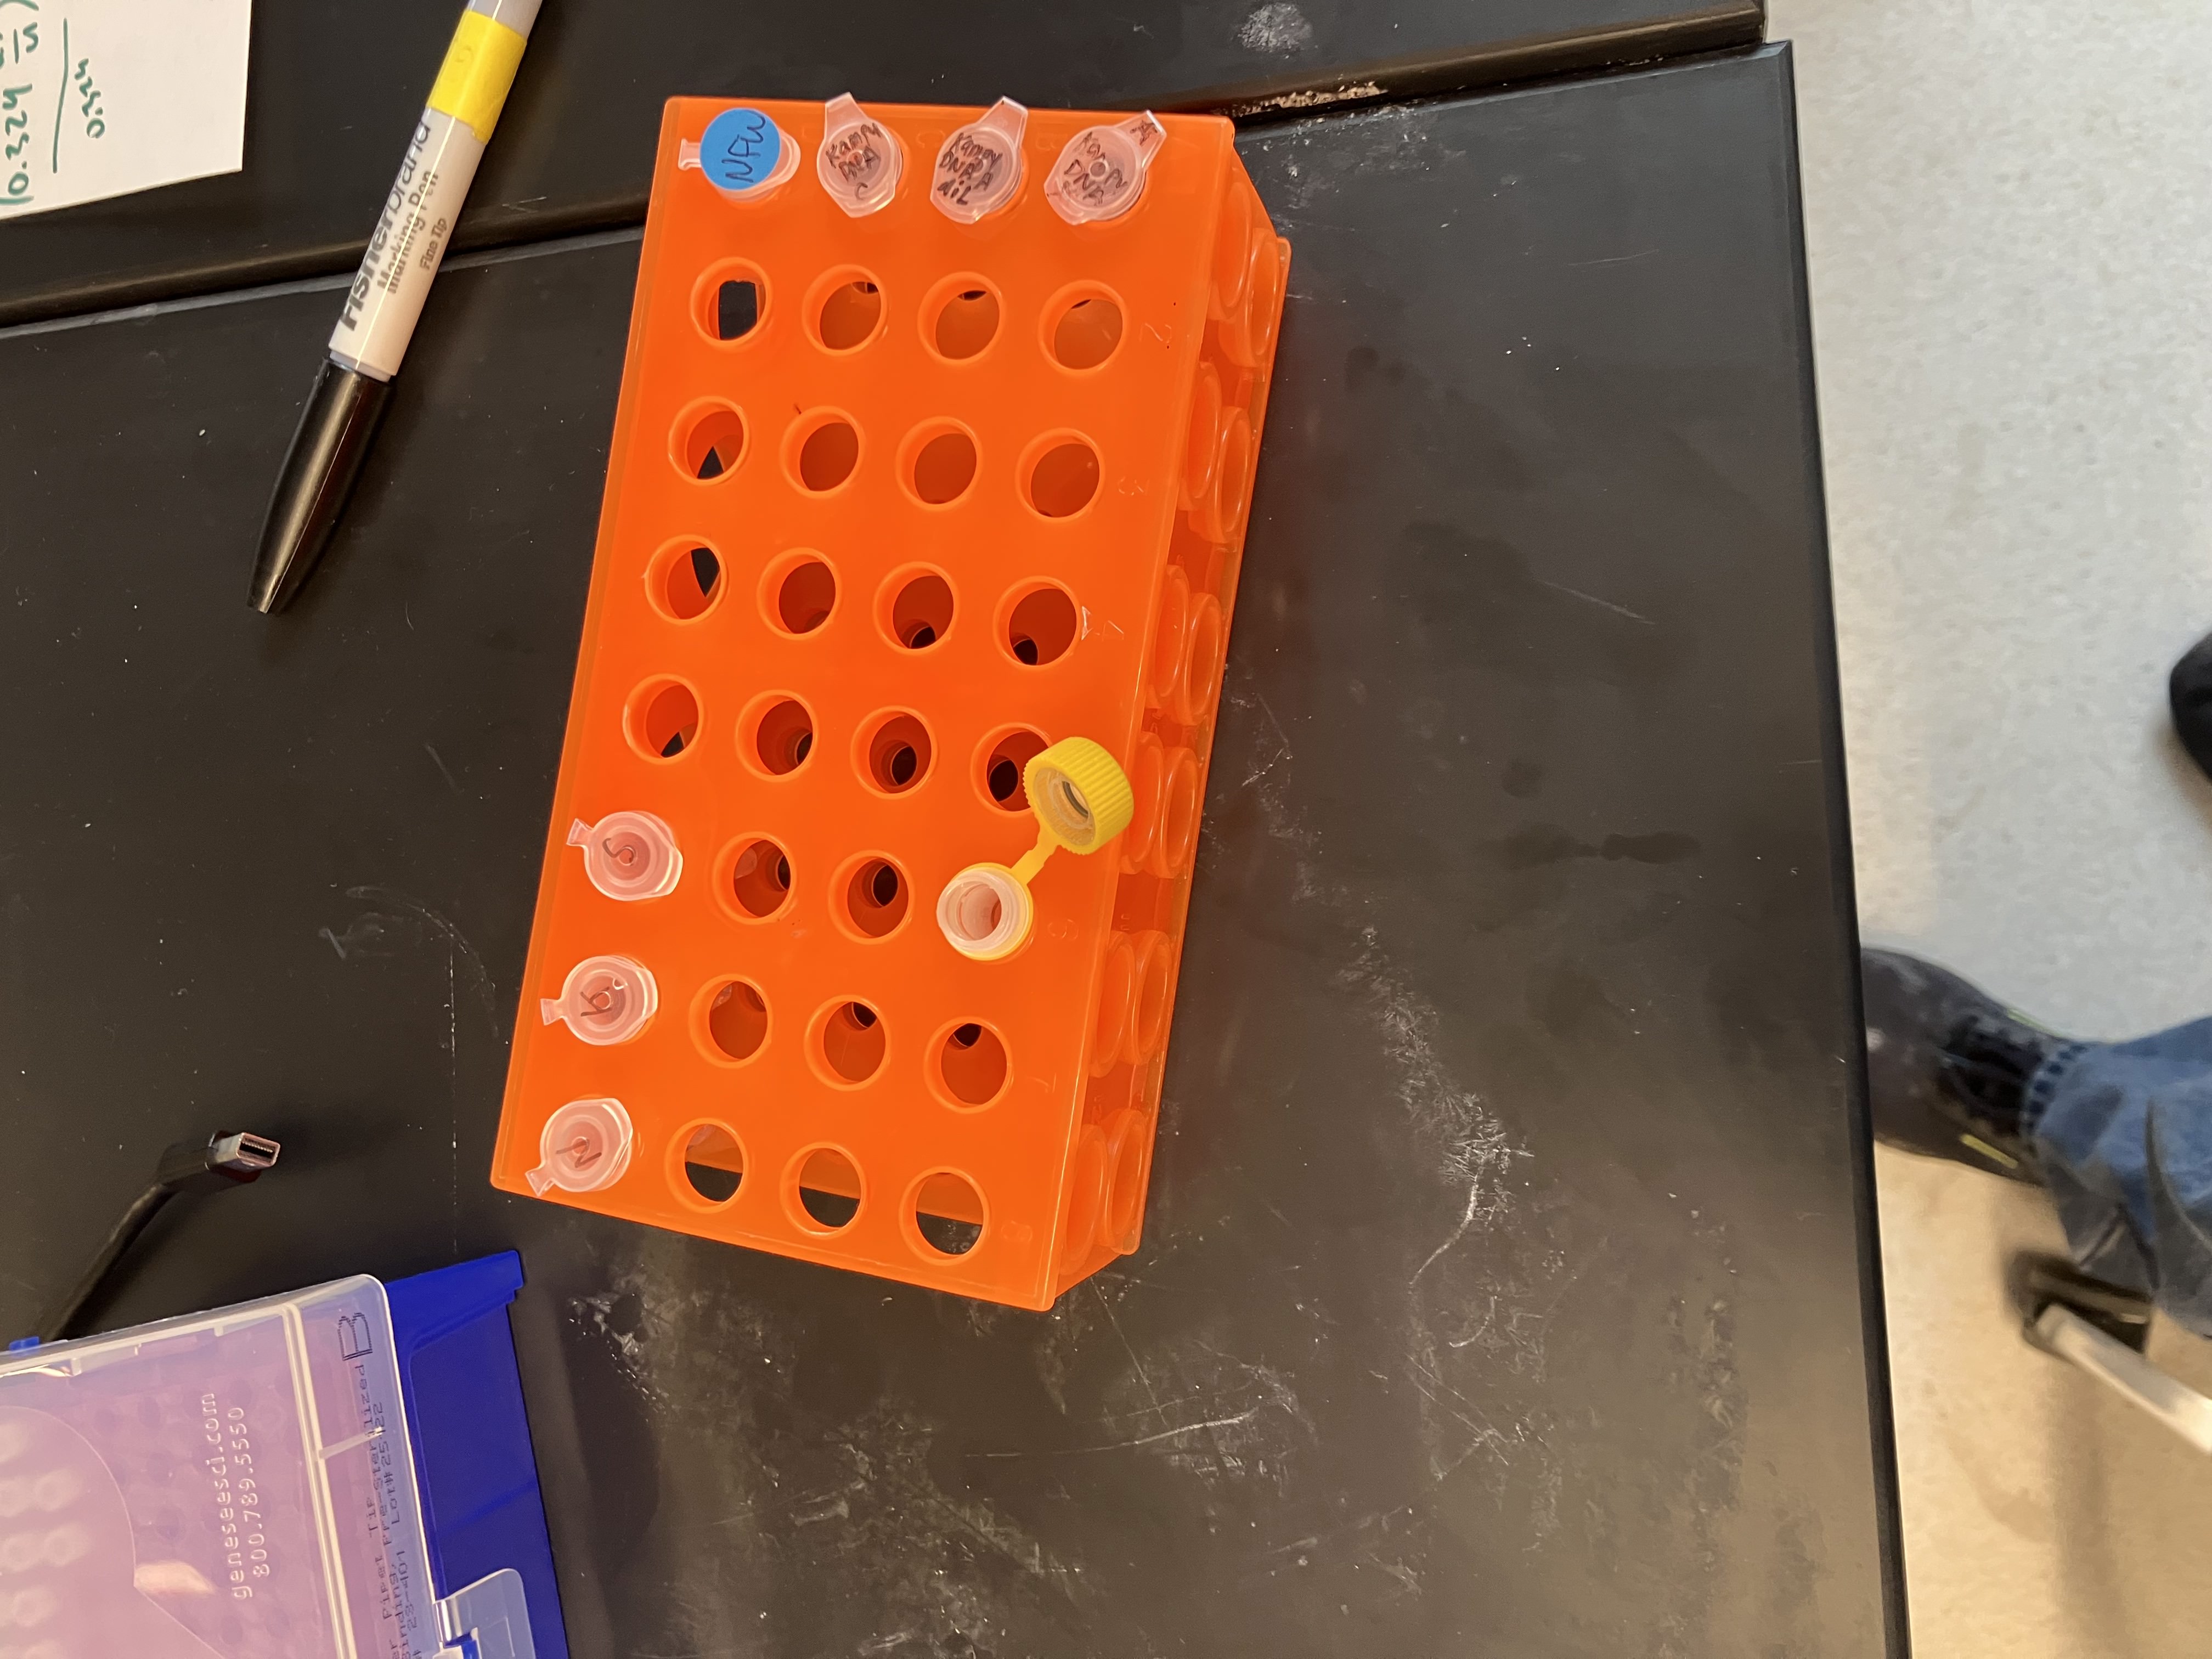
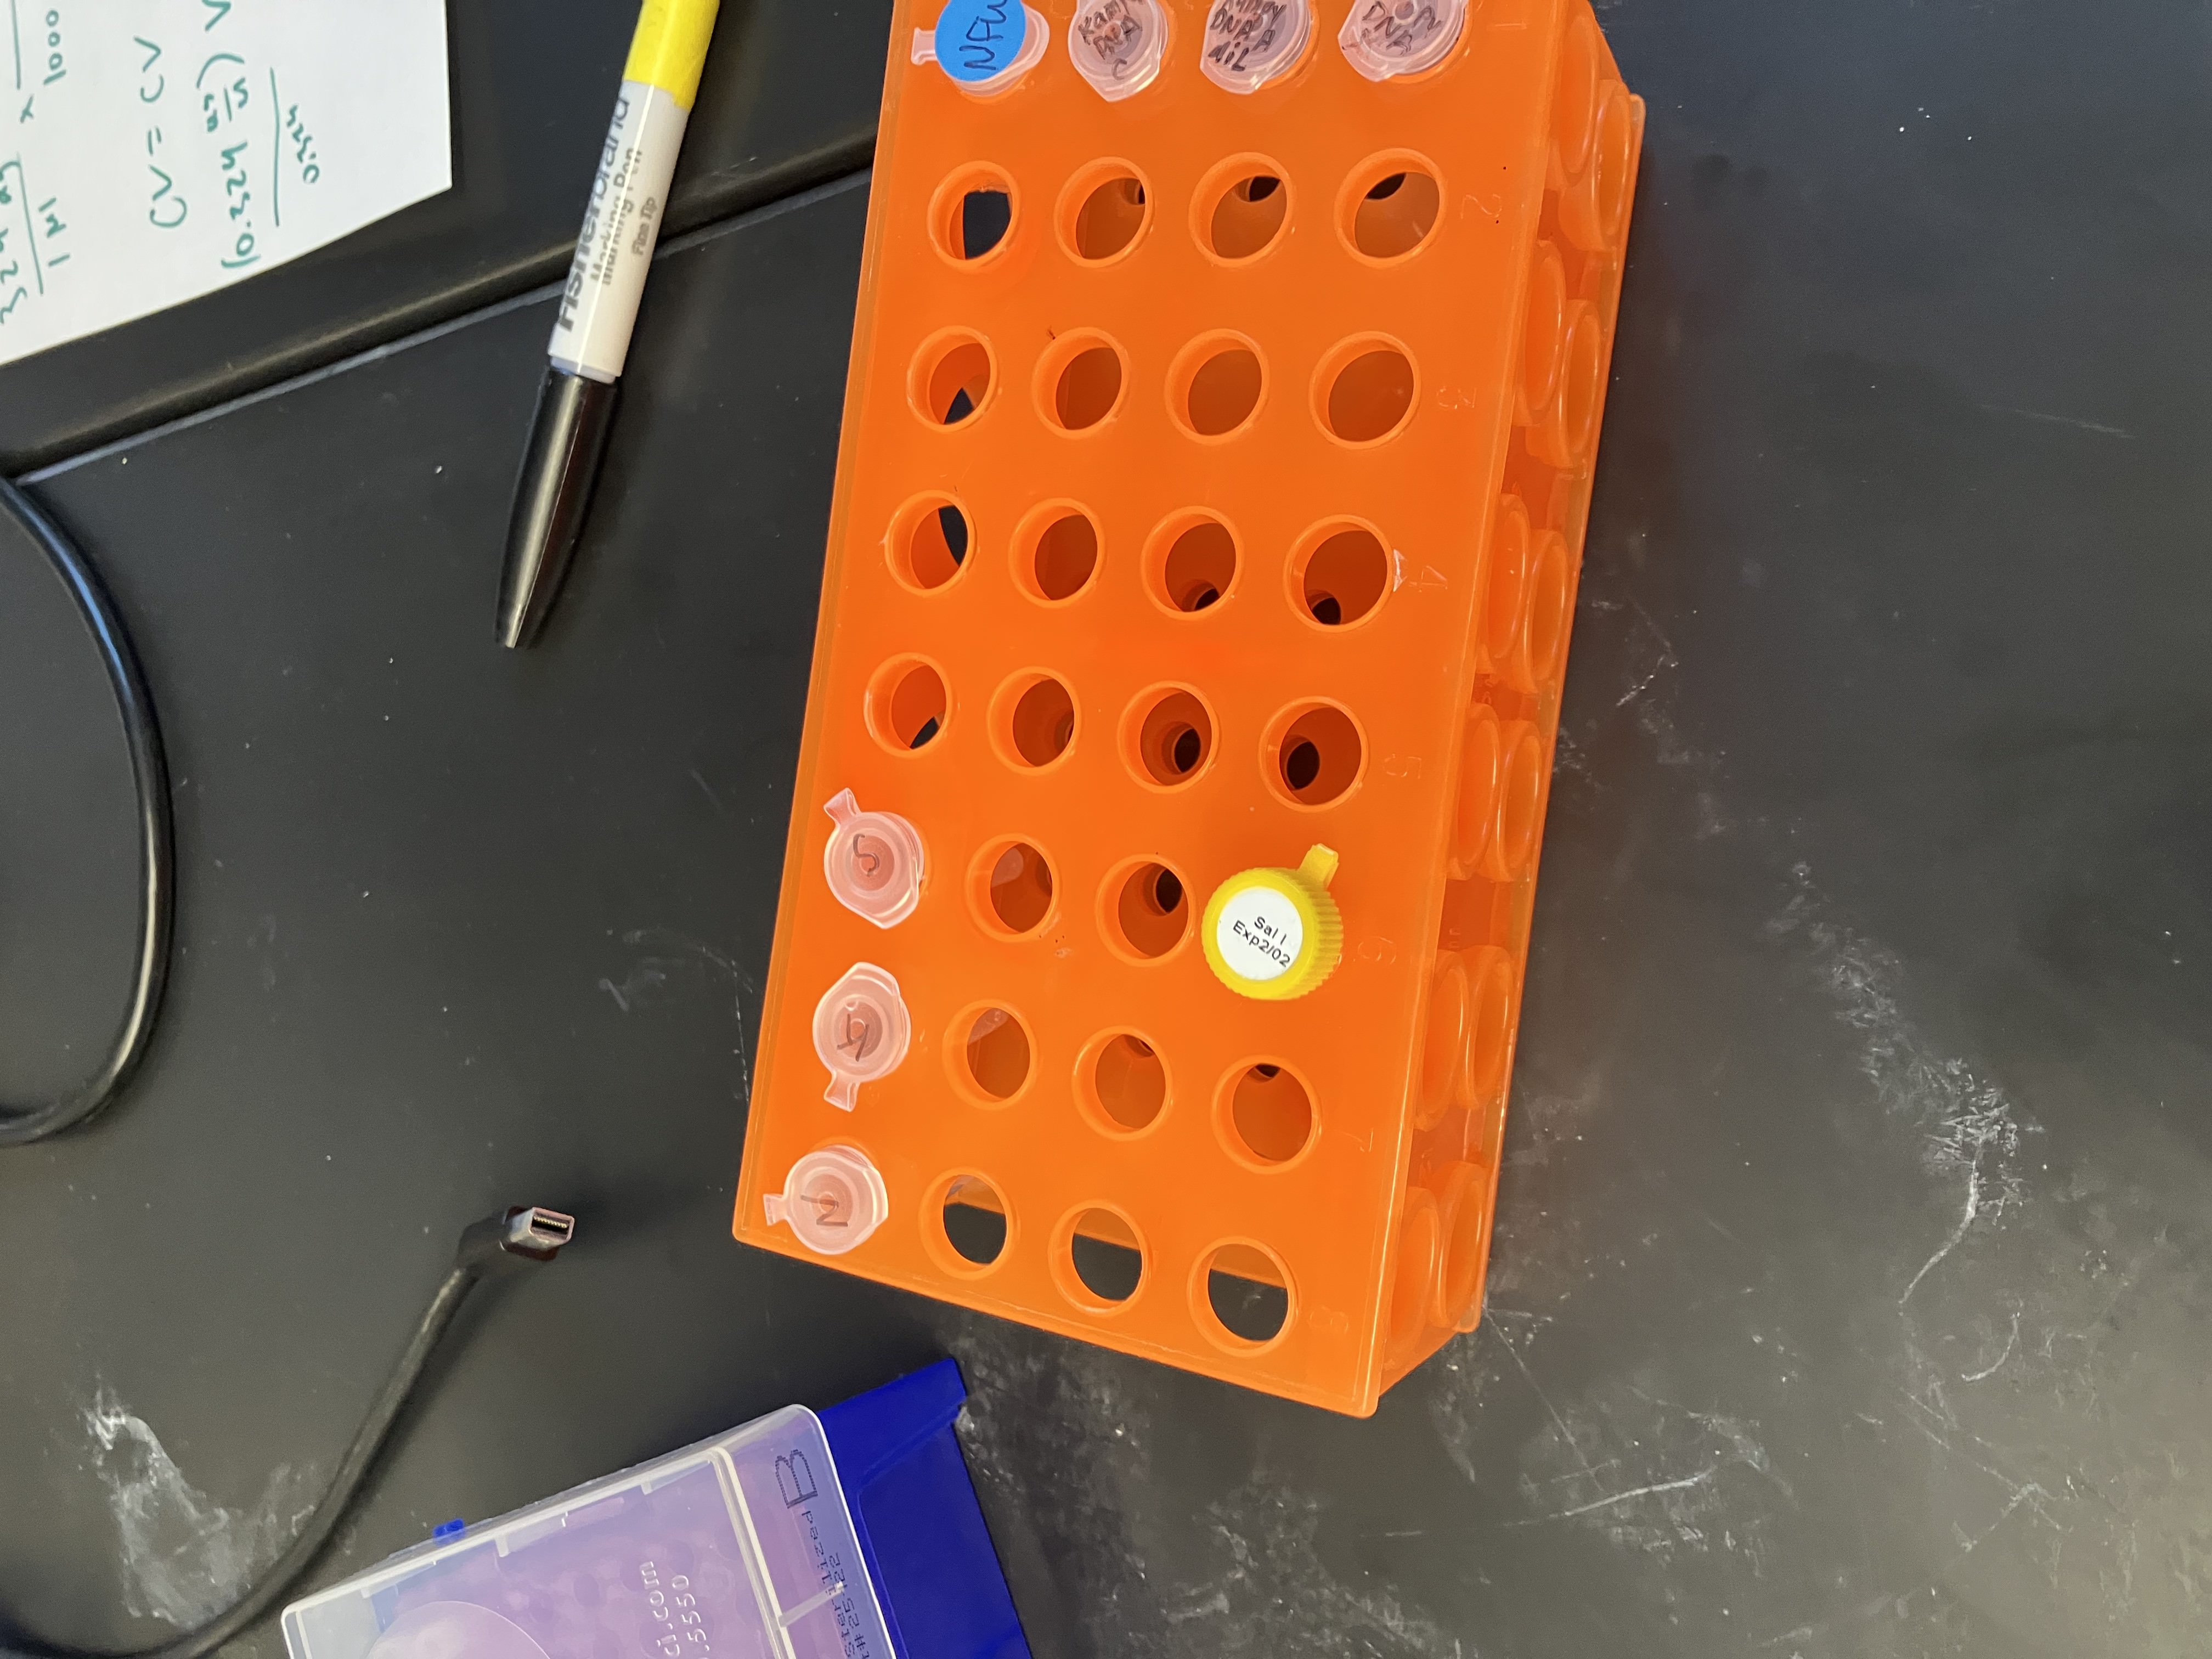
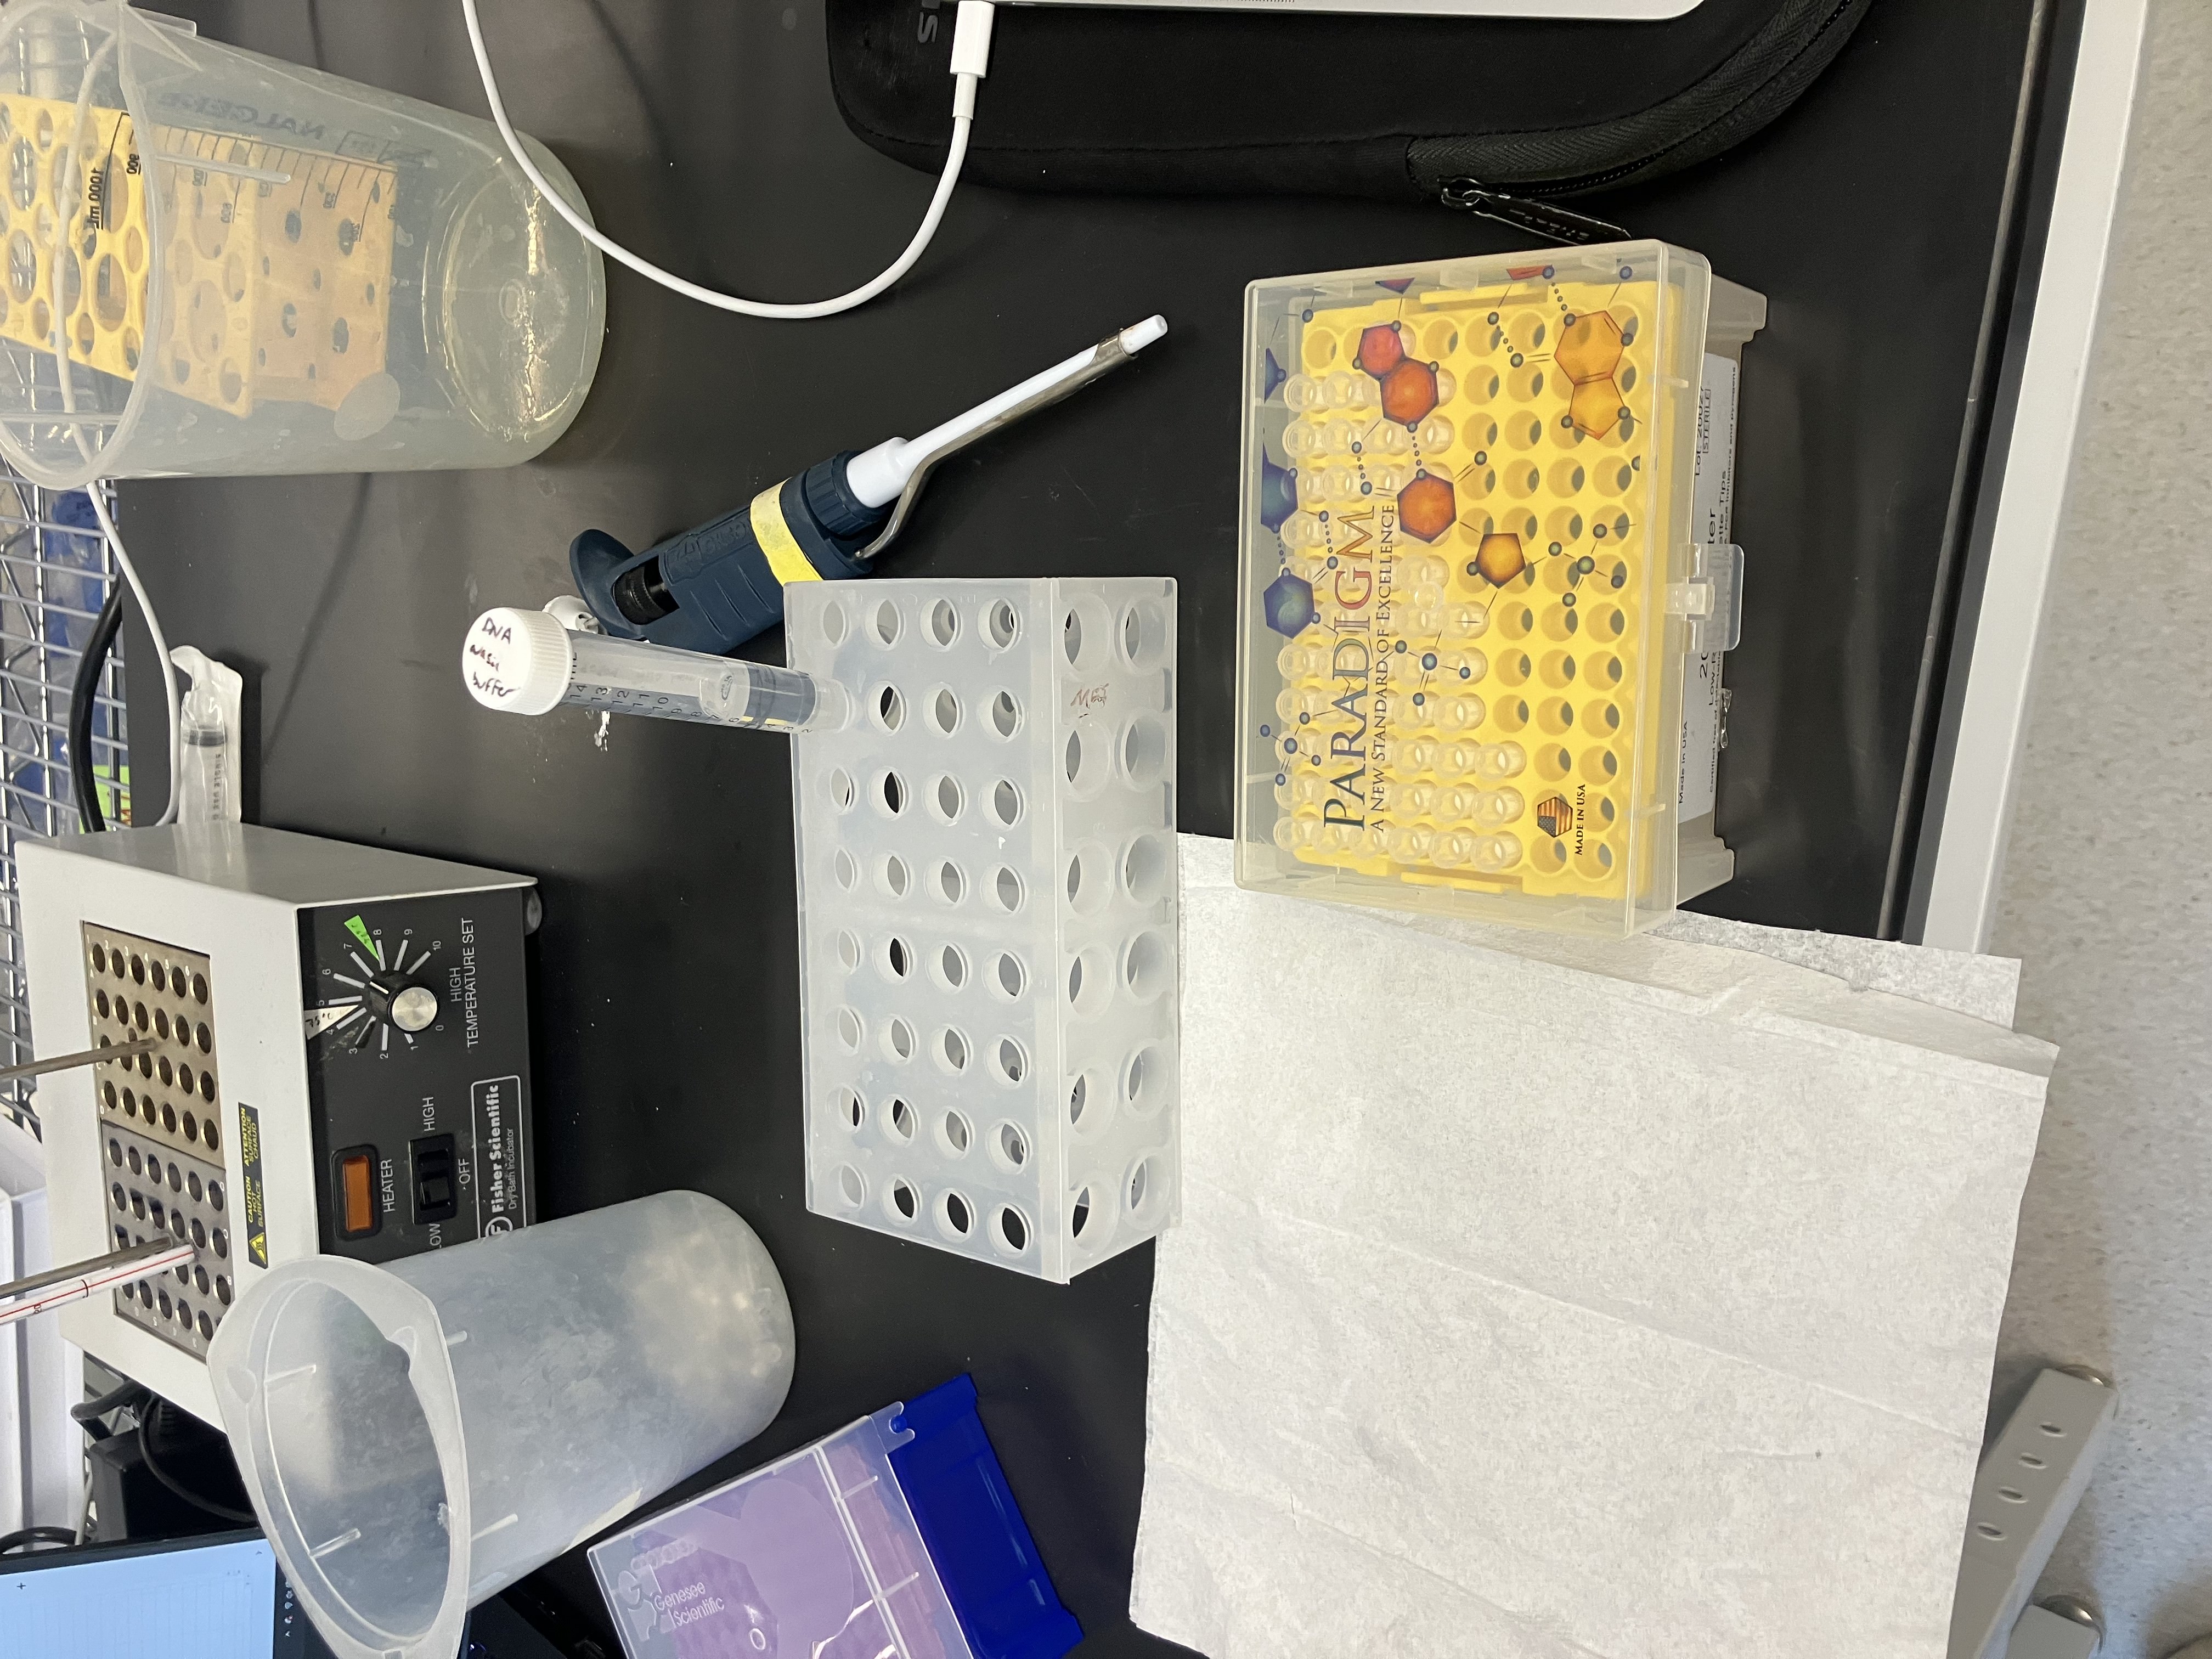
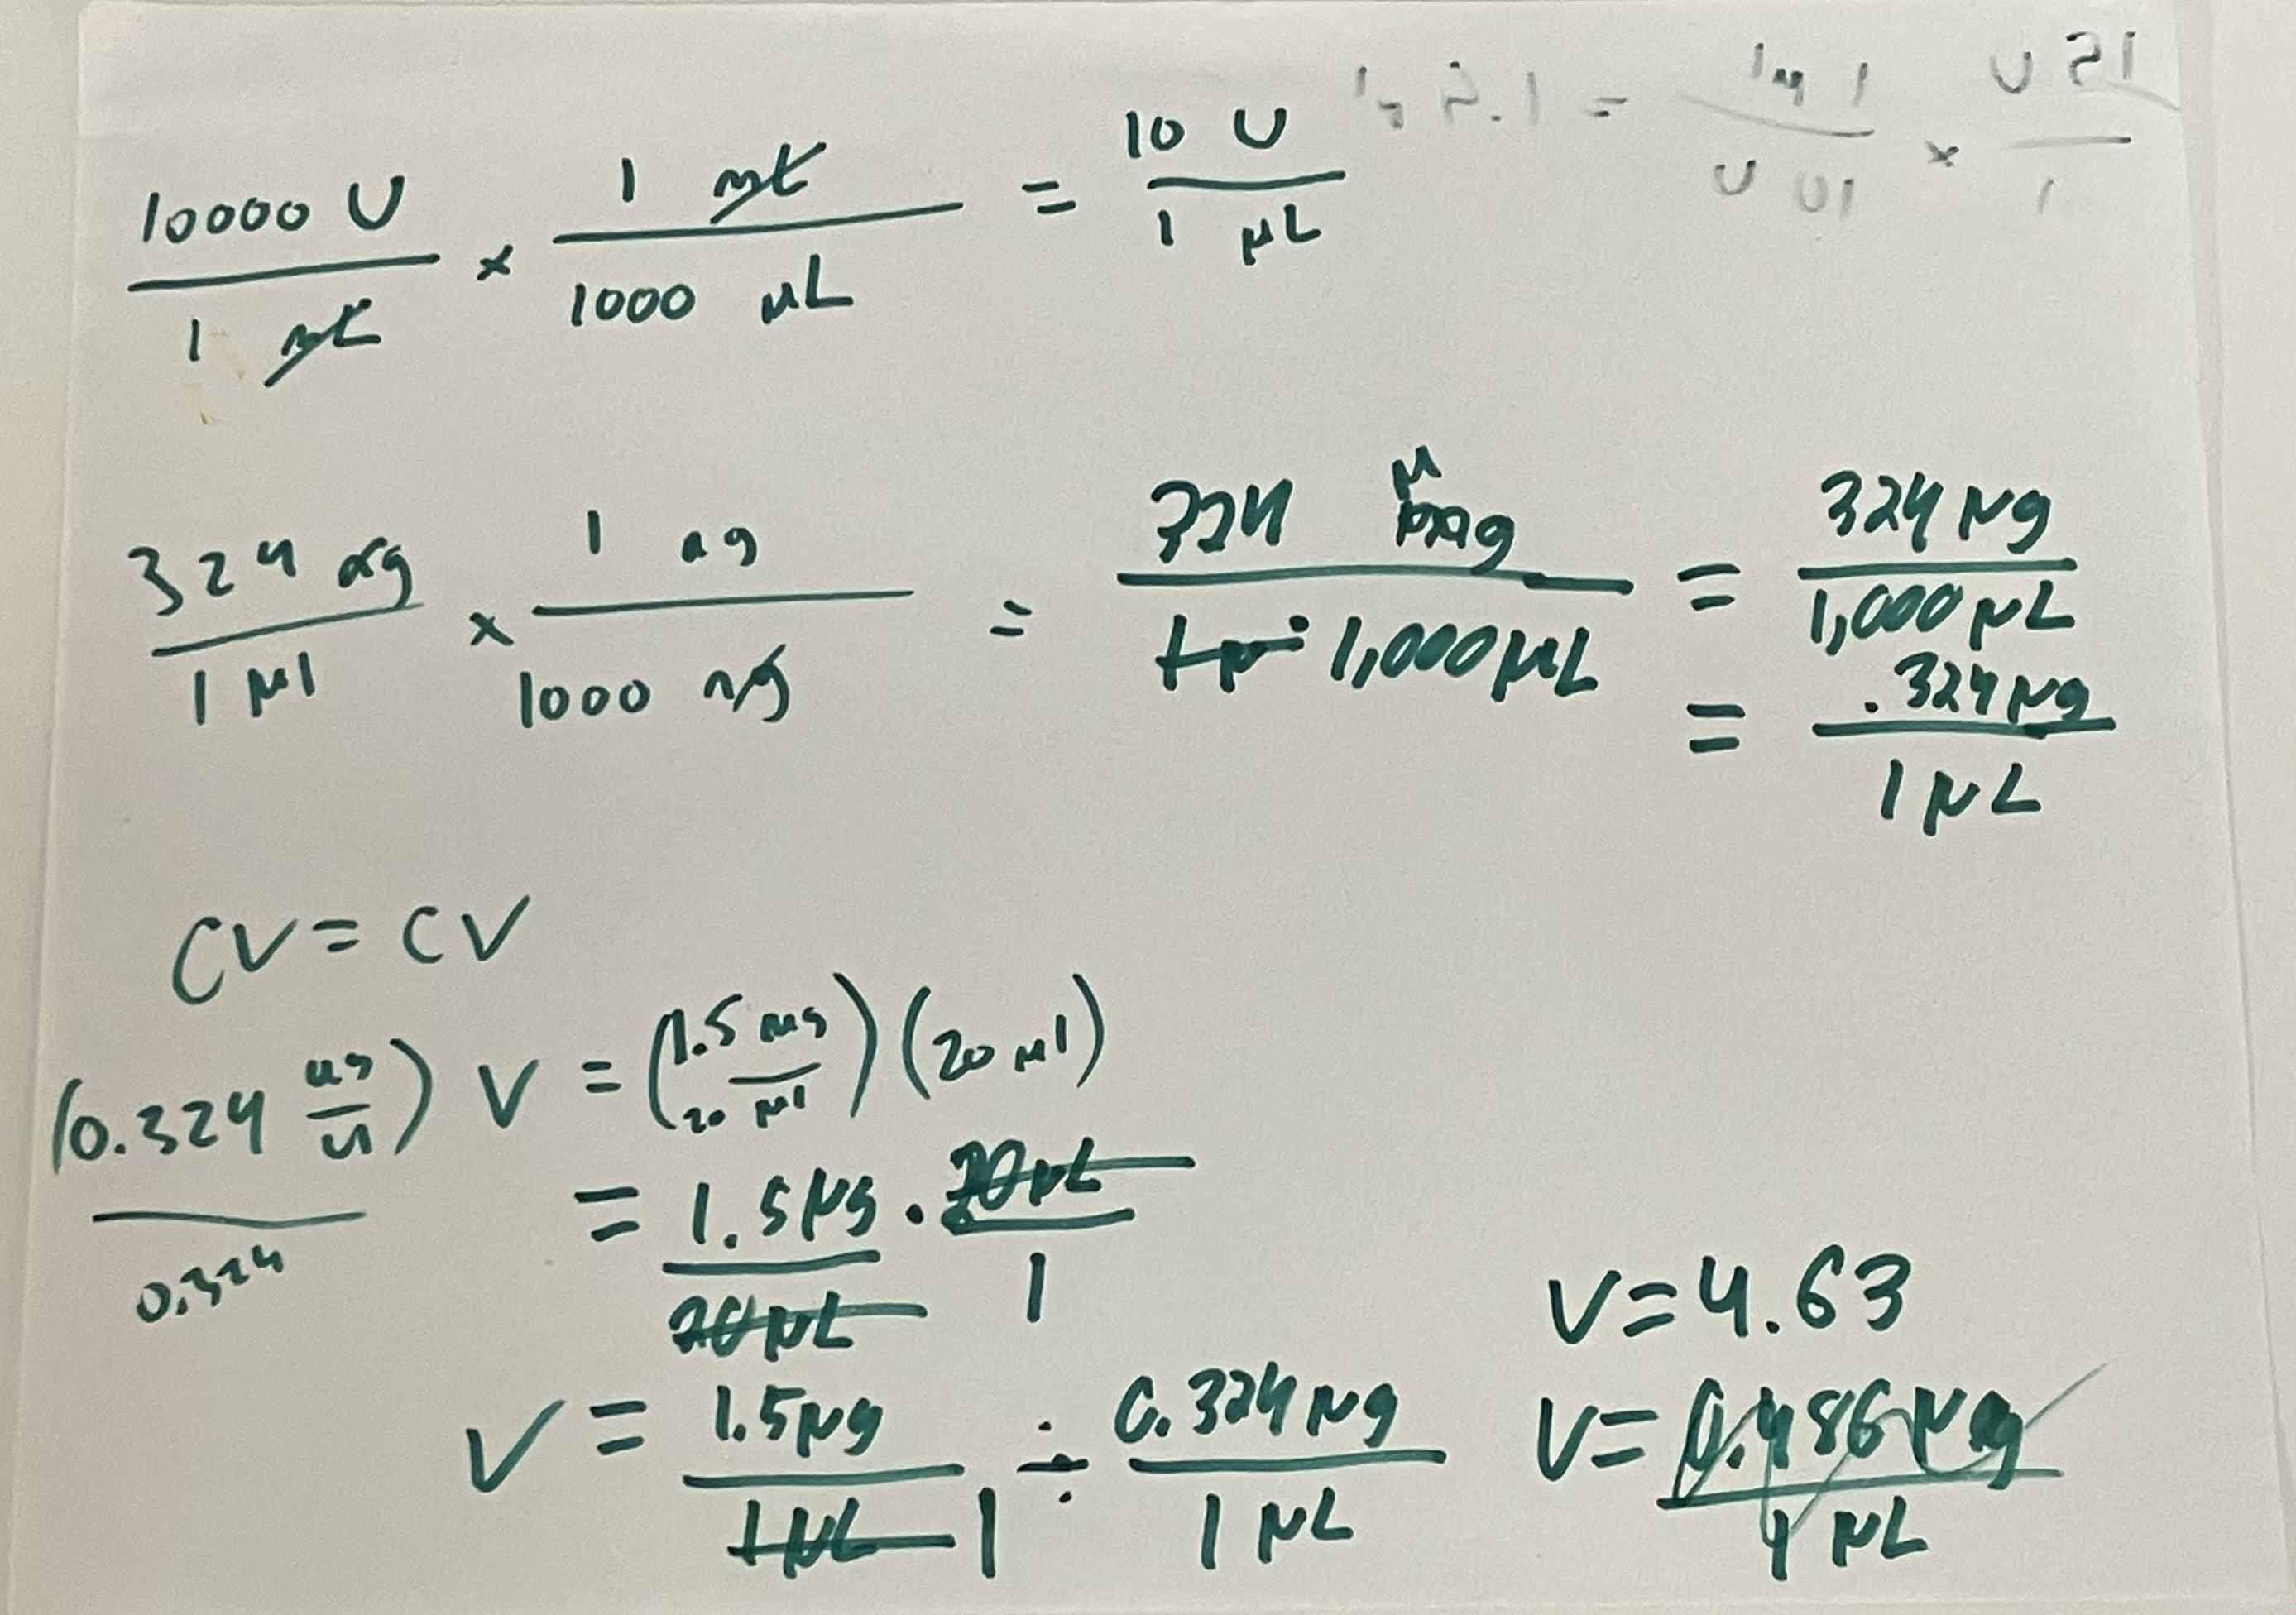
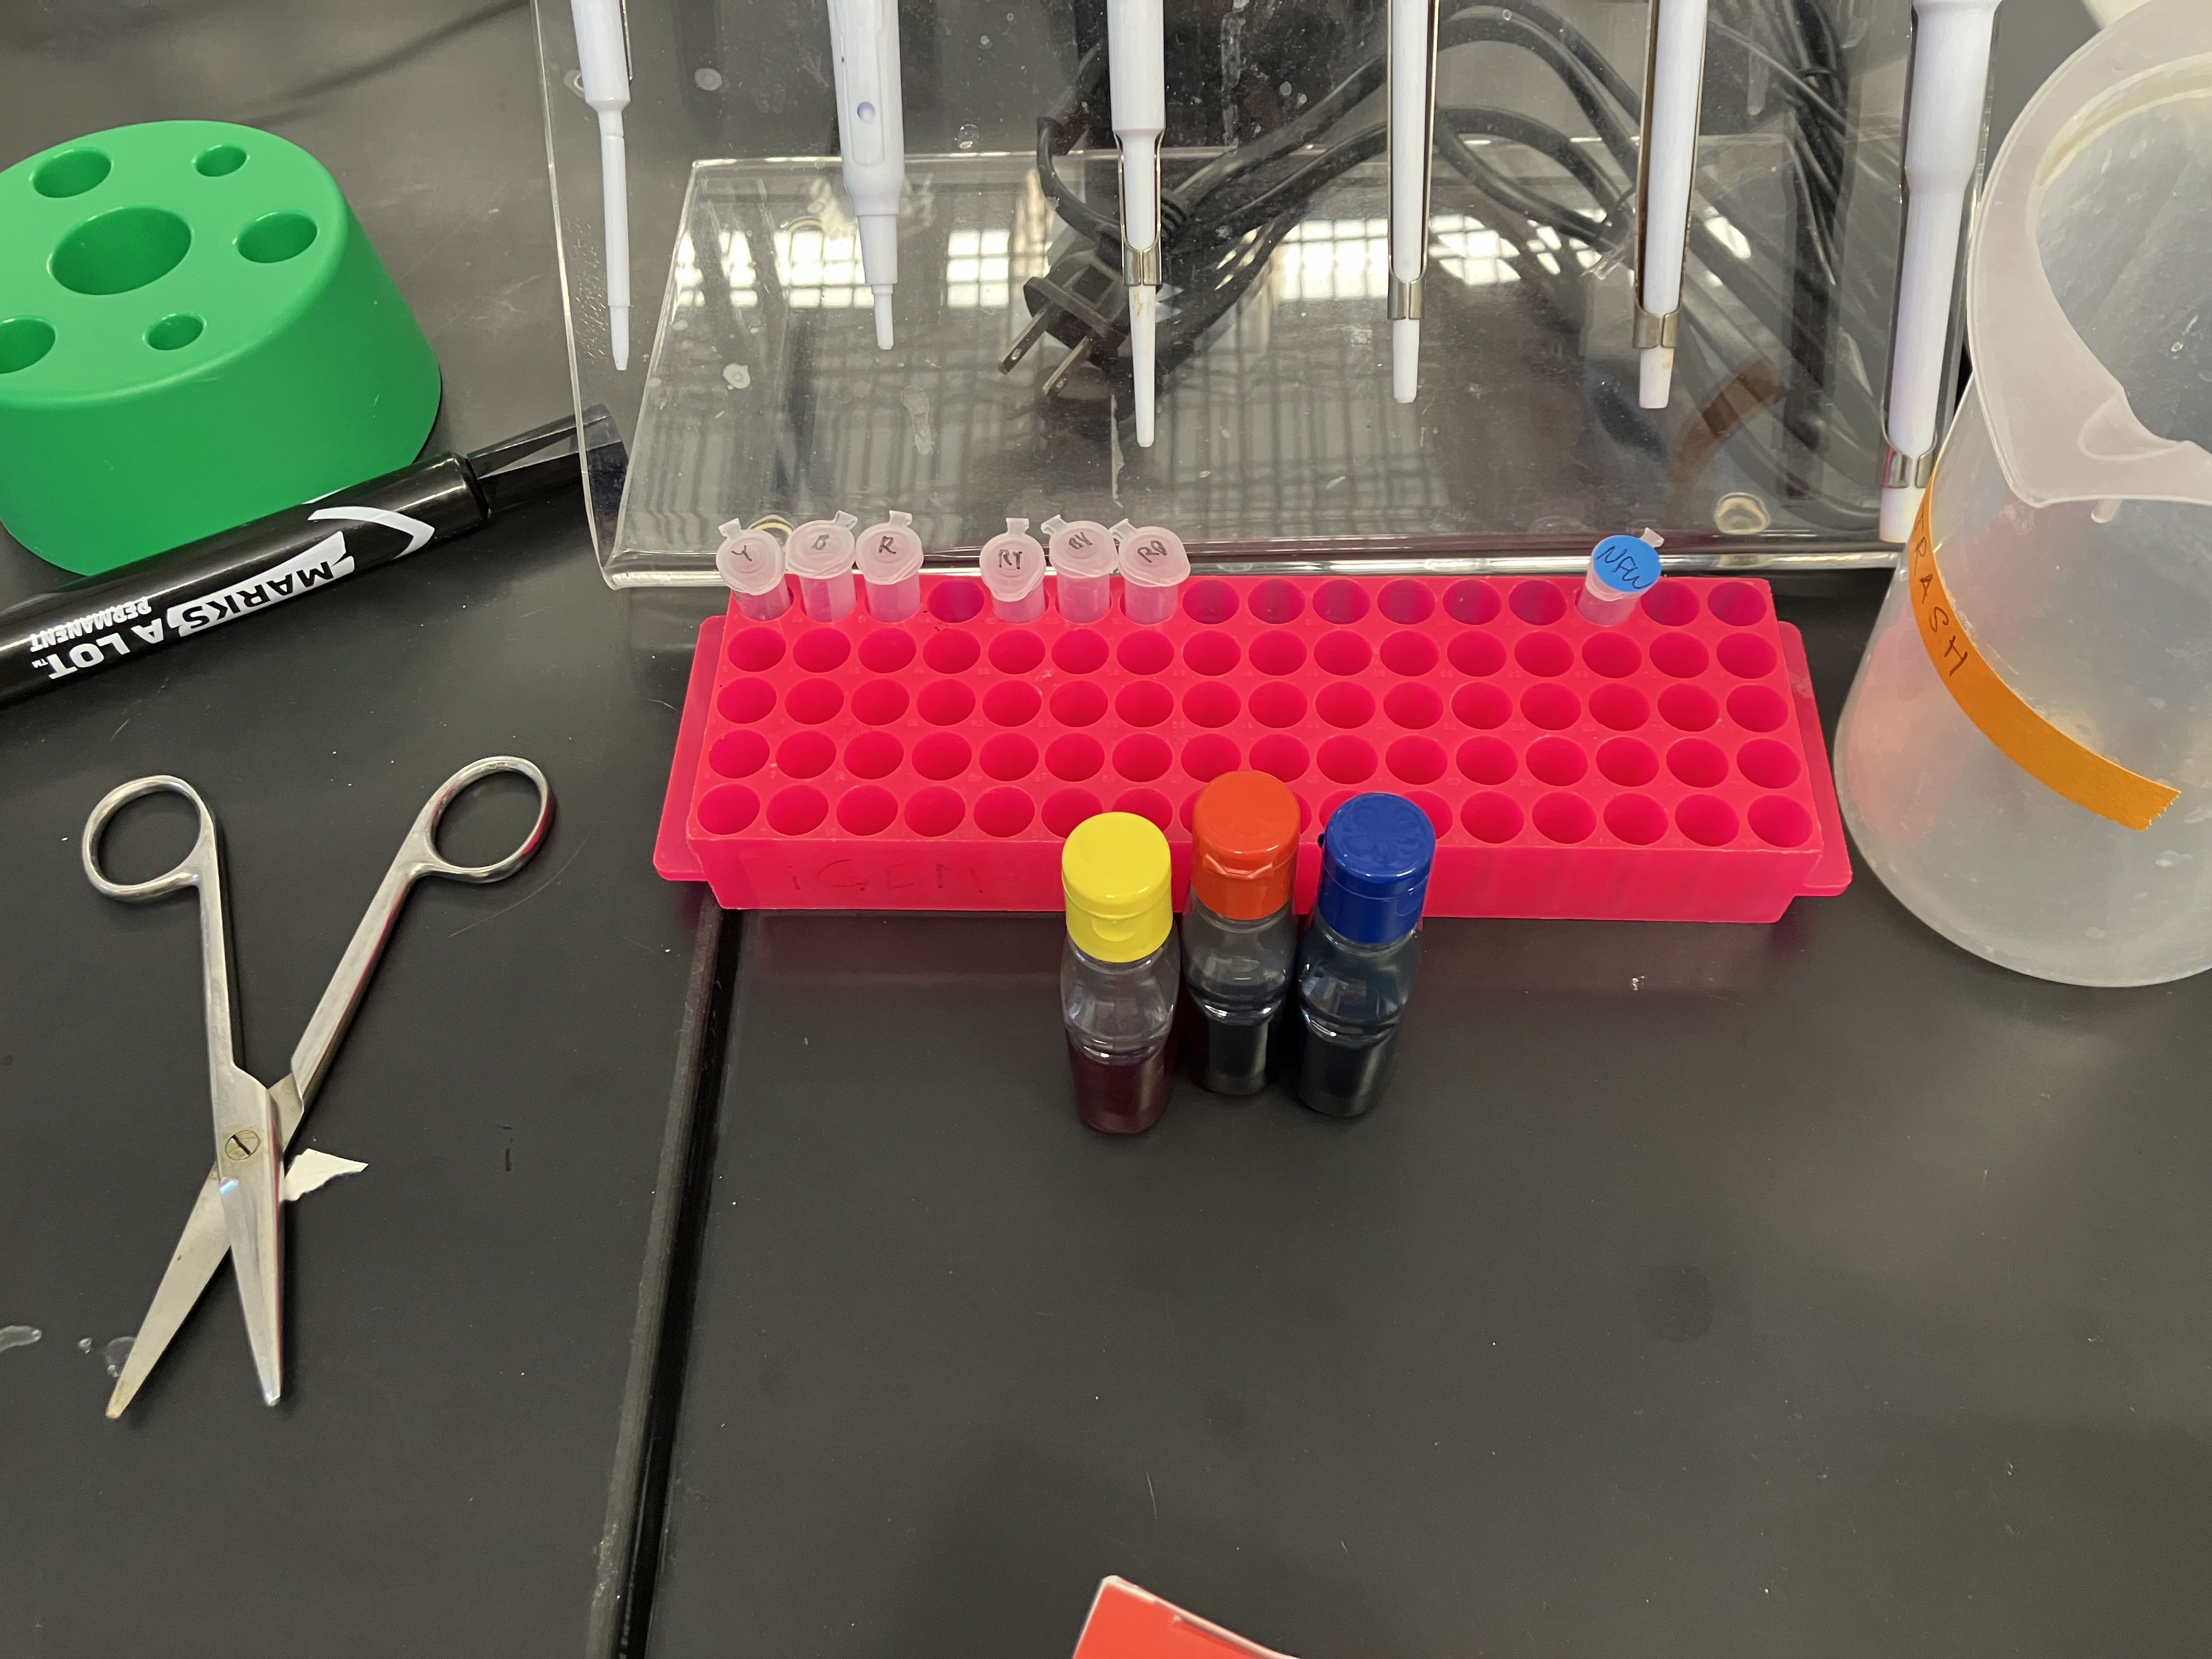
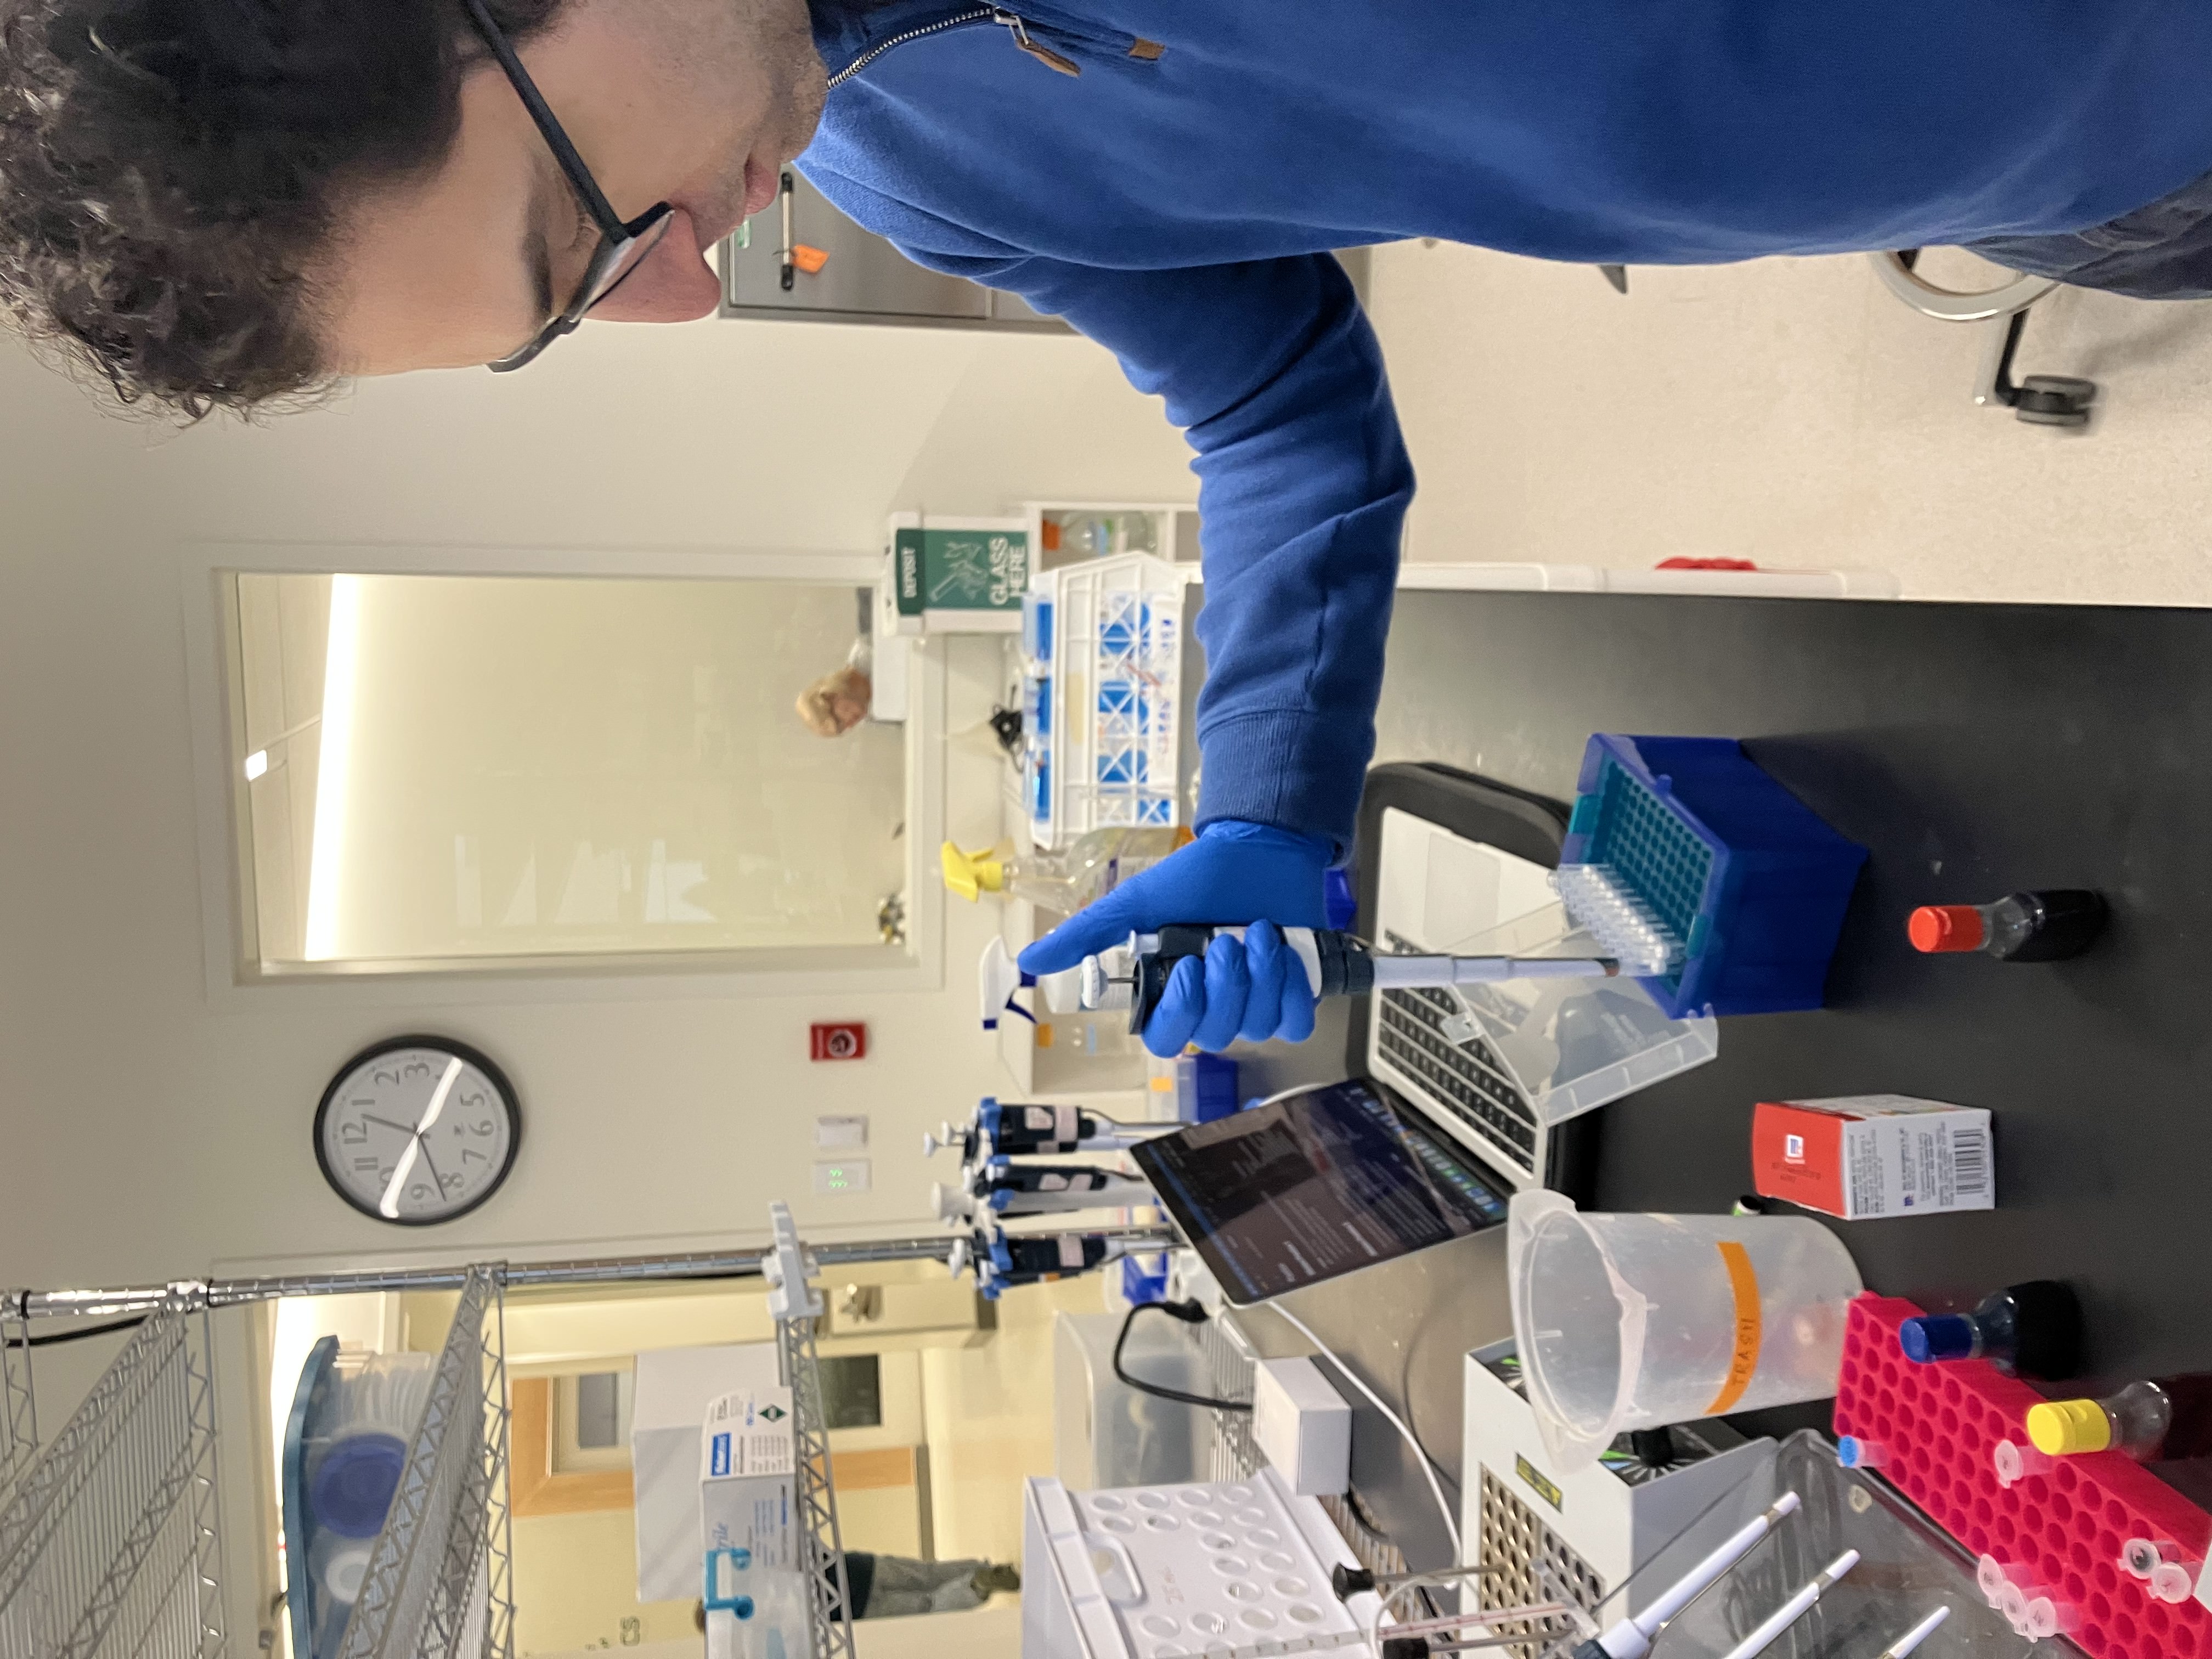
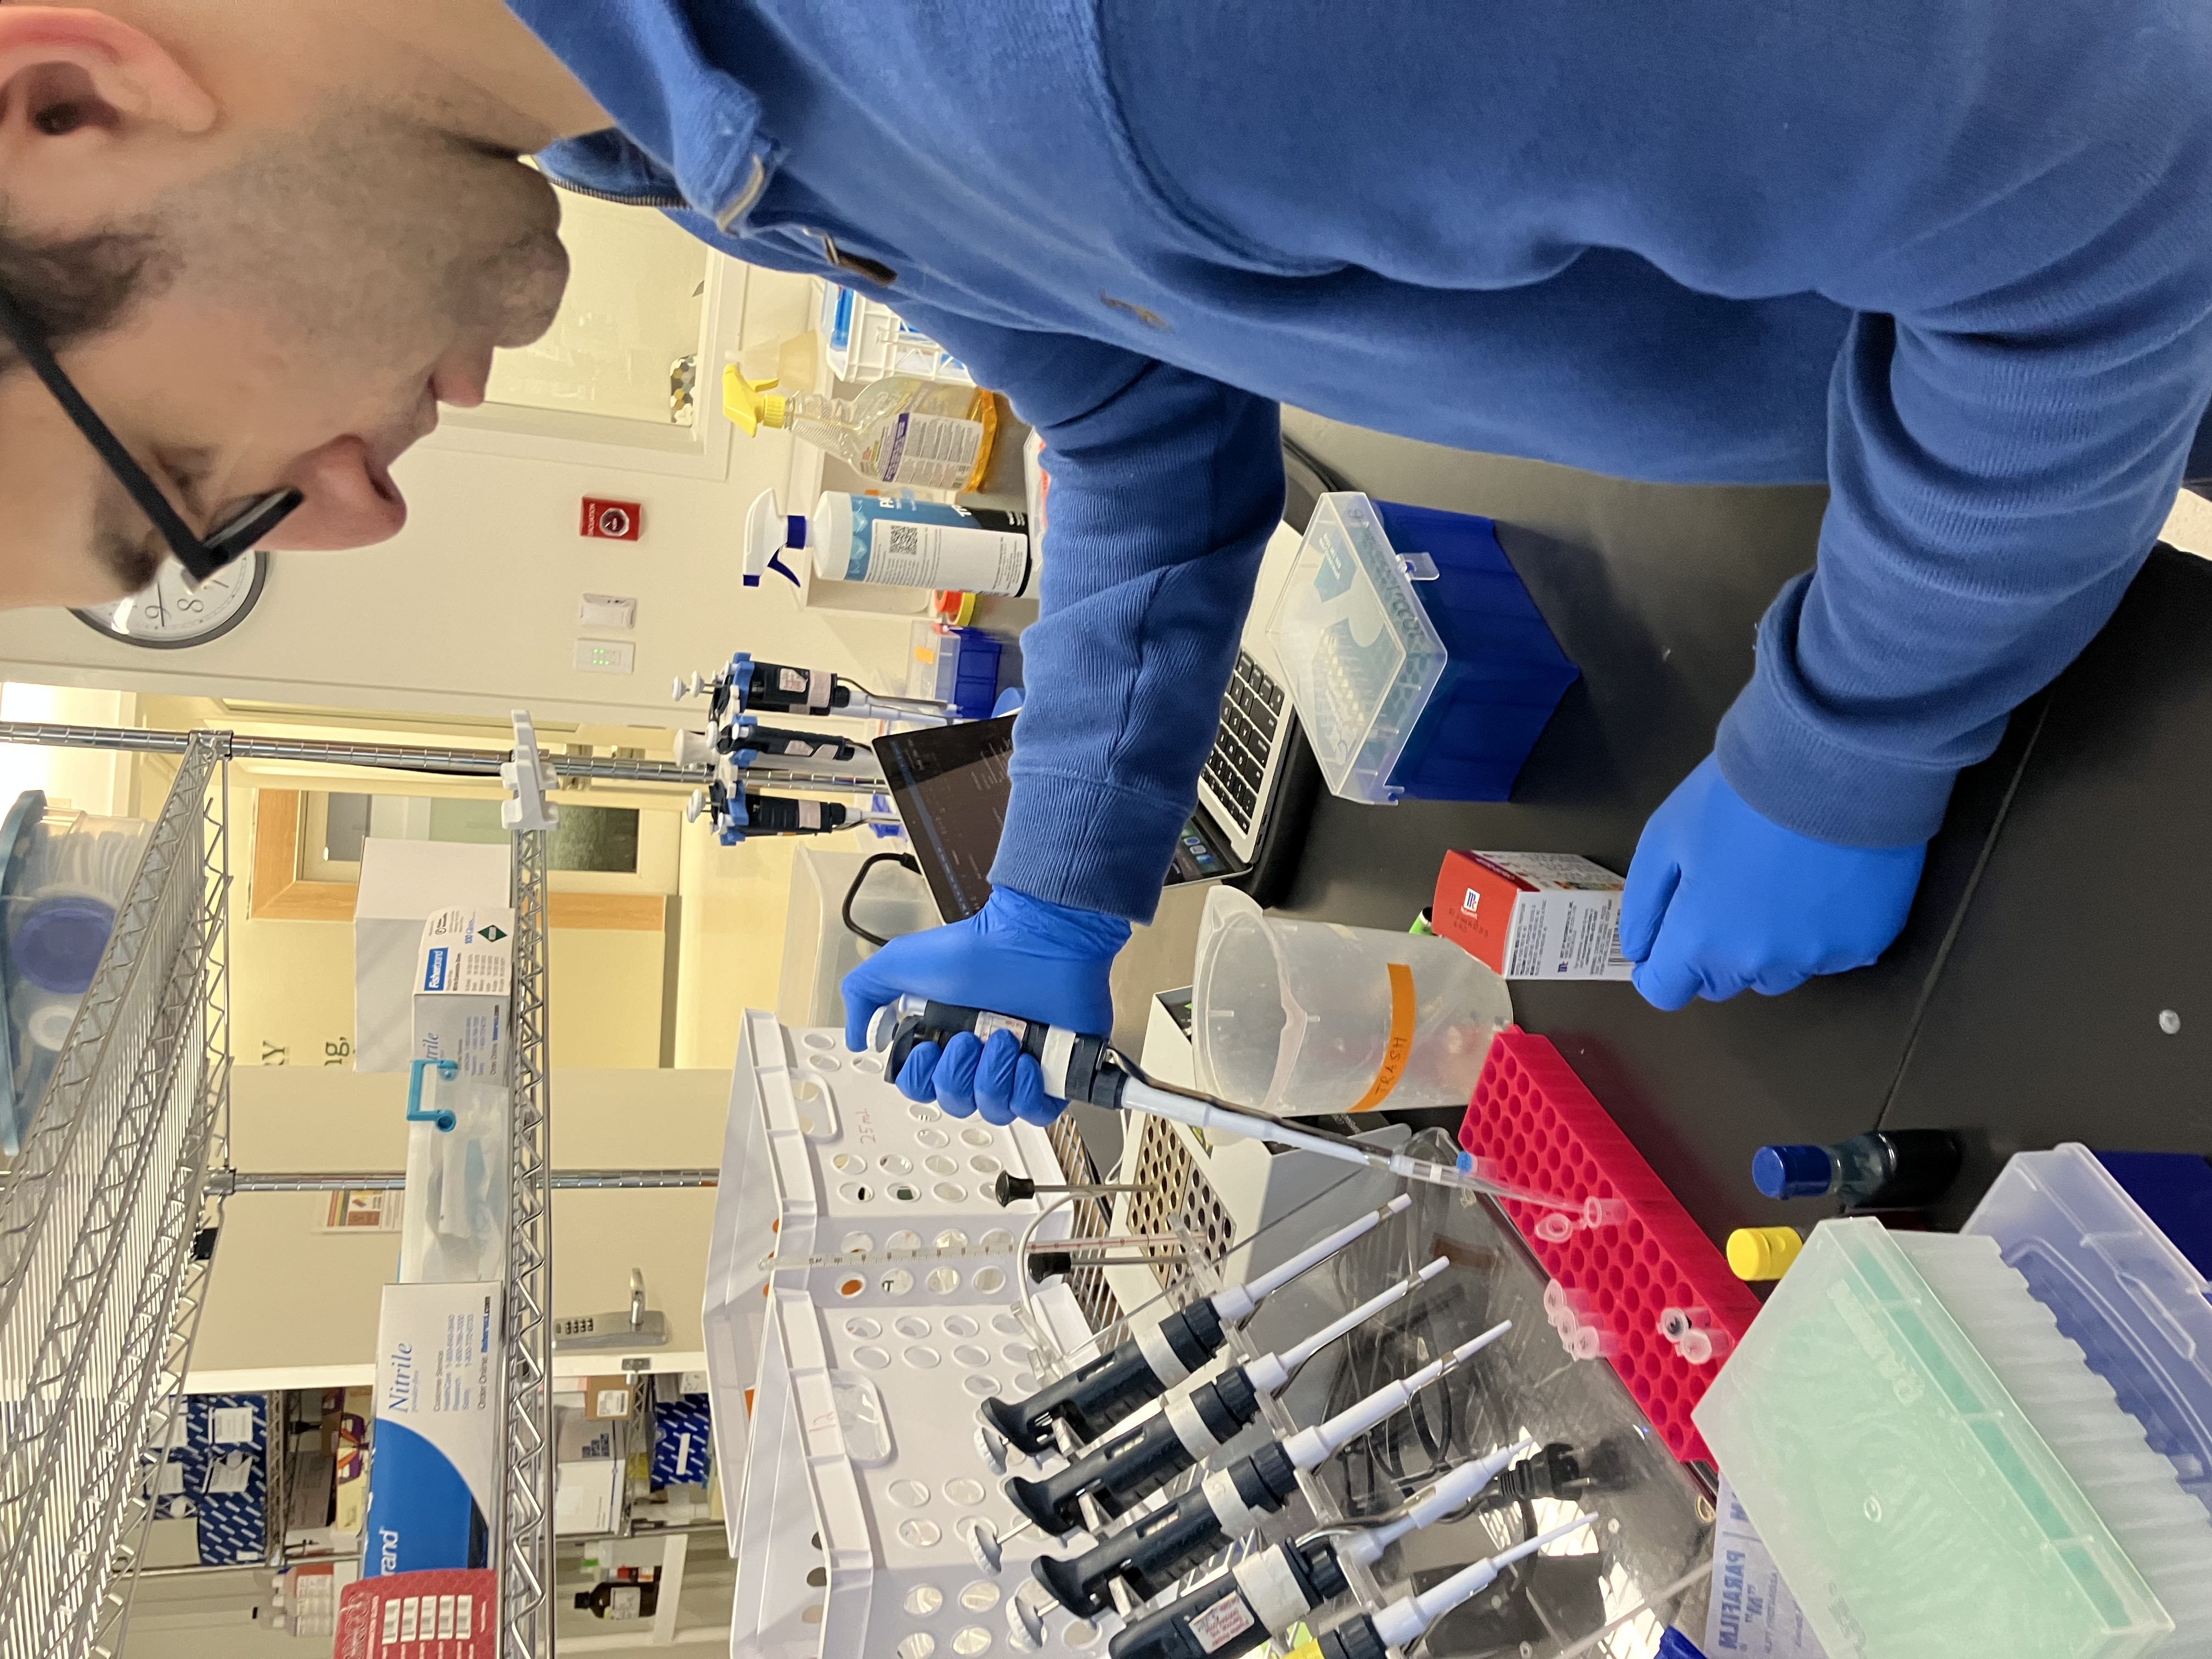
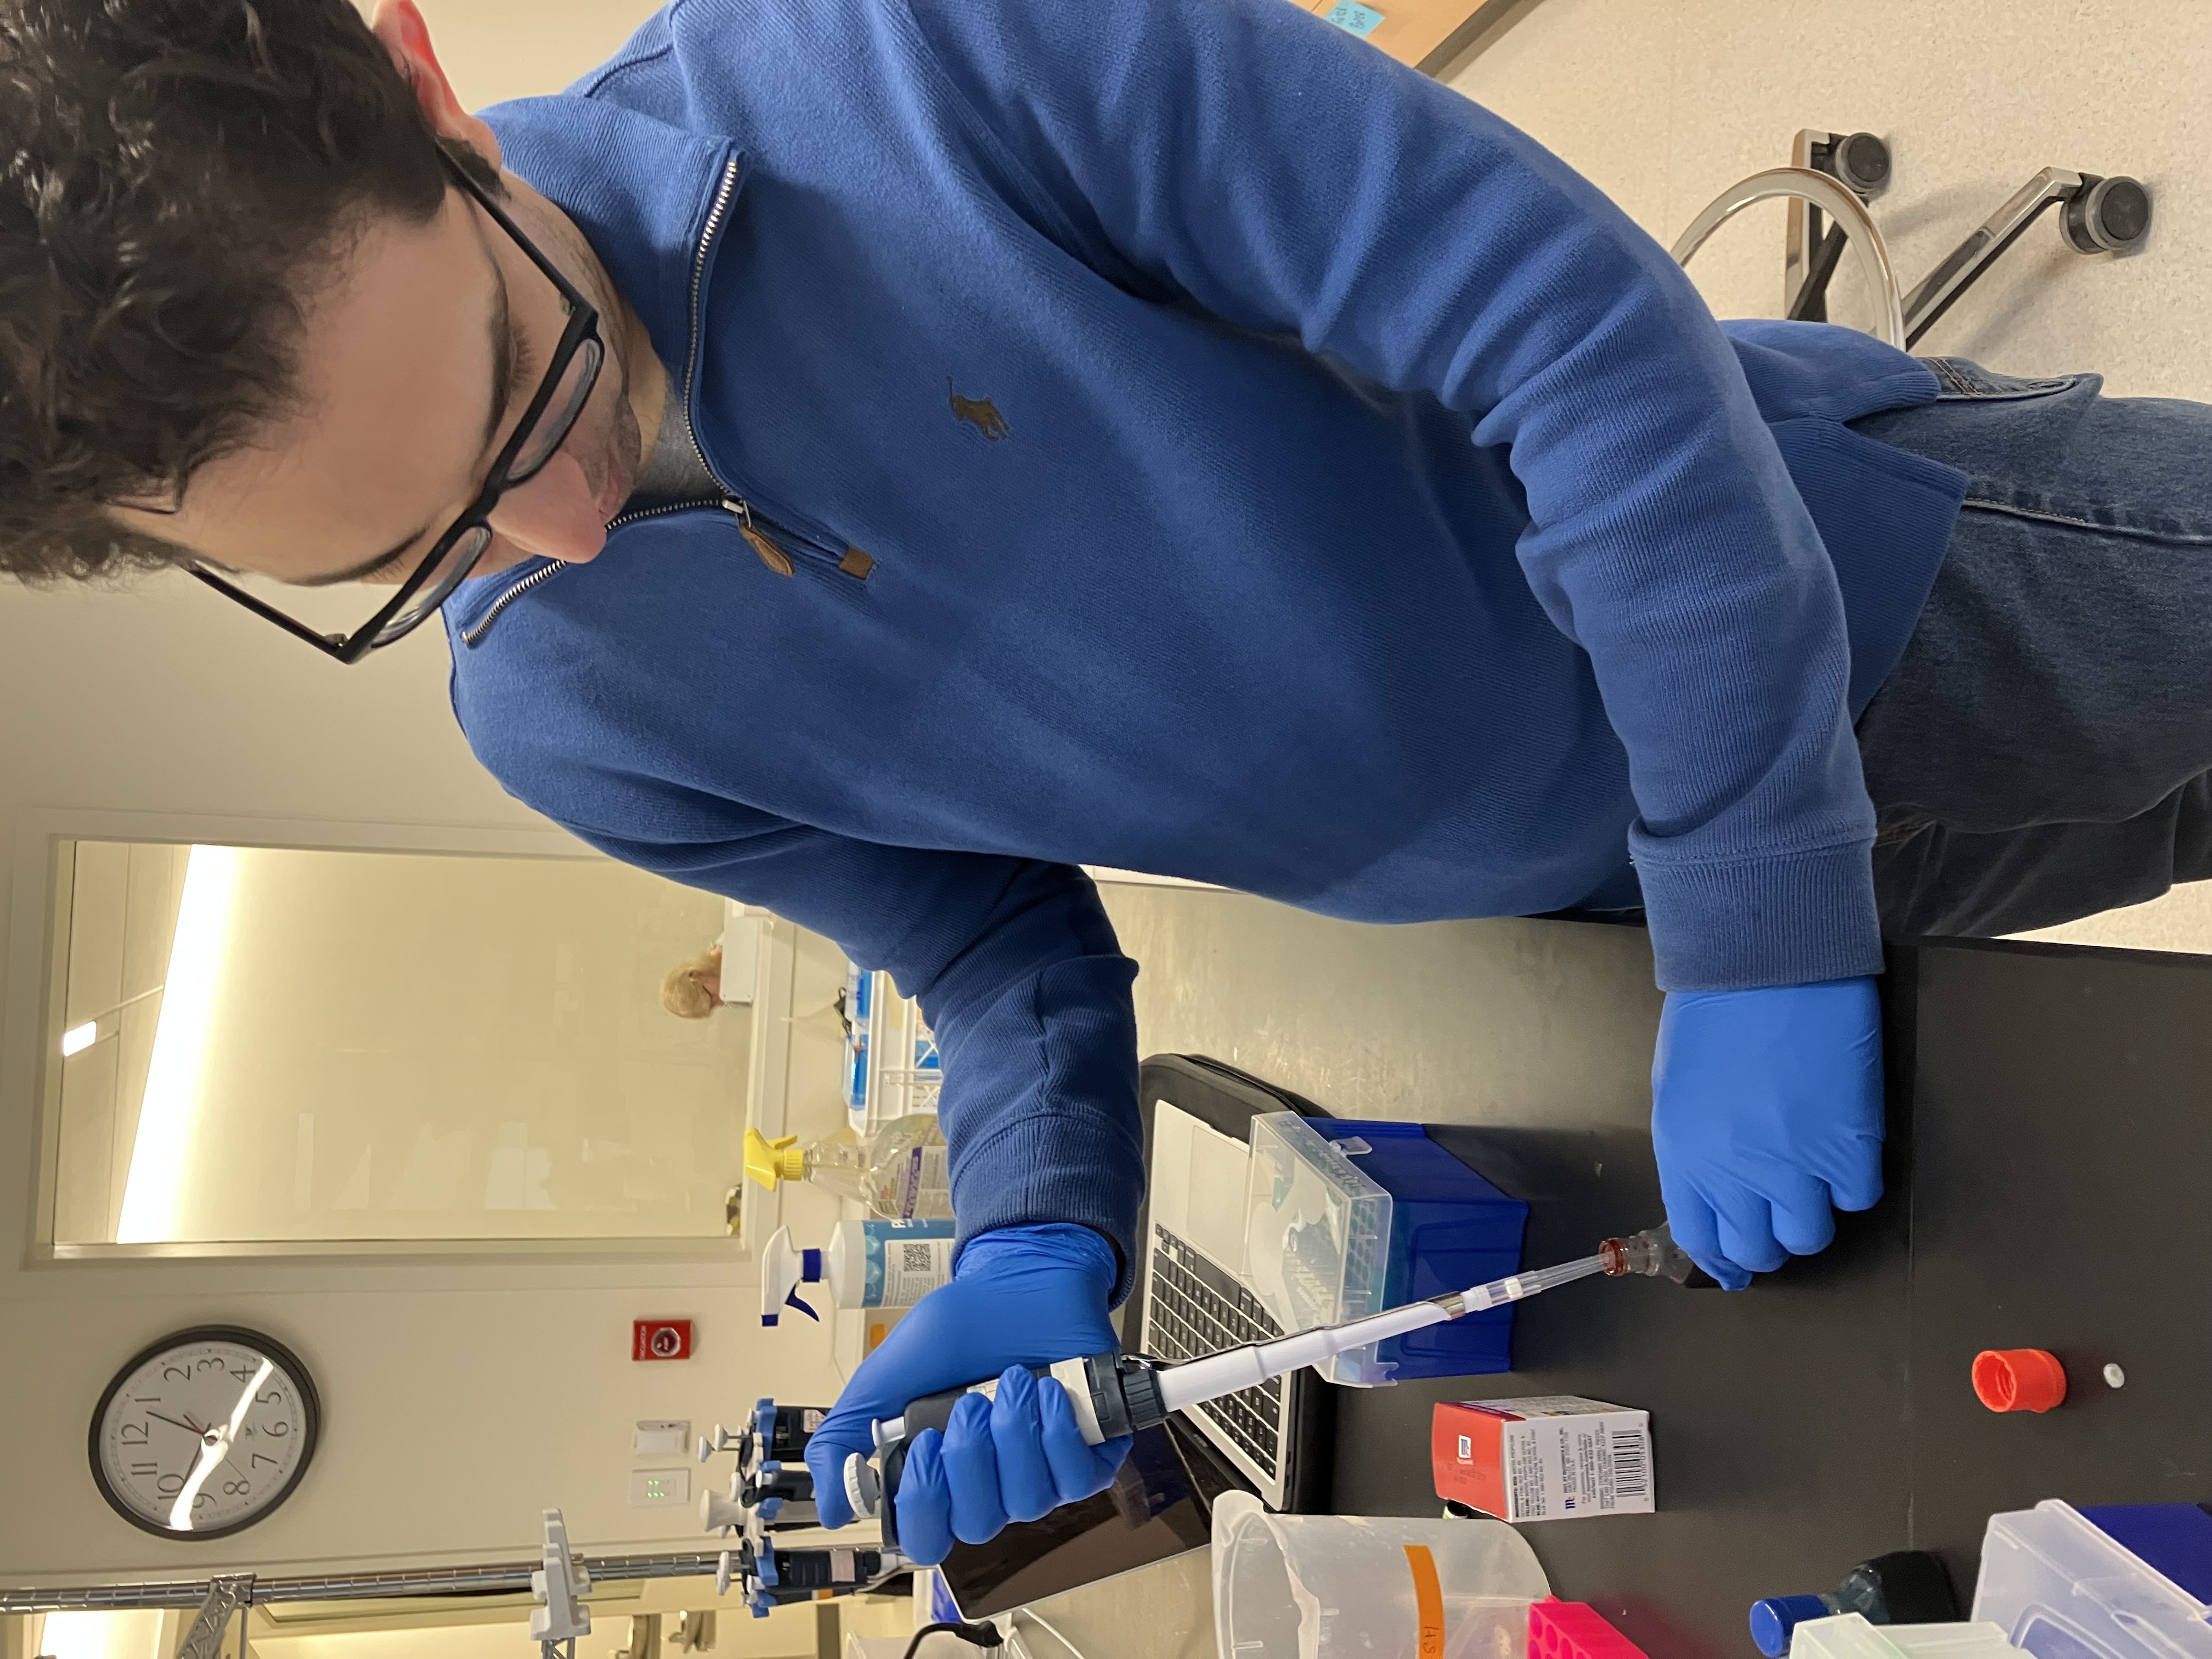
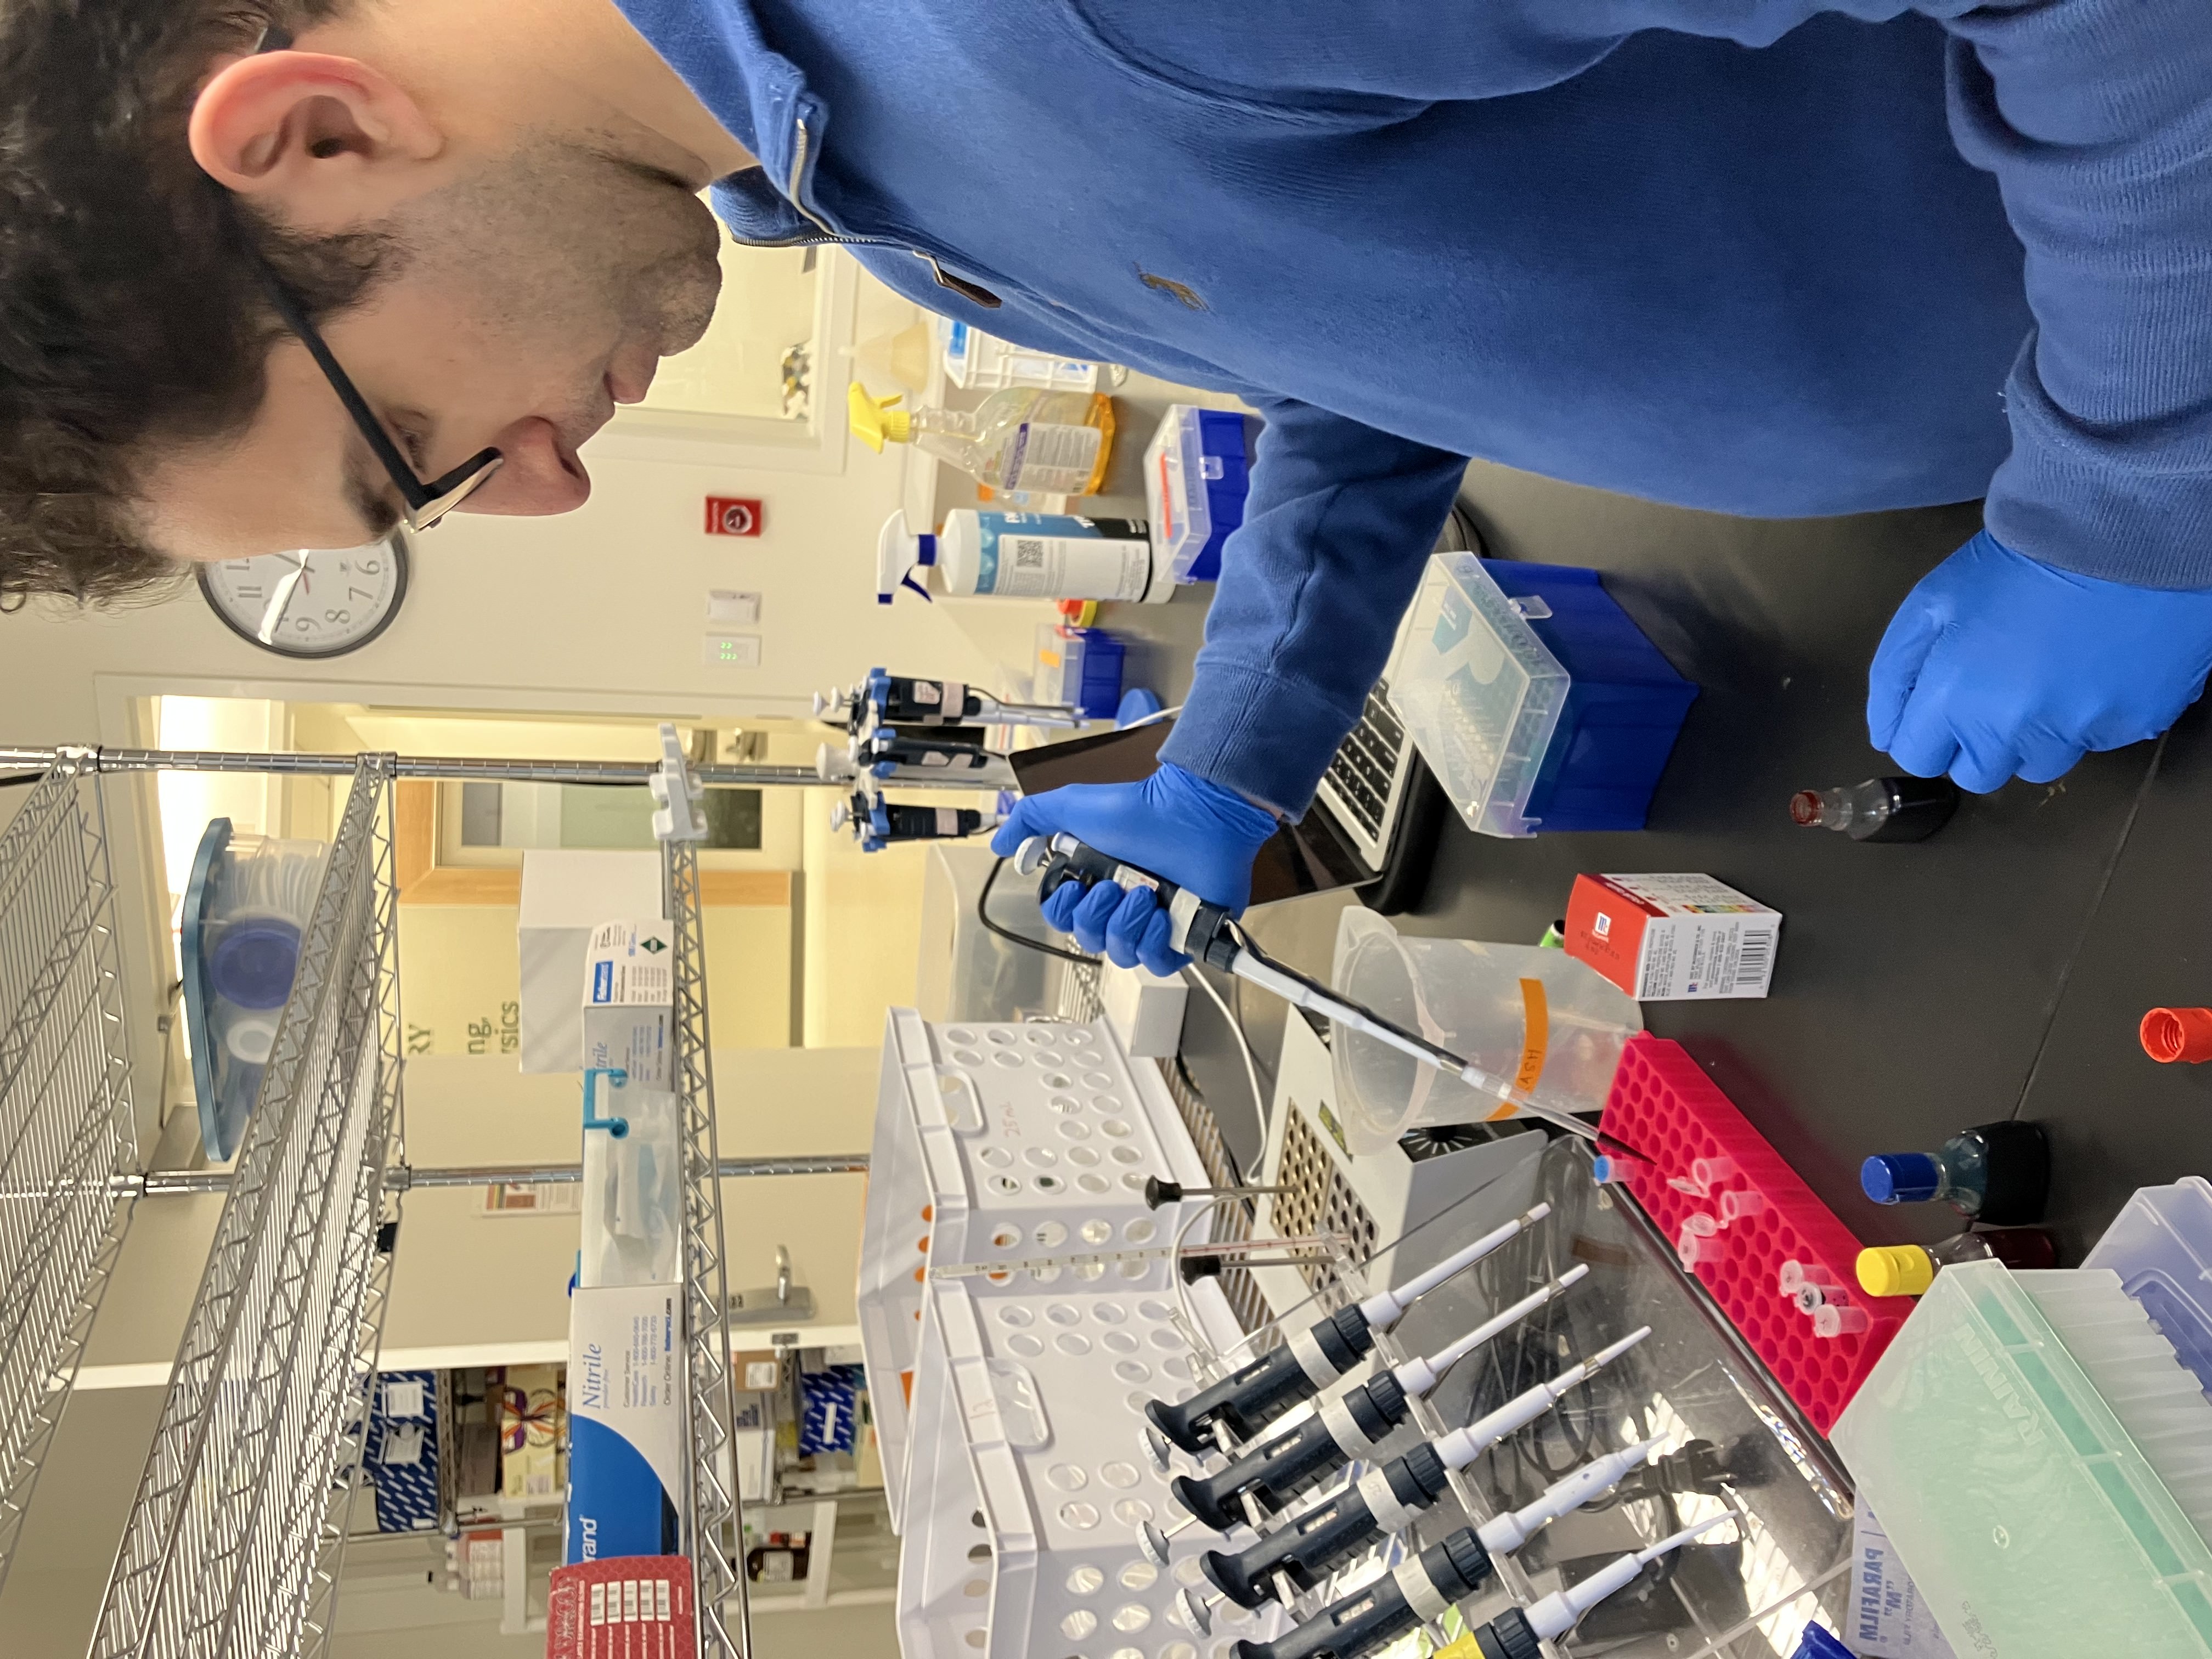
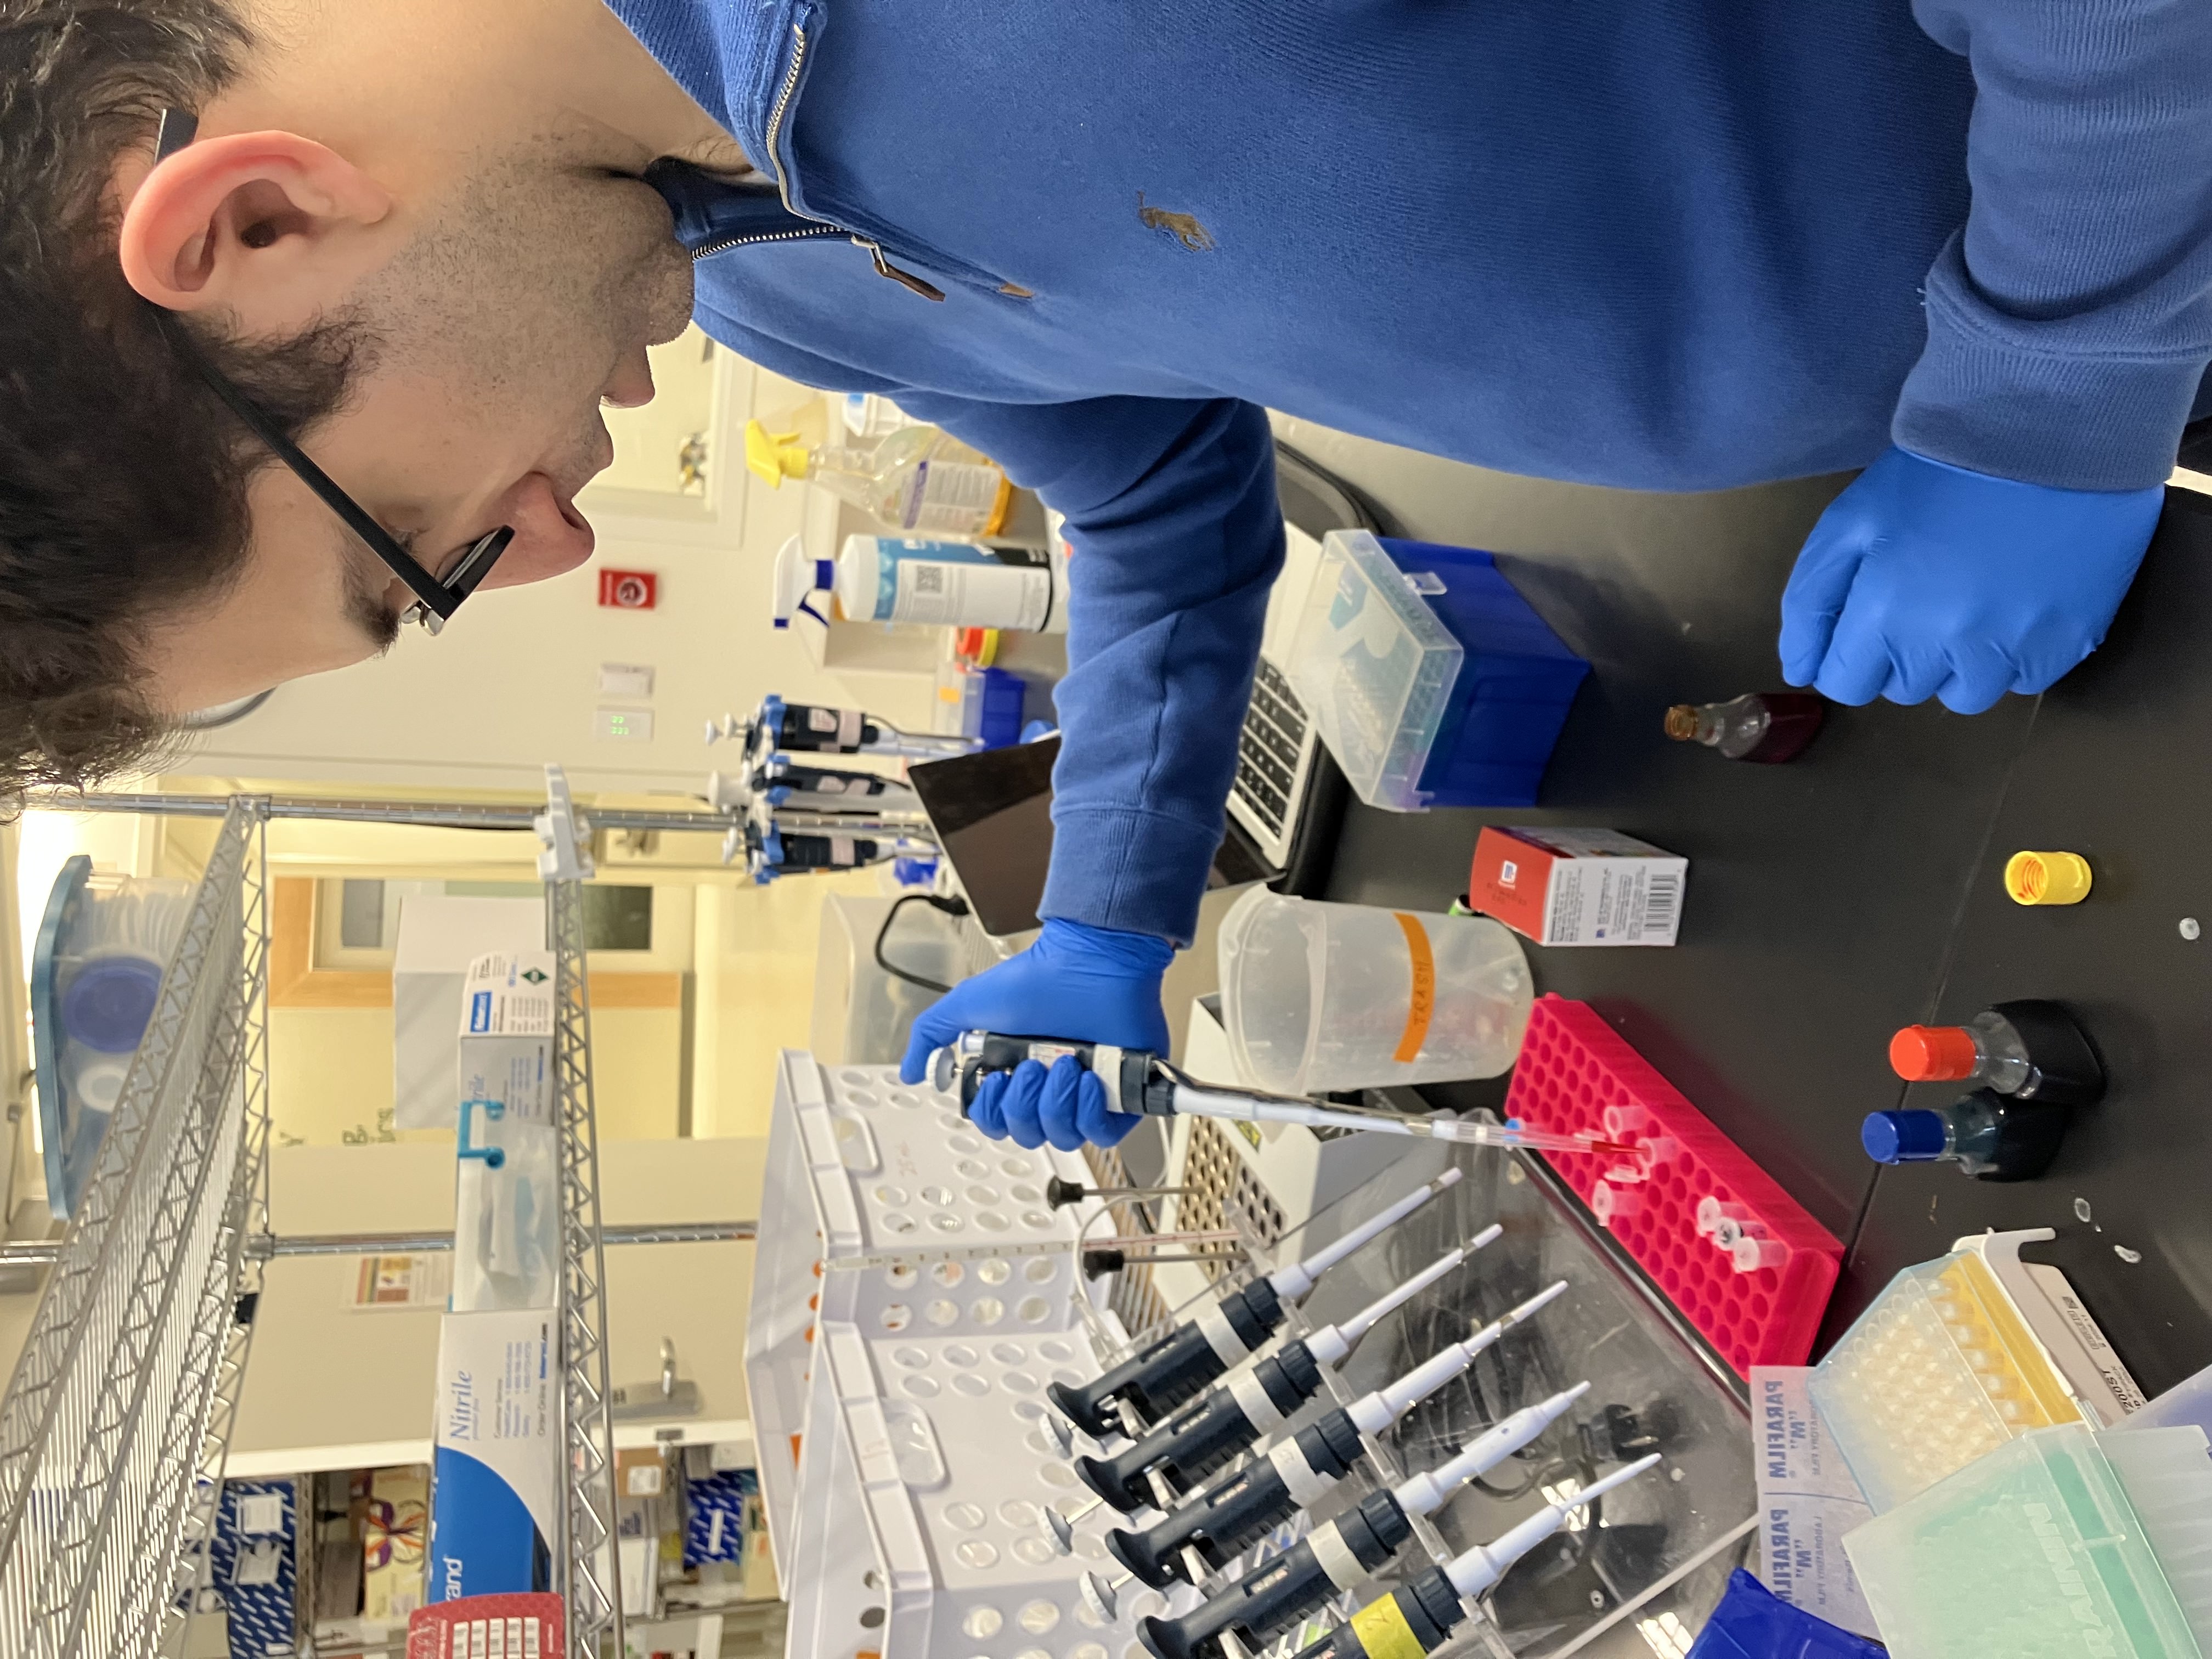
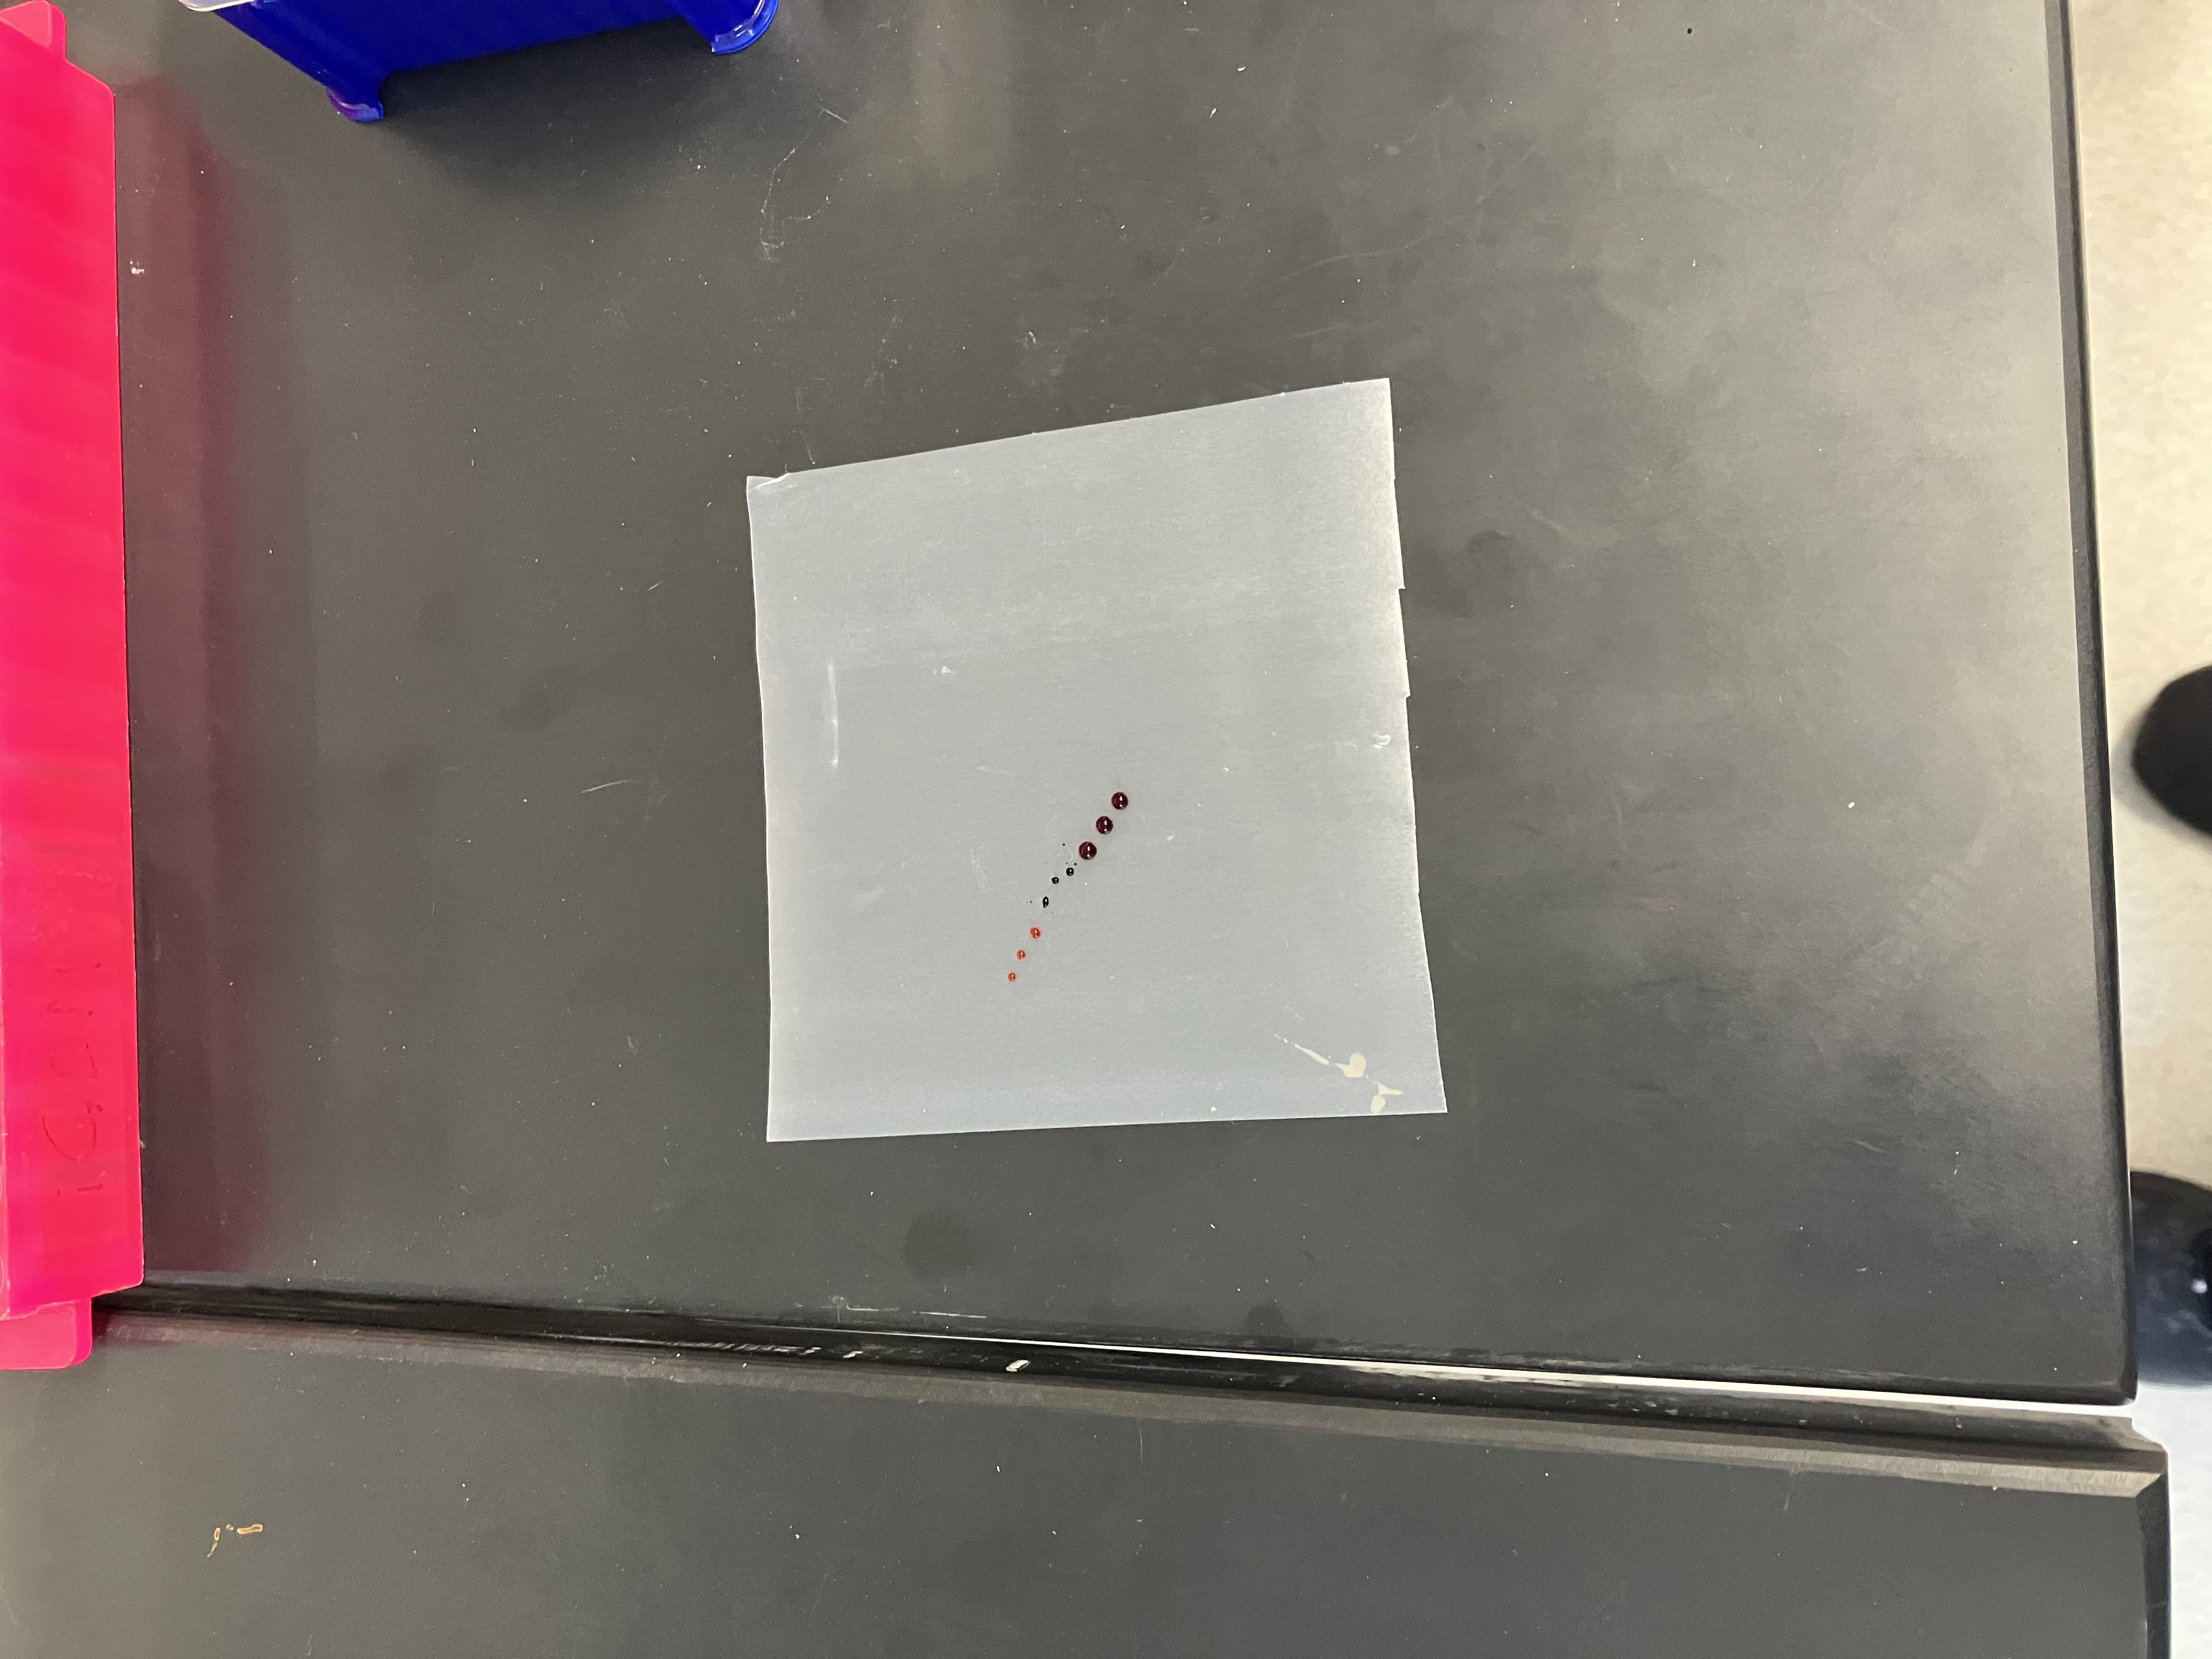
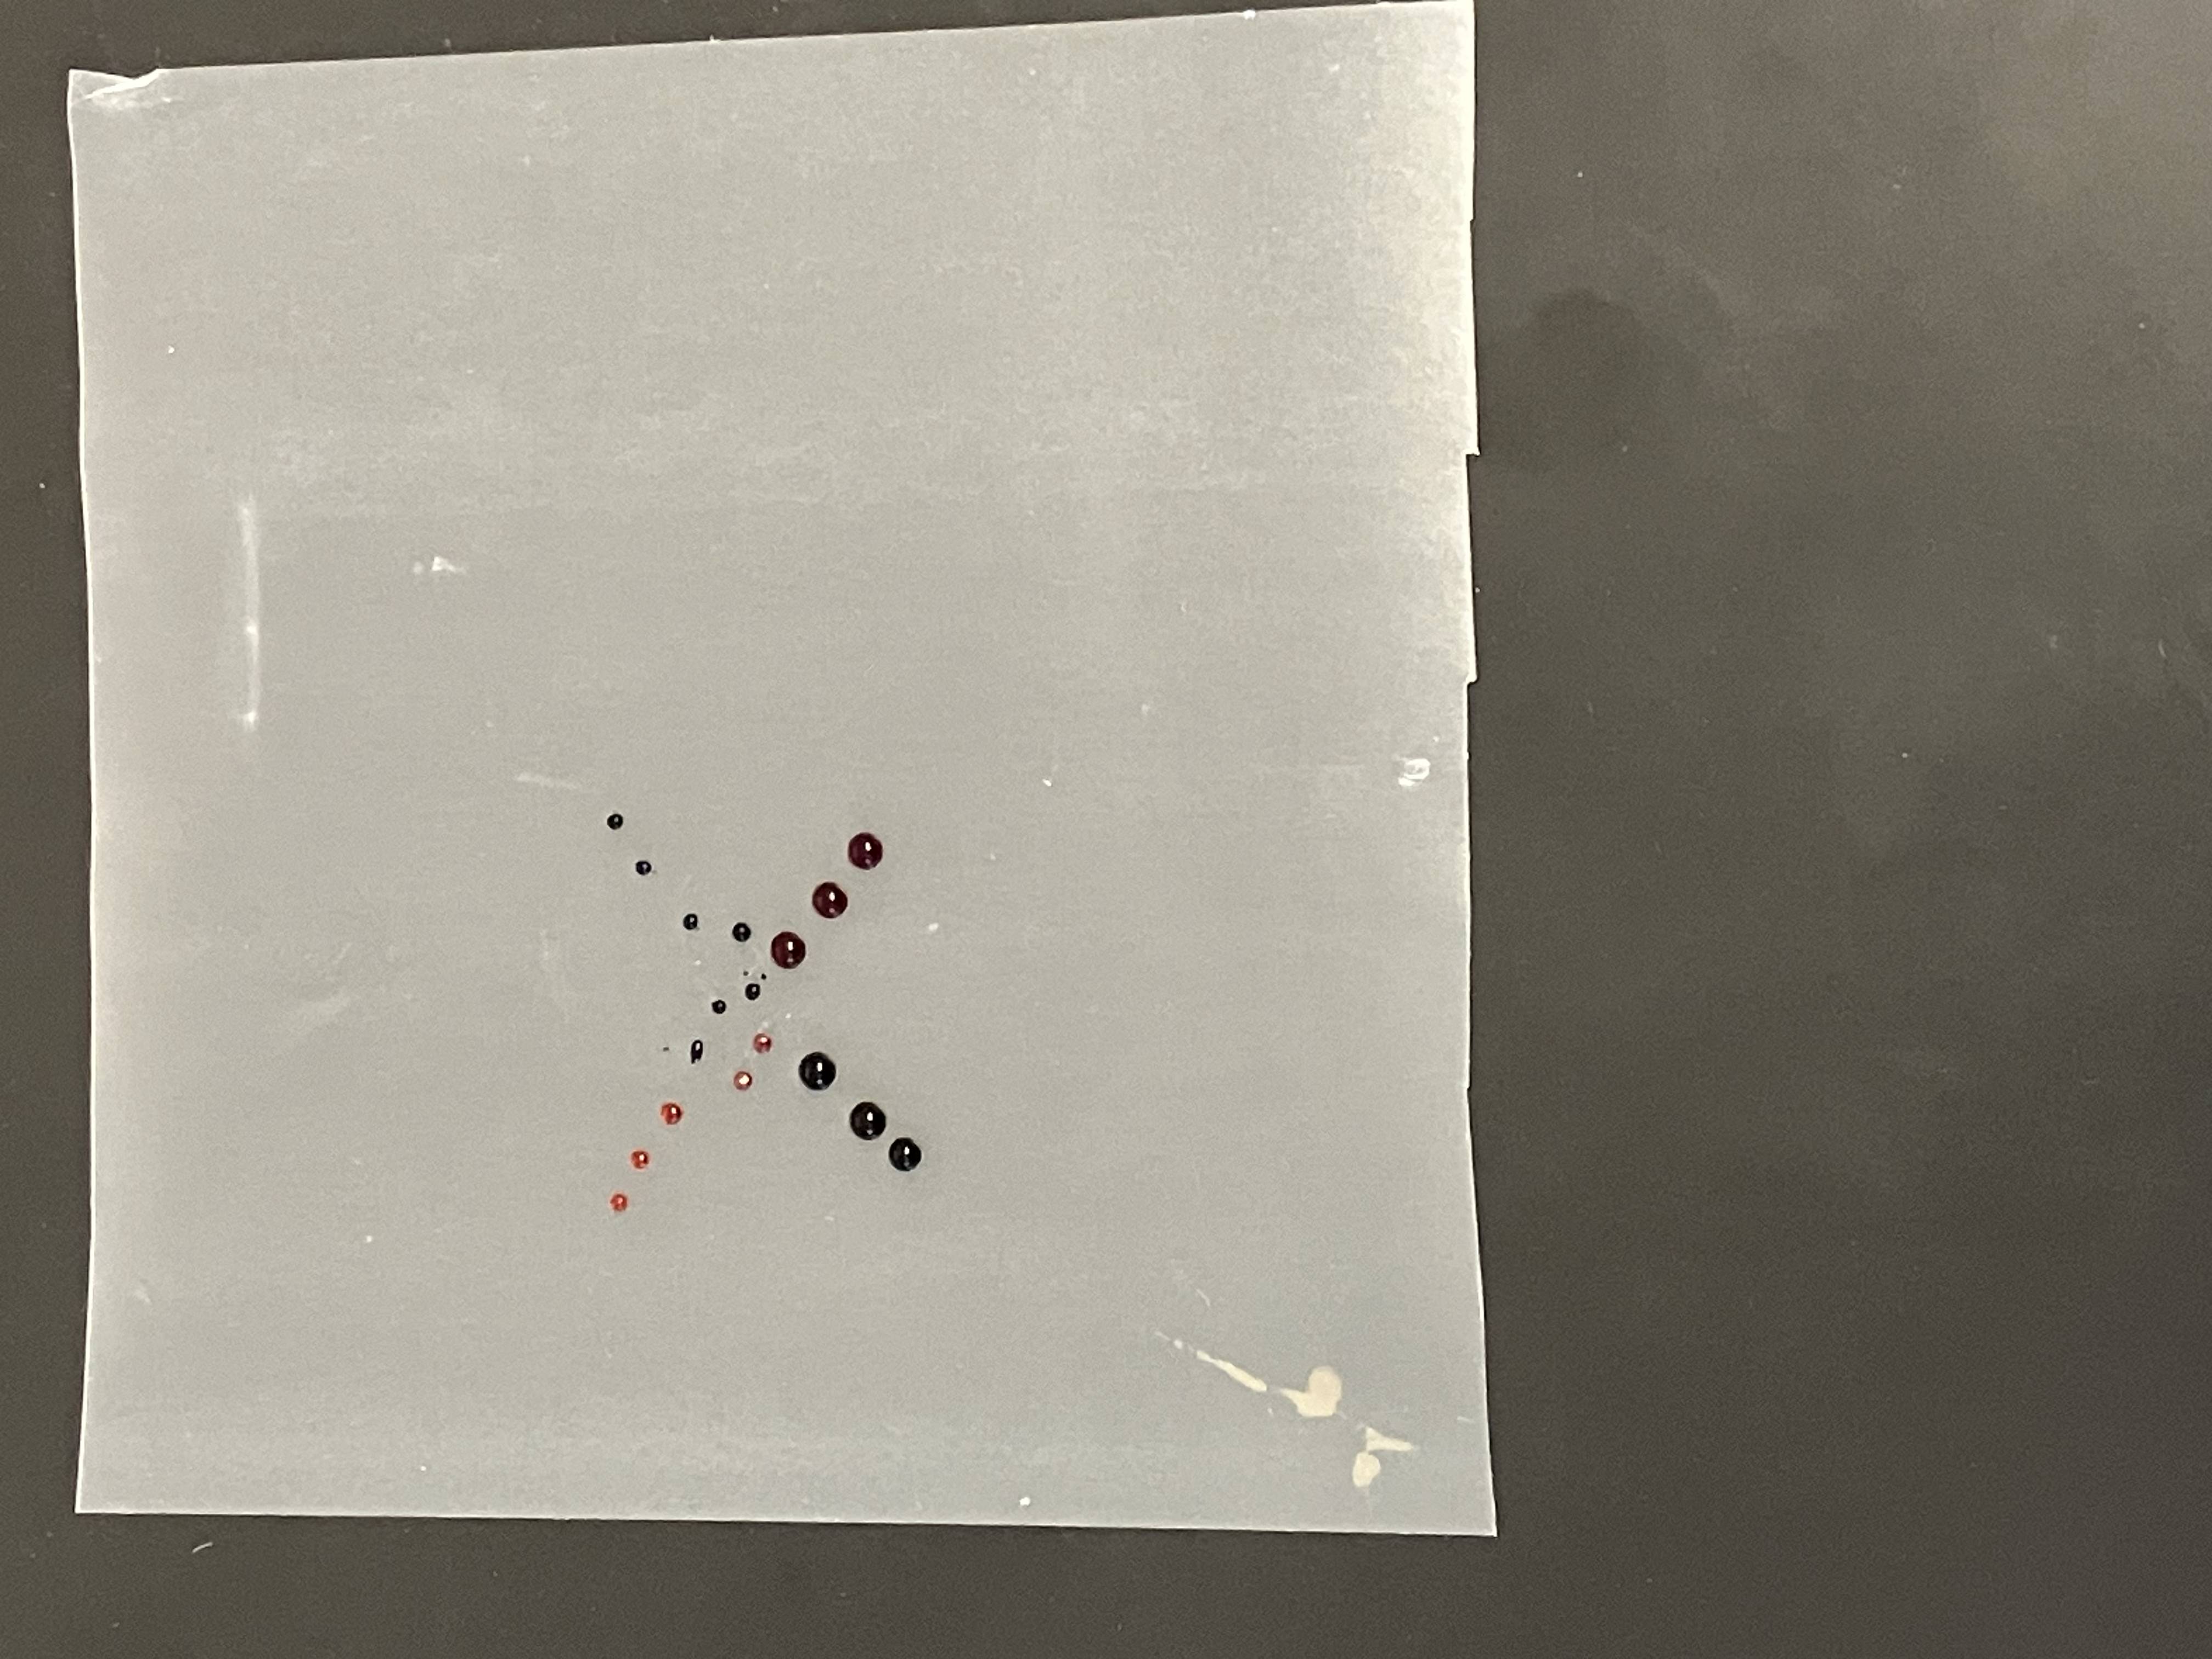
Overview Date(s): 03/02/26 – 03/03/26 Notes: Reviewed lab materials outlined in ‘Overview’ protocol section (pipette types and tips, tubes, tube holders, and stock reagents) and concentration basics with Kate Carline (William & Mary Node TA). Discussed lab material functions and reviewed the basics of dilution math and pipetting technique. Supporting Picture(s): Part 1: Mixing Color Prepared tubes with red, yellow, and blue food coloring solution Marked 6 tubes with red, yellow, blue, red/yellow, blue/yellow, and red/blue combinations Added 500 uL to each each red, yellow, blue, red/yellow, blue/yellow, and red/blue combination solution tube See above – made combinations by mixing colors See above See above Dispersed concentrations onto wax paper to make design in lieu of petri plate Supporting Part 1 and Part 2 photos below
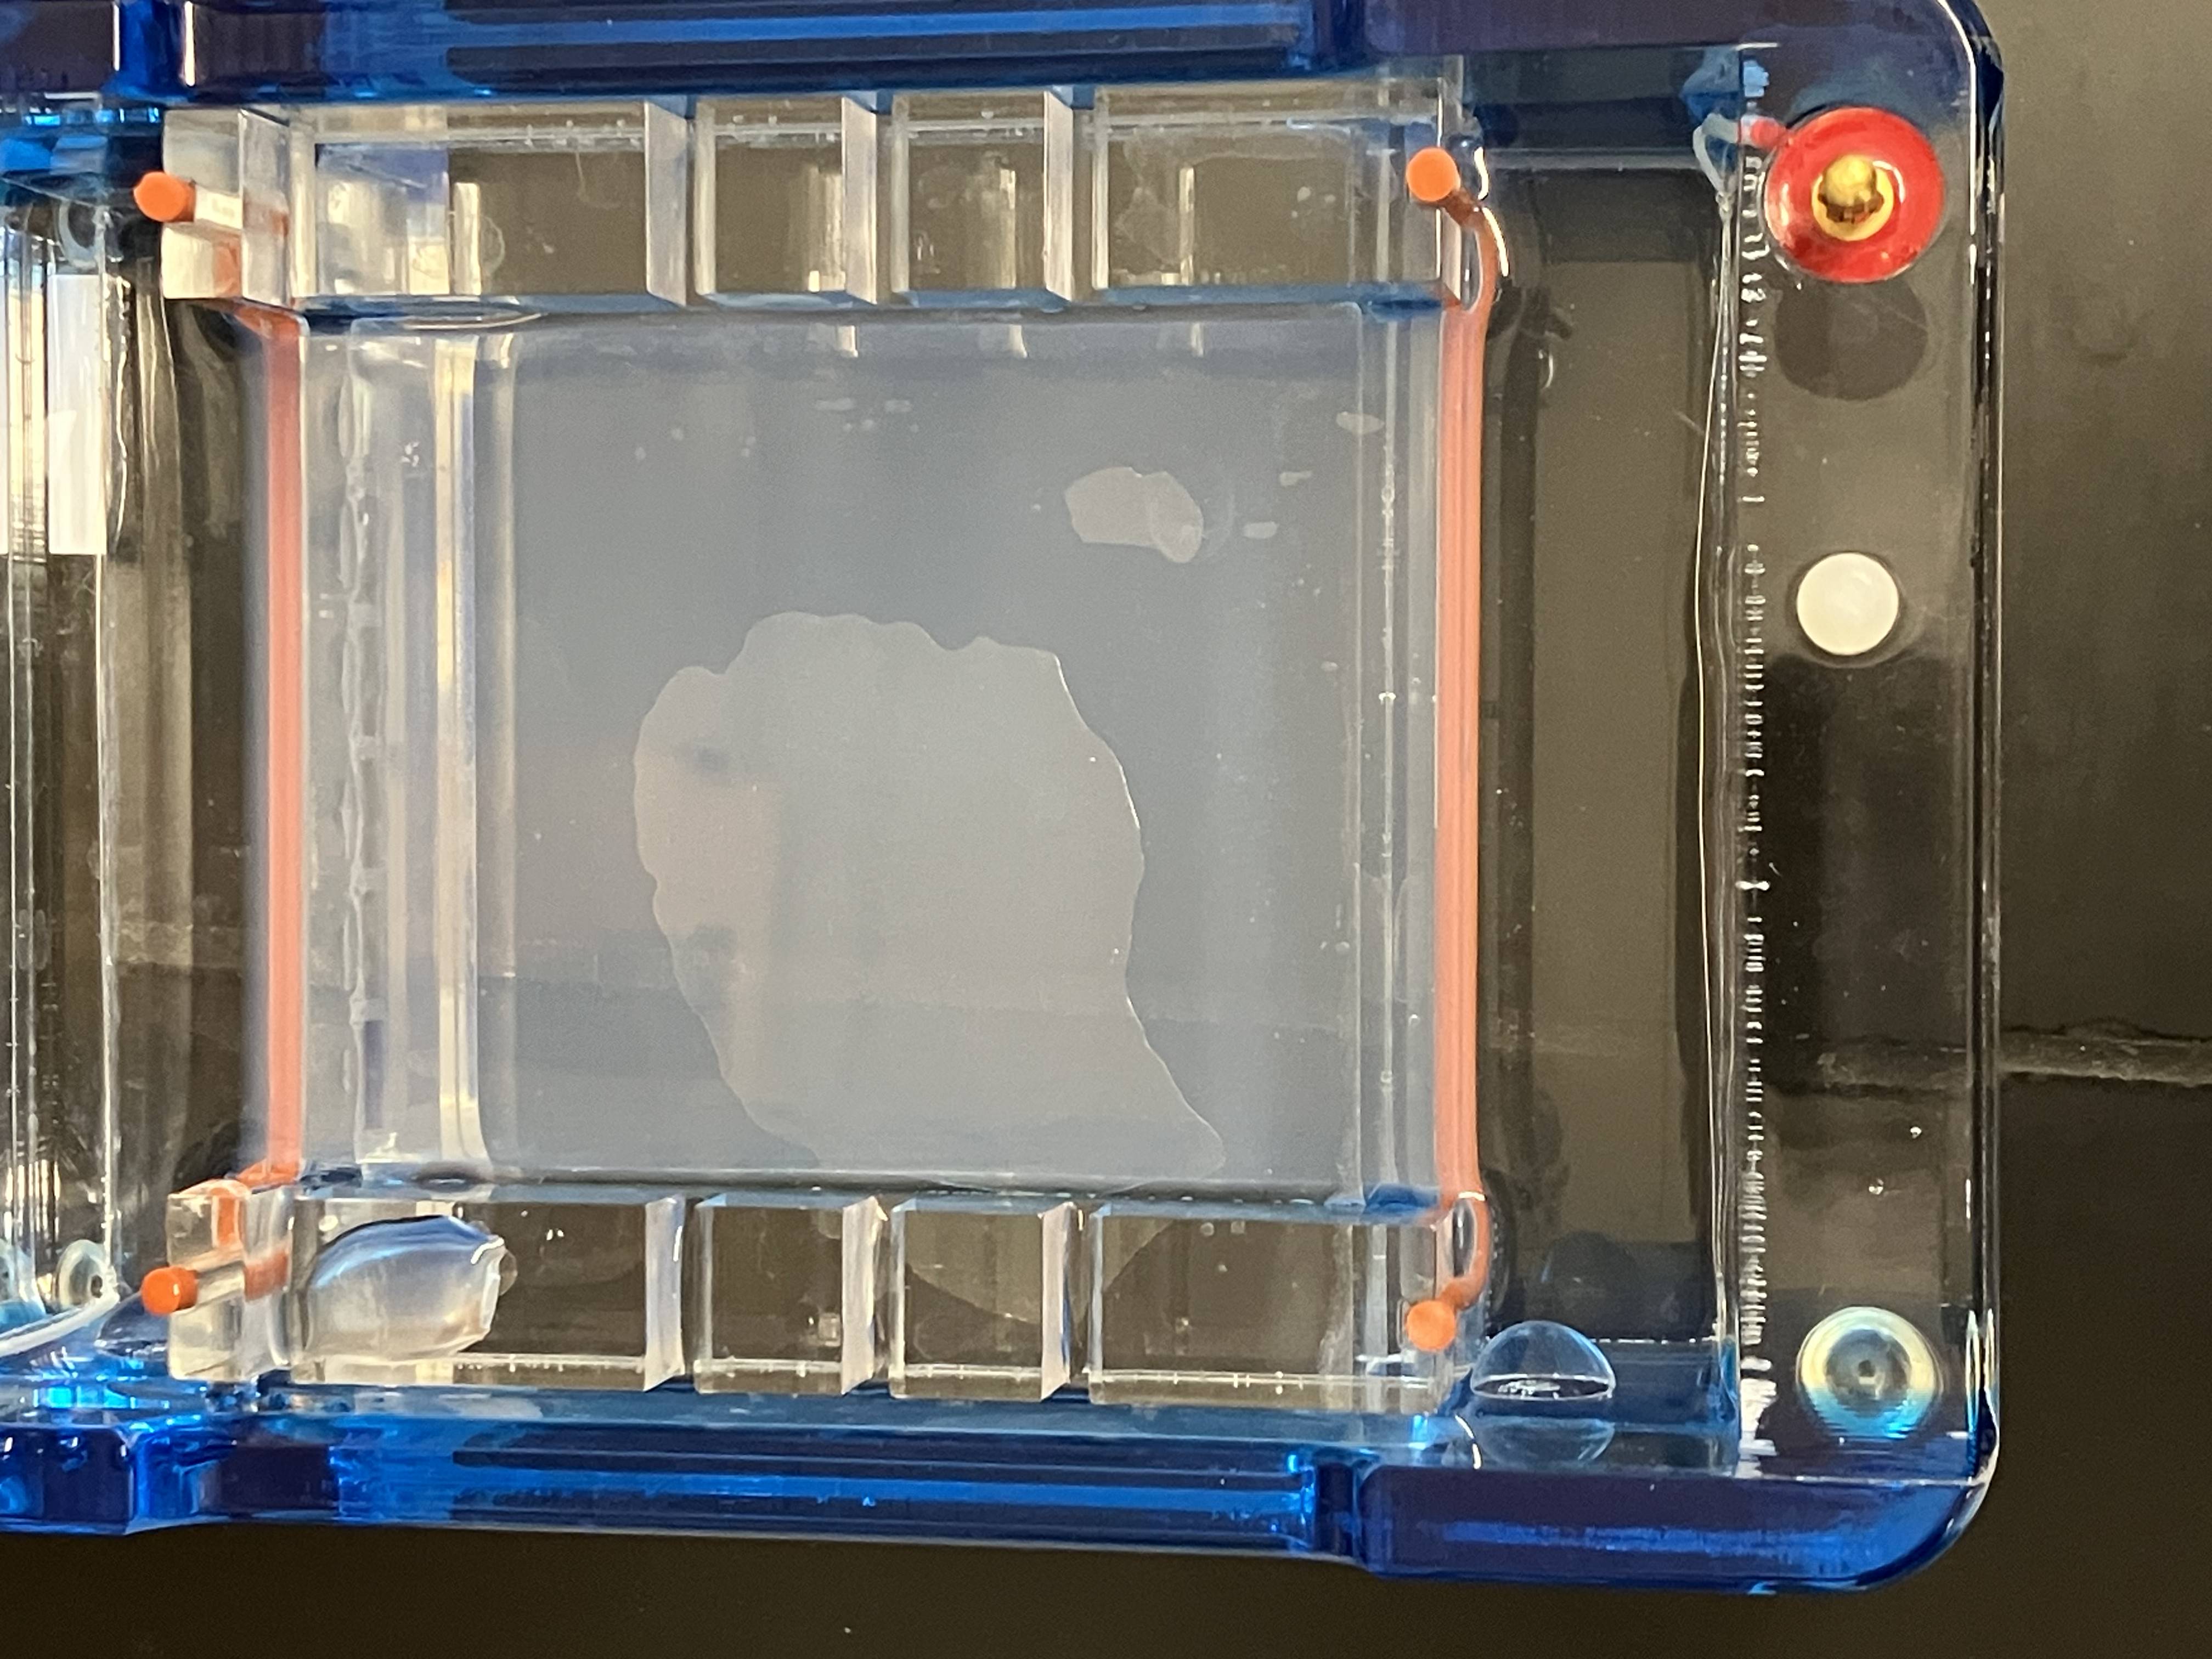
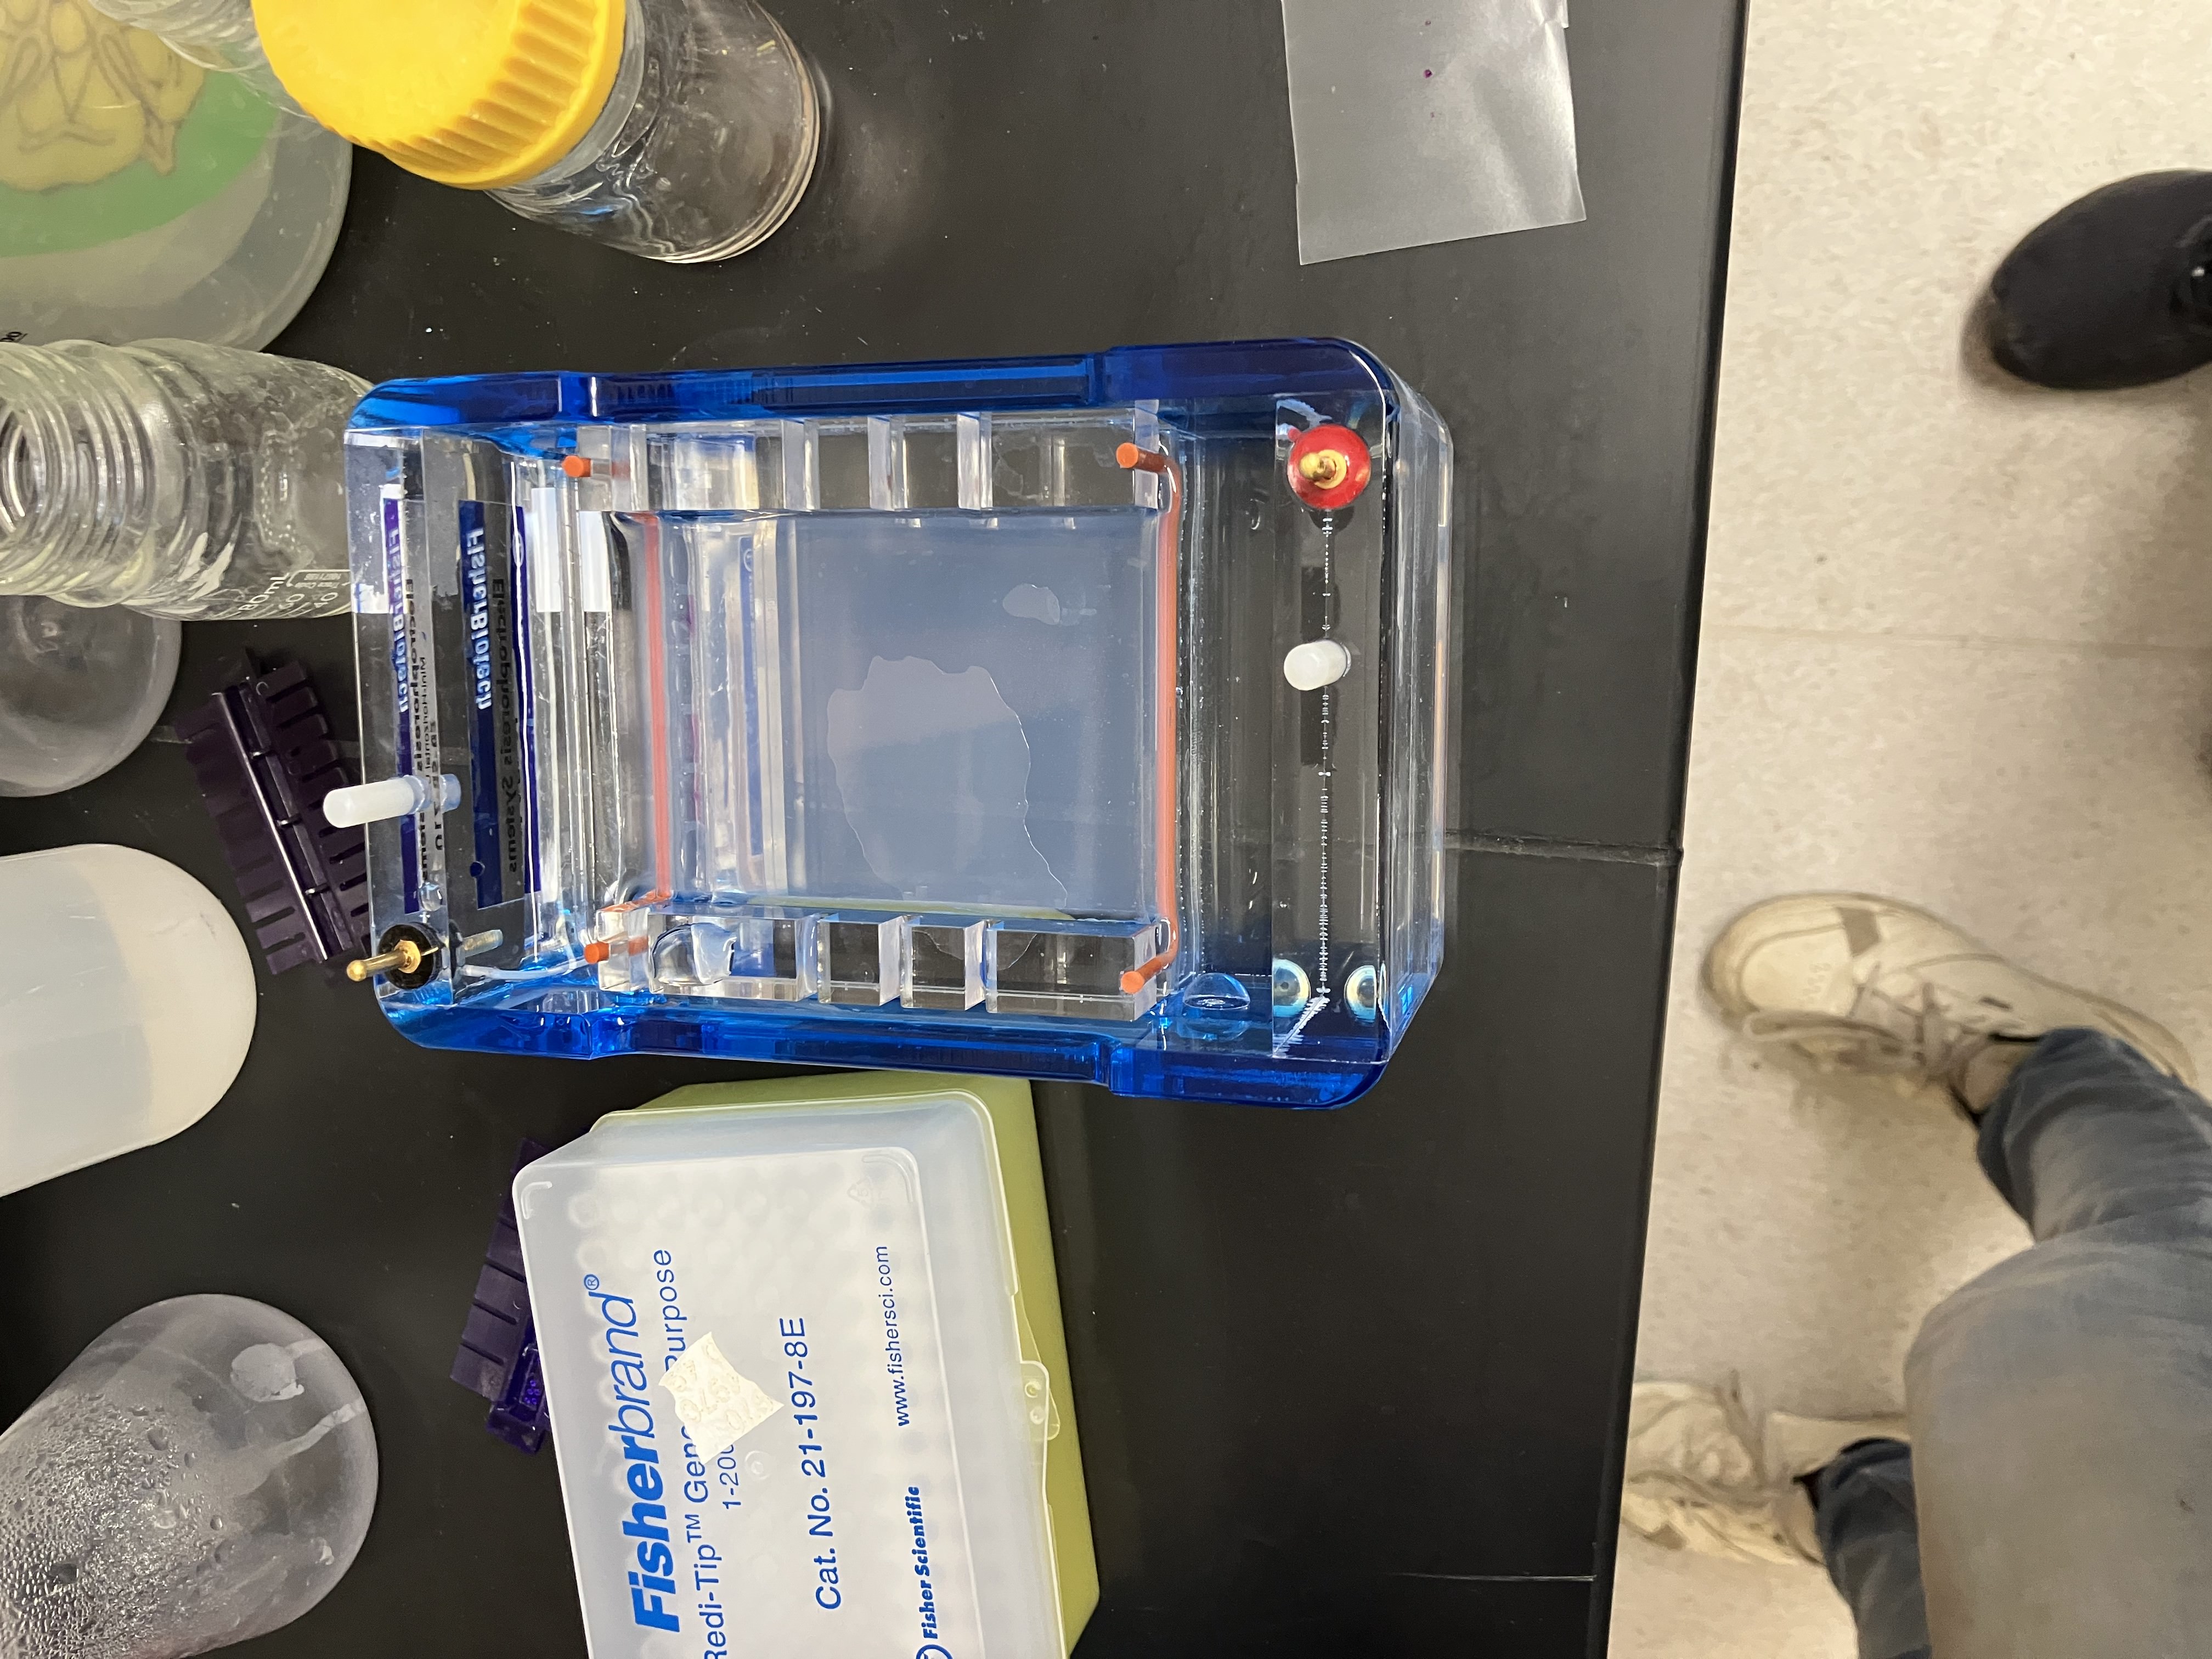
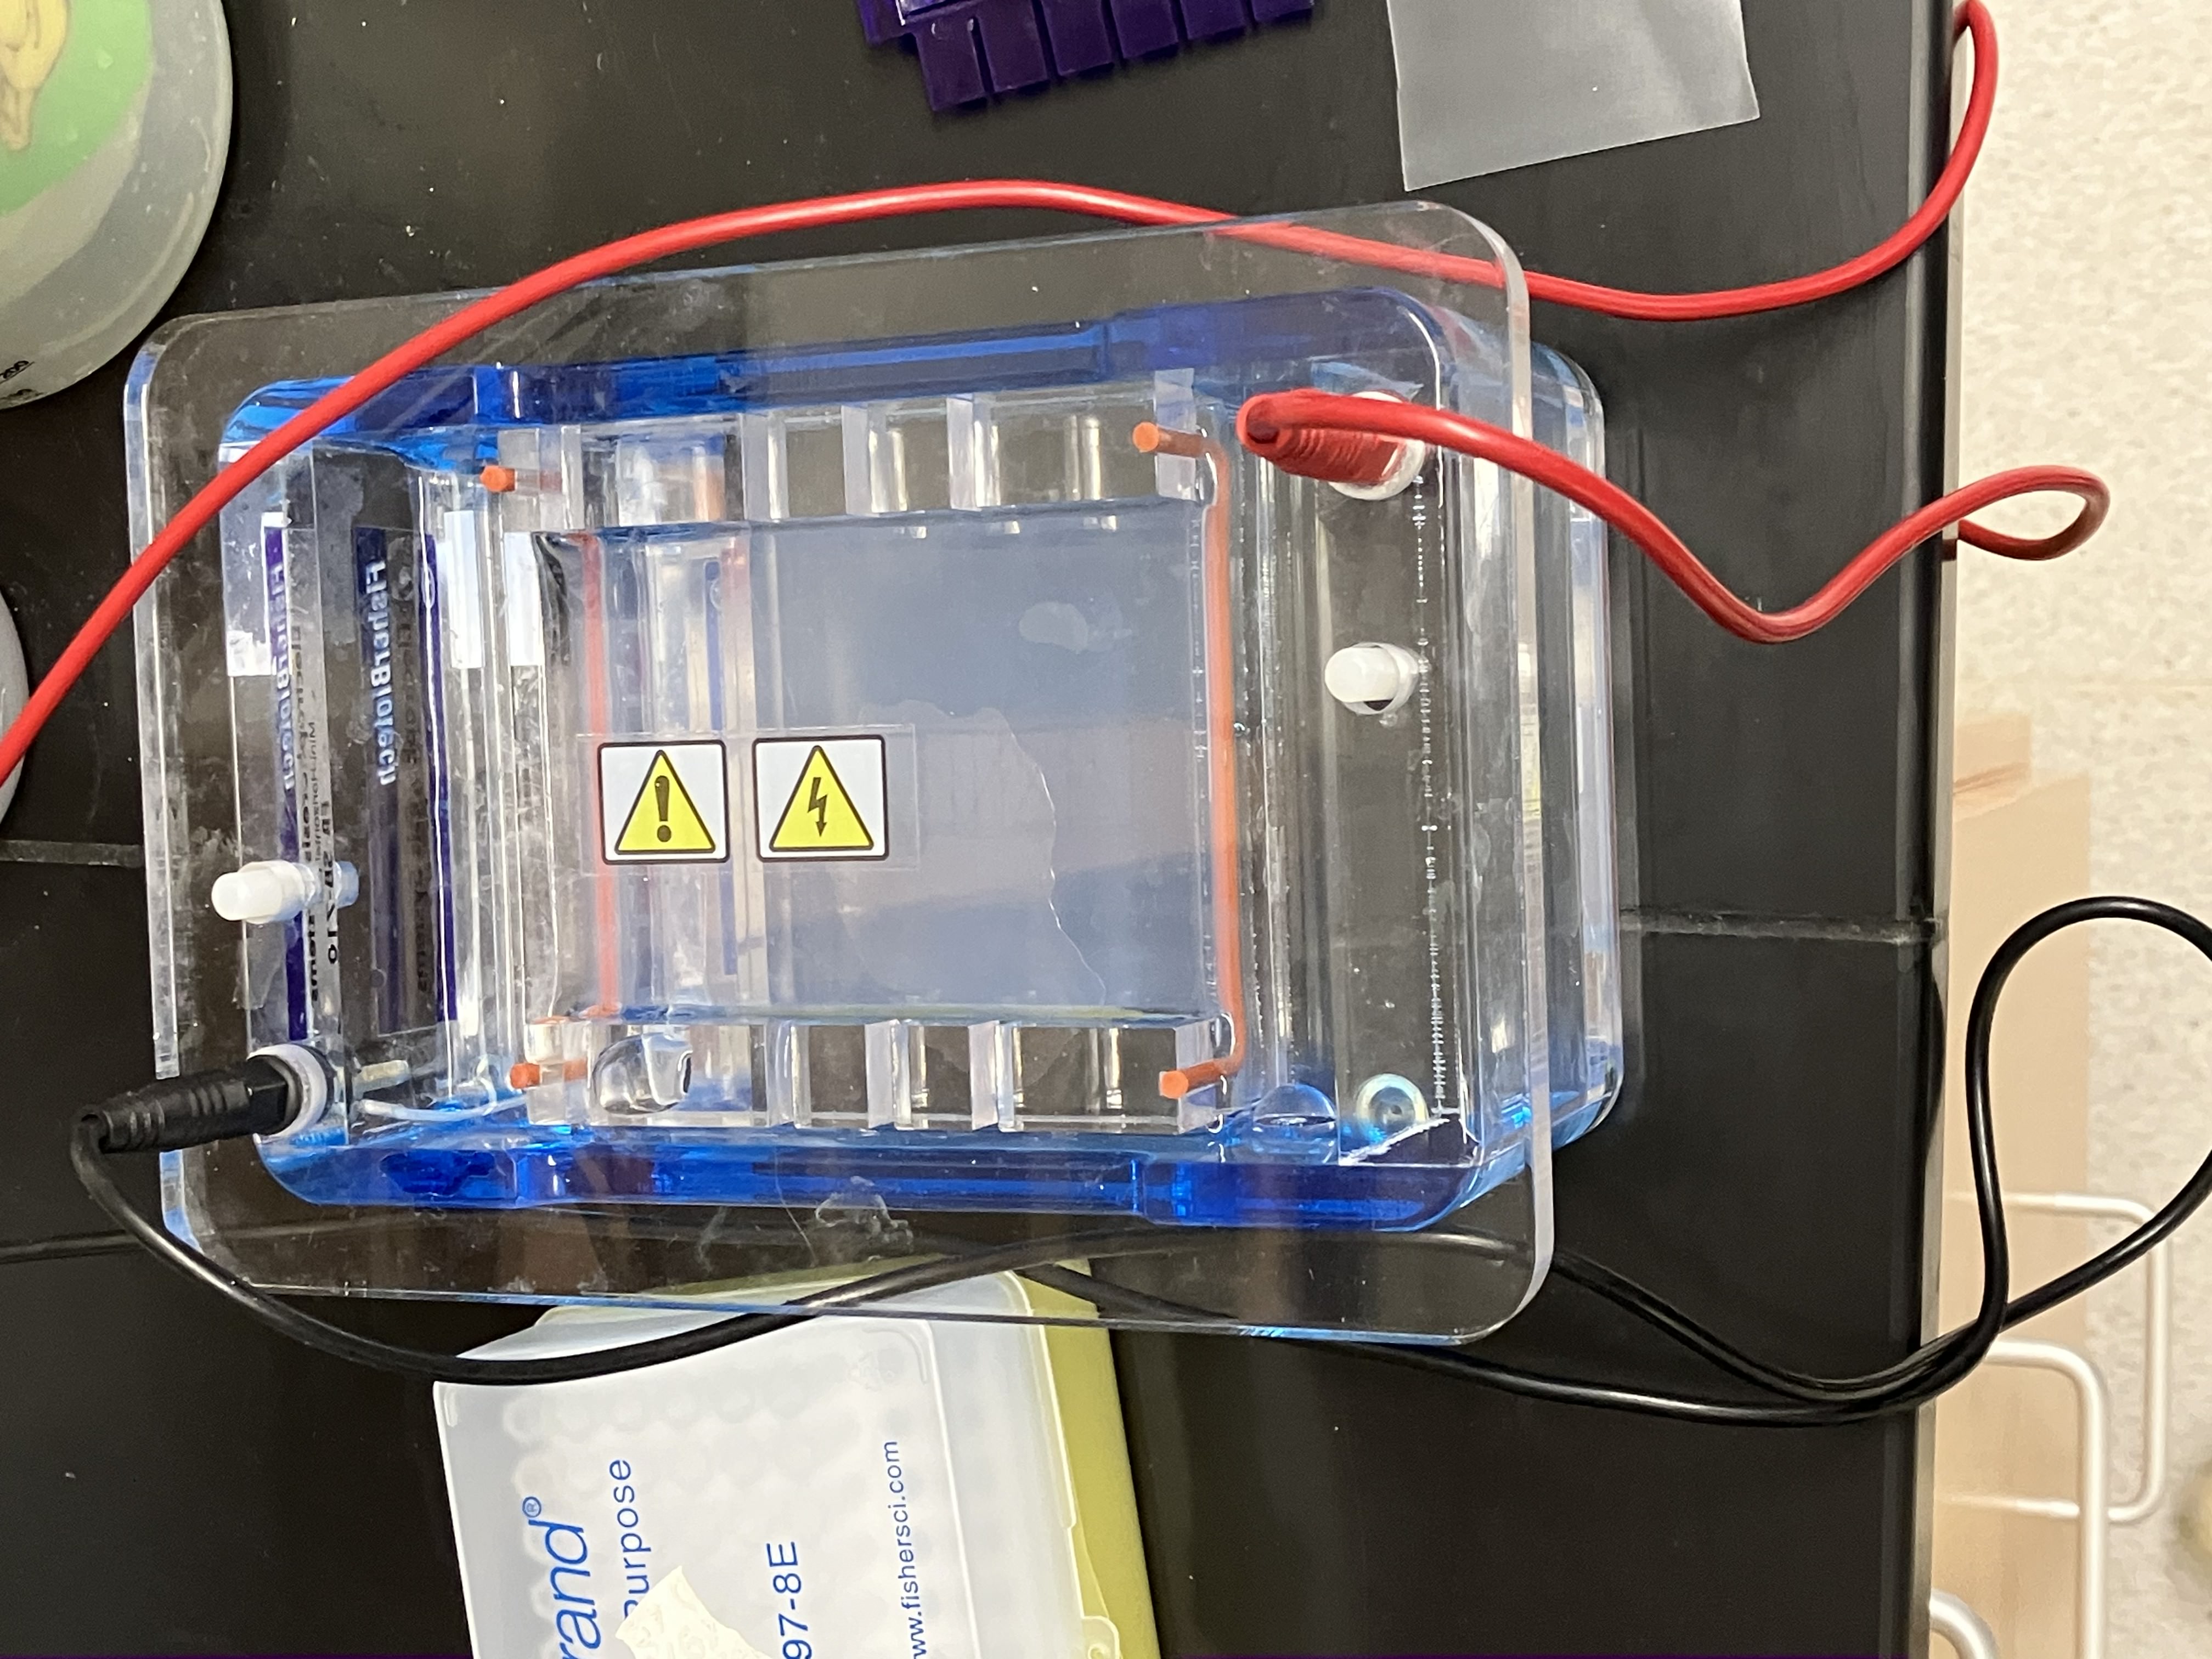
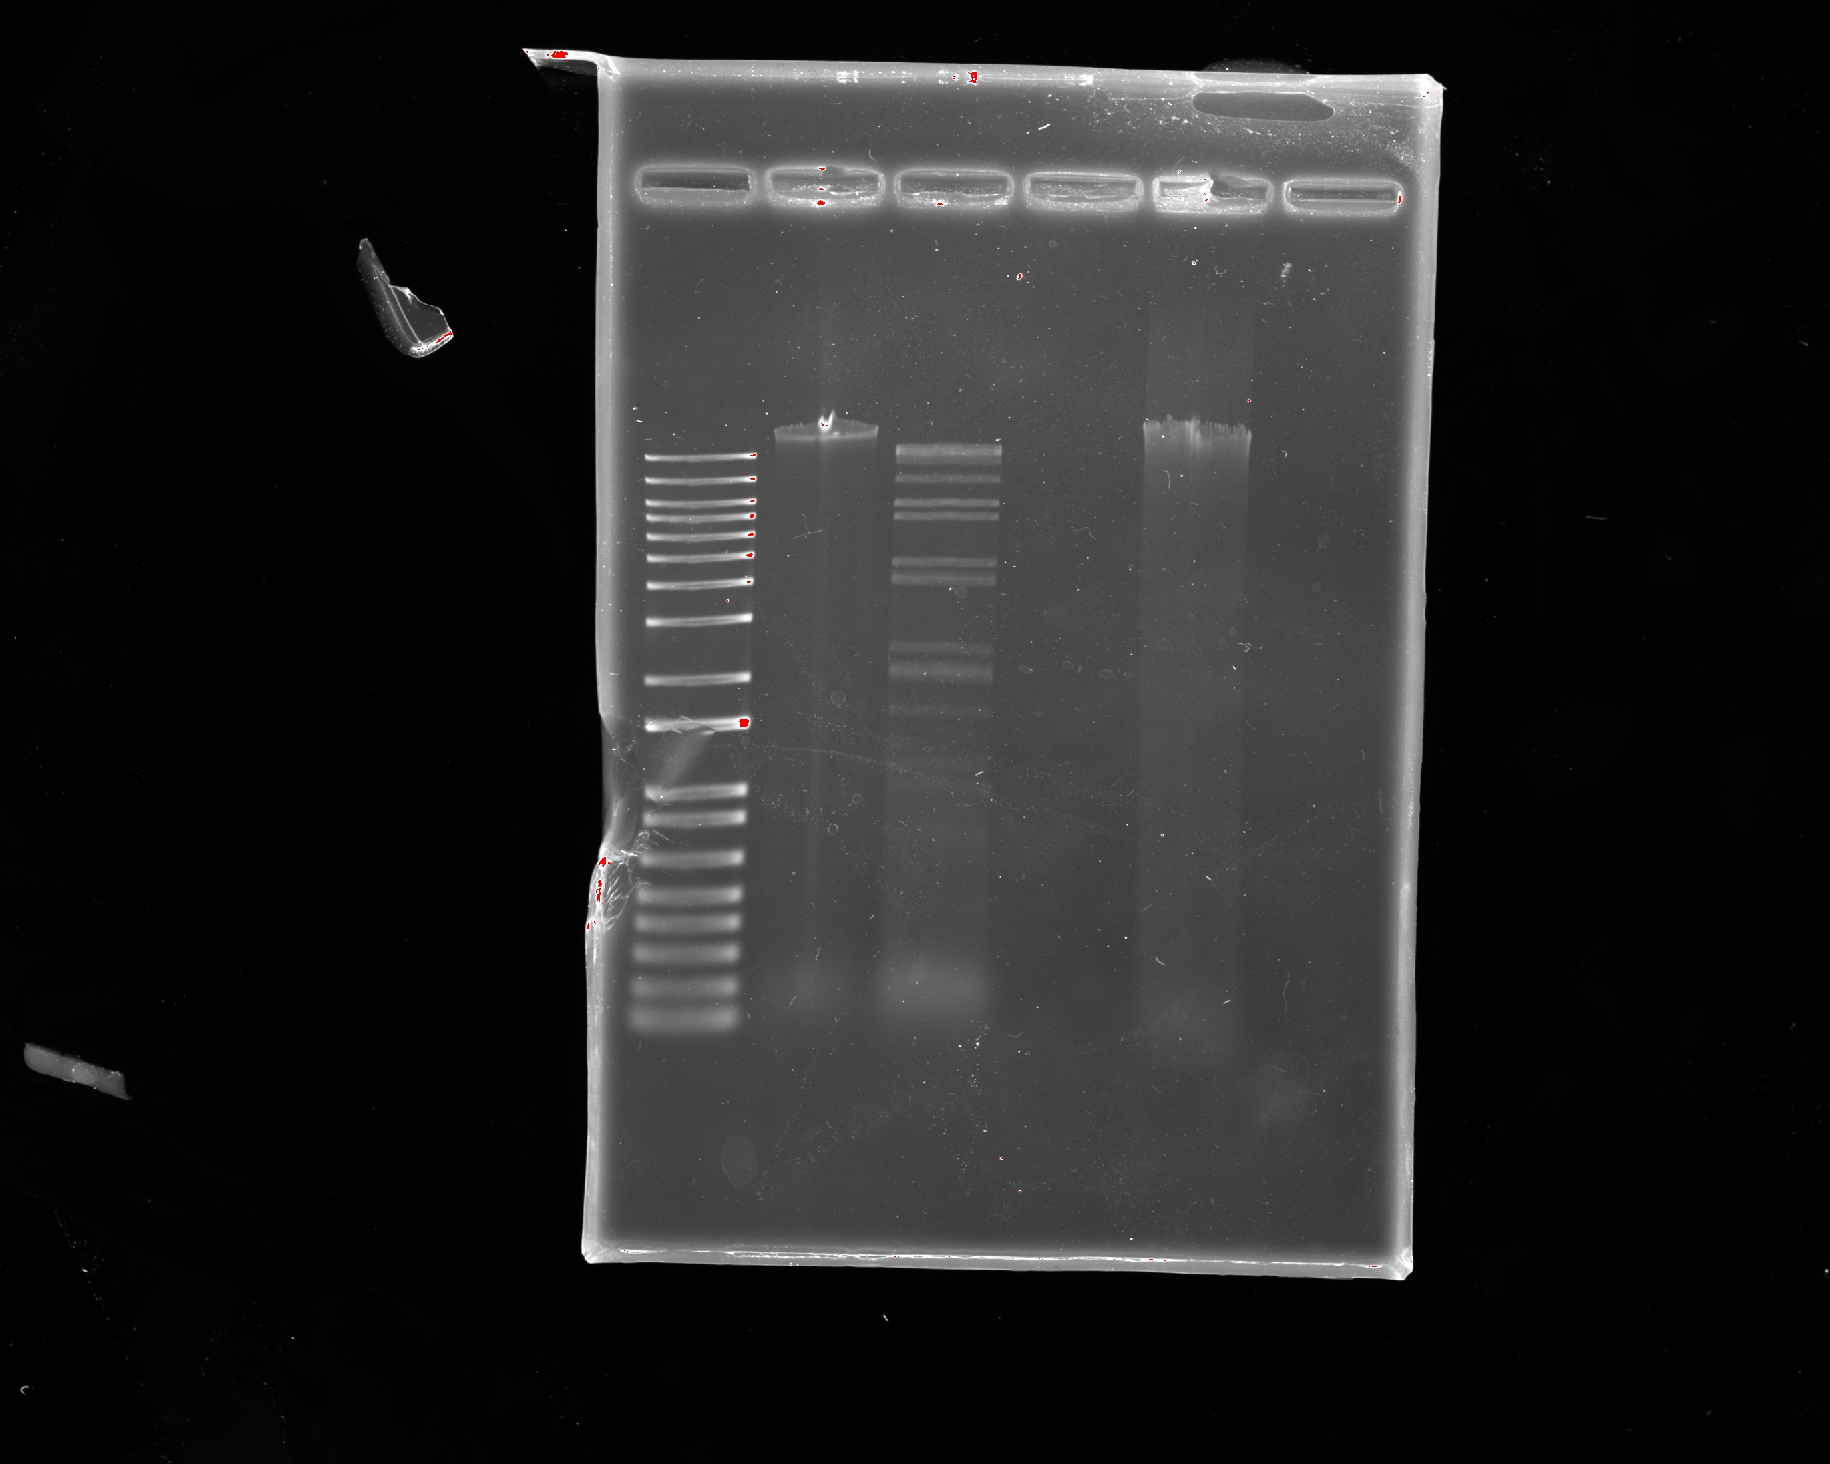
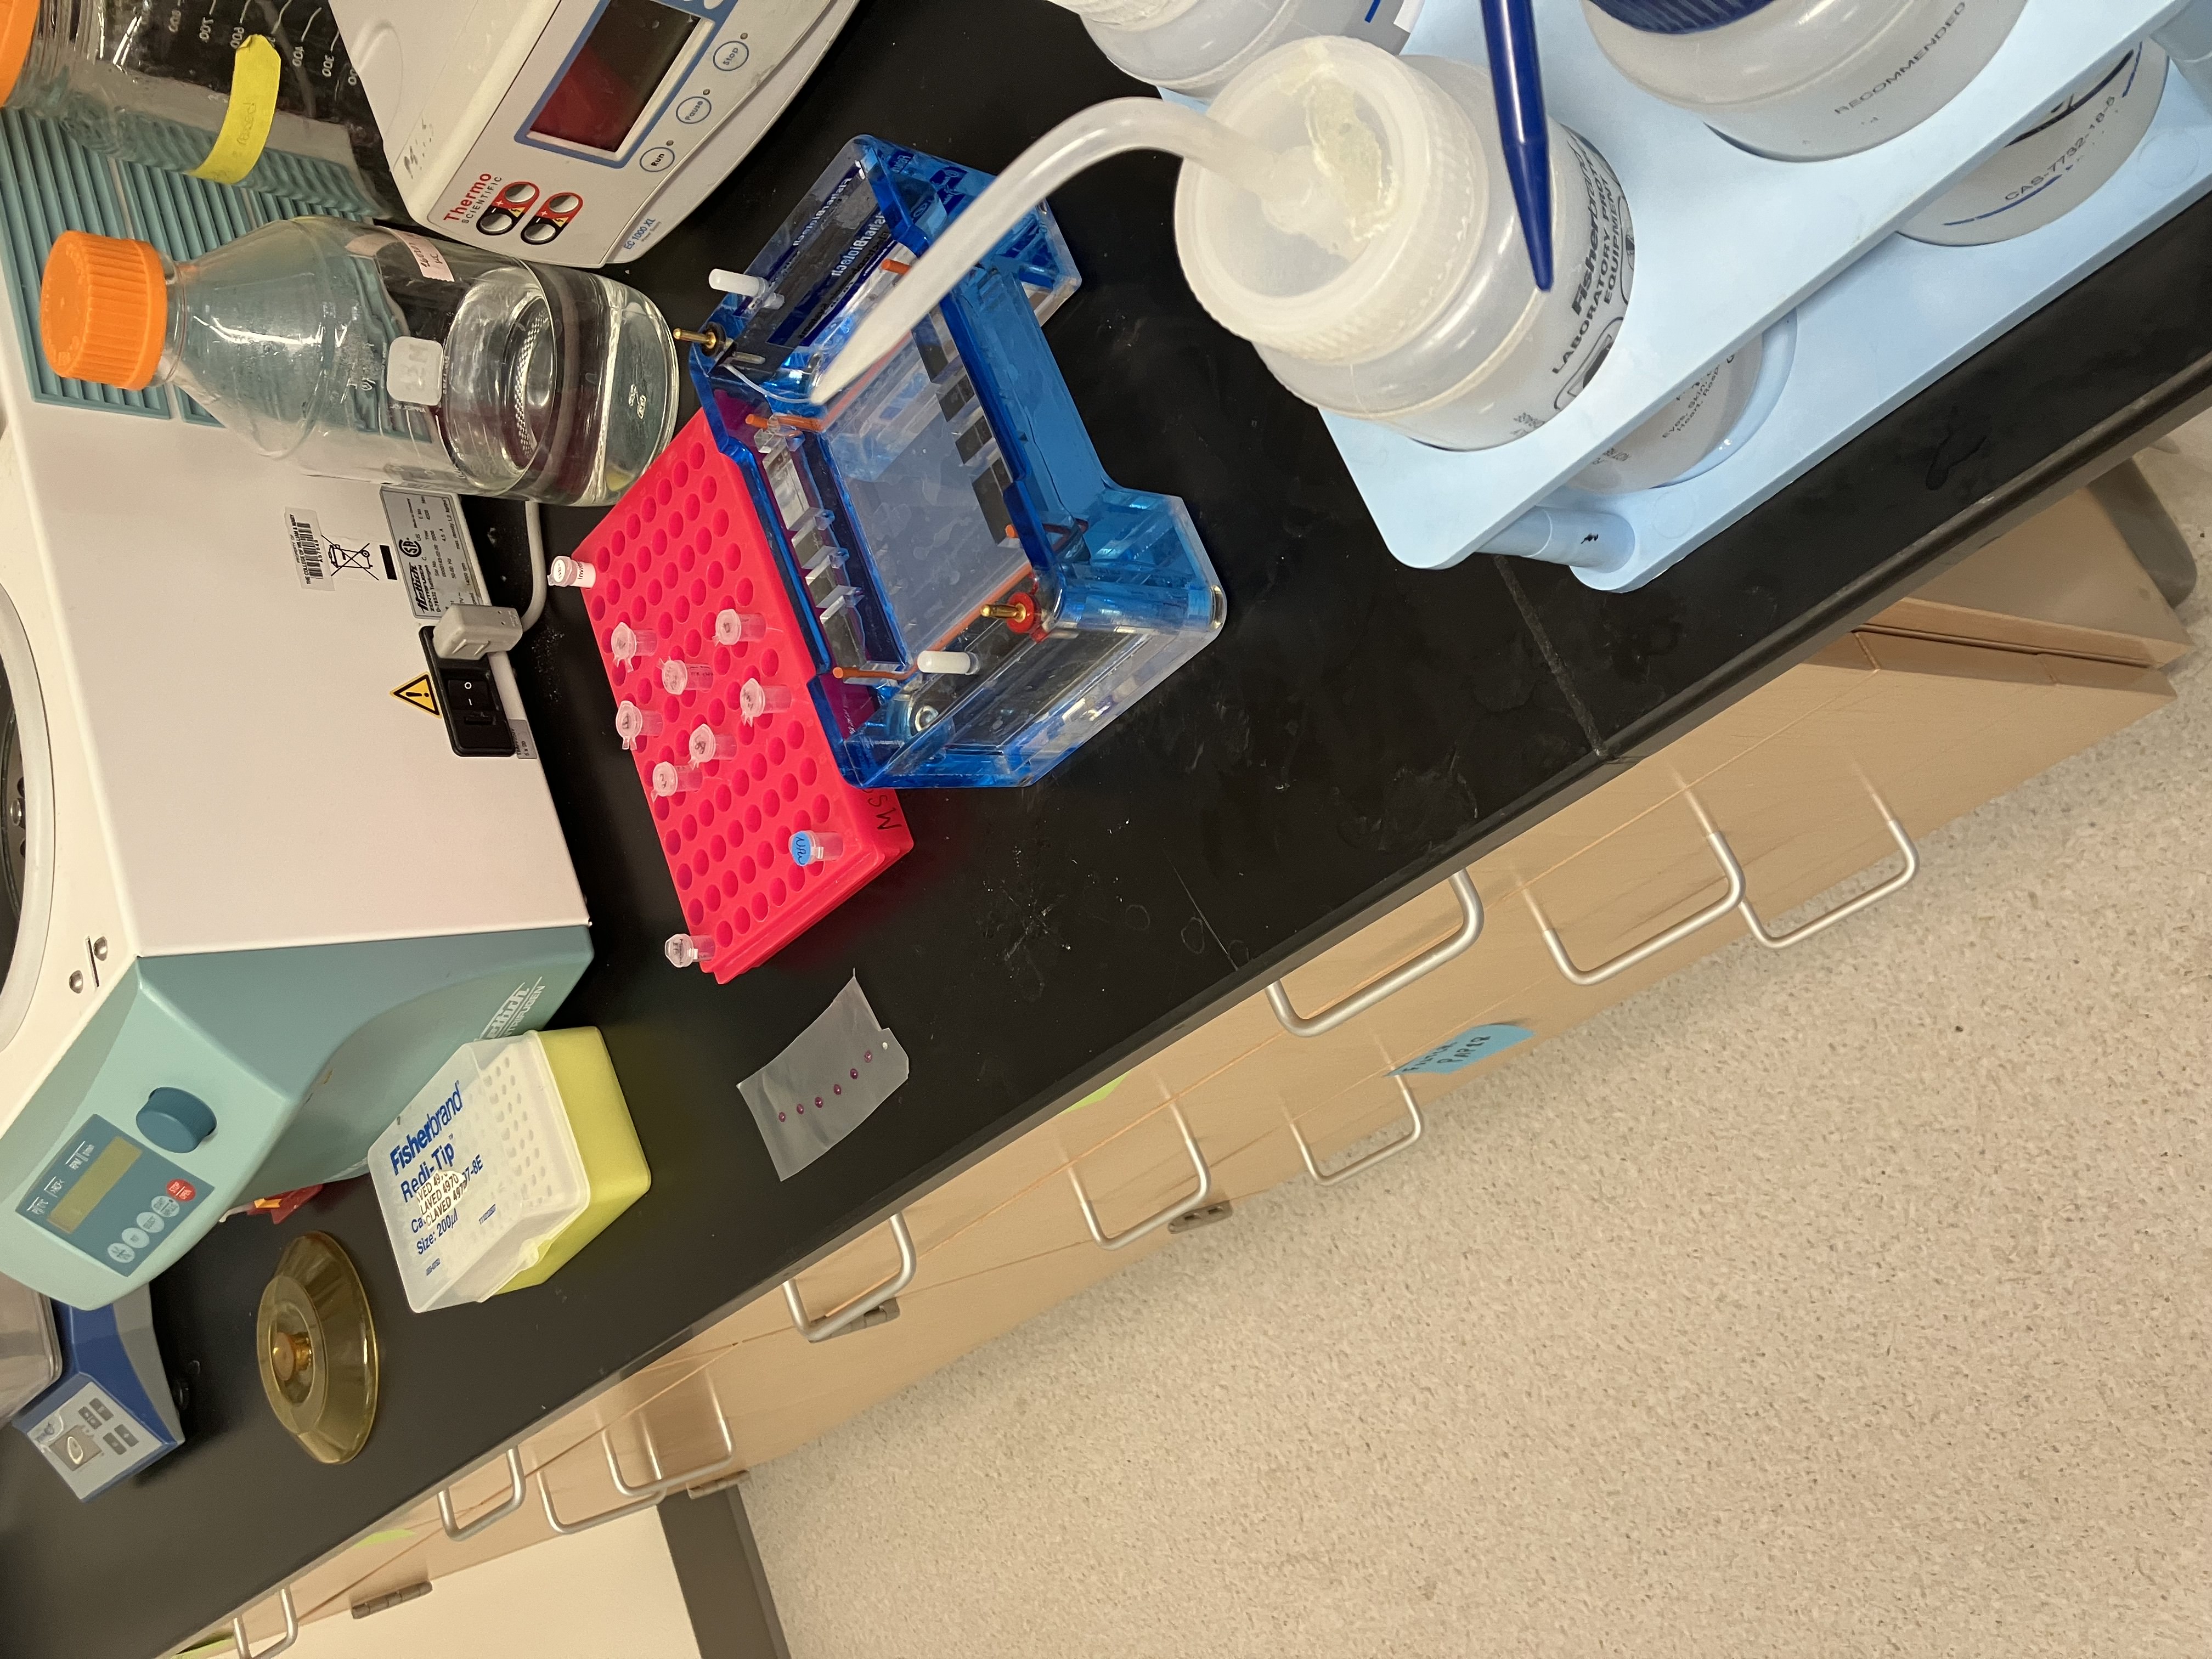
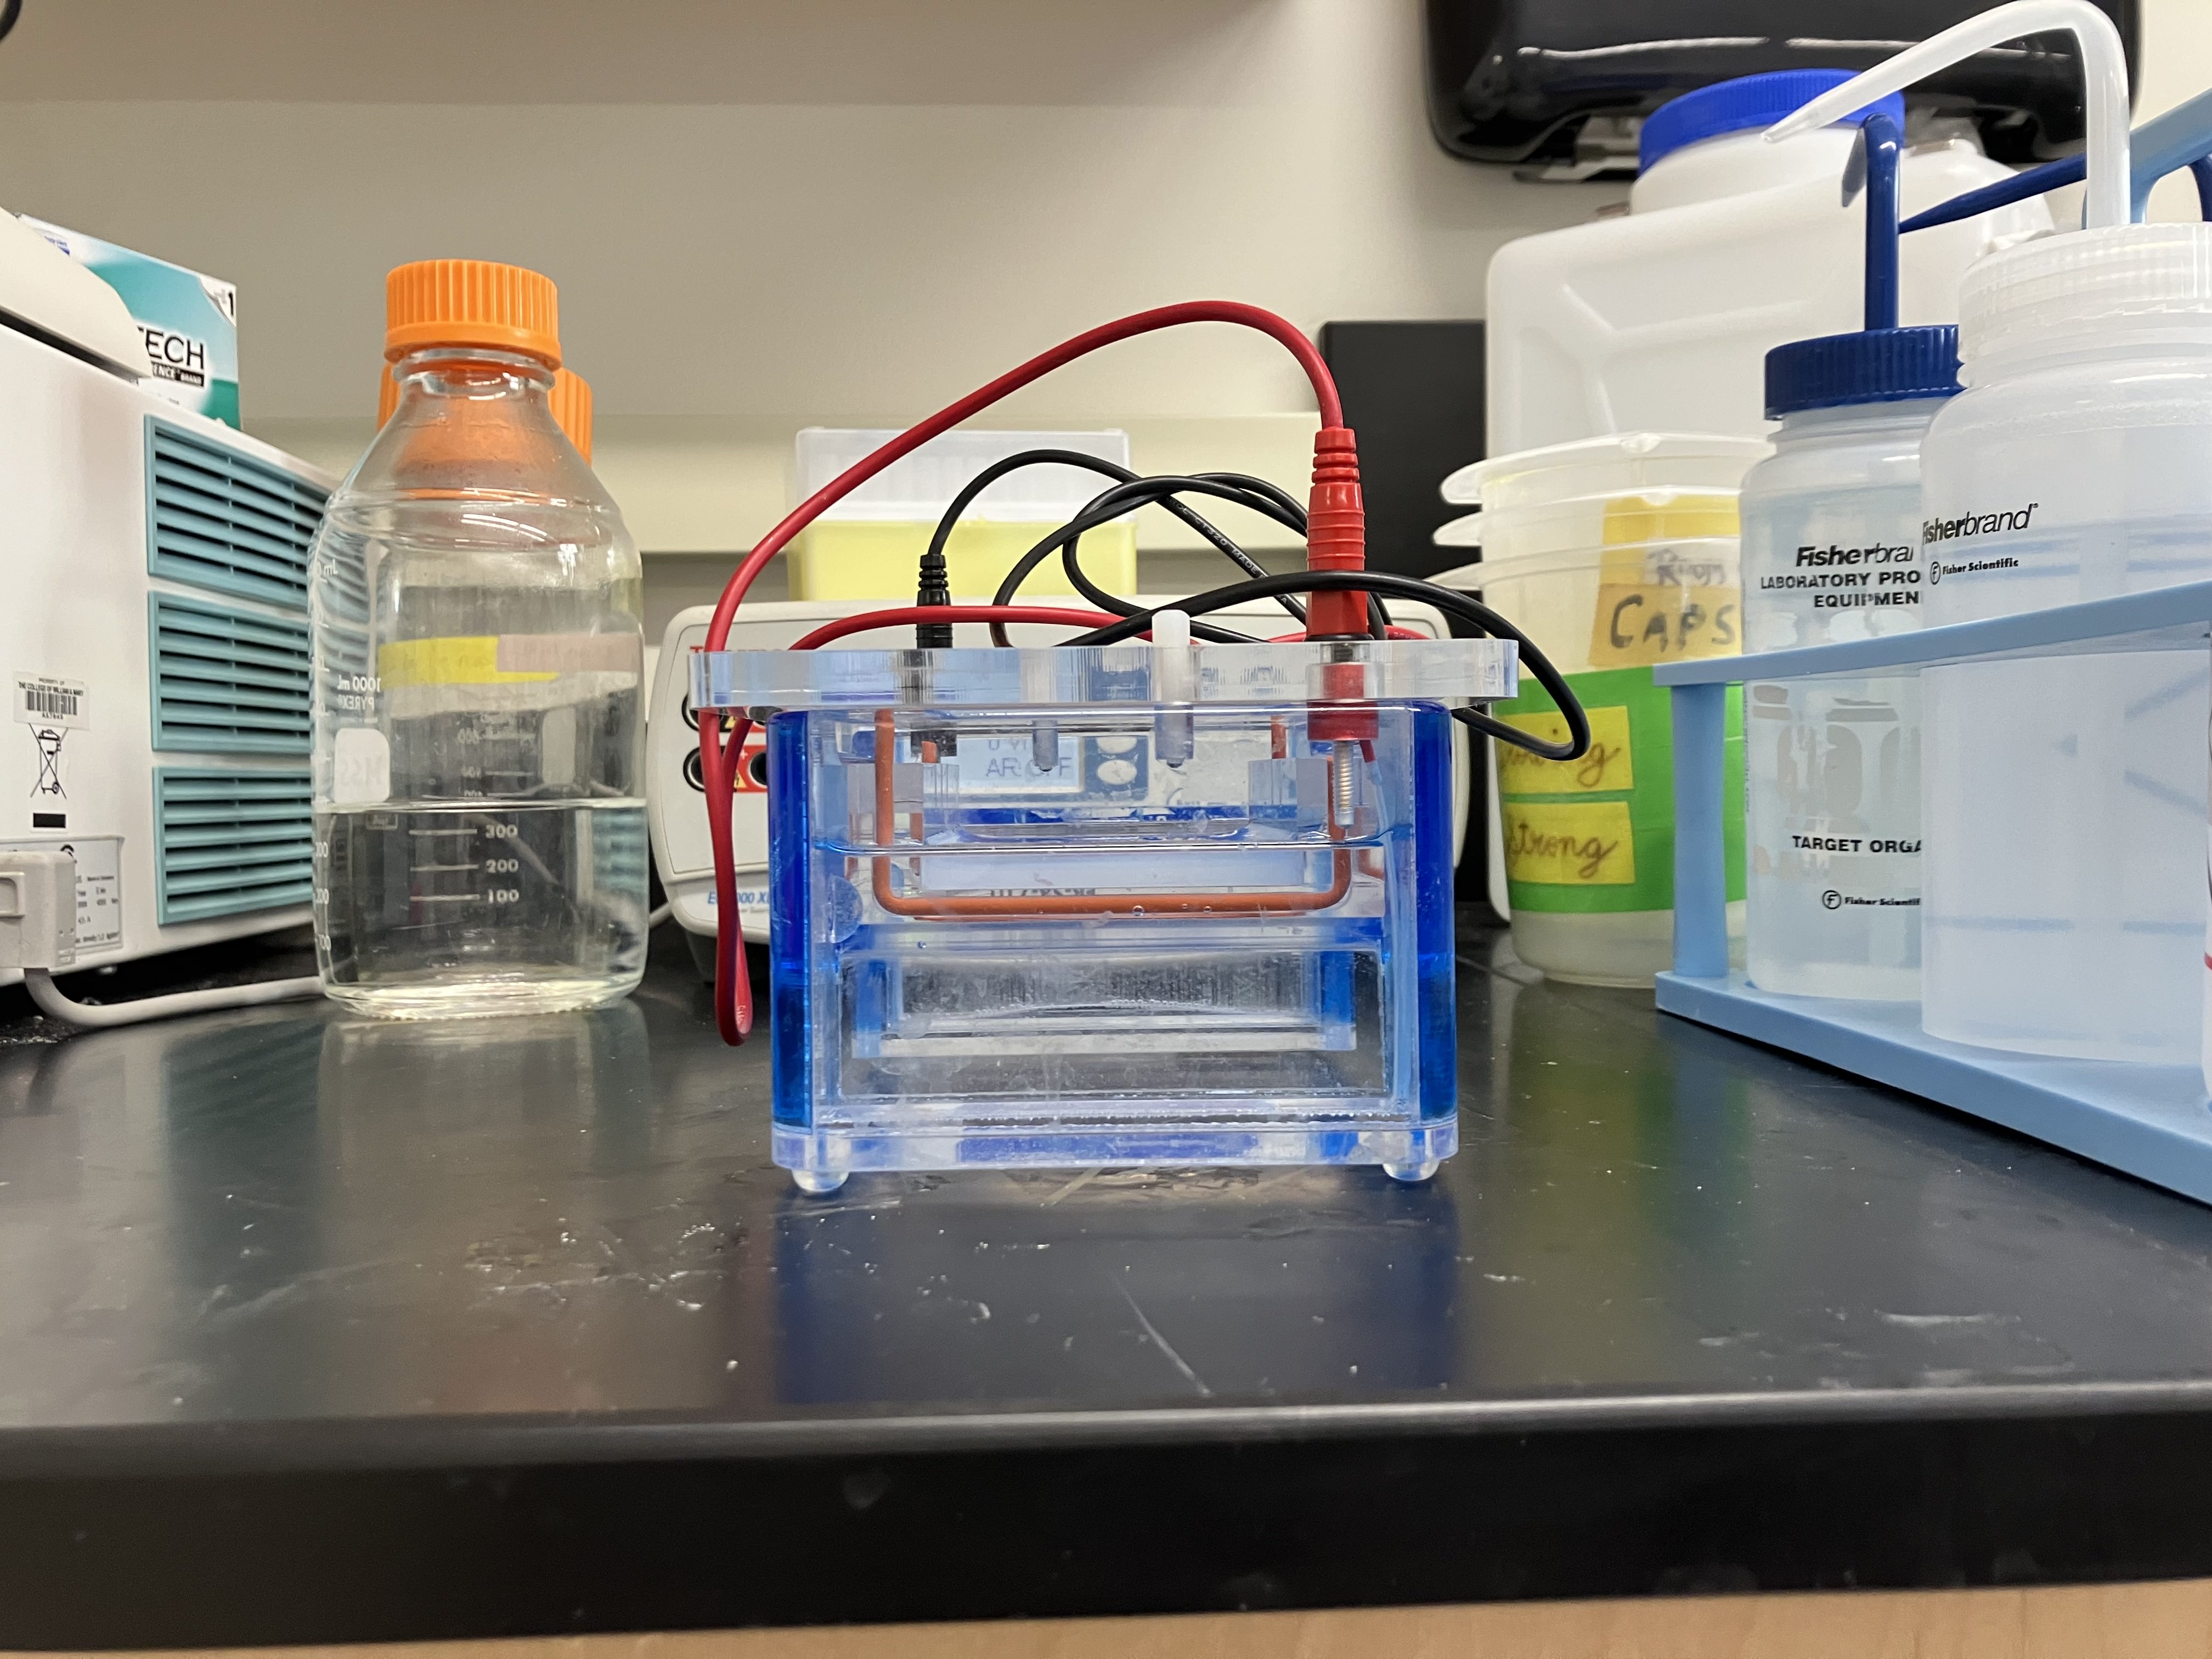
DNA Gel Art Protocol Part 0: Designing My Gel Art / Expected Results and Walkthrough Created a virtual digest in Benchling as a basis for DNA Gel Art (see below) Benchling Virtual Digest (A Hidden Hello) Protocol Part 1a: Preparing a 1% Agarose Electrophoresis Gel Preared a 1% Agarose Electrophoresis Gel (see below)
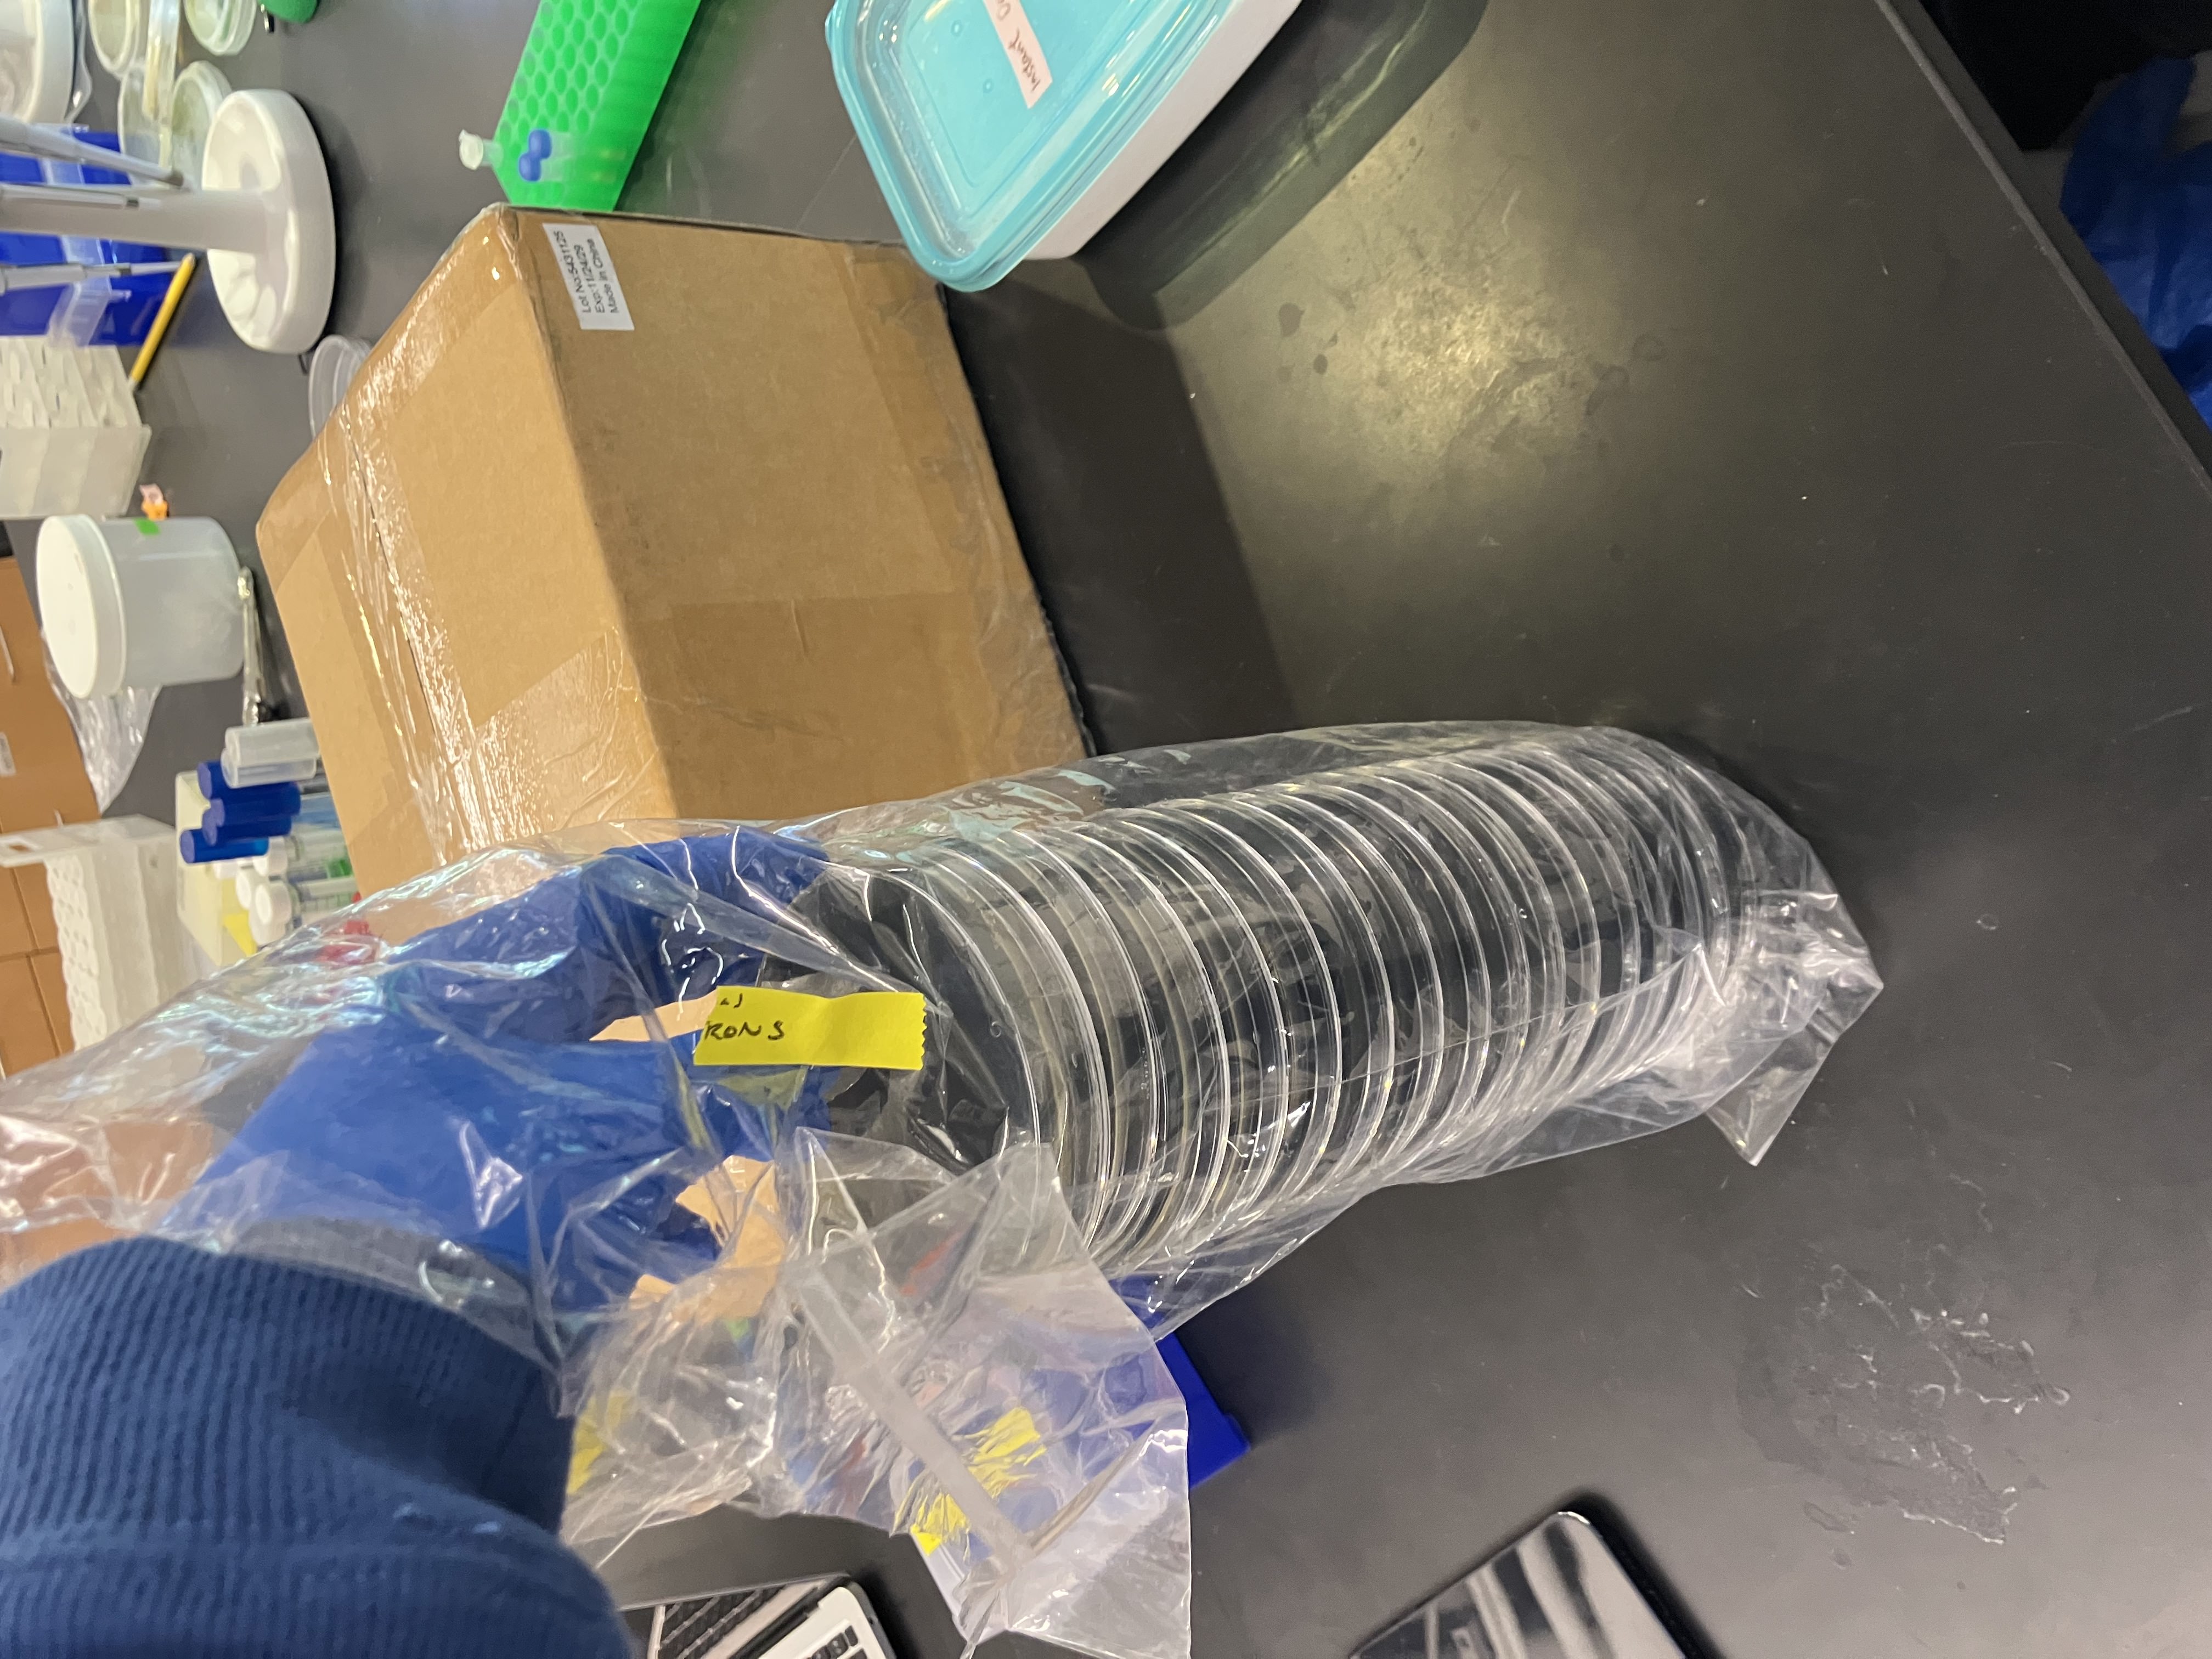
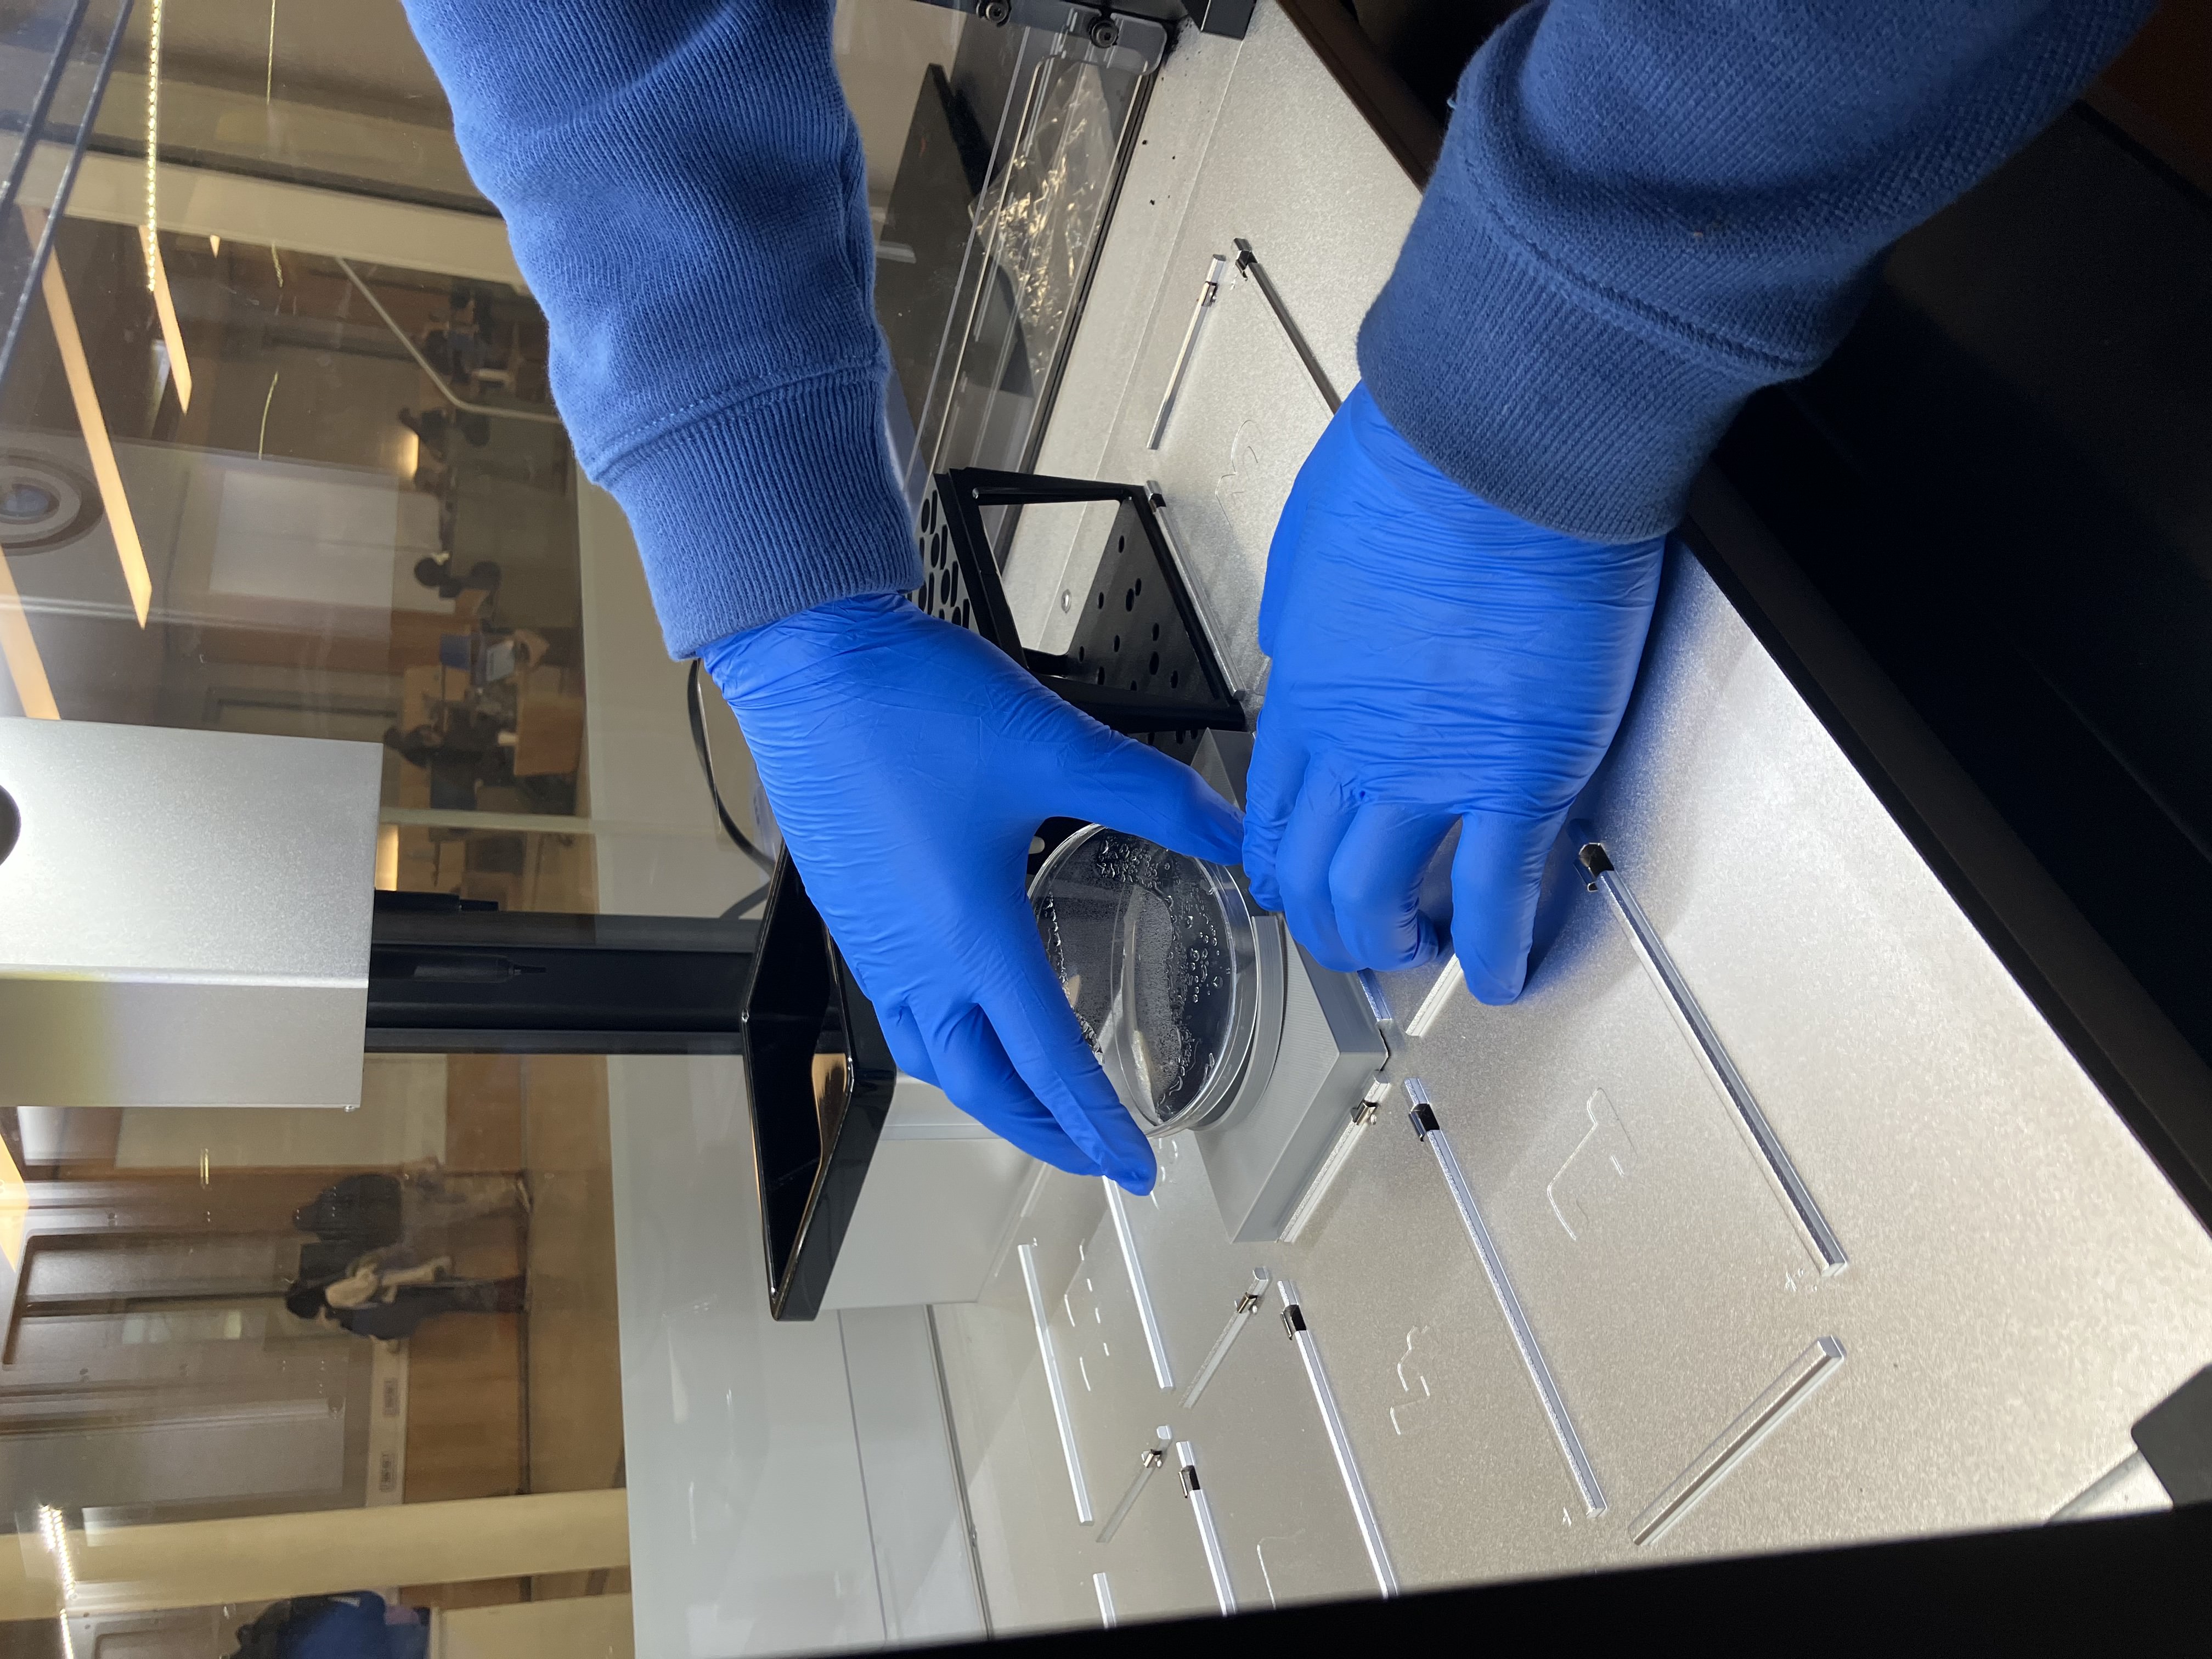
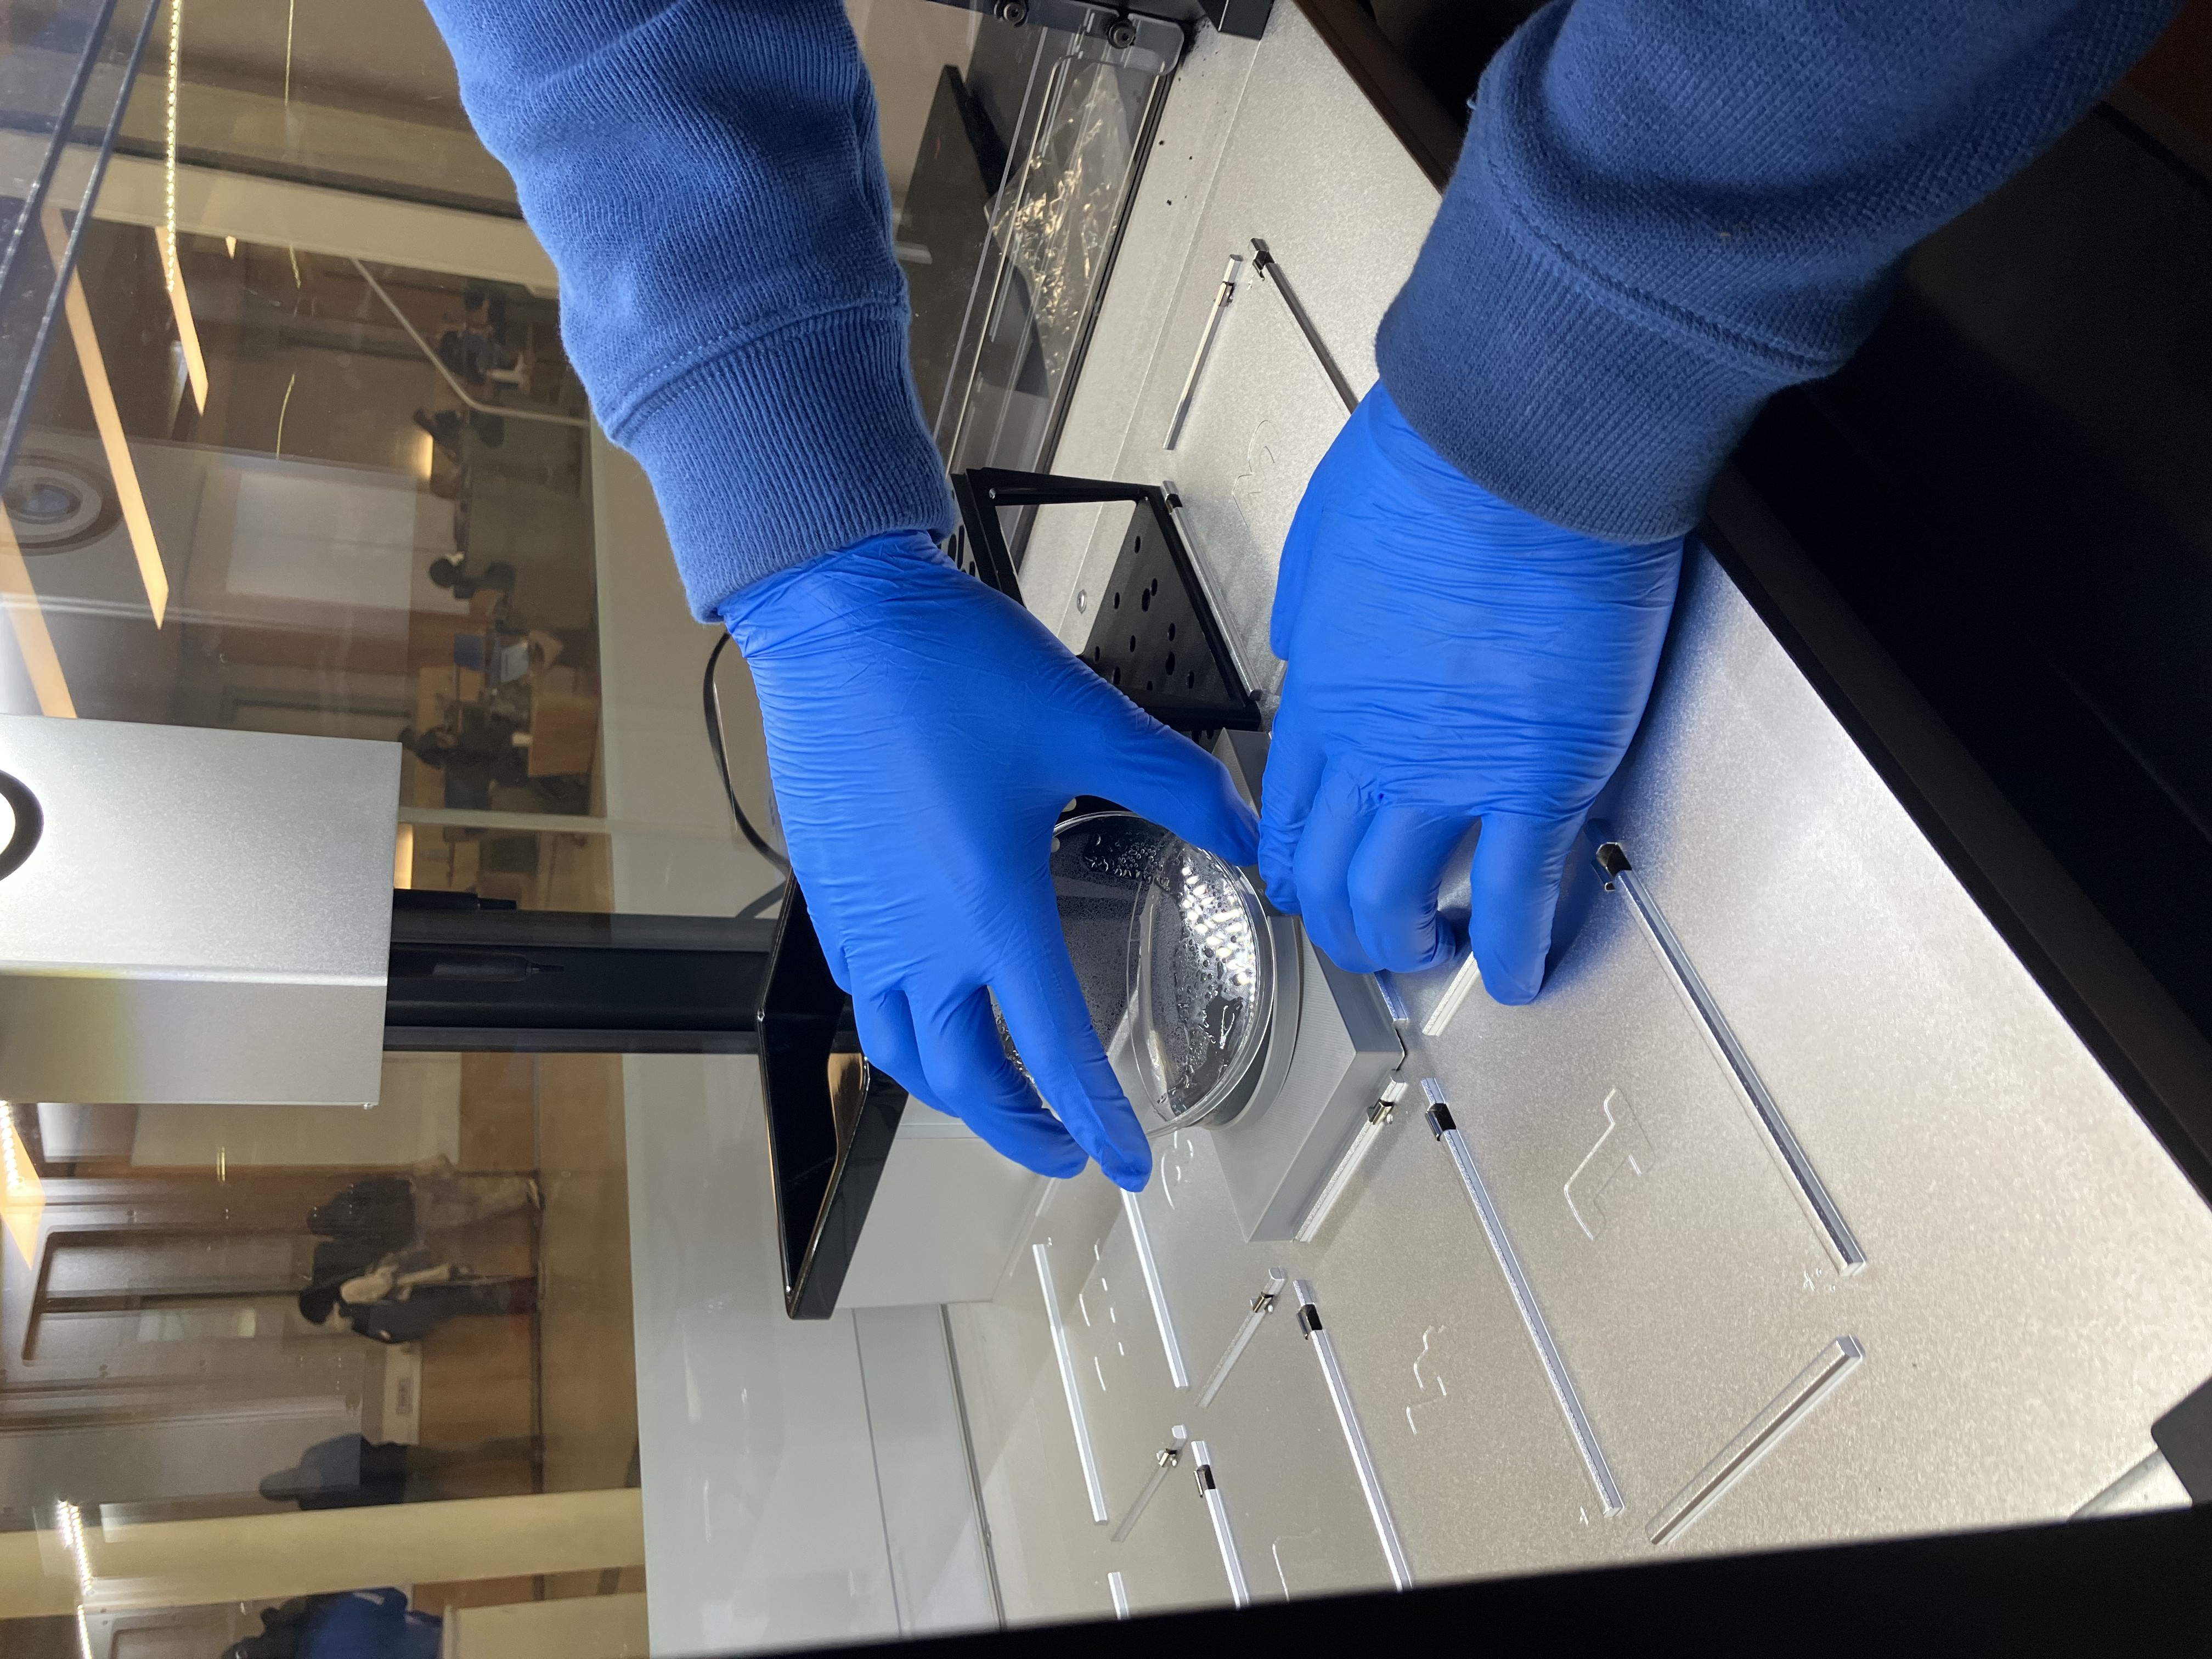
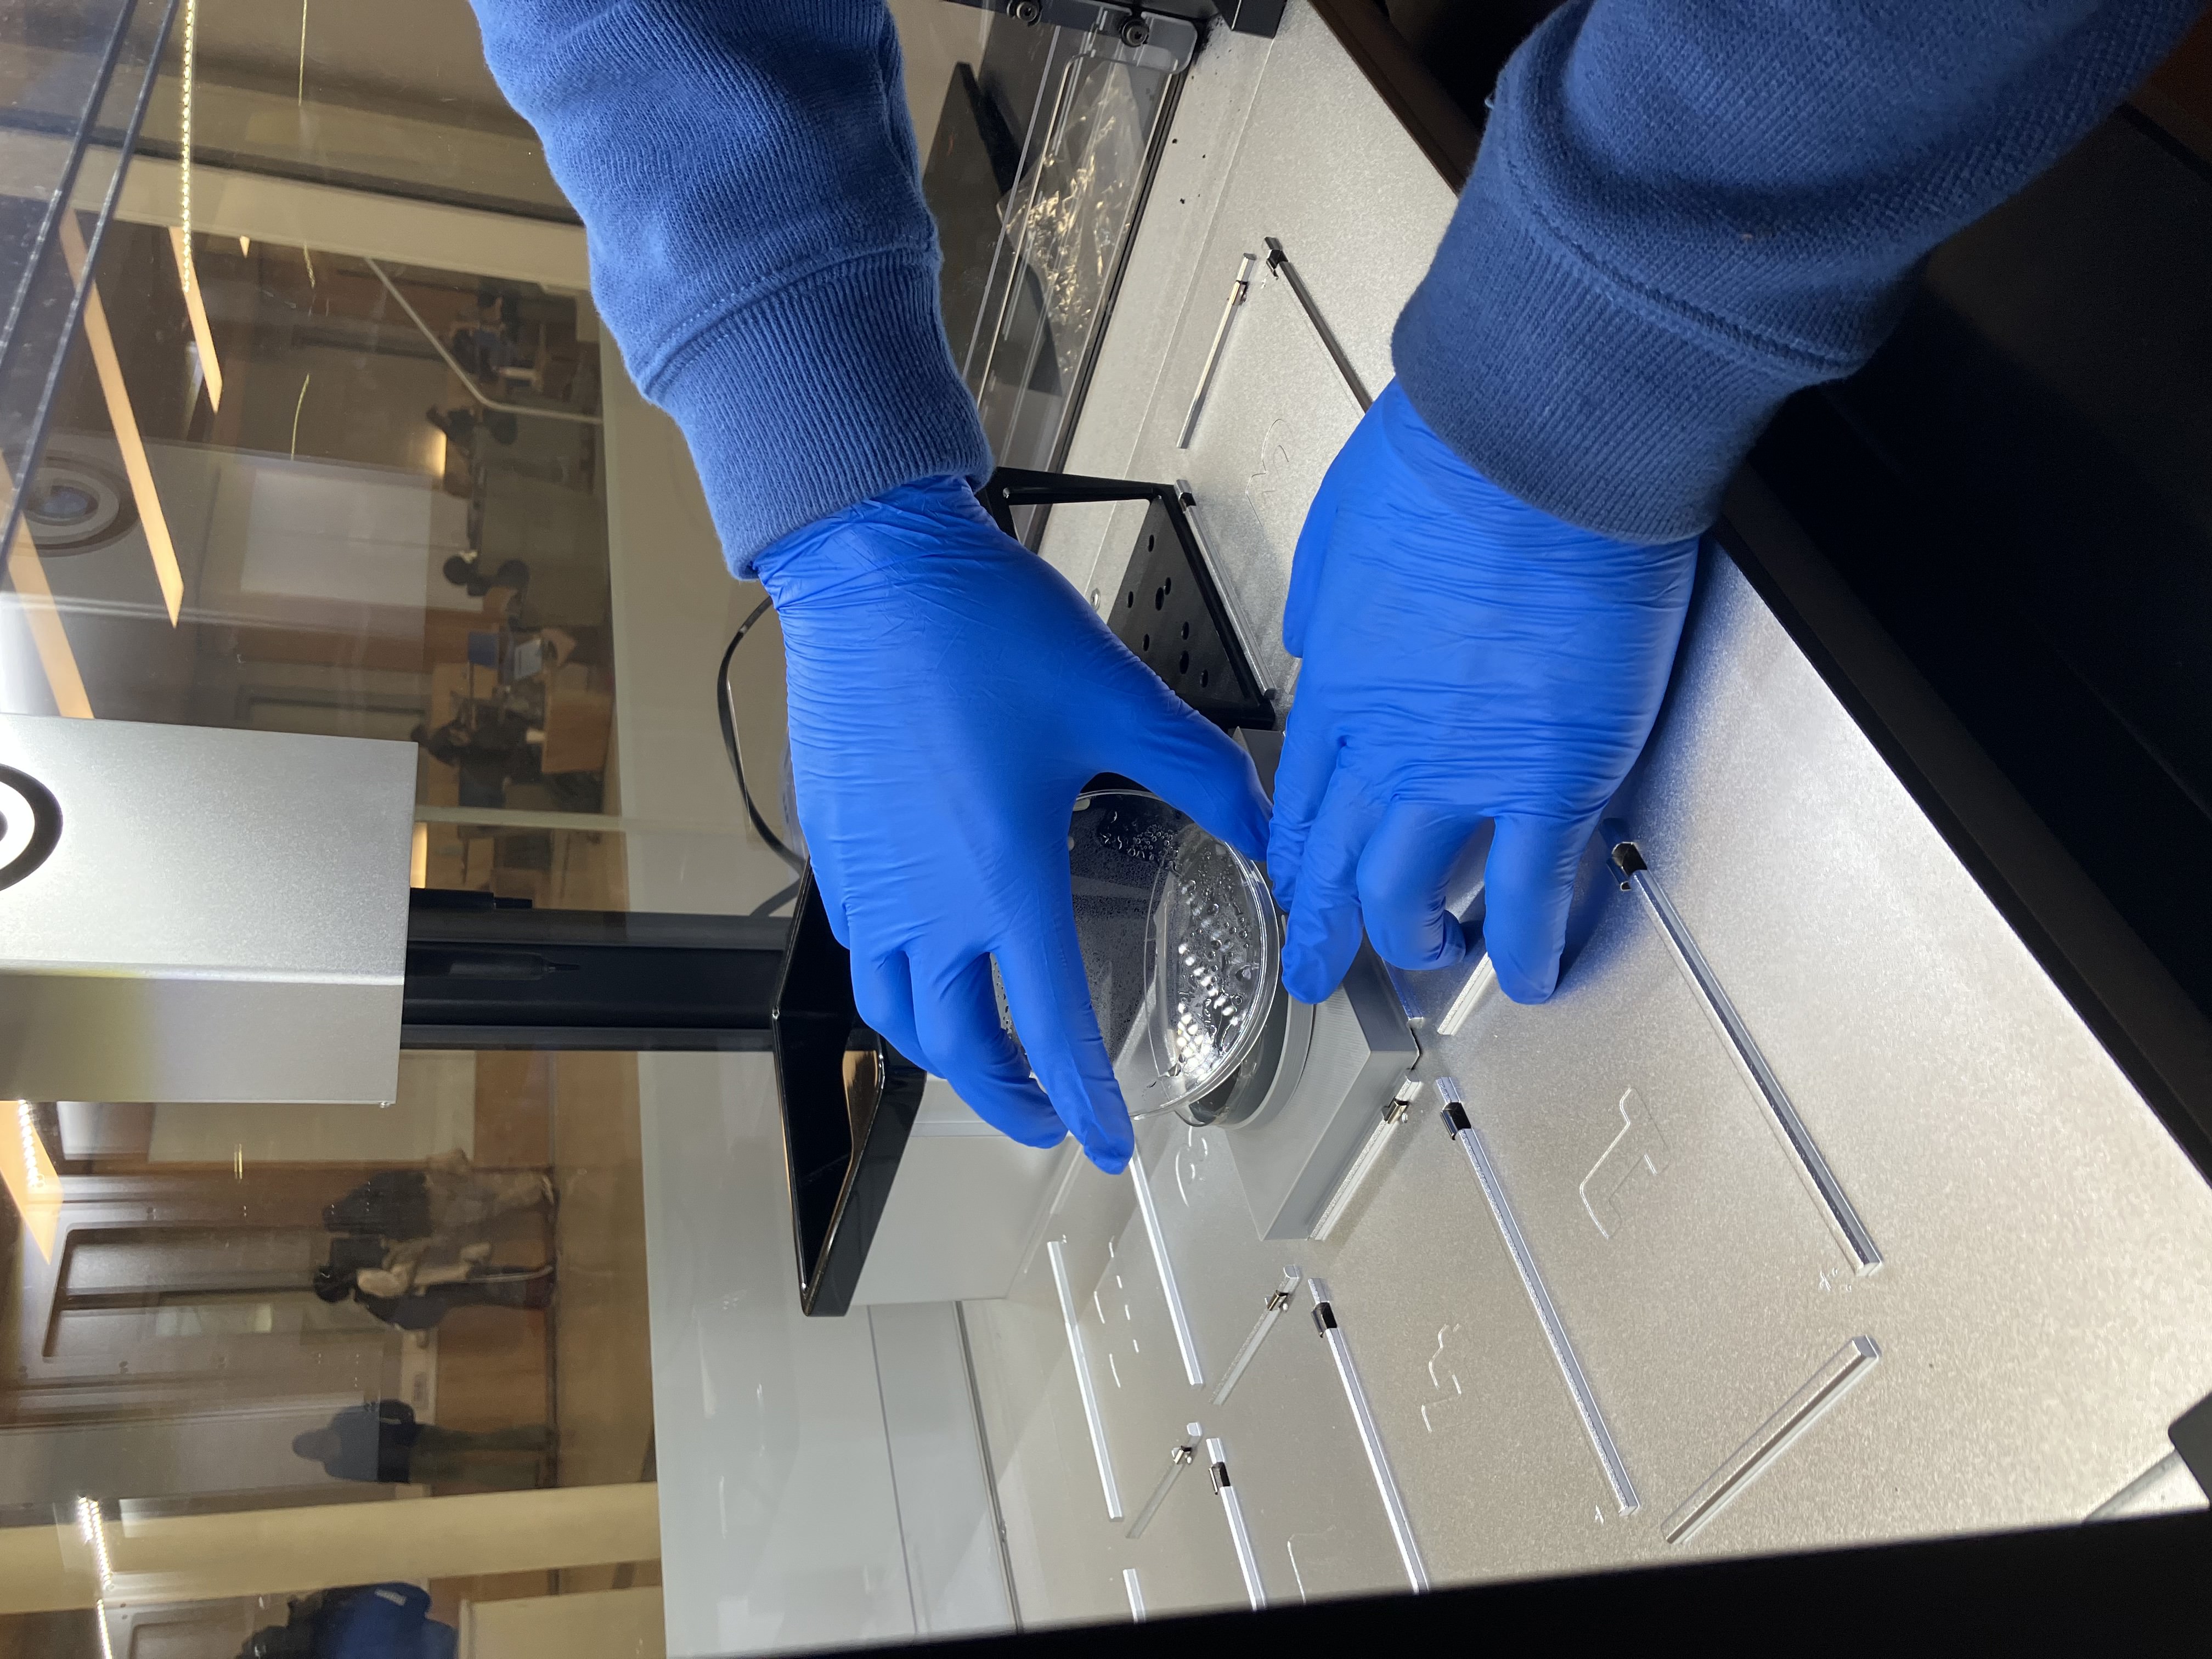
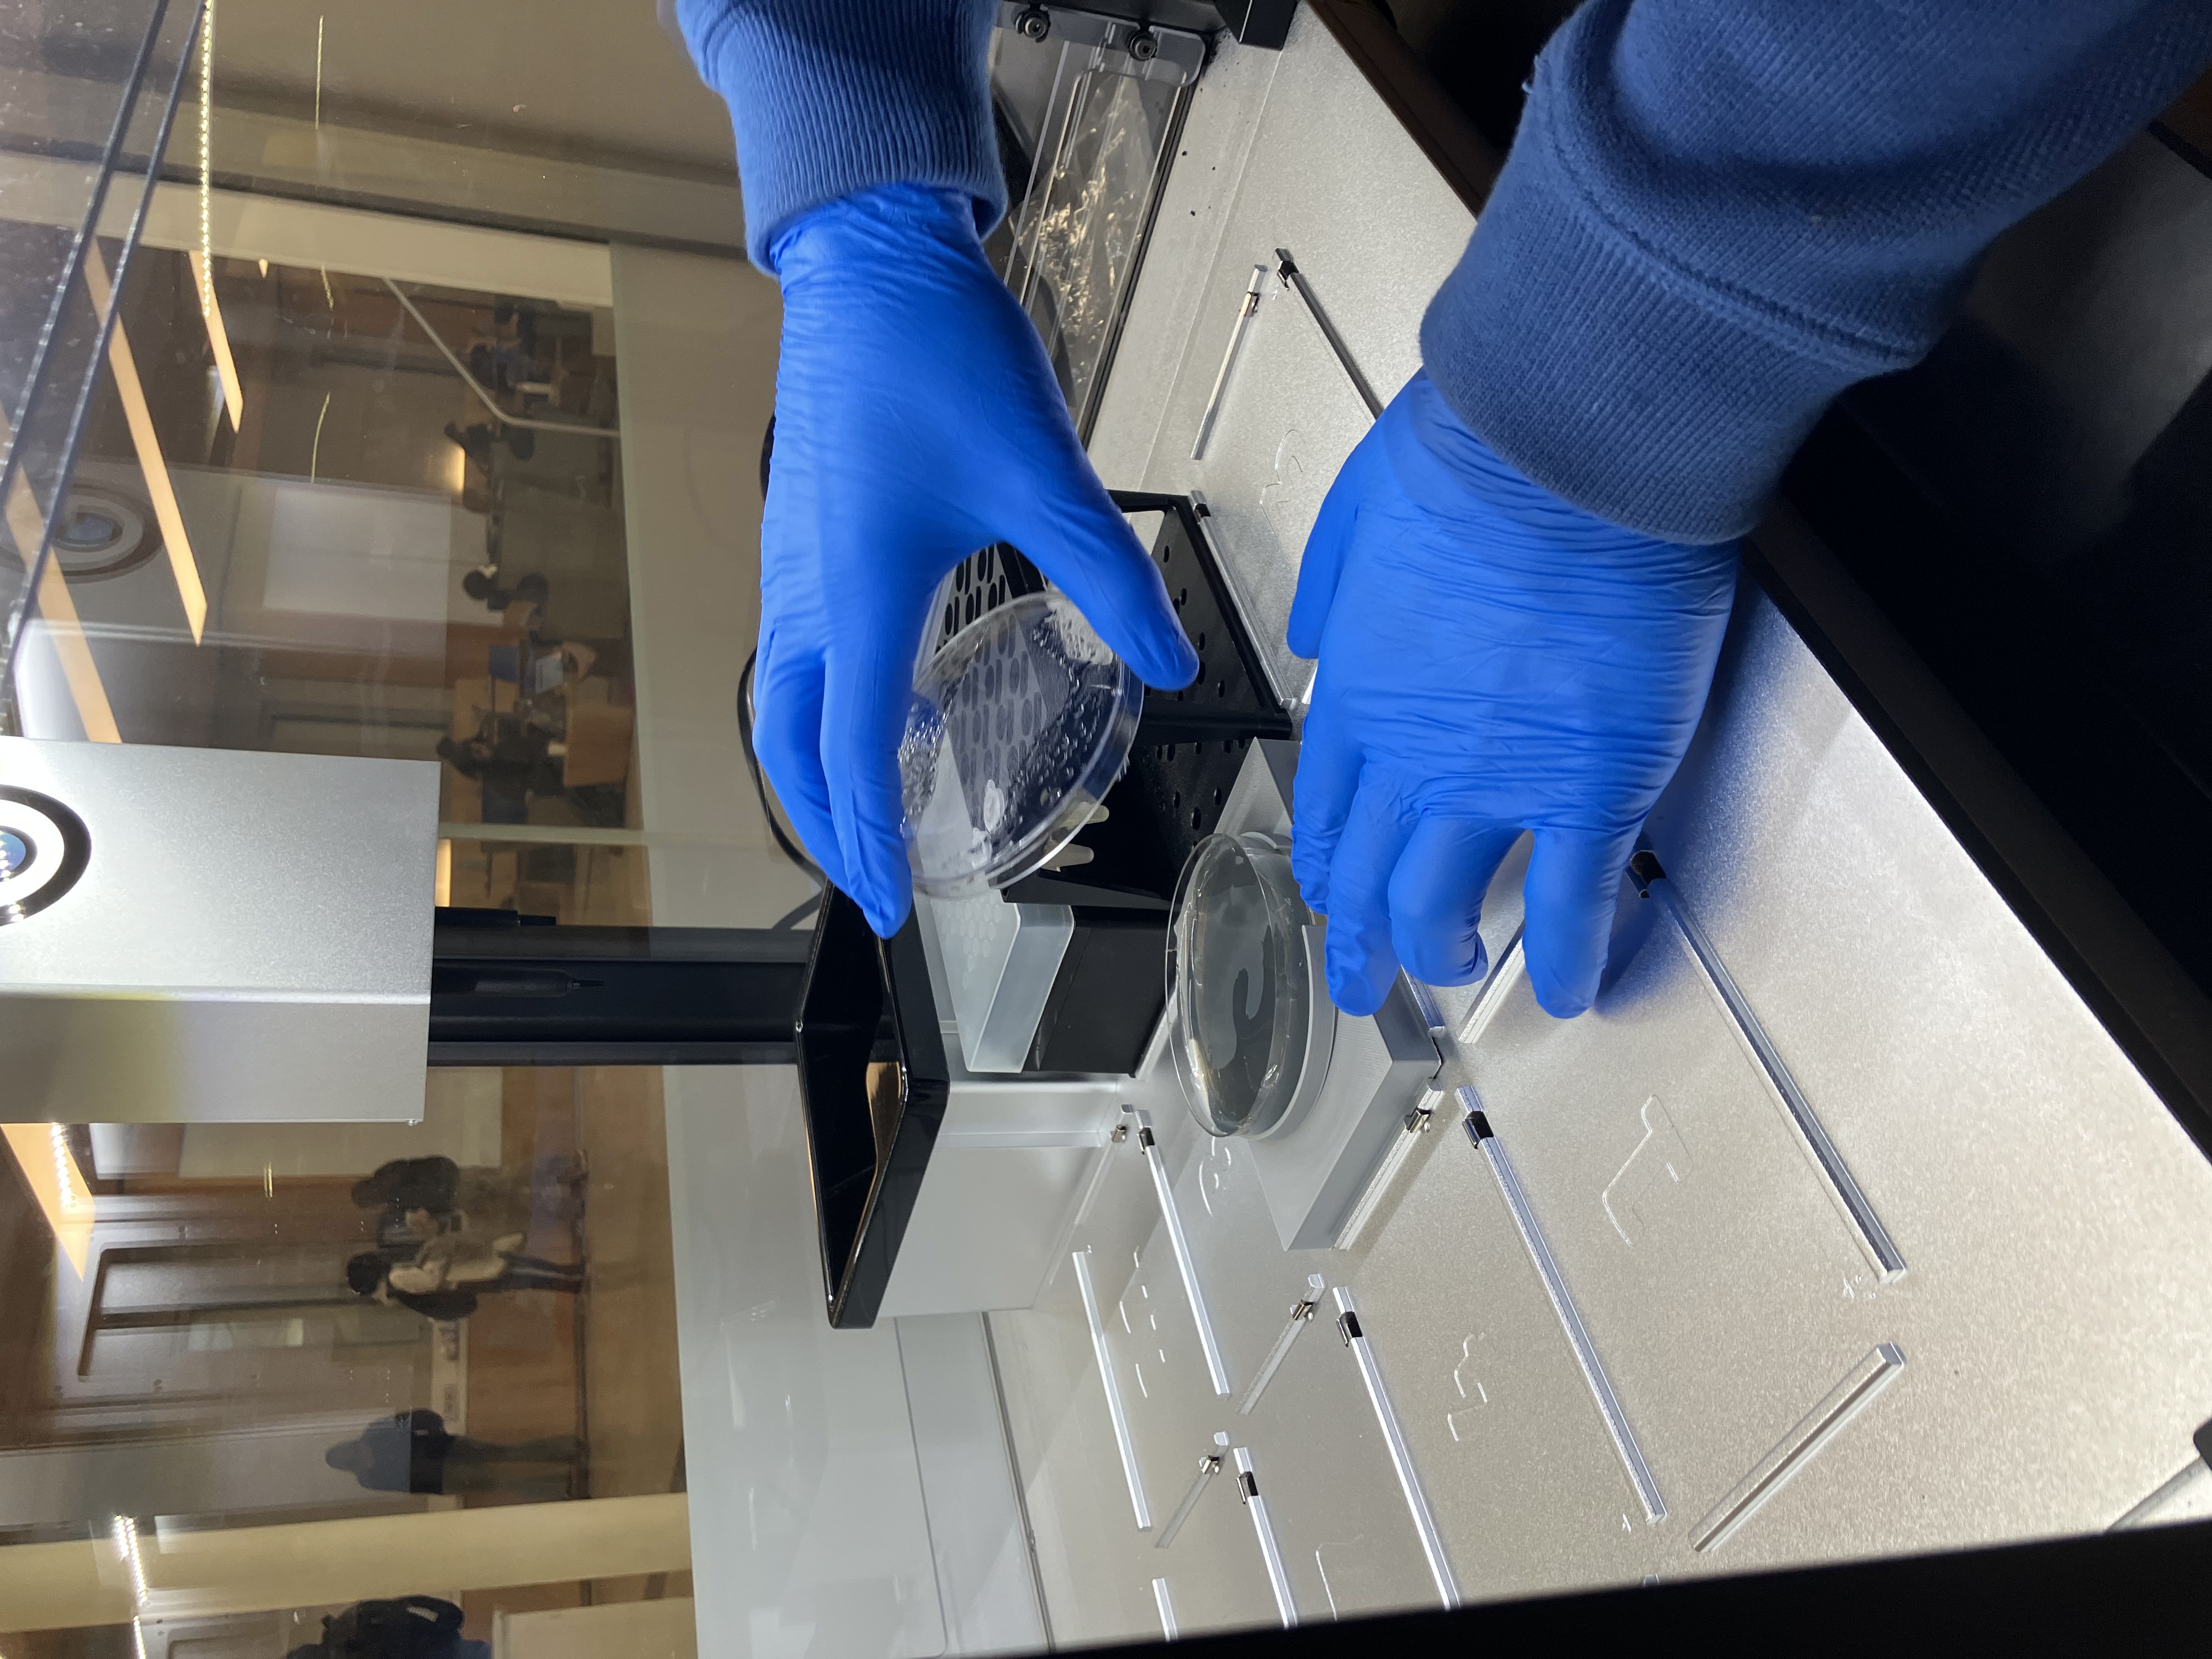
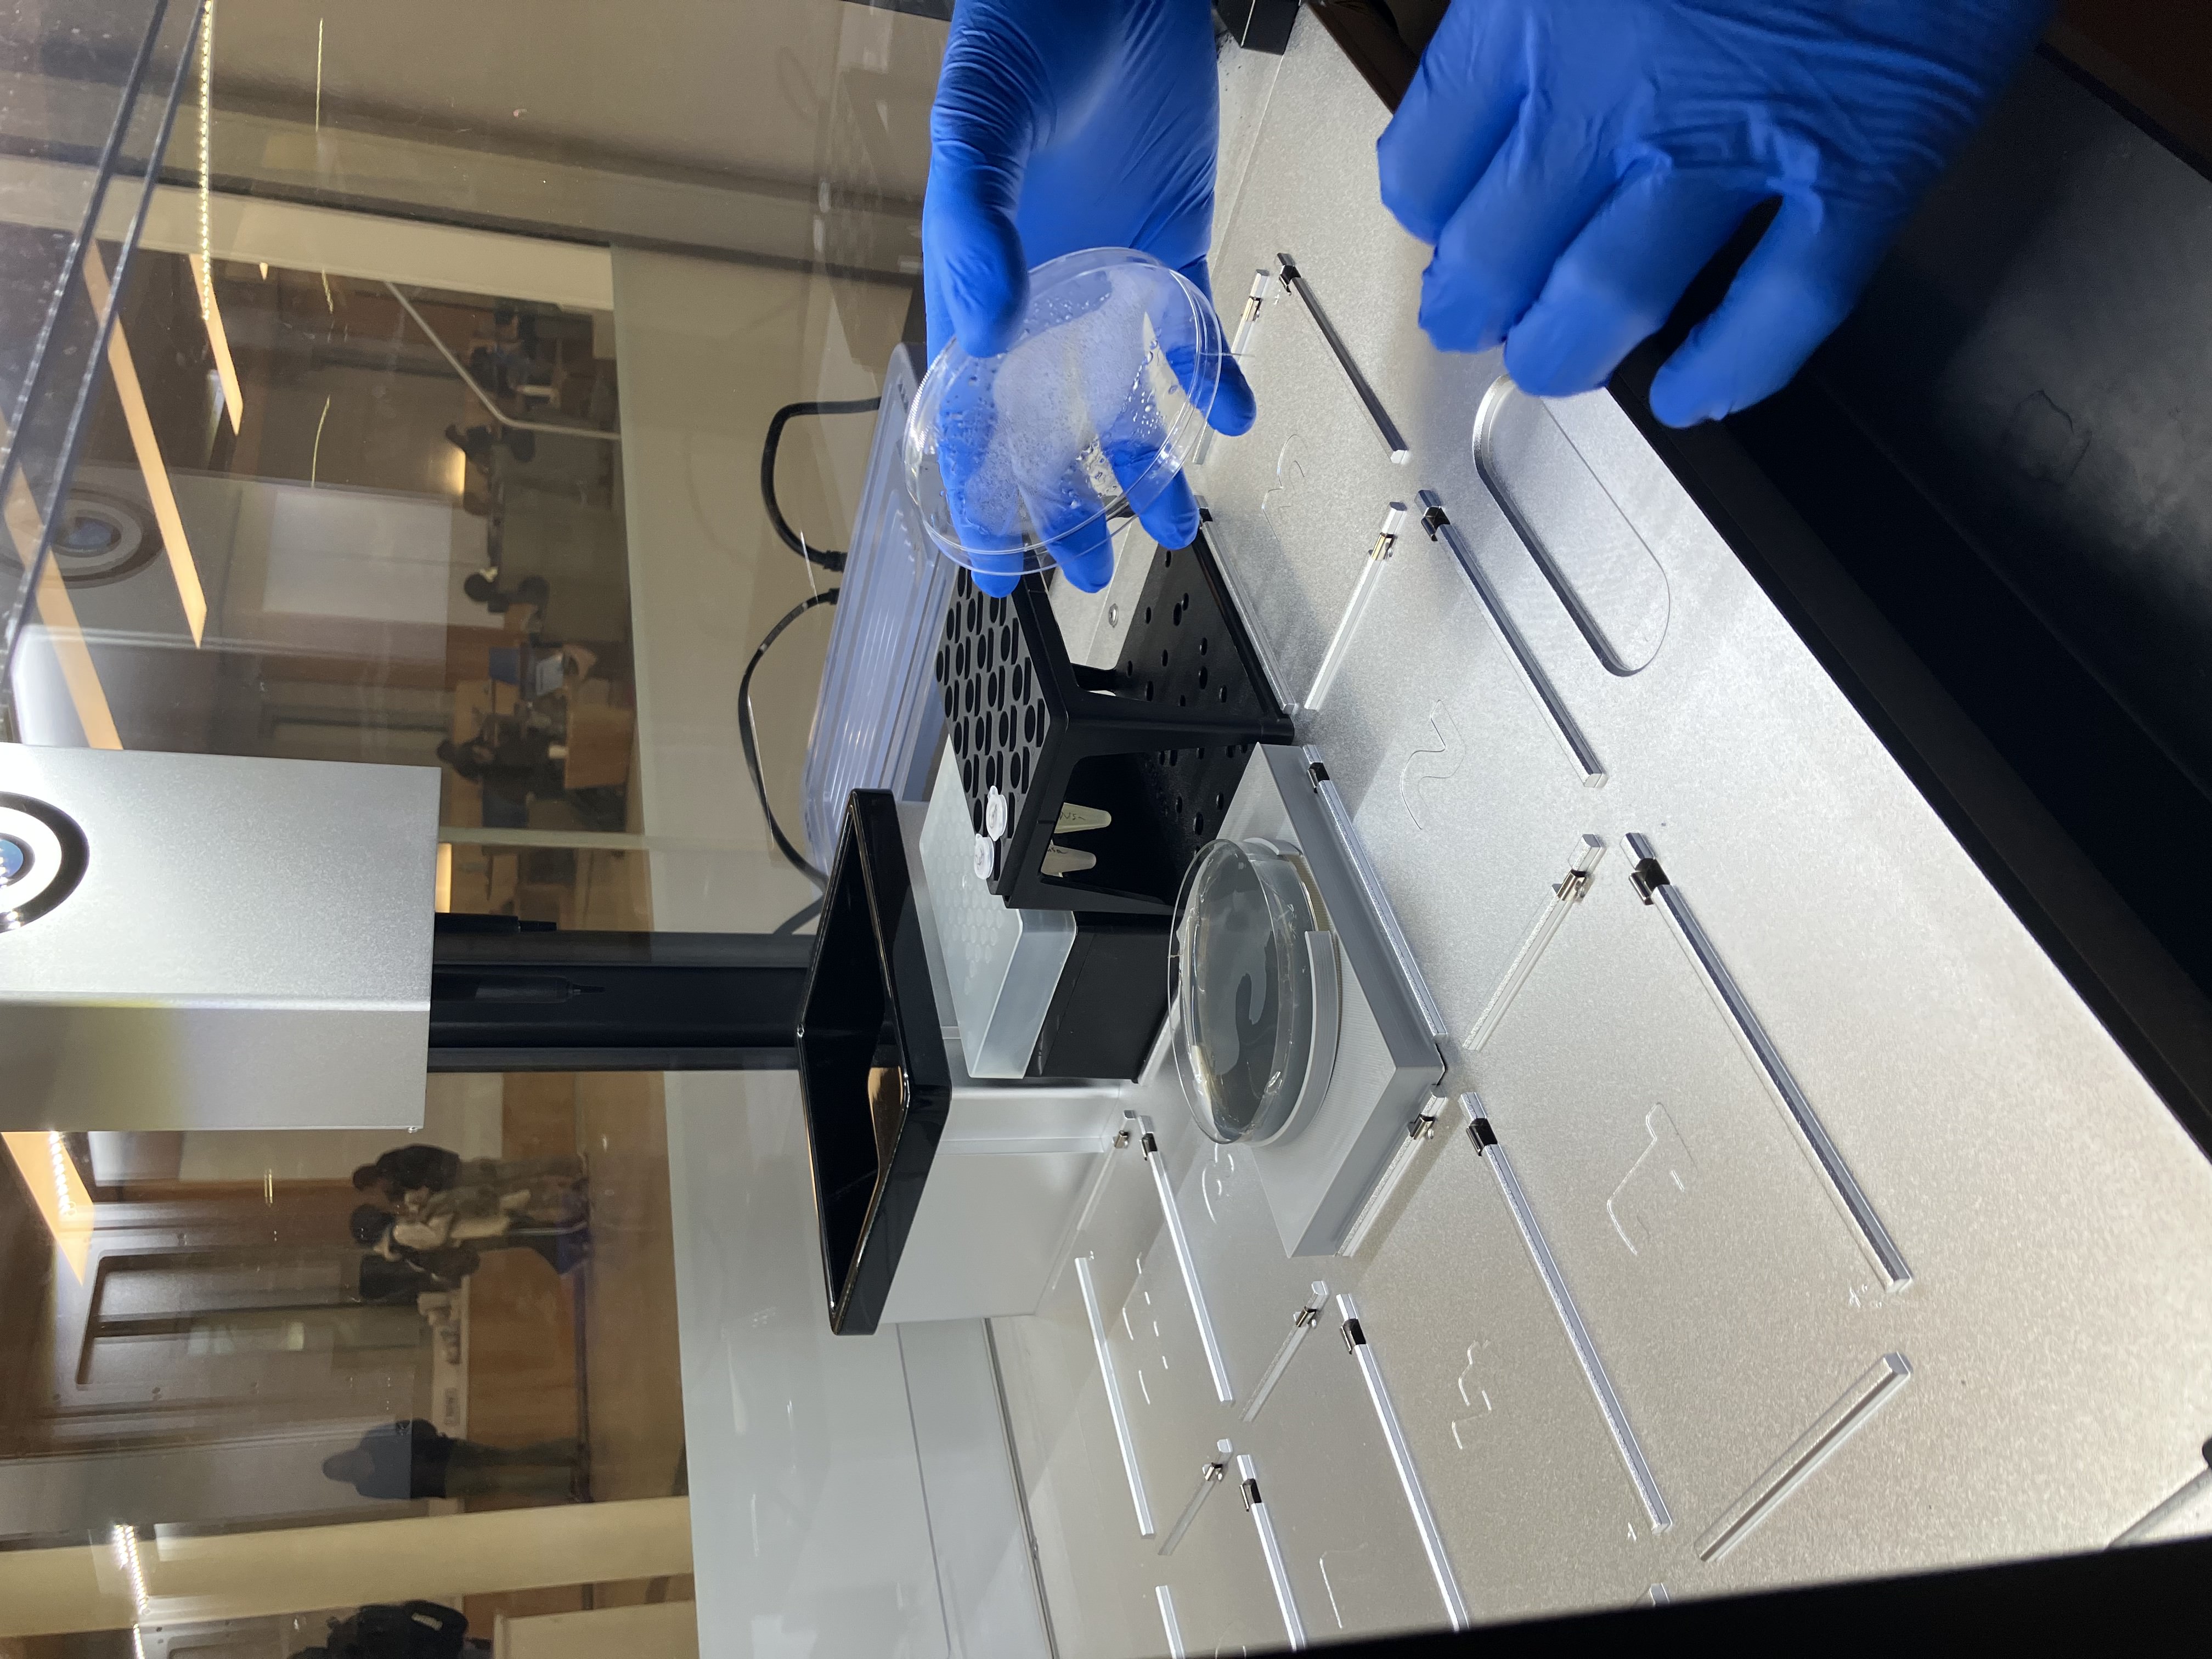
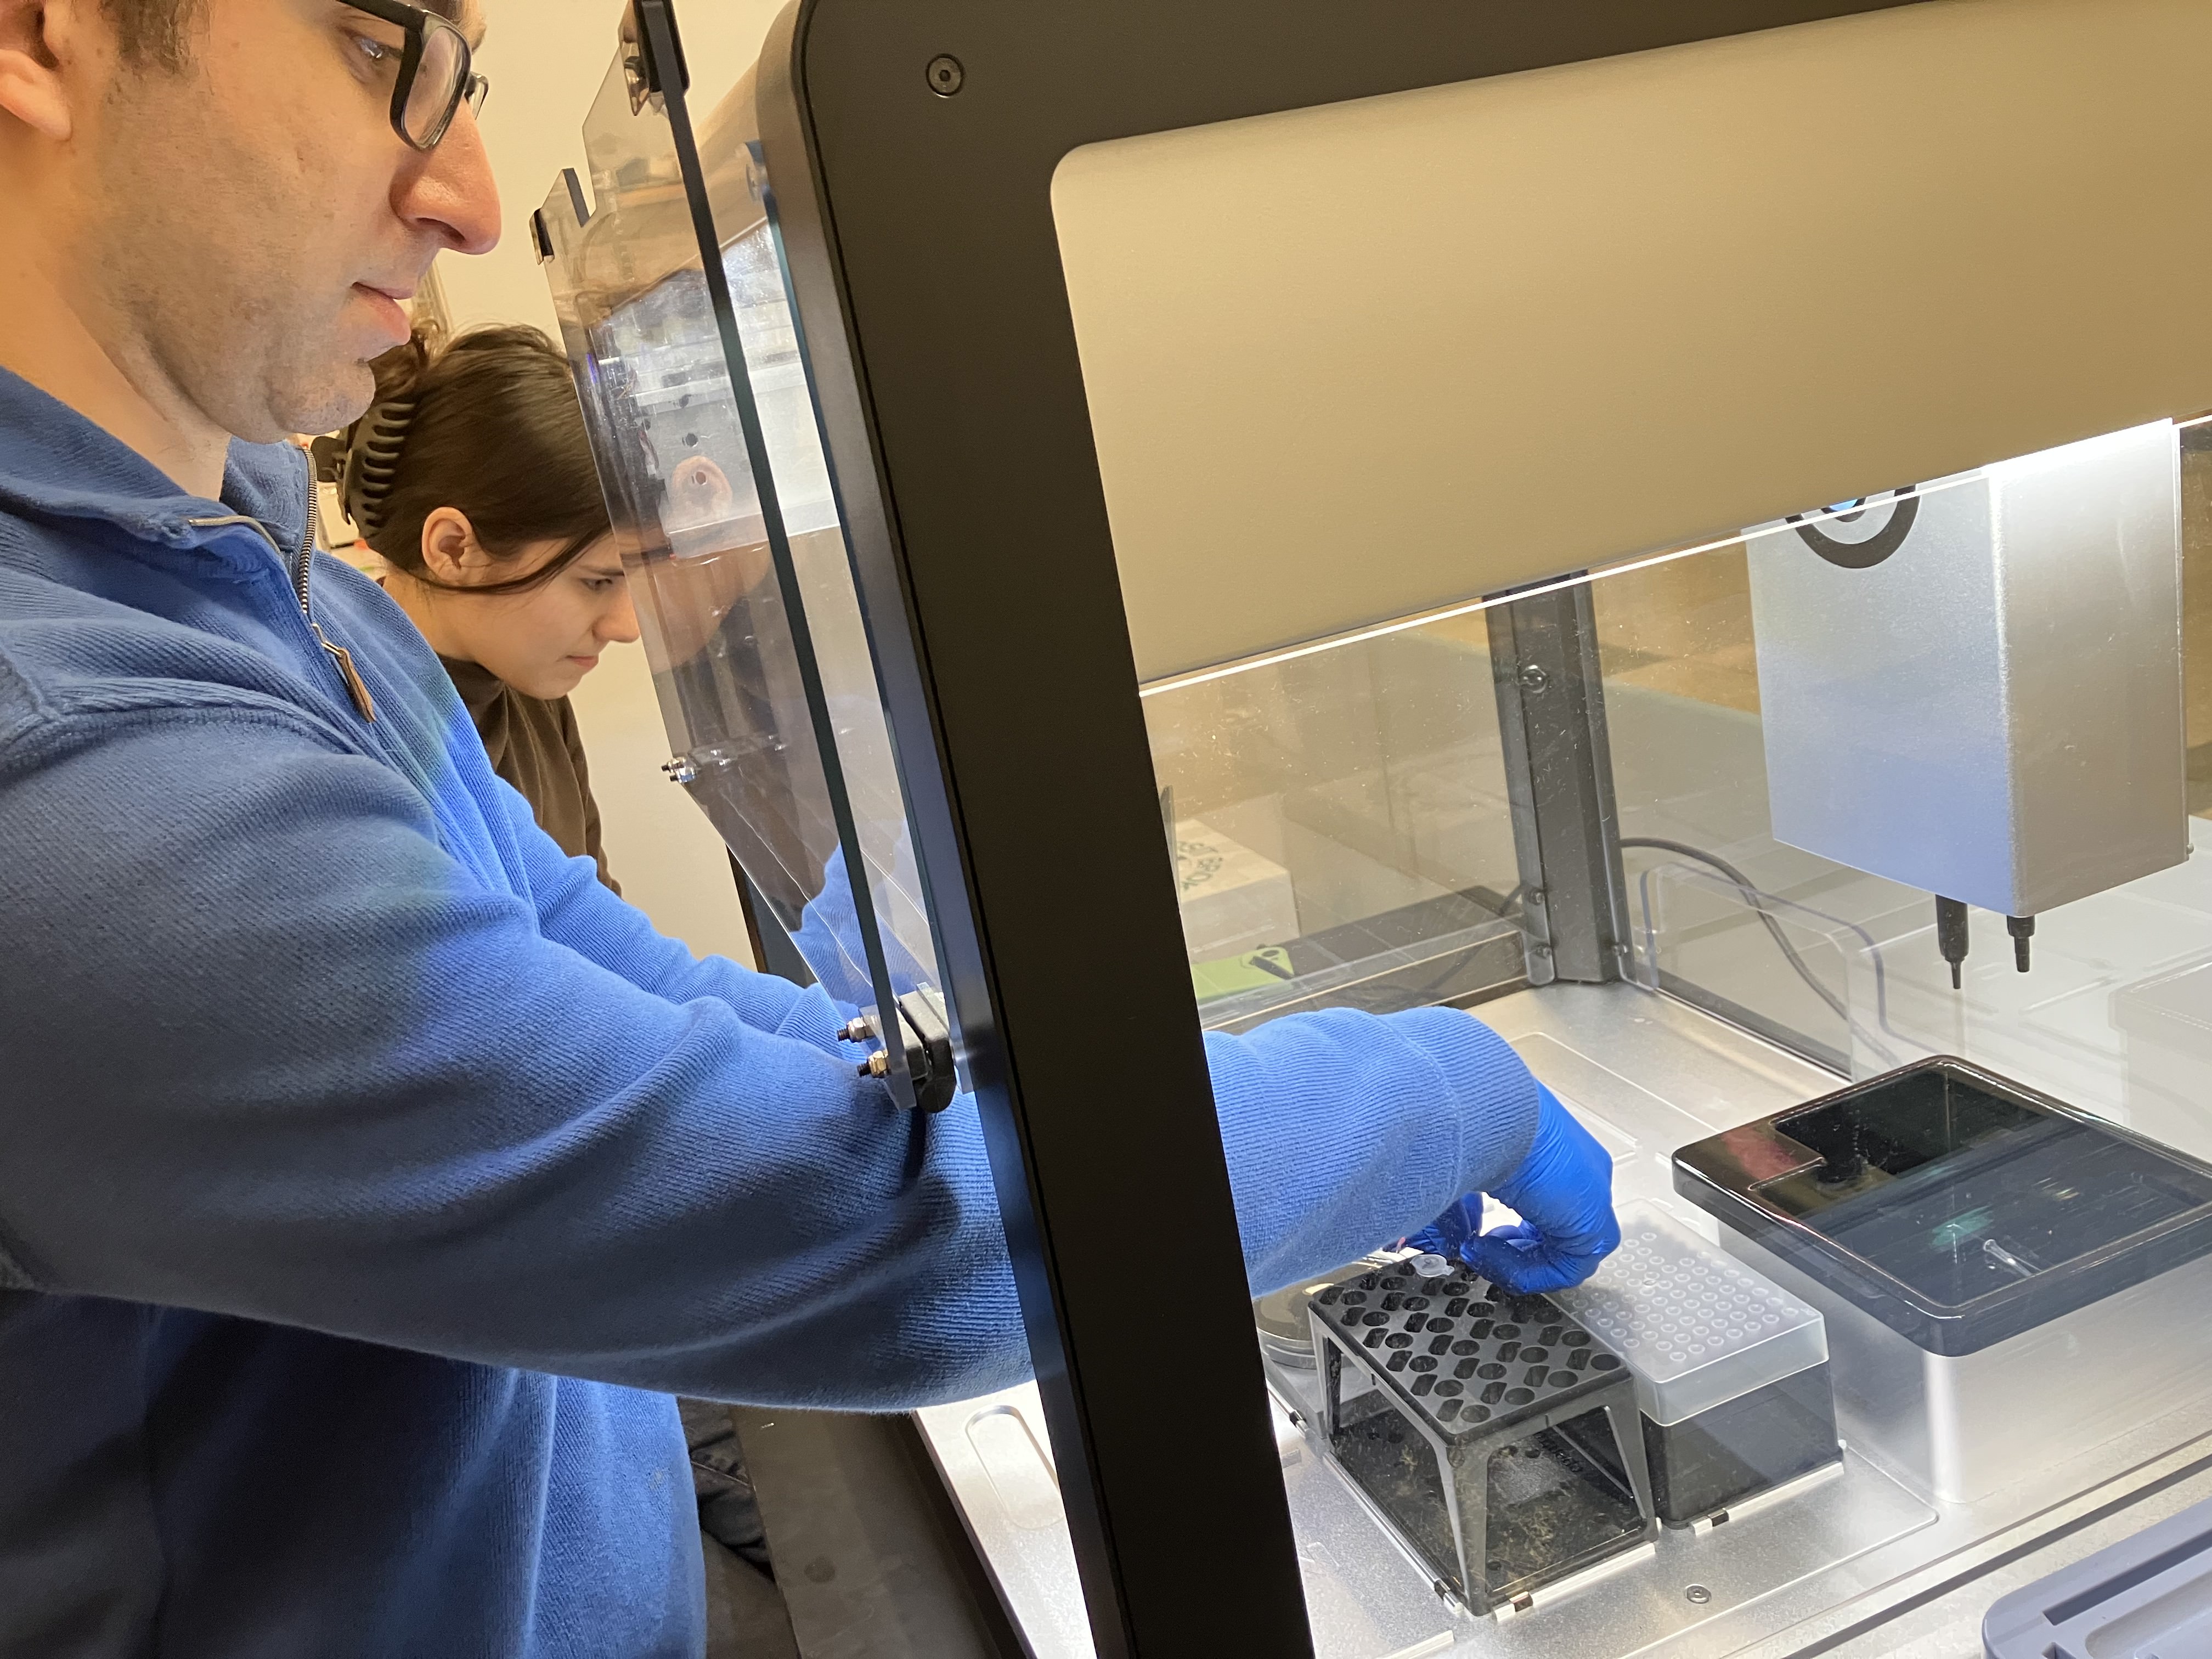
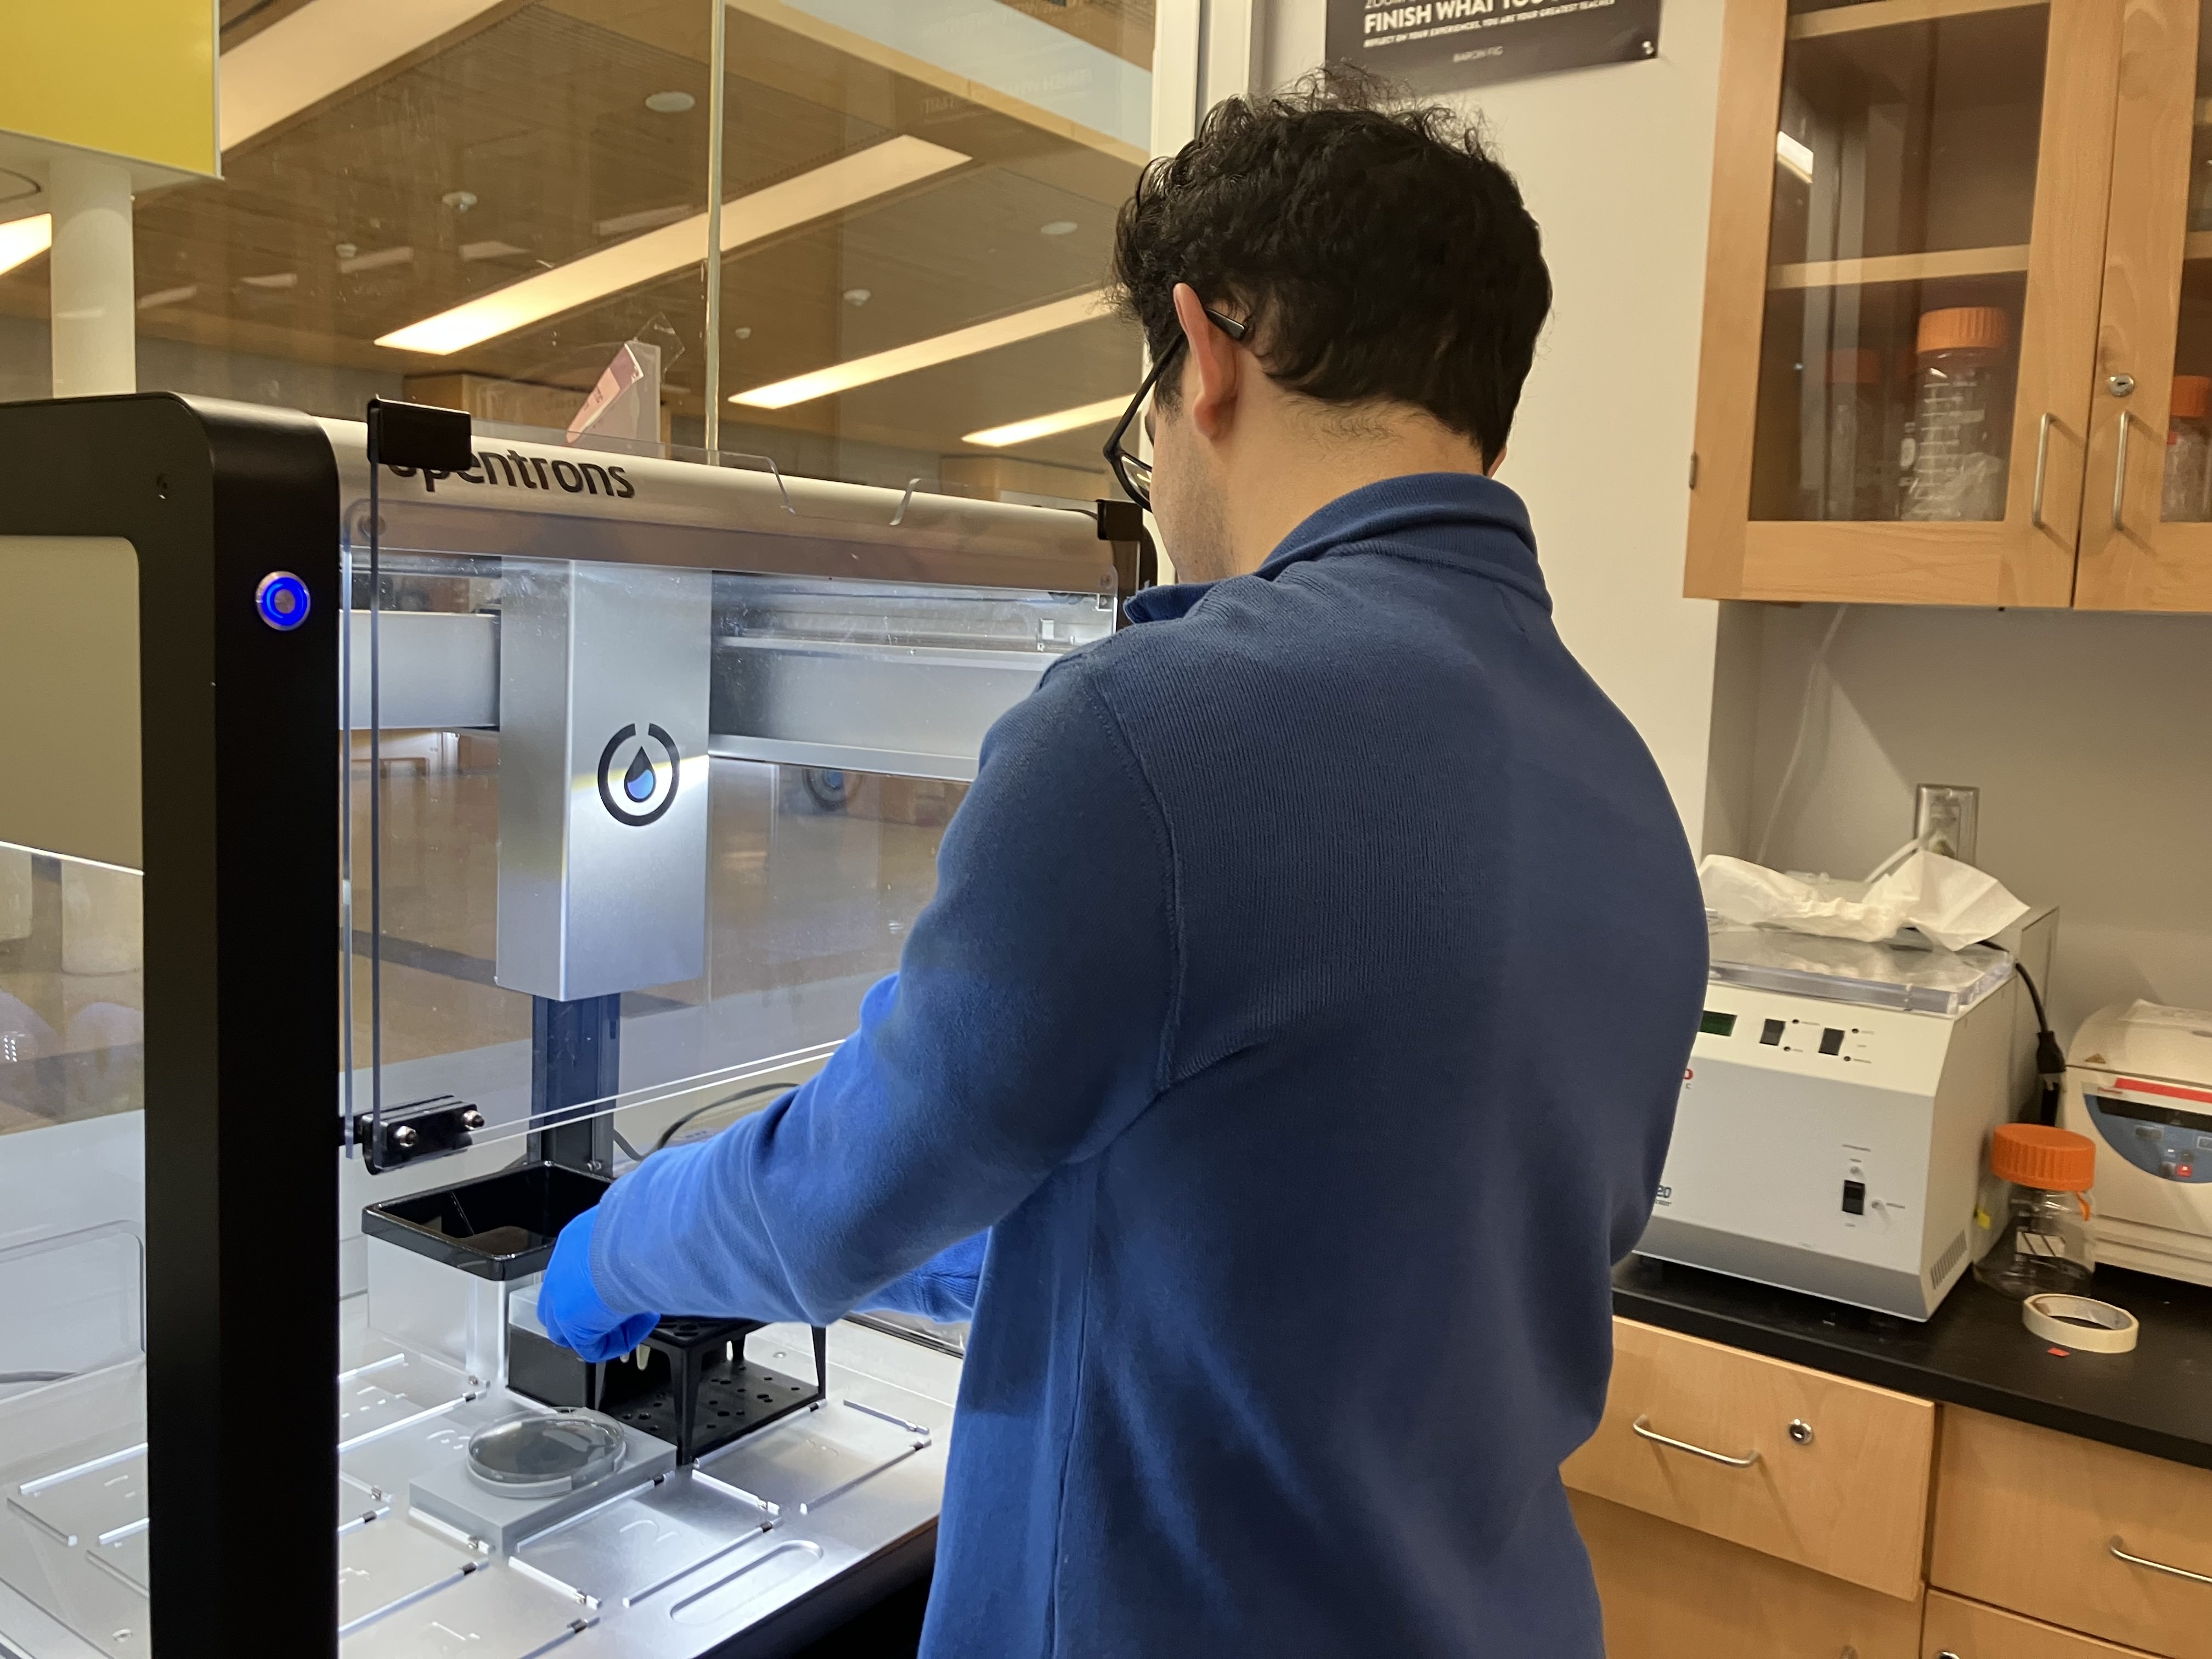
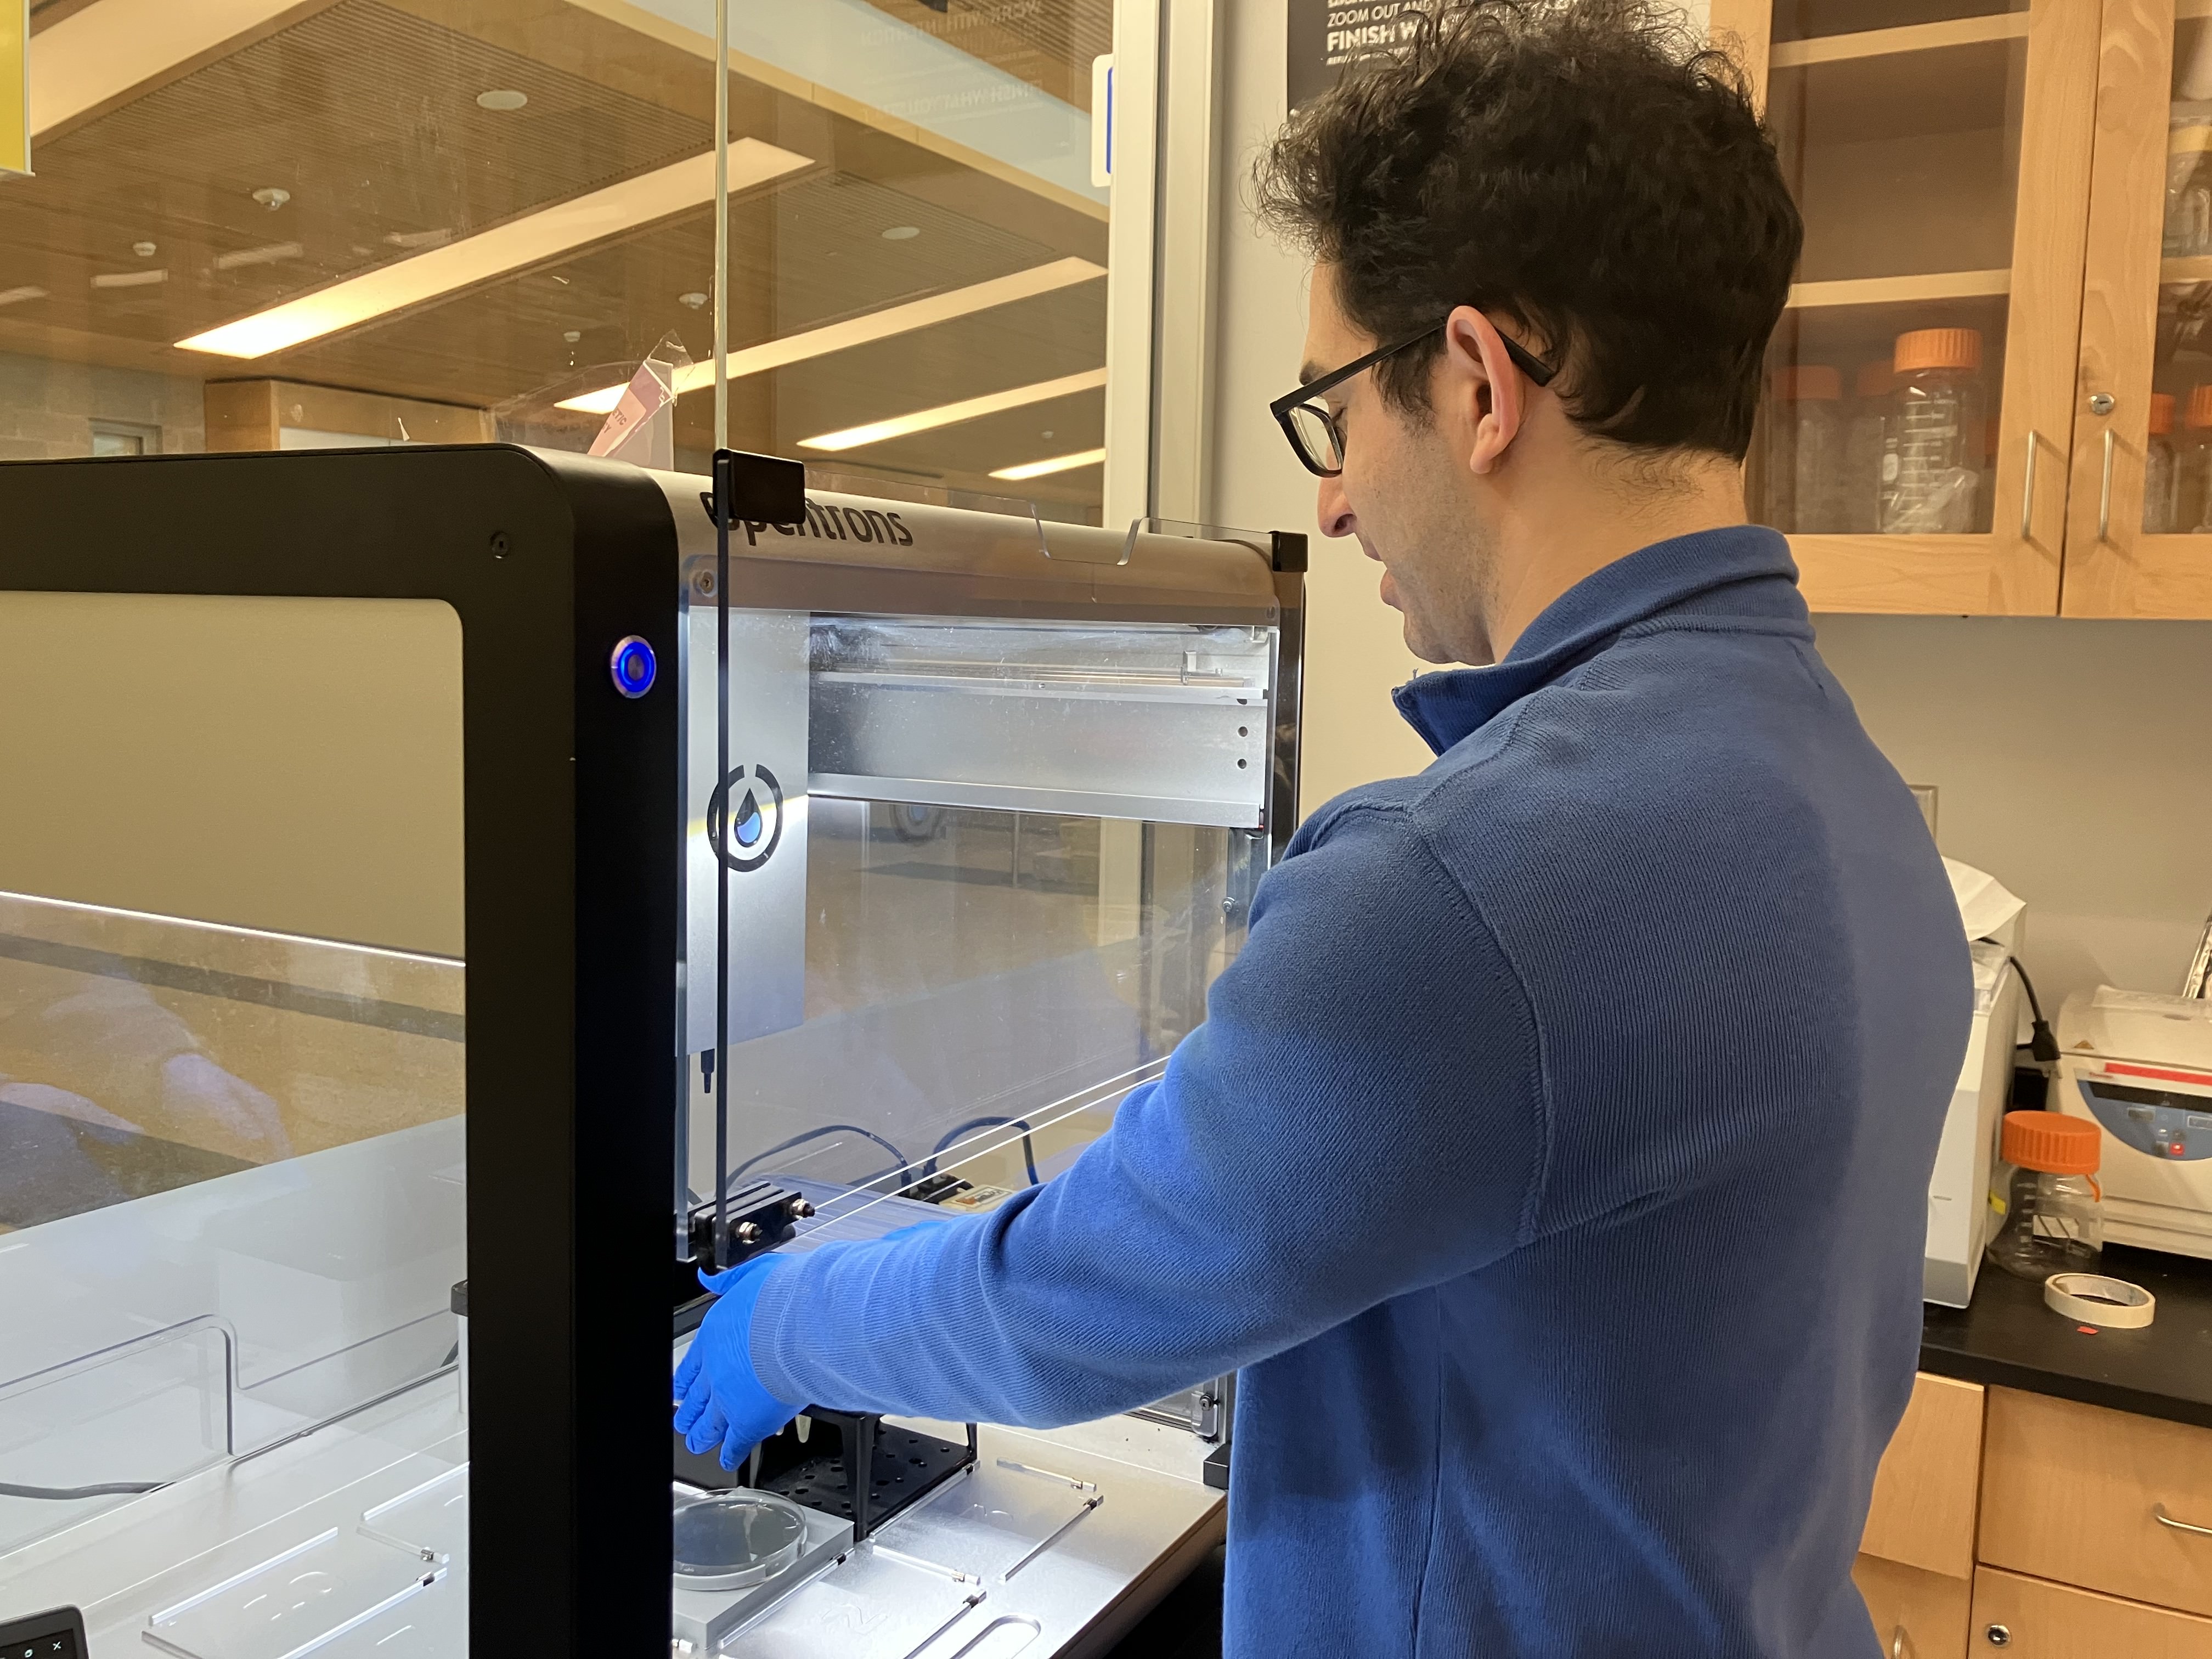
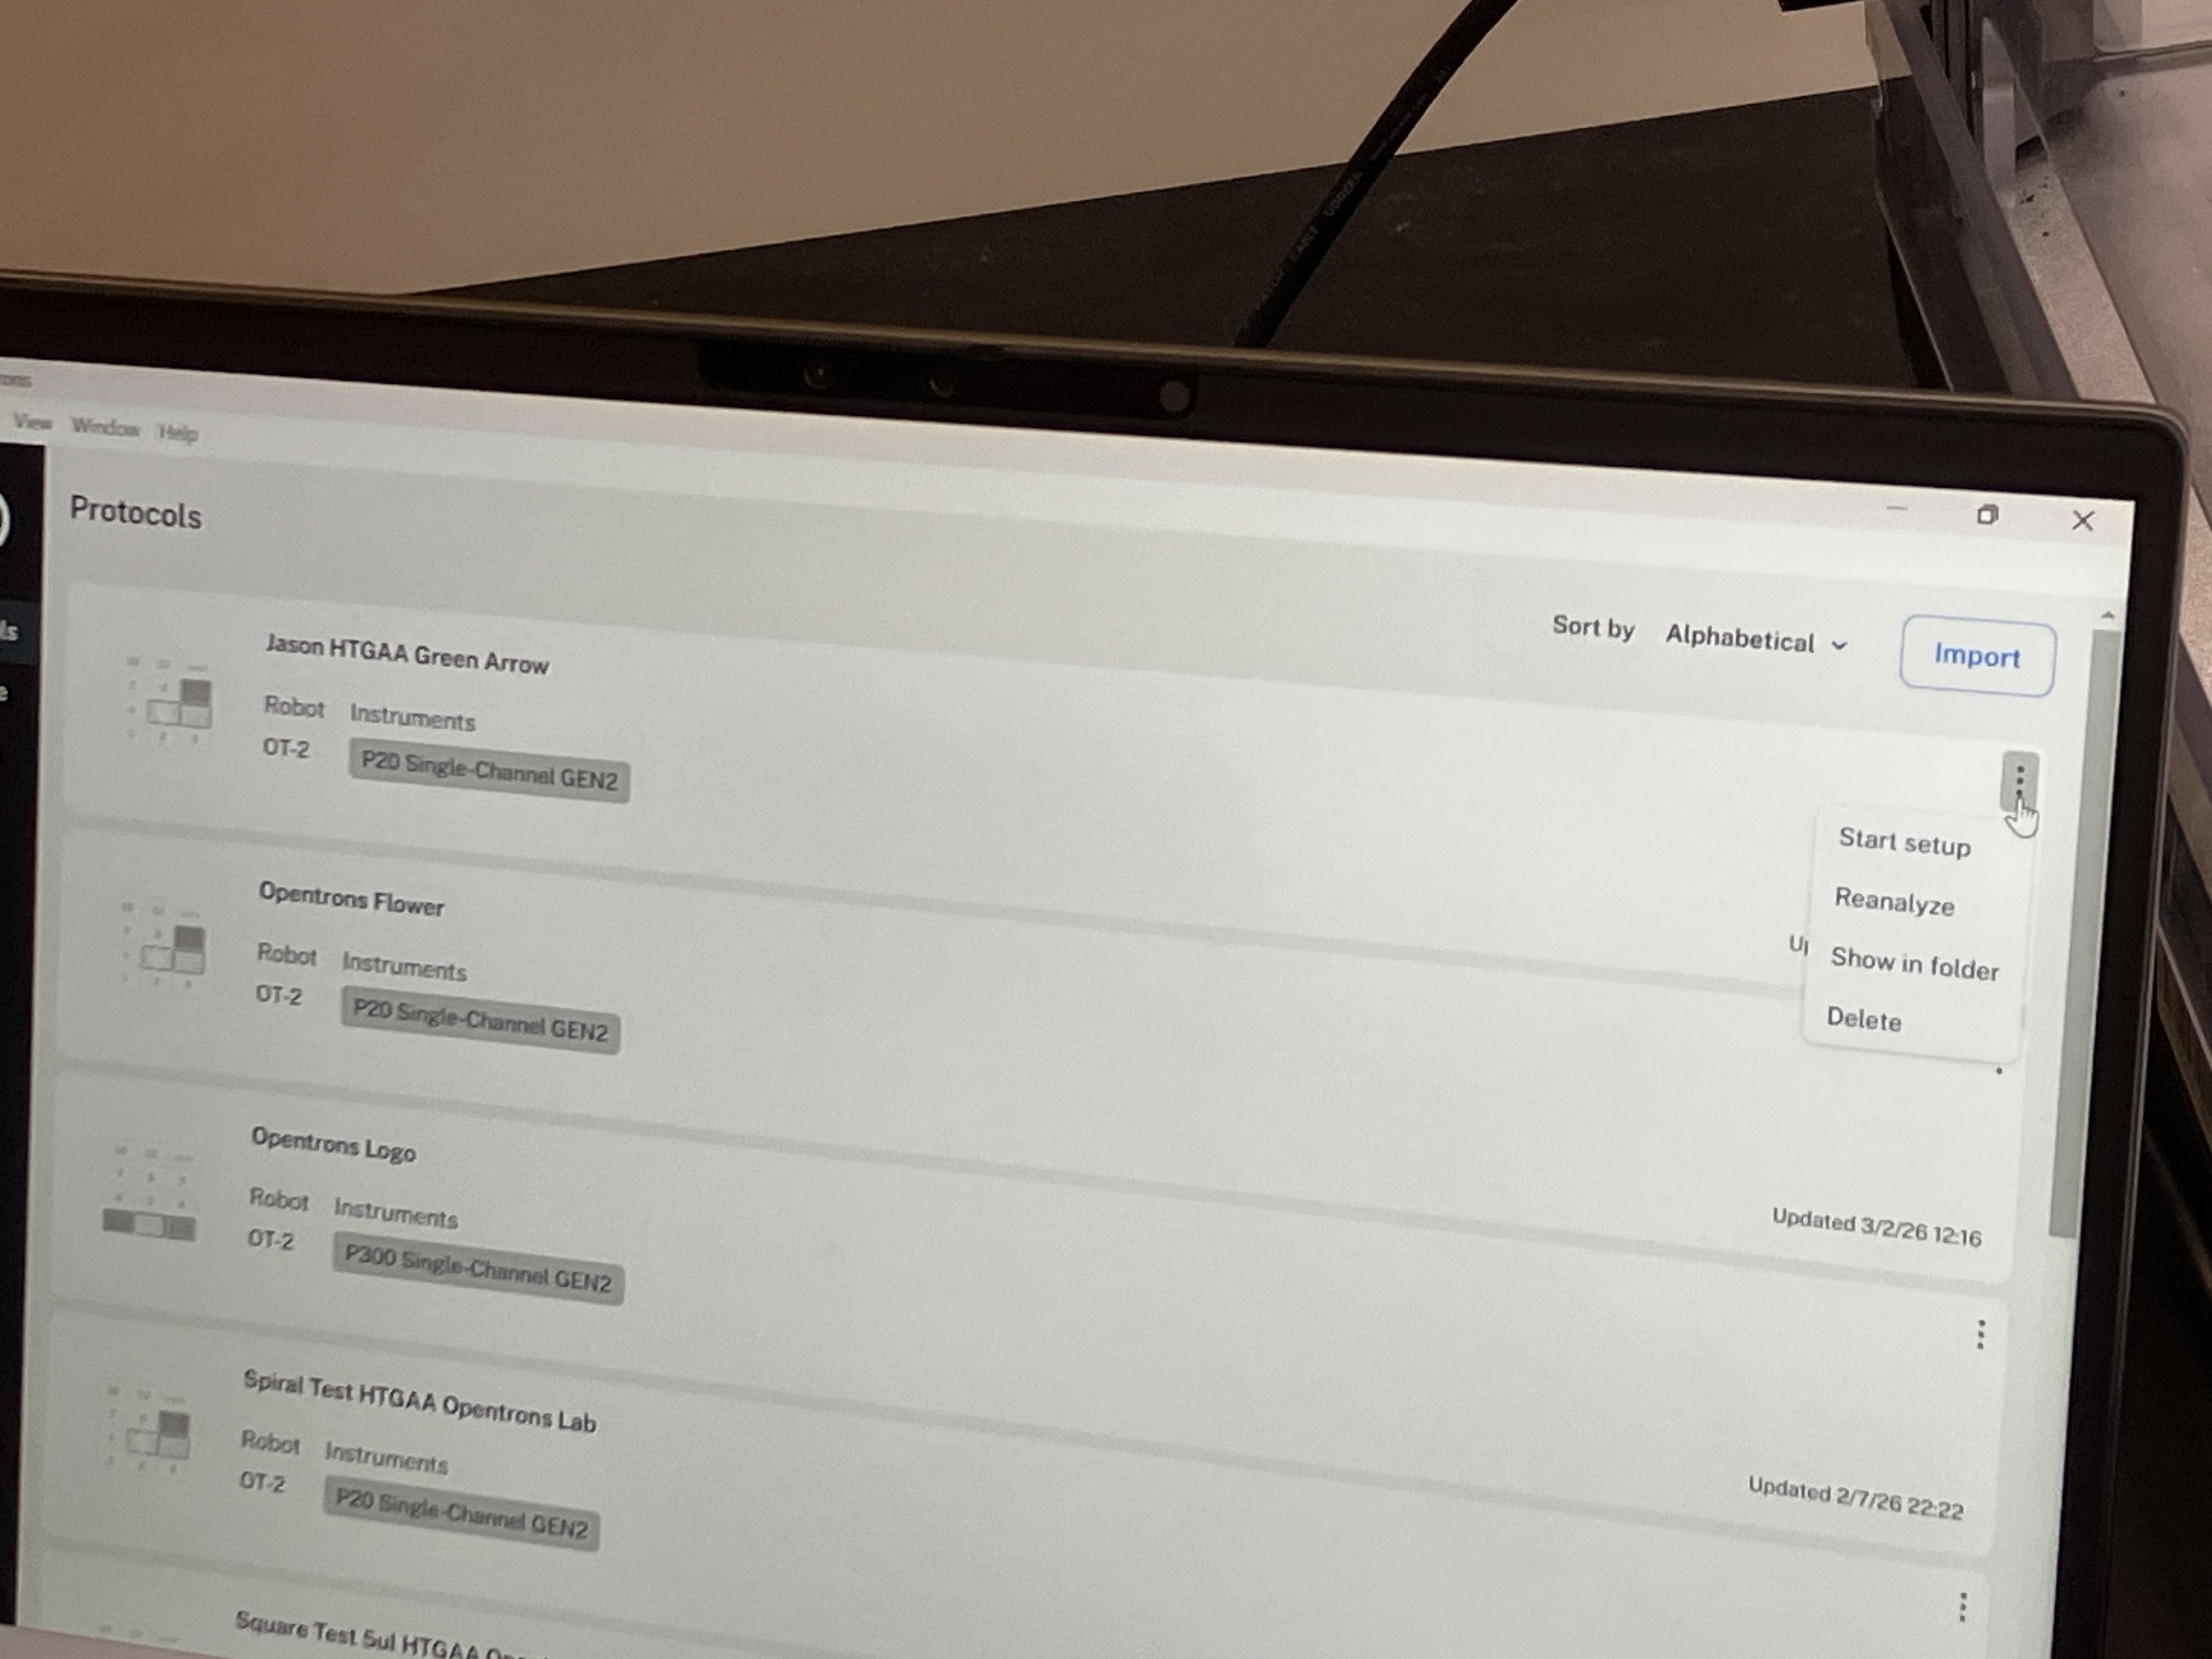
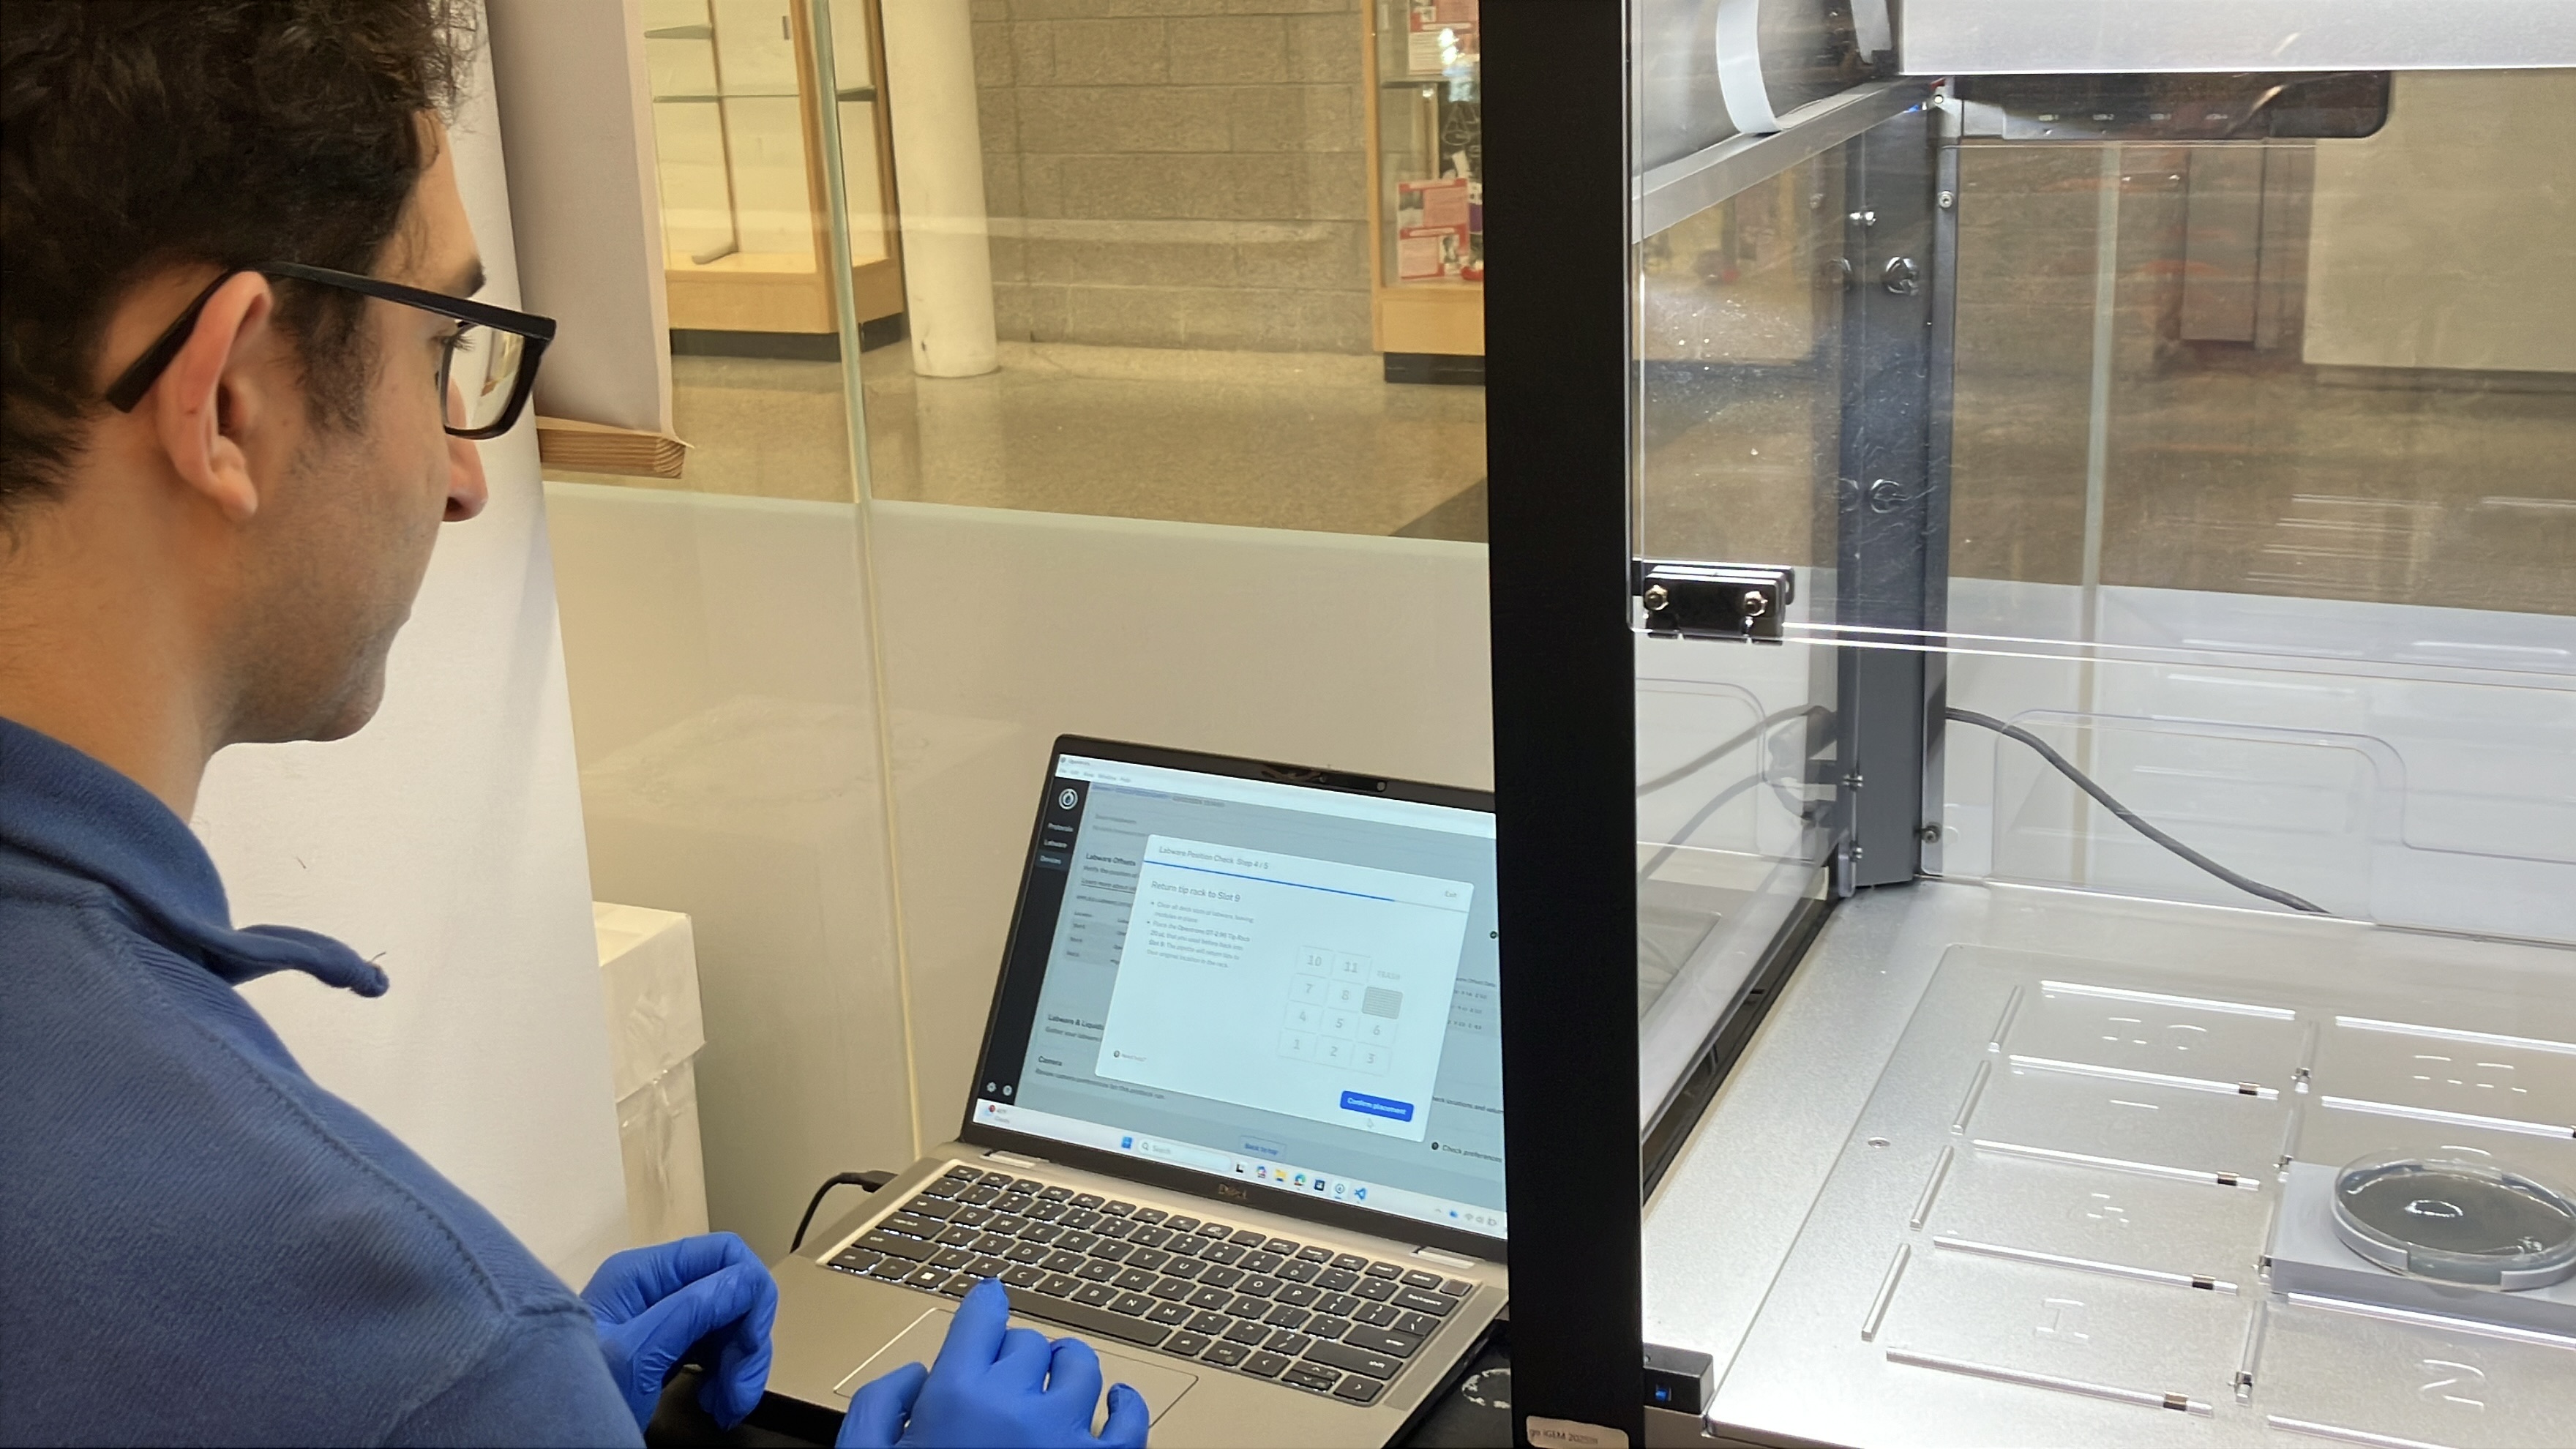
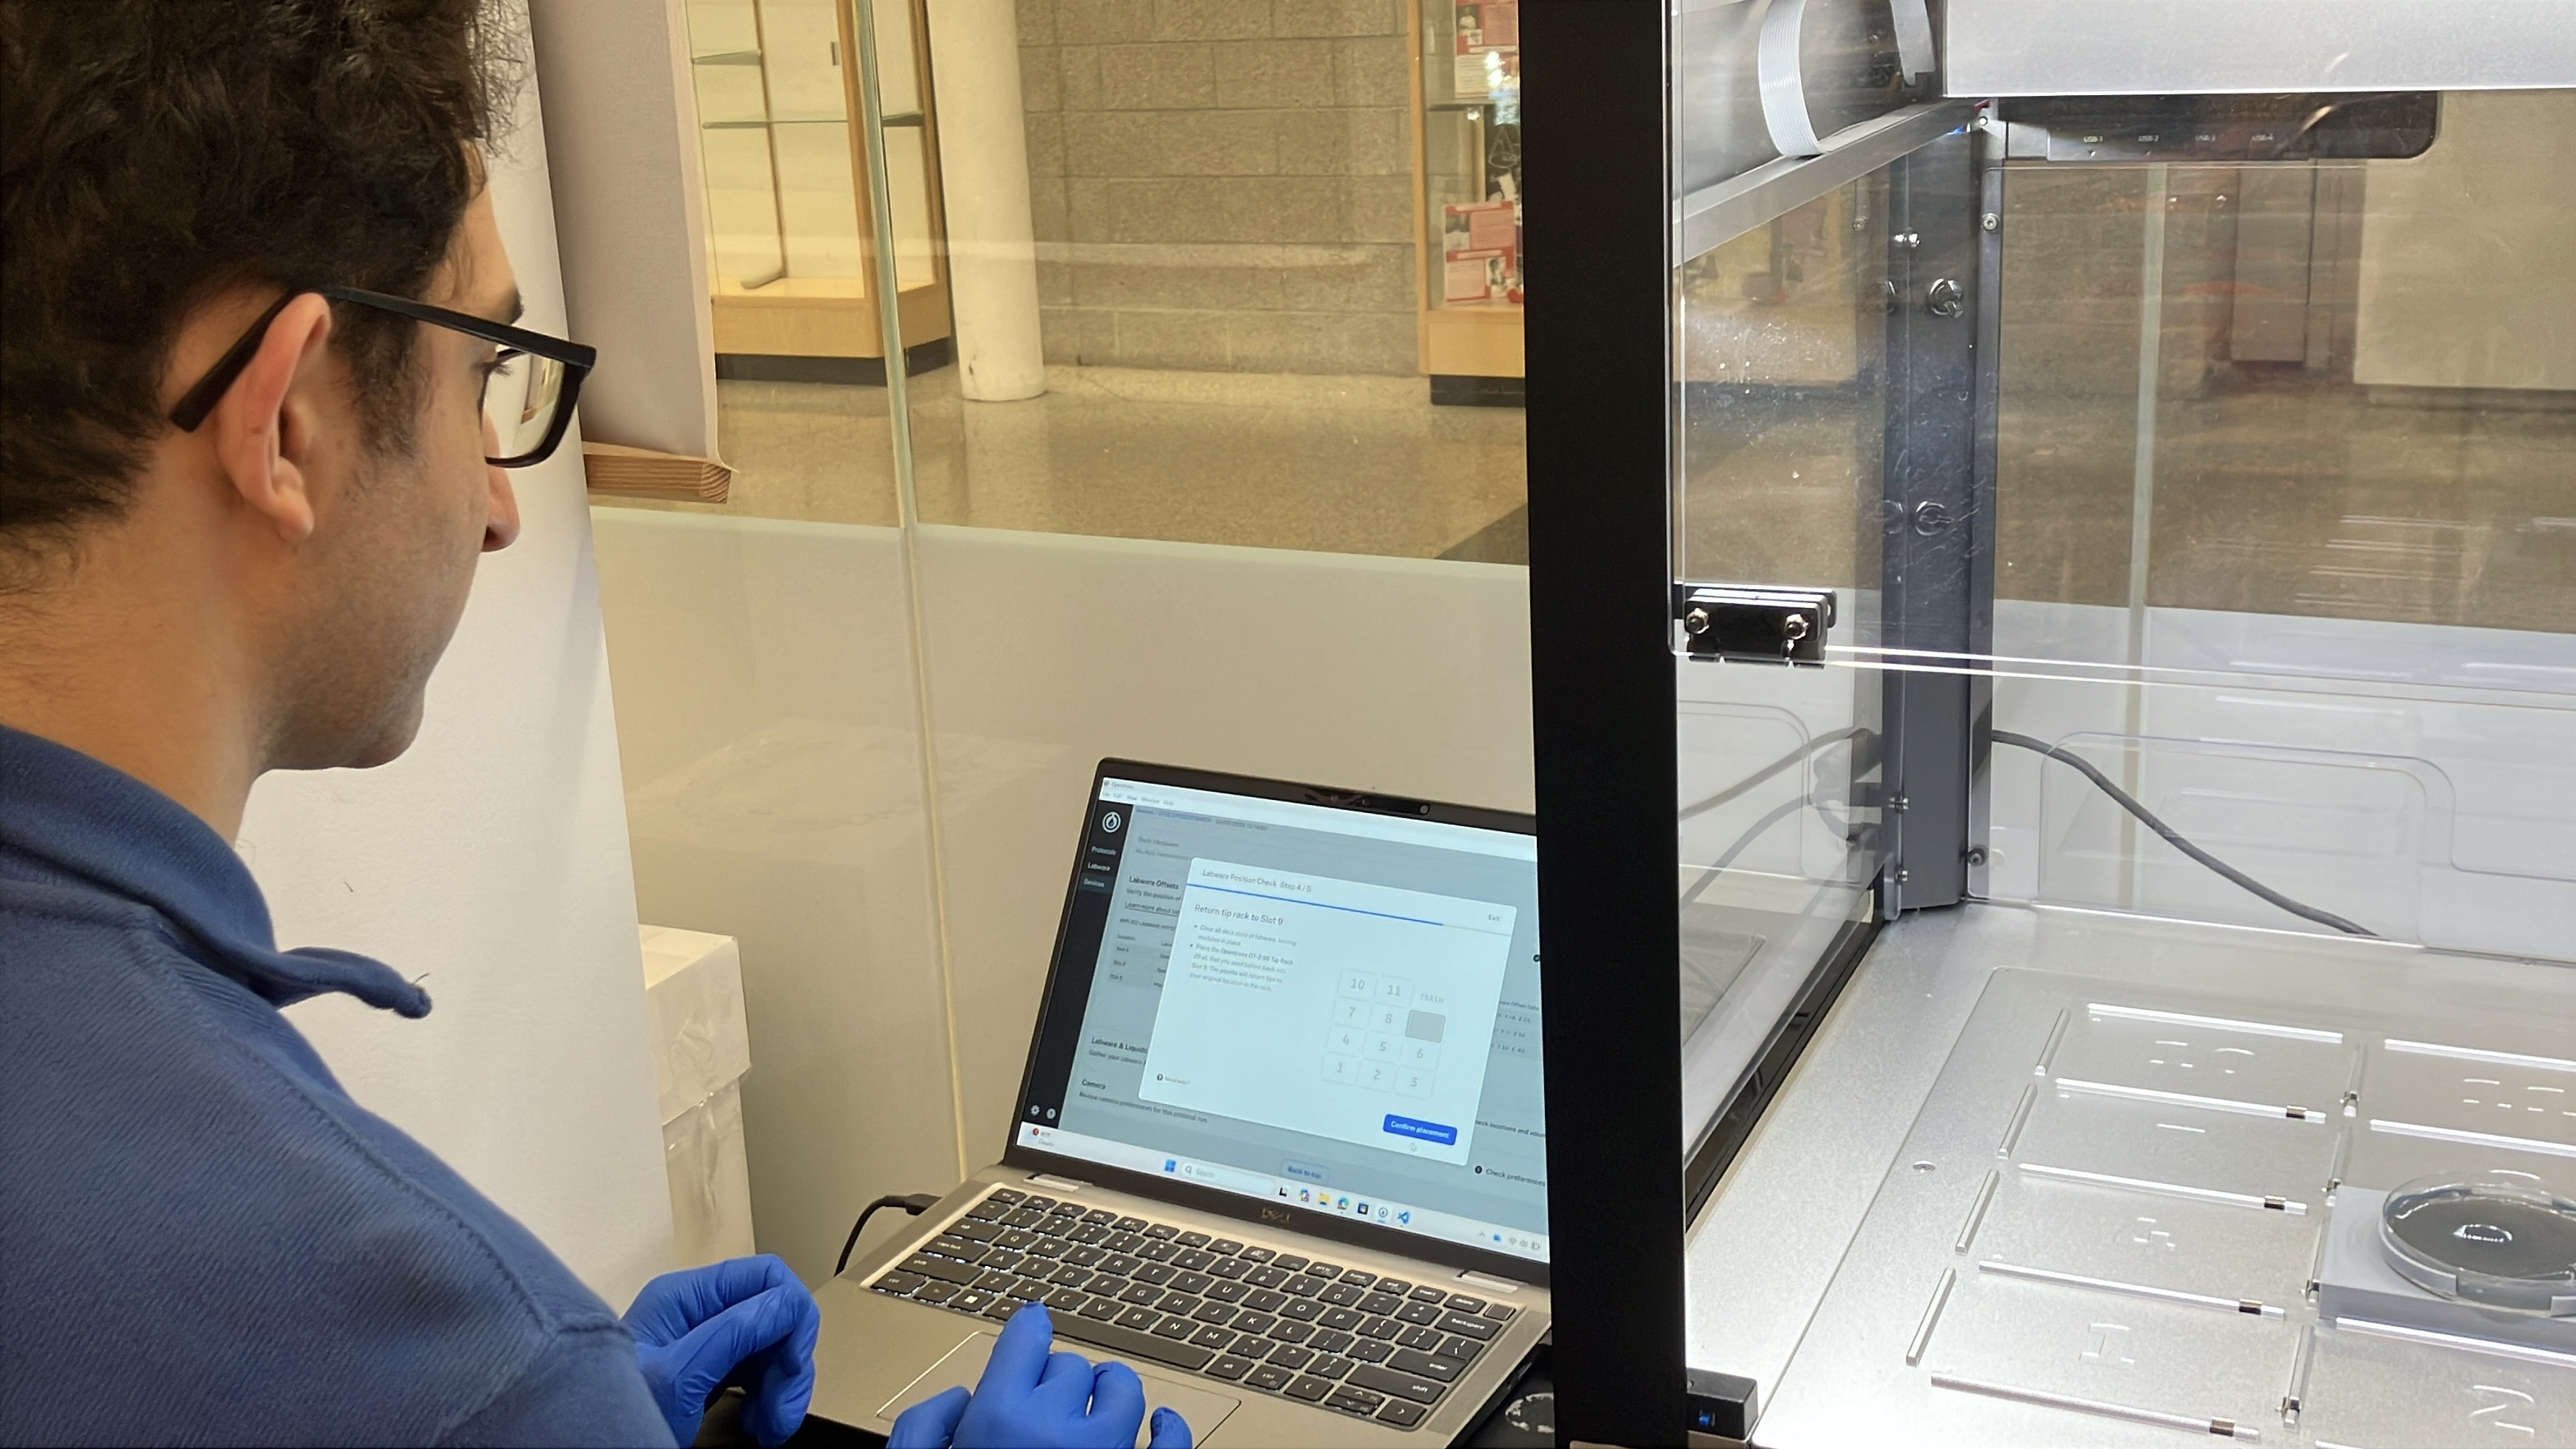
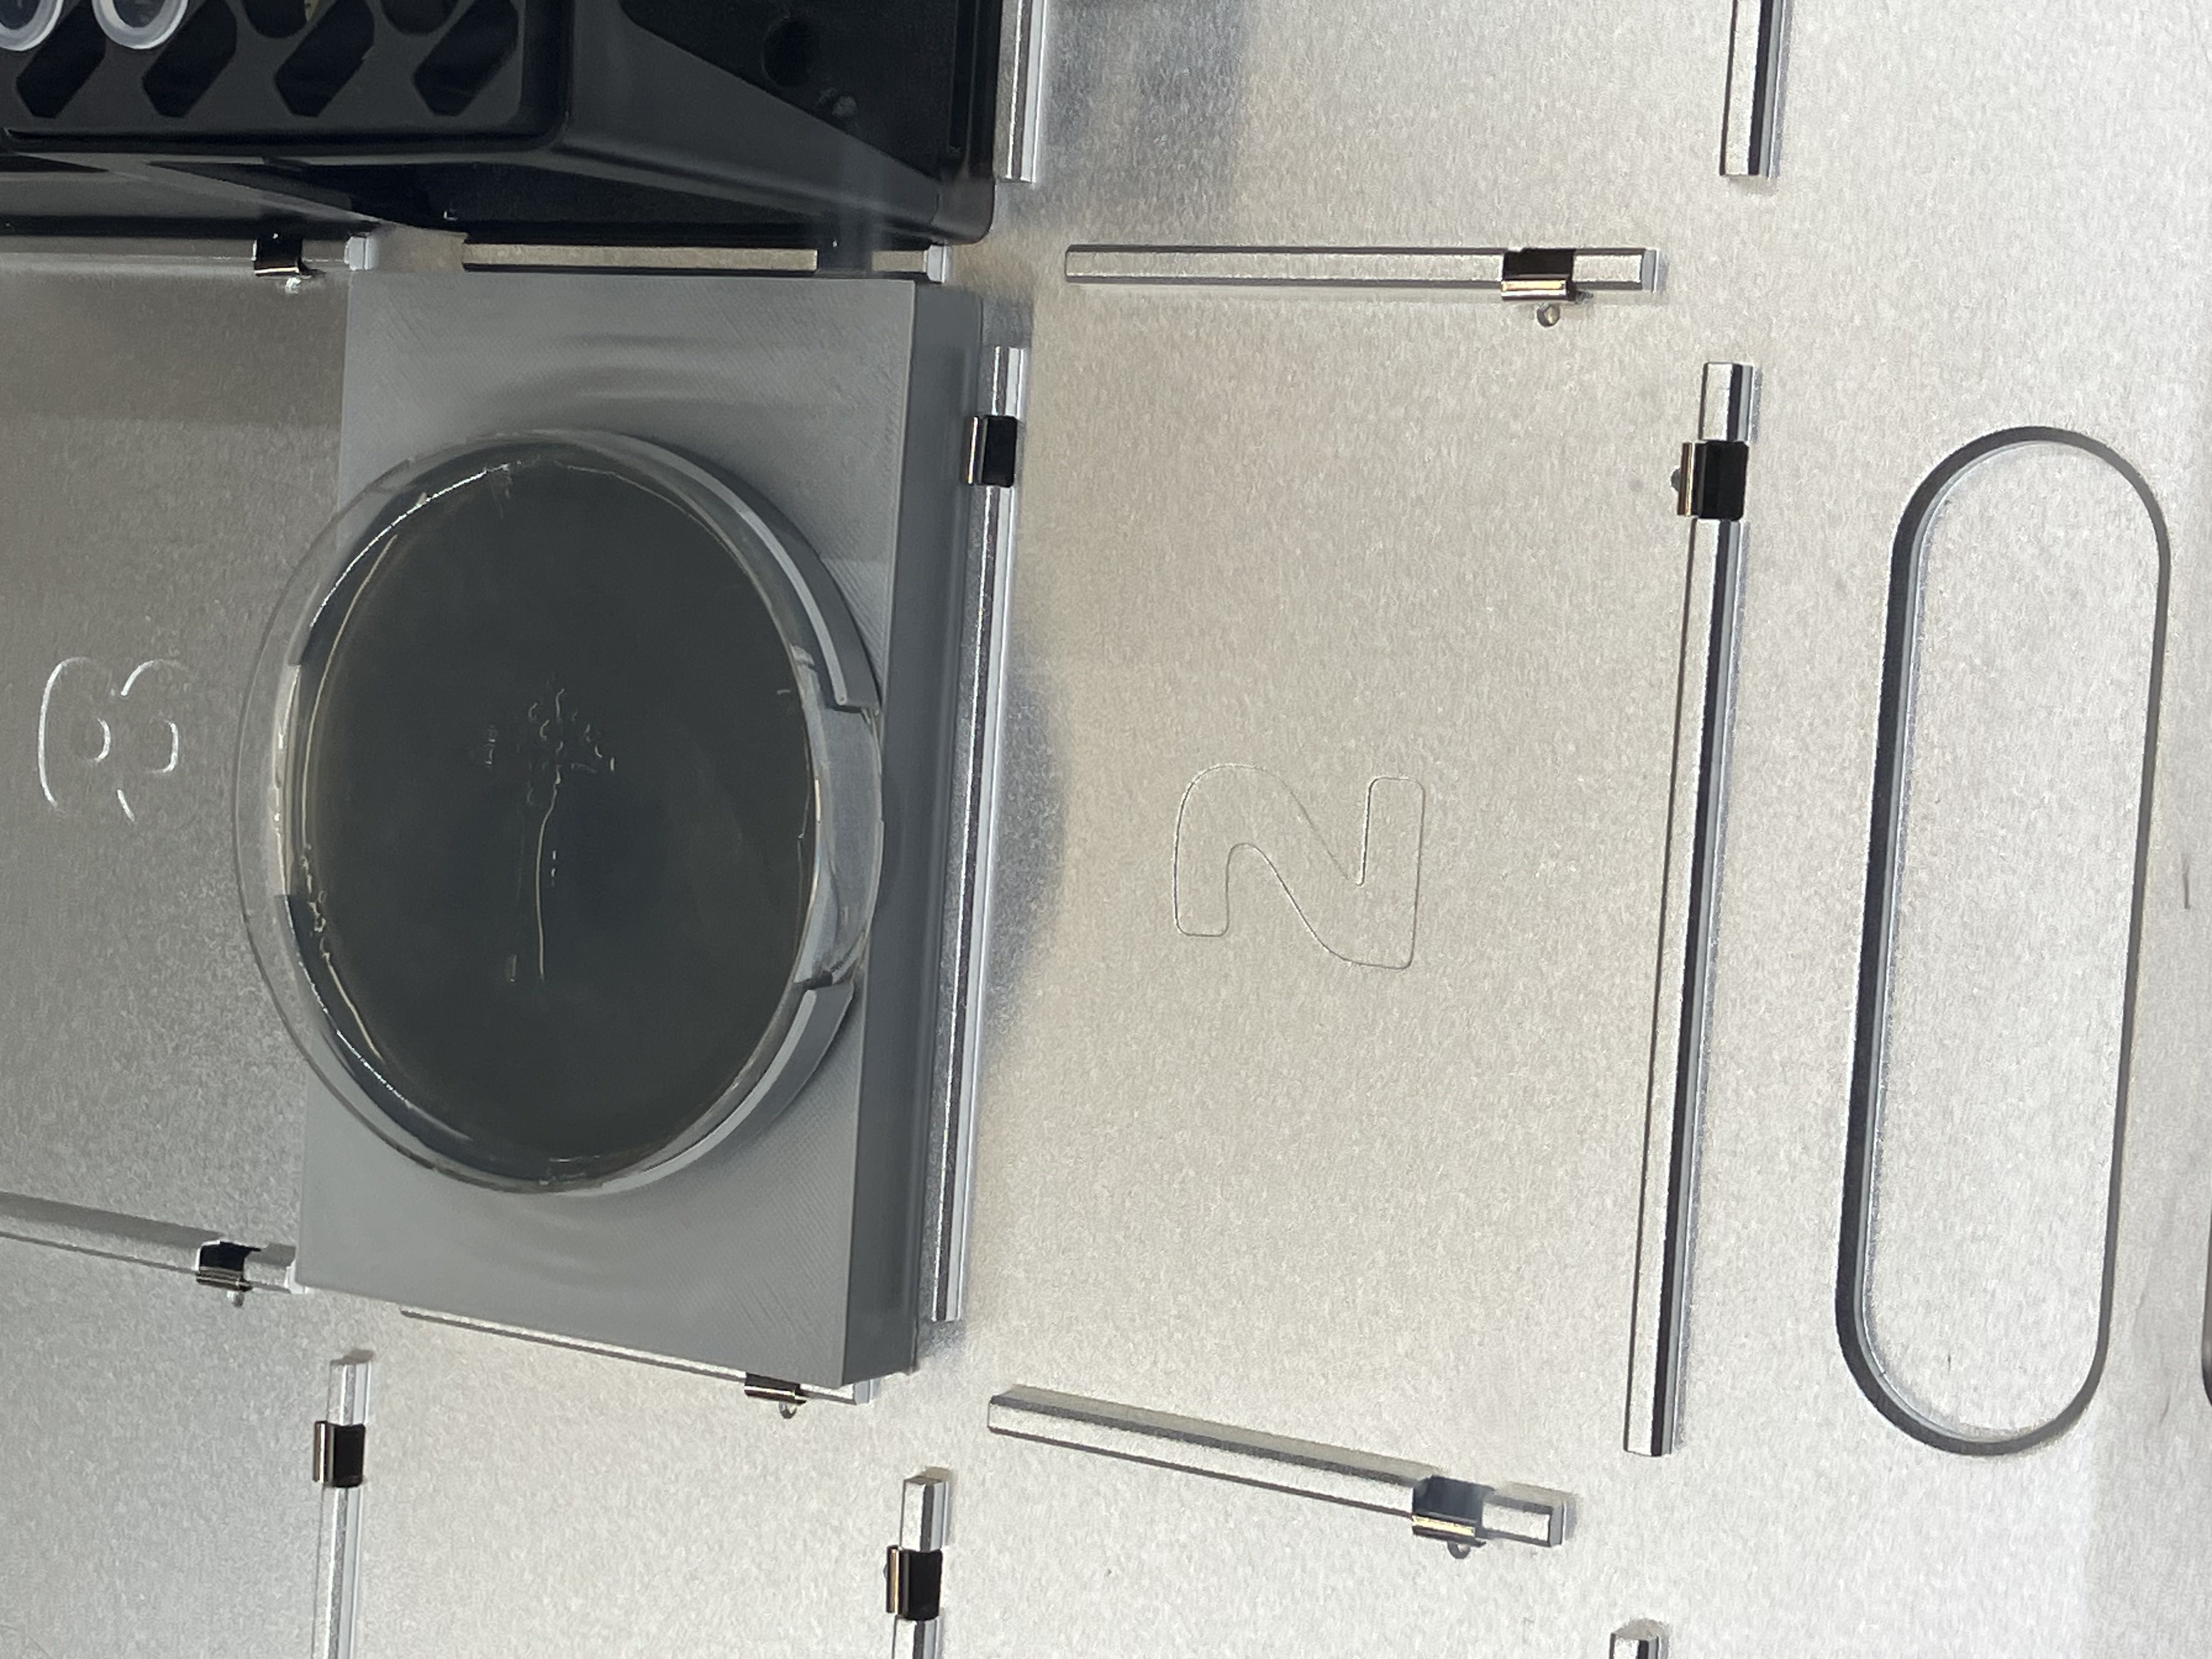
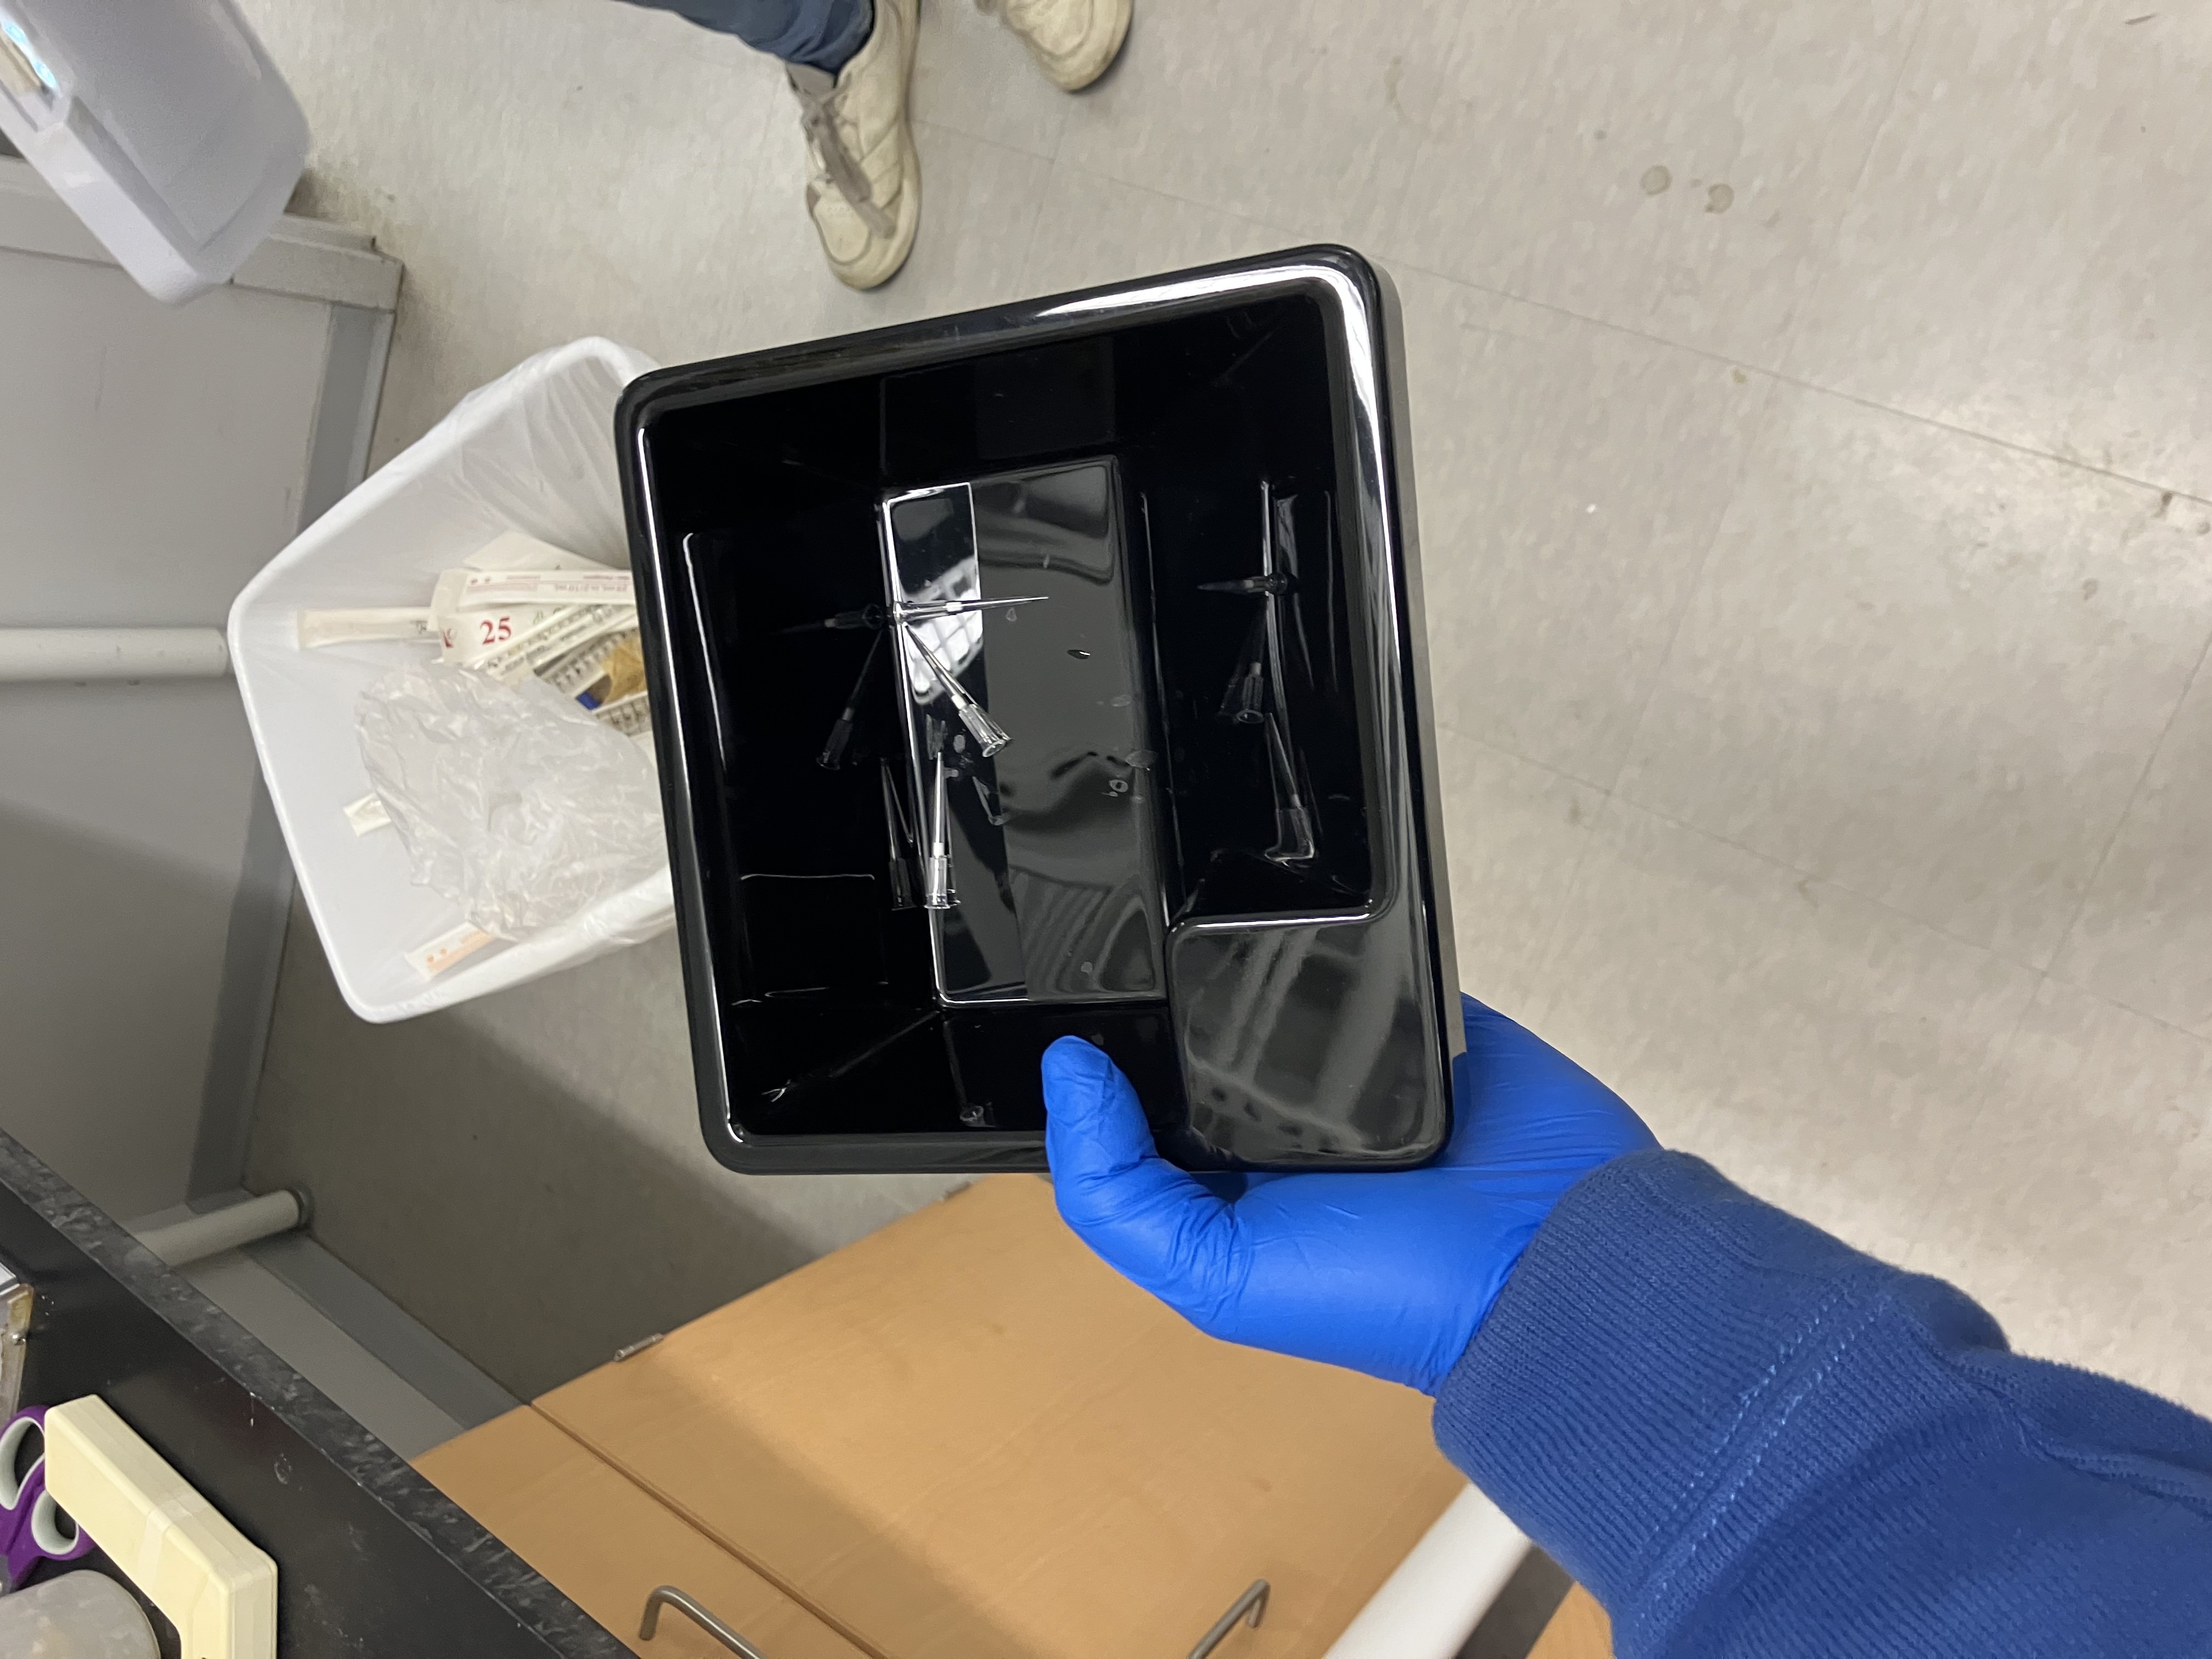
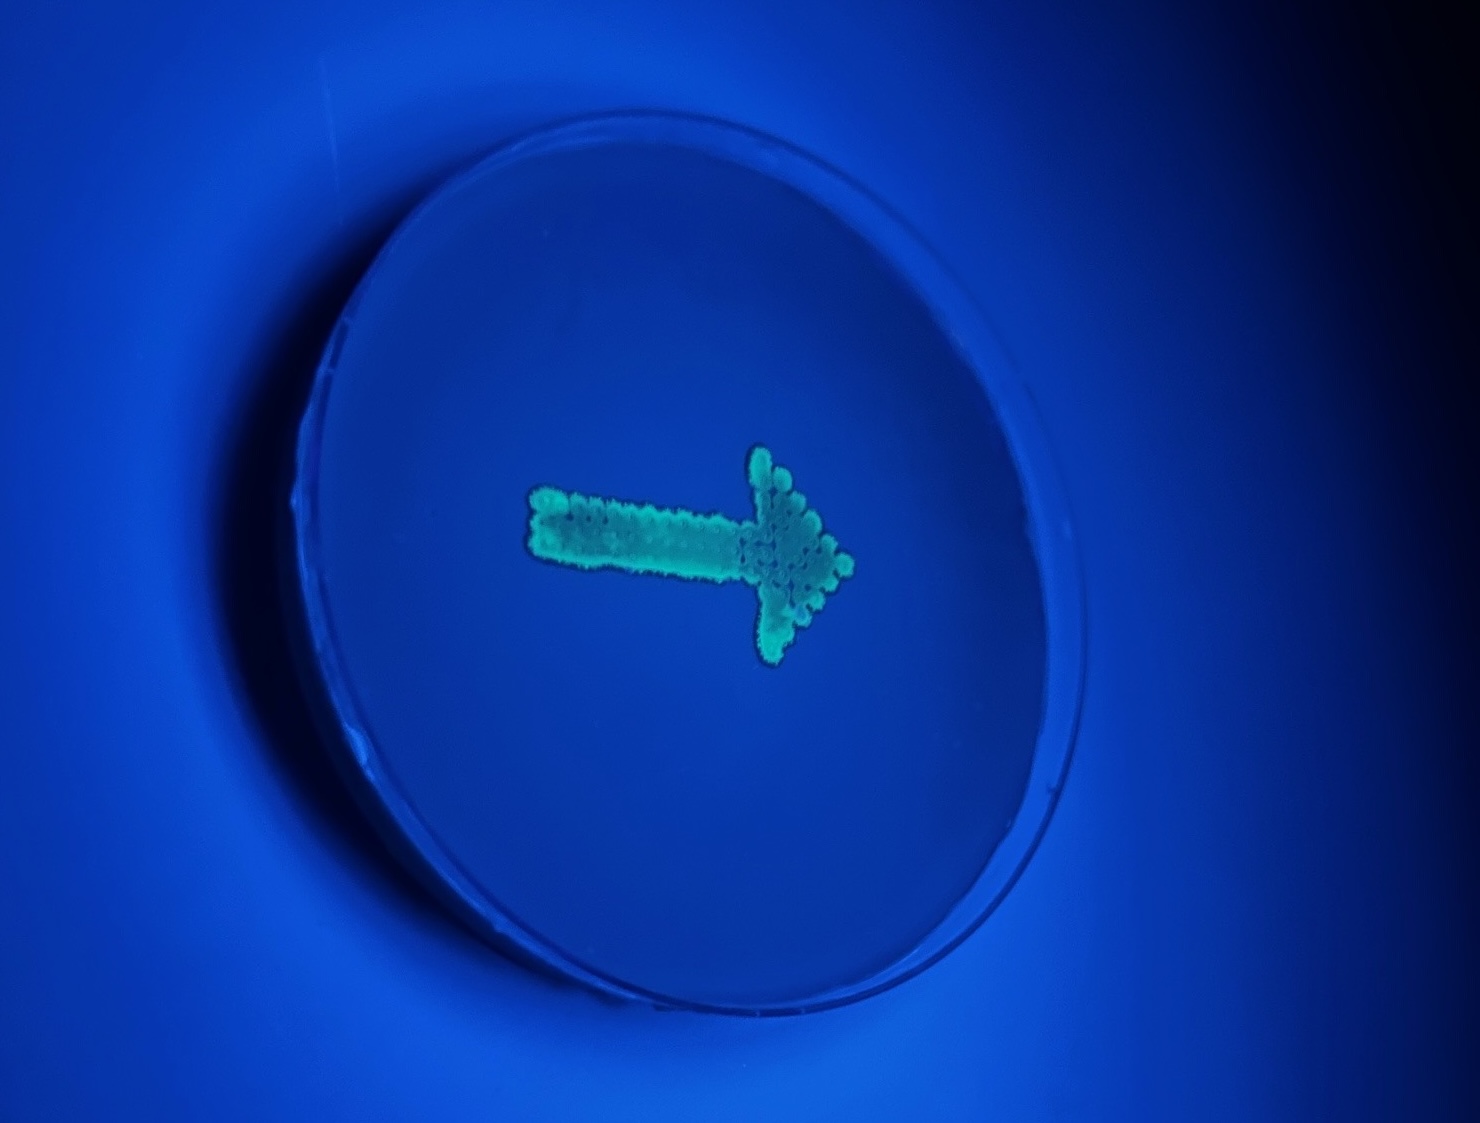
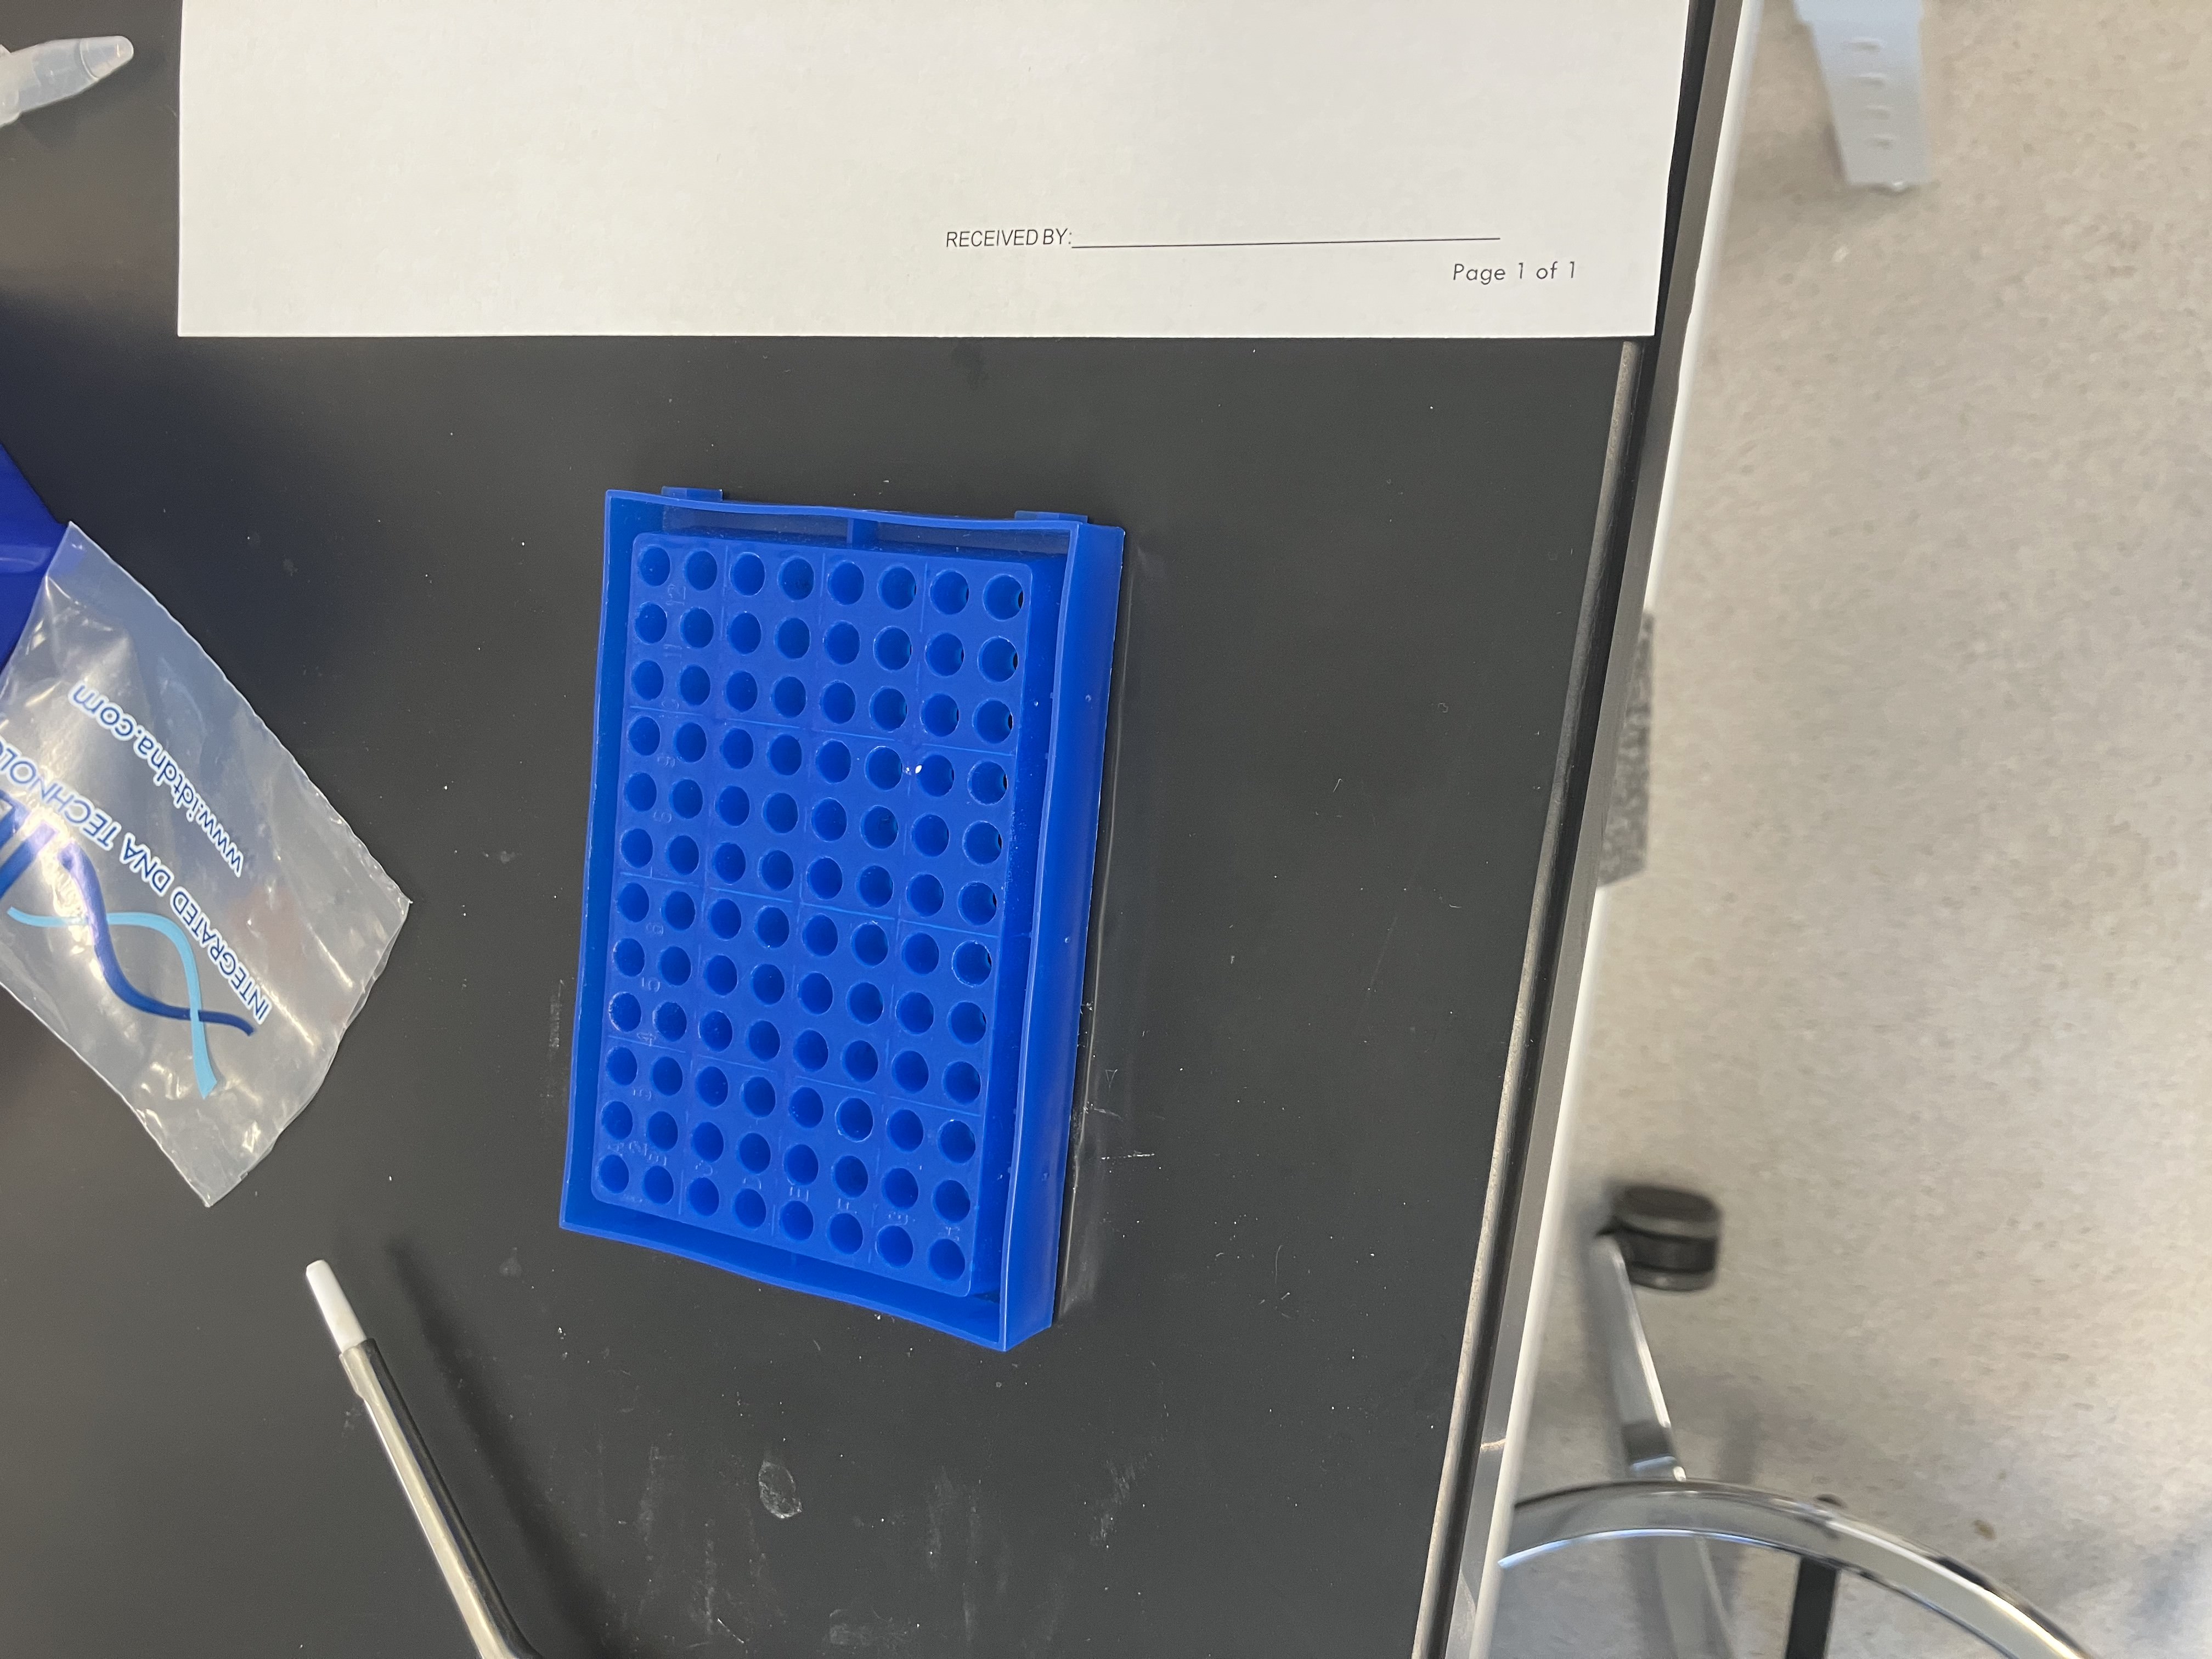
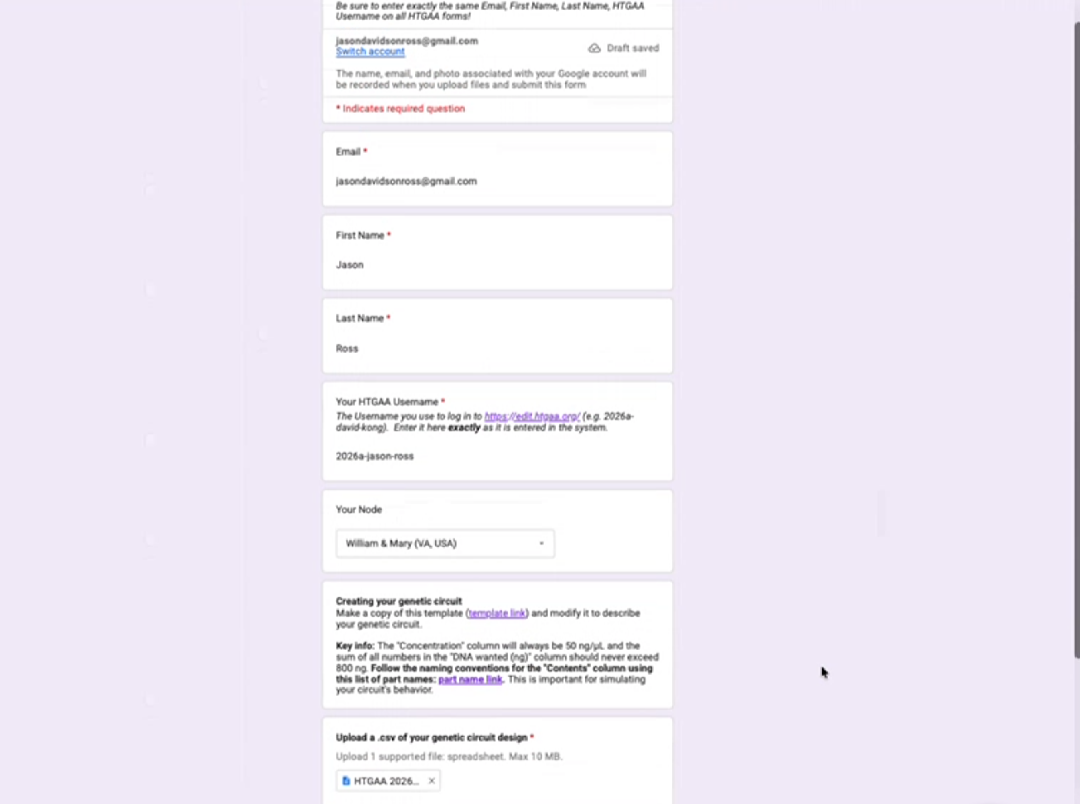
Opentrons Art Lab Part 1: Flourescent Bacteria & Black Agar Script See Flourescent Bacteria & Black Agar Script Colab Notebook Script here 1 2 Part 2: Submission and Running Your Protocol Traveled to William & Mary Node to complete this lab, as well as the Pipetting and DNA Gel Art Labs. During my time working this lab, I:
Week 4 Lab: Protein Design Part I
Lab Information Lab work can be found within the Week 4 HW Assignment in the hyperlink below 1 https://pages.htgaa.org/2026a/jason-ross/homework/week-04-hw-protein-design-part-i/index.html ↩︎
Week 5 Lab: Protein Design Part II
Lab Information Lab work can be found within the Week 5 HW Assignment in the hyperlink below 1 https://pages.htgaa.org/2026a/jason-ross/homework/week-05-hw-protein-design-part-ii/index.html ↩︎
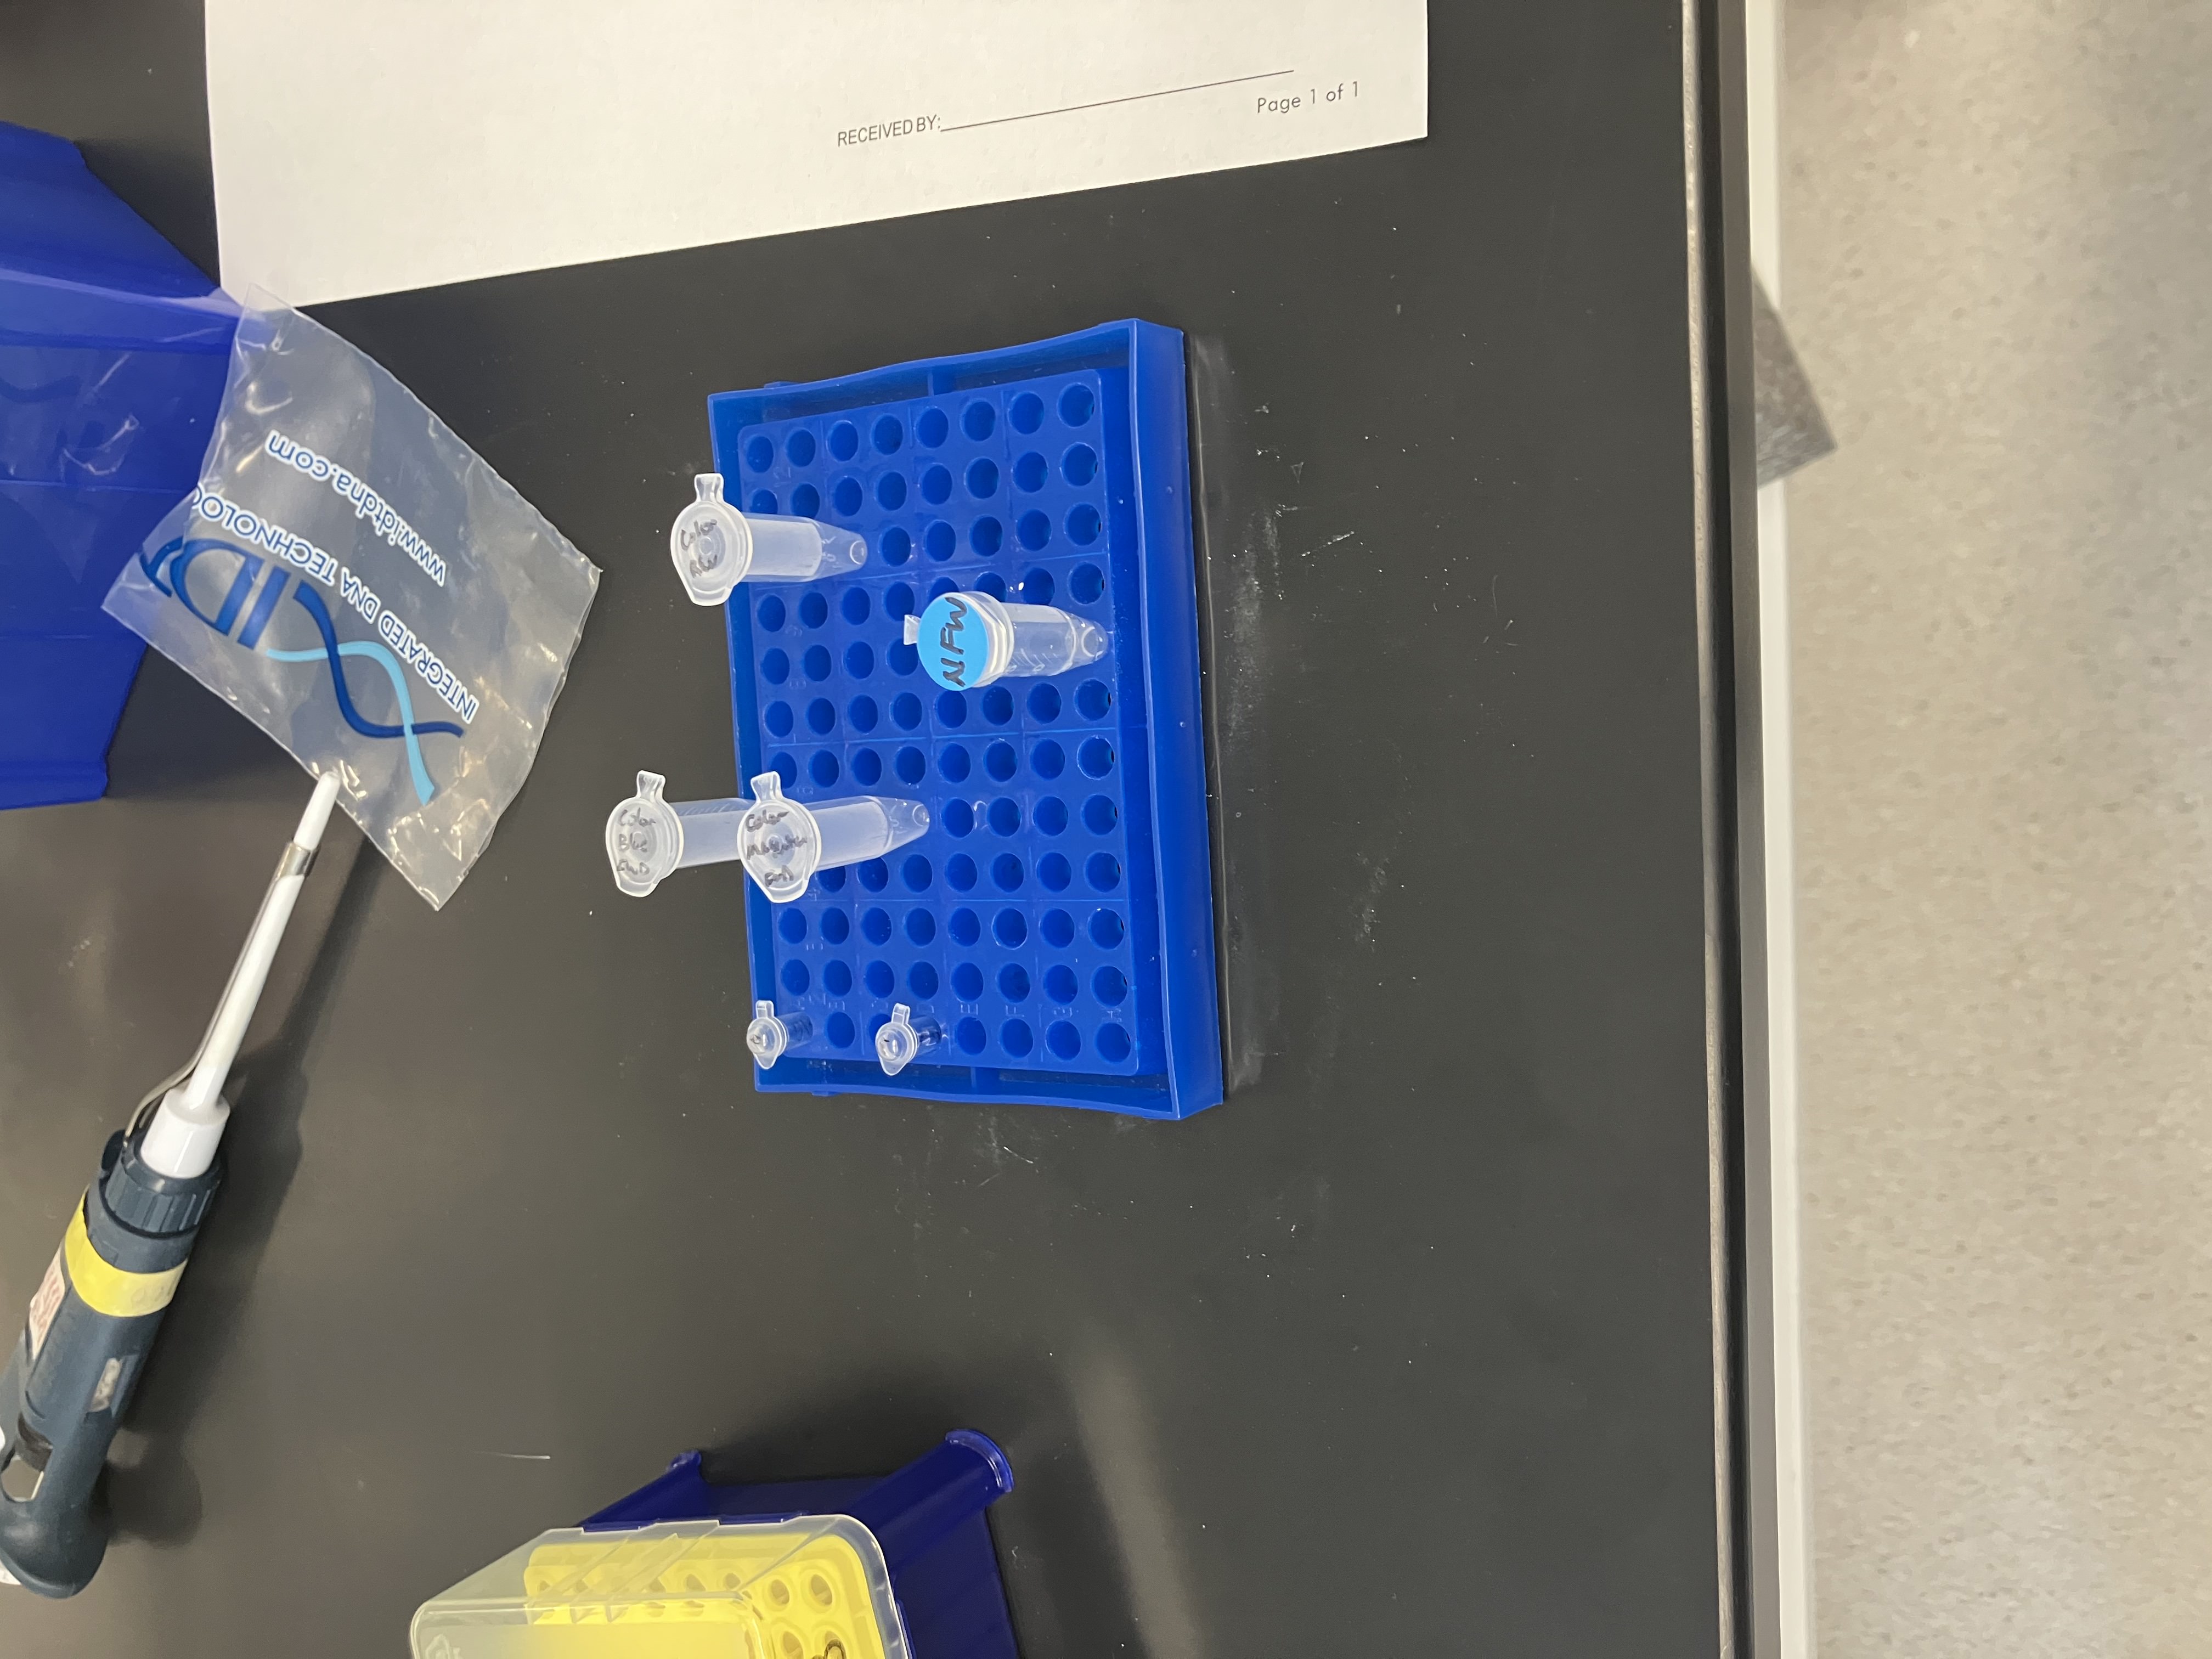
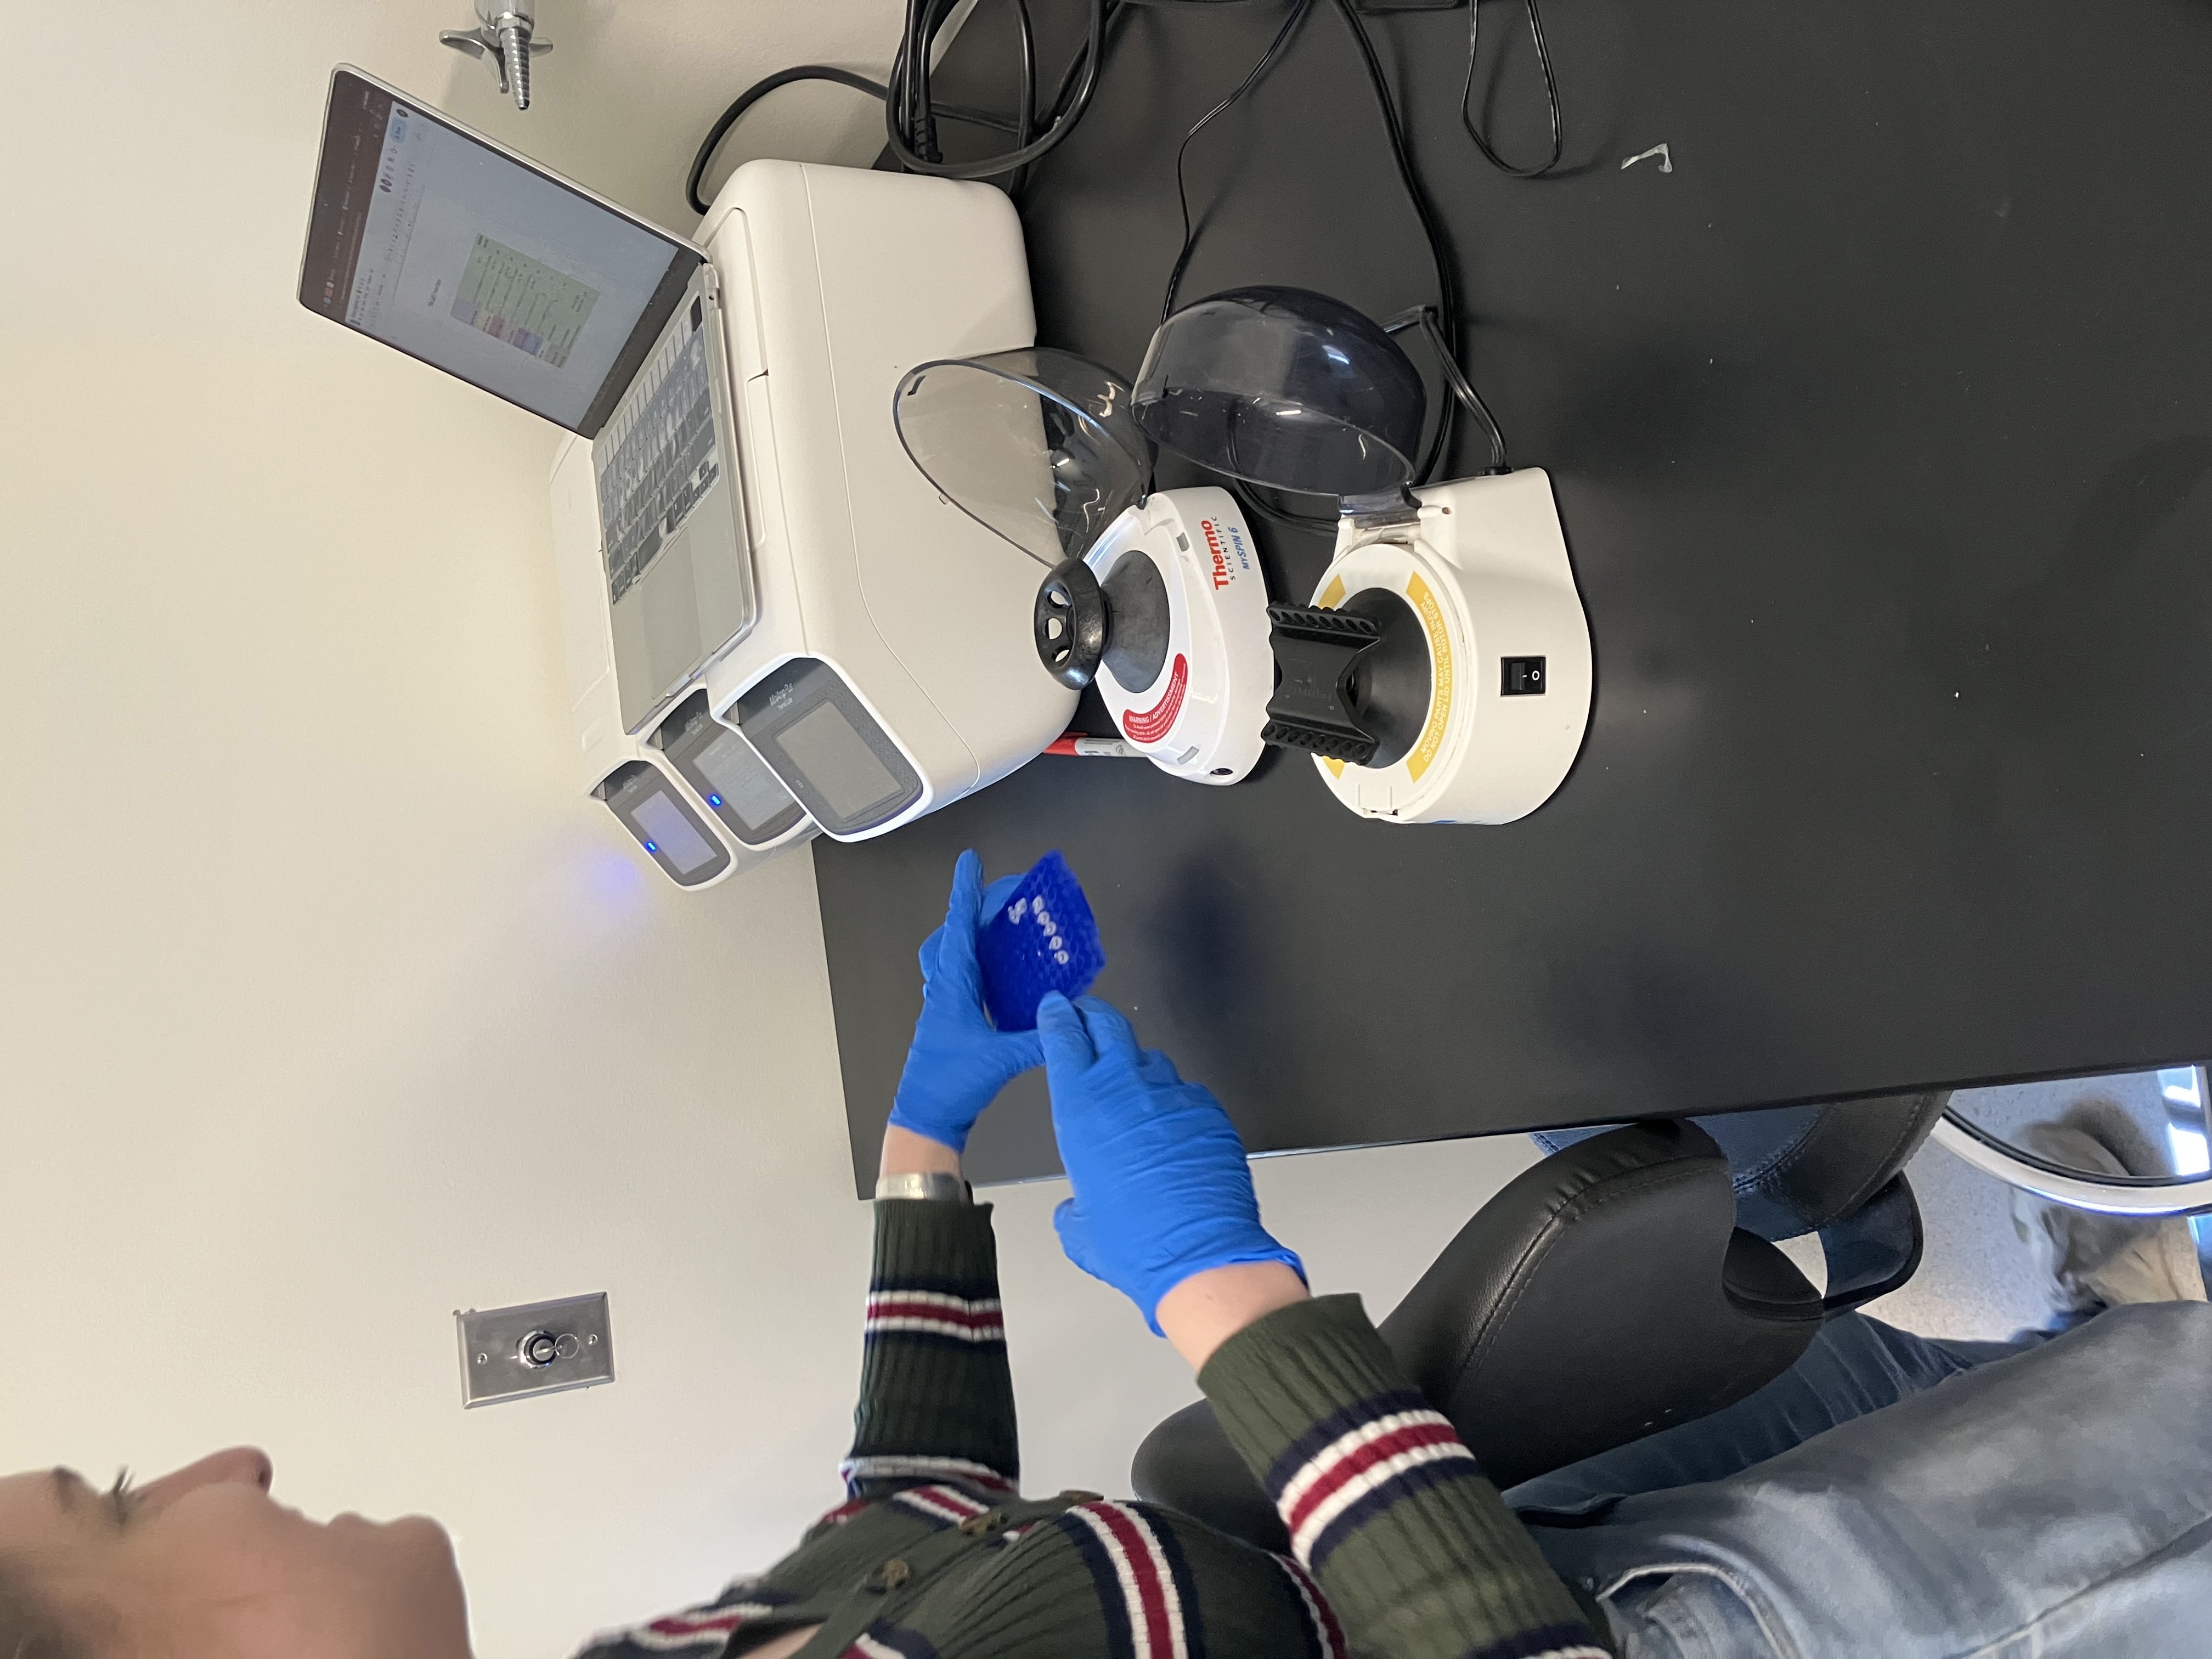
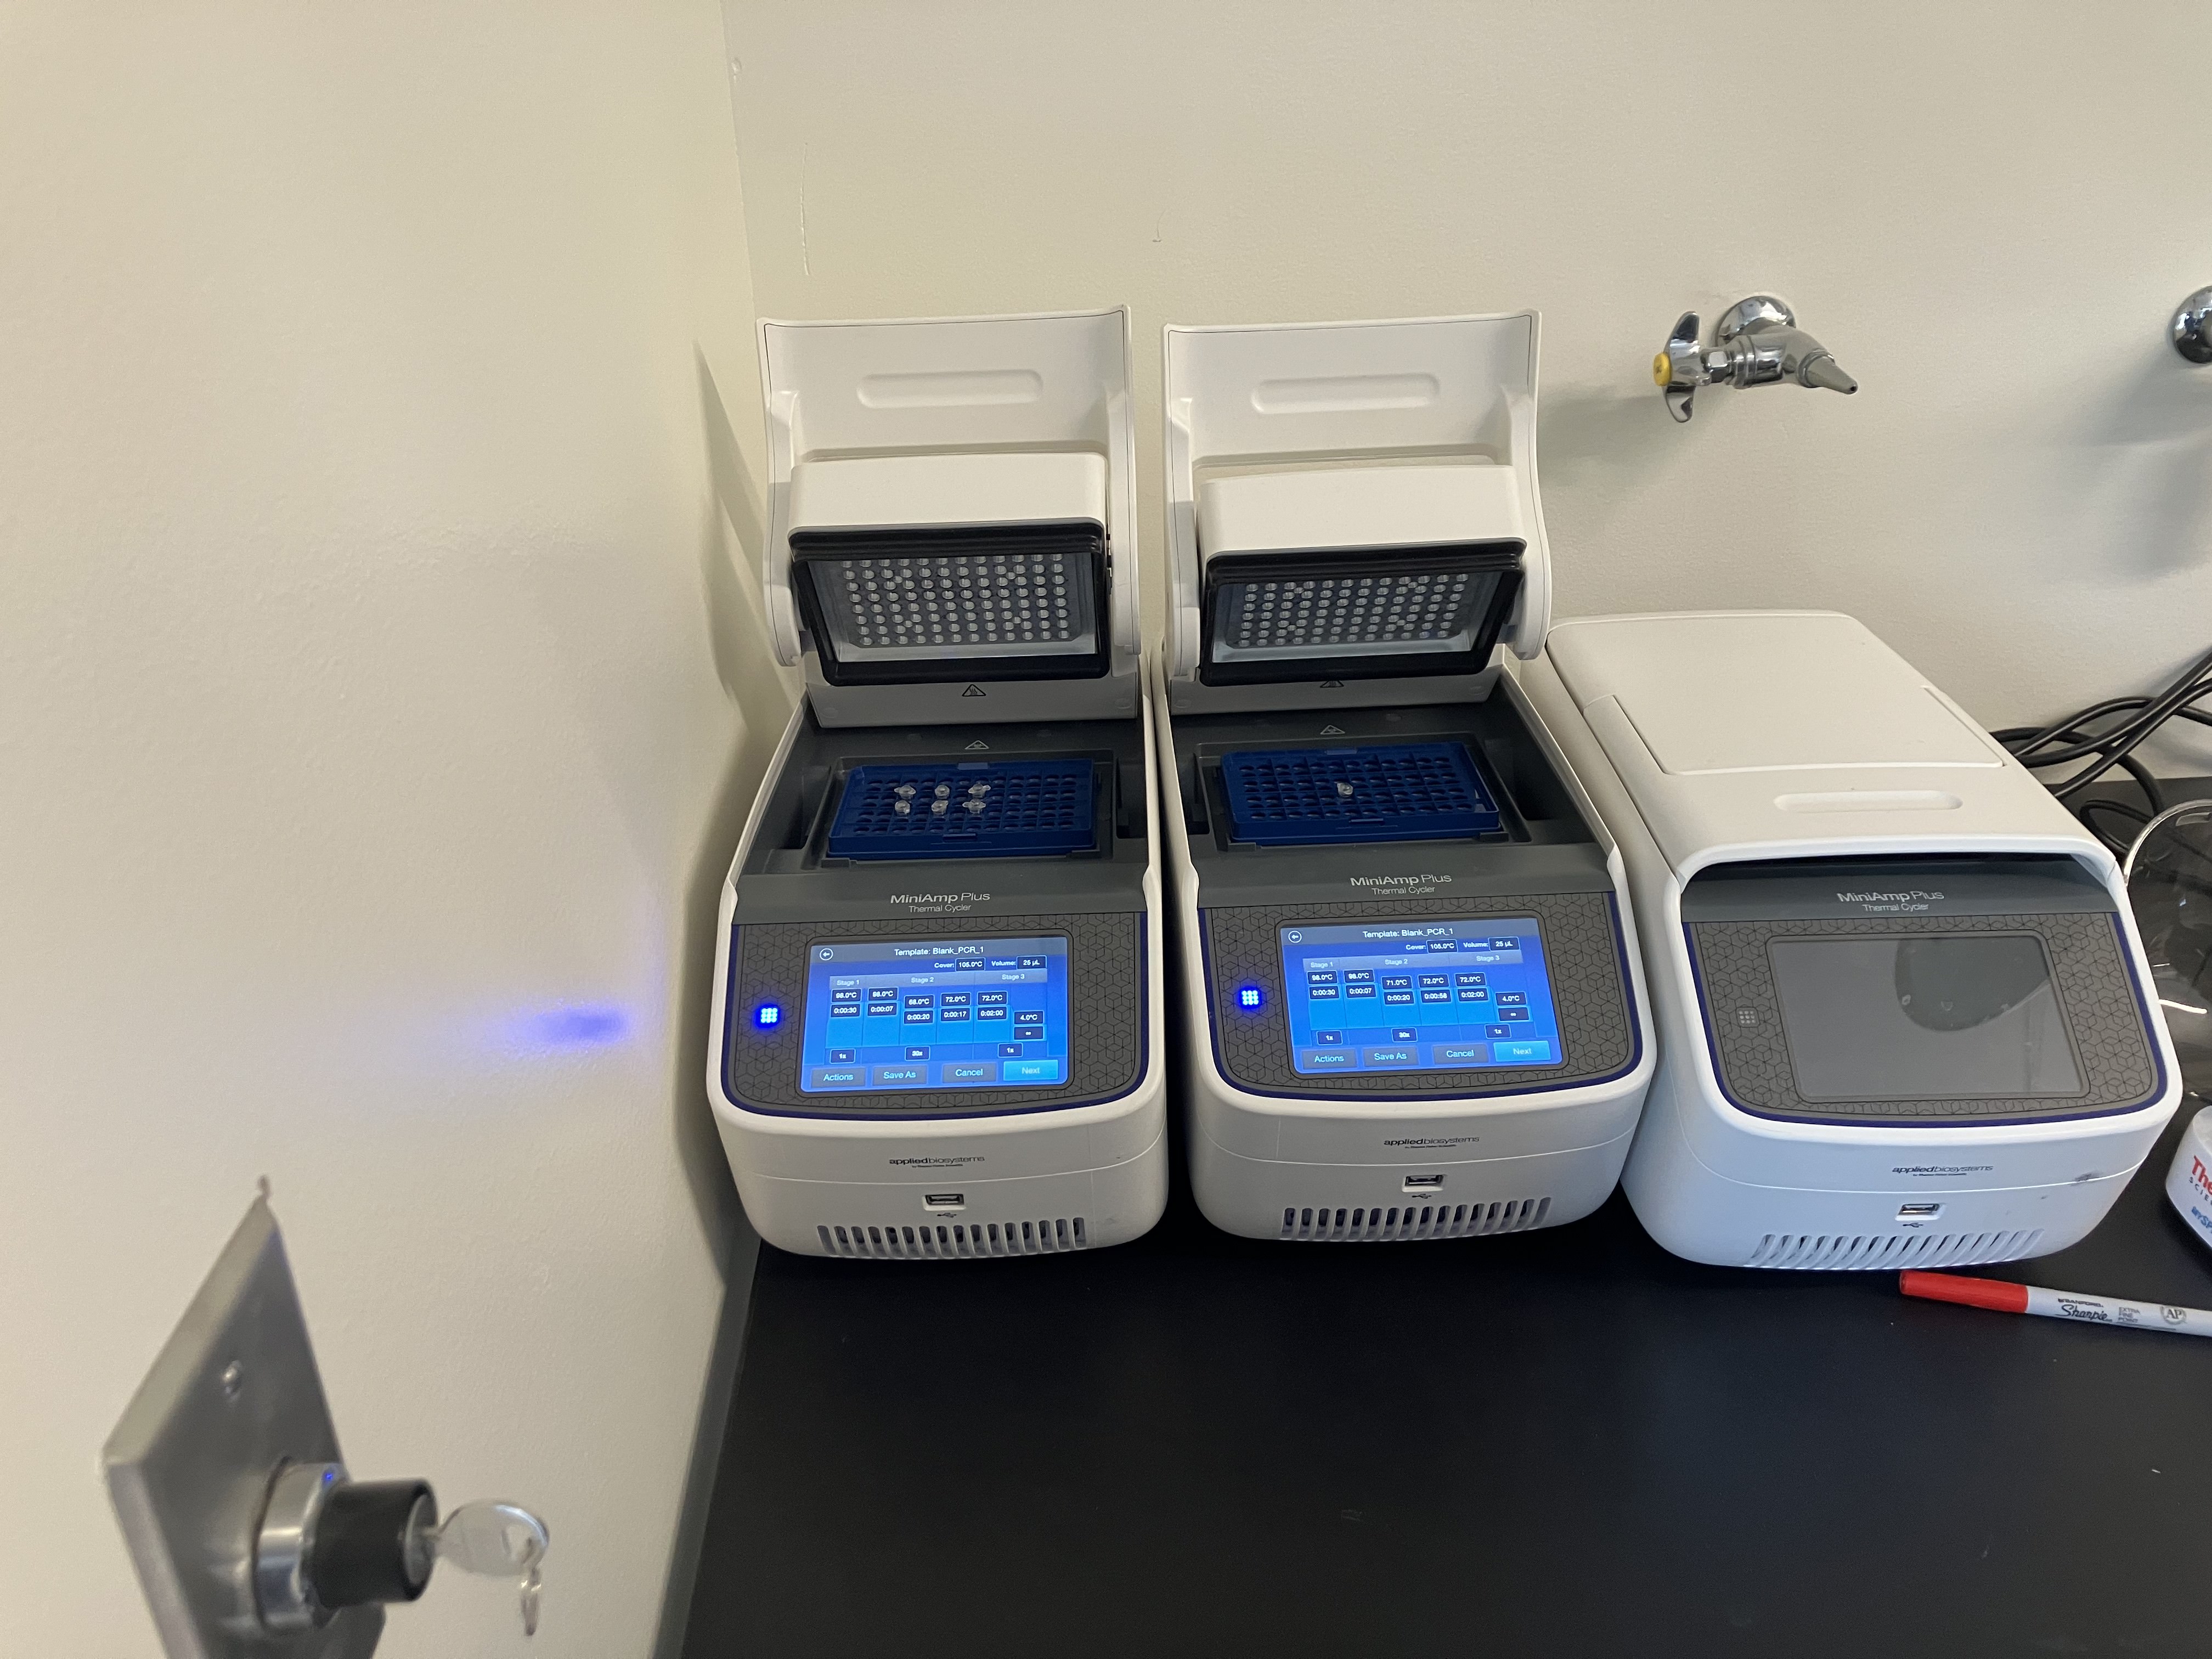
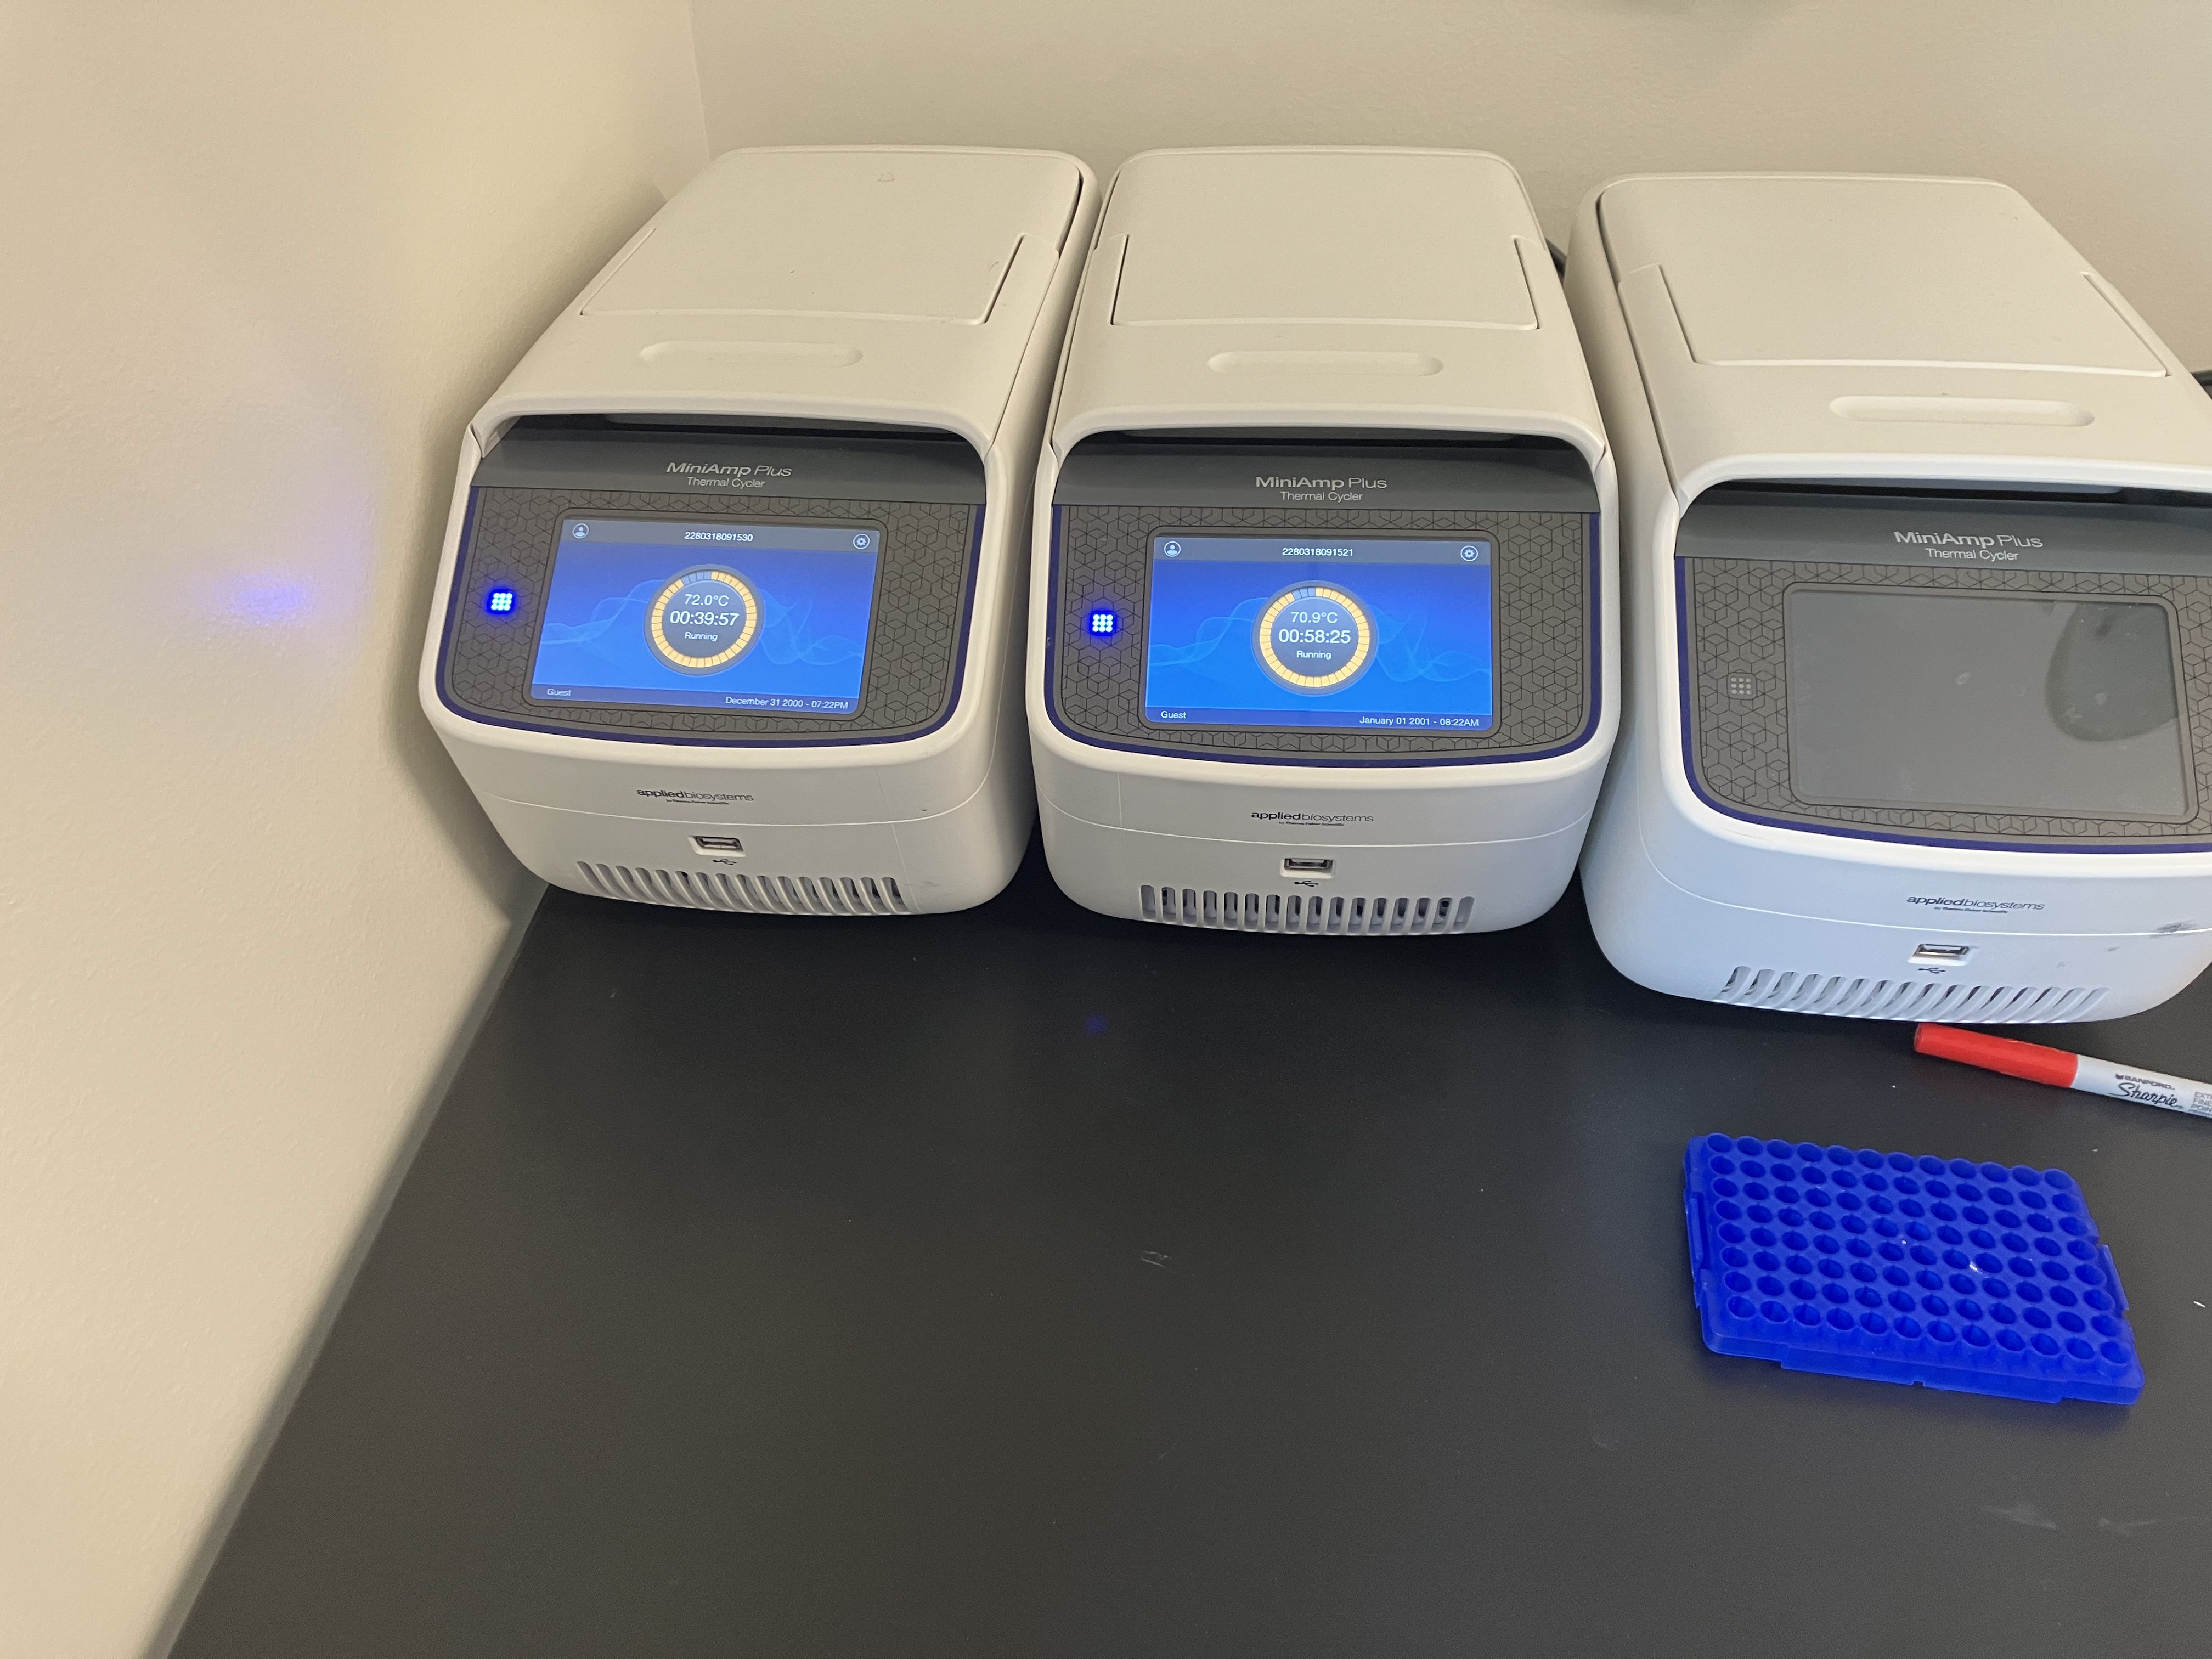
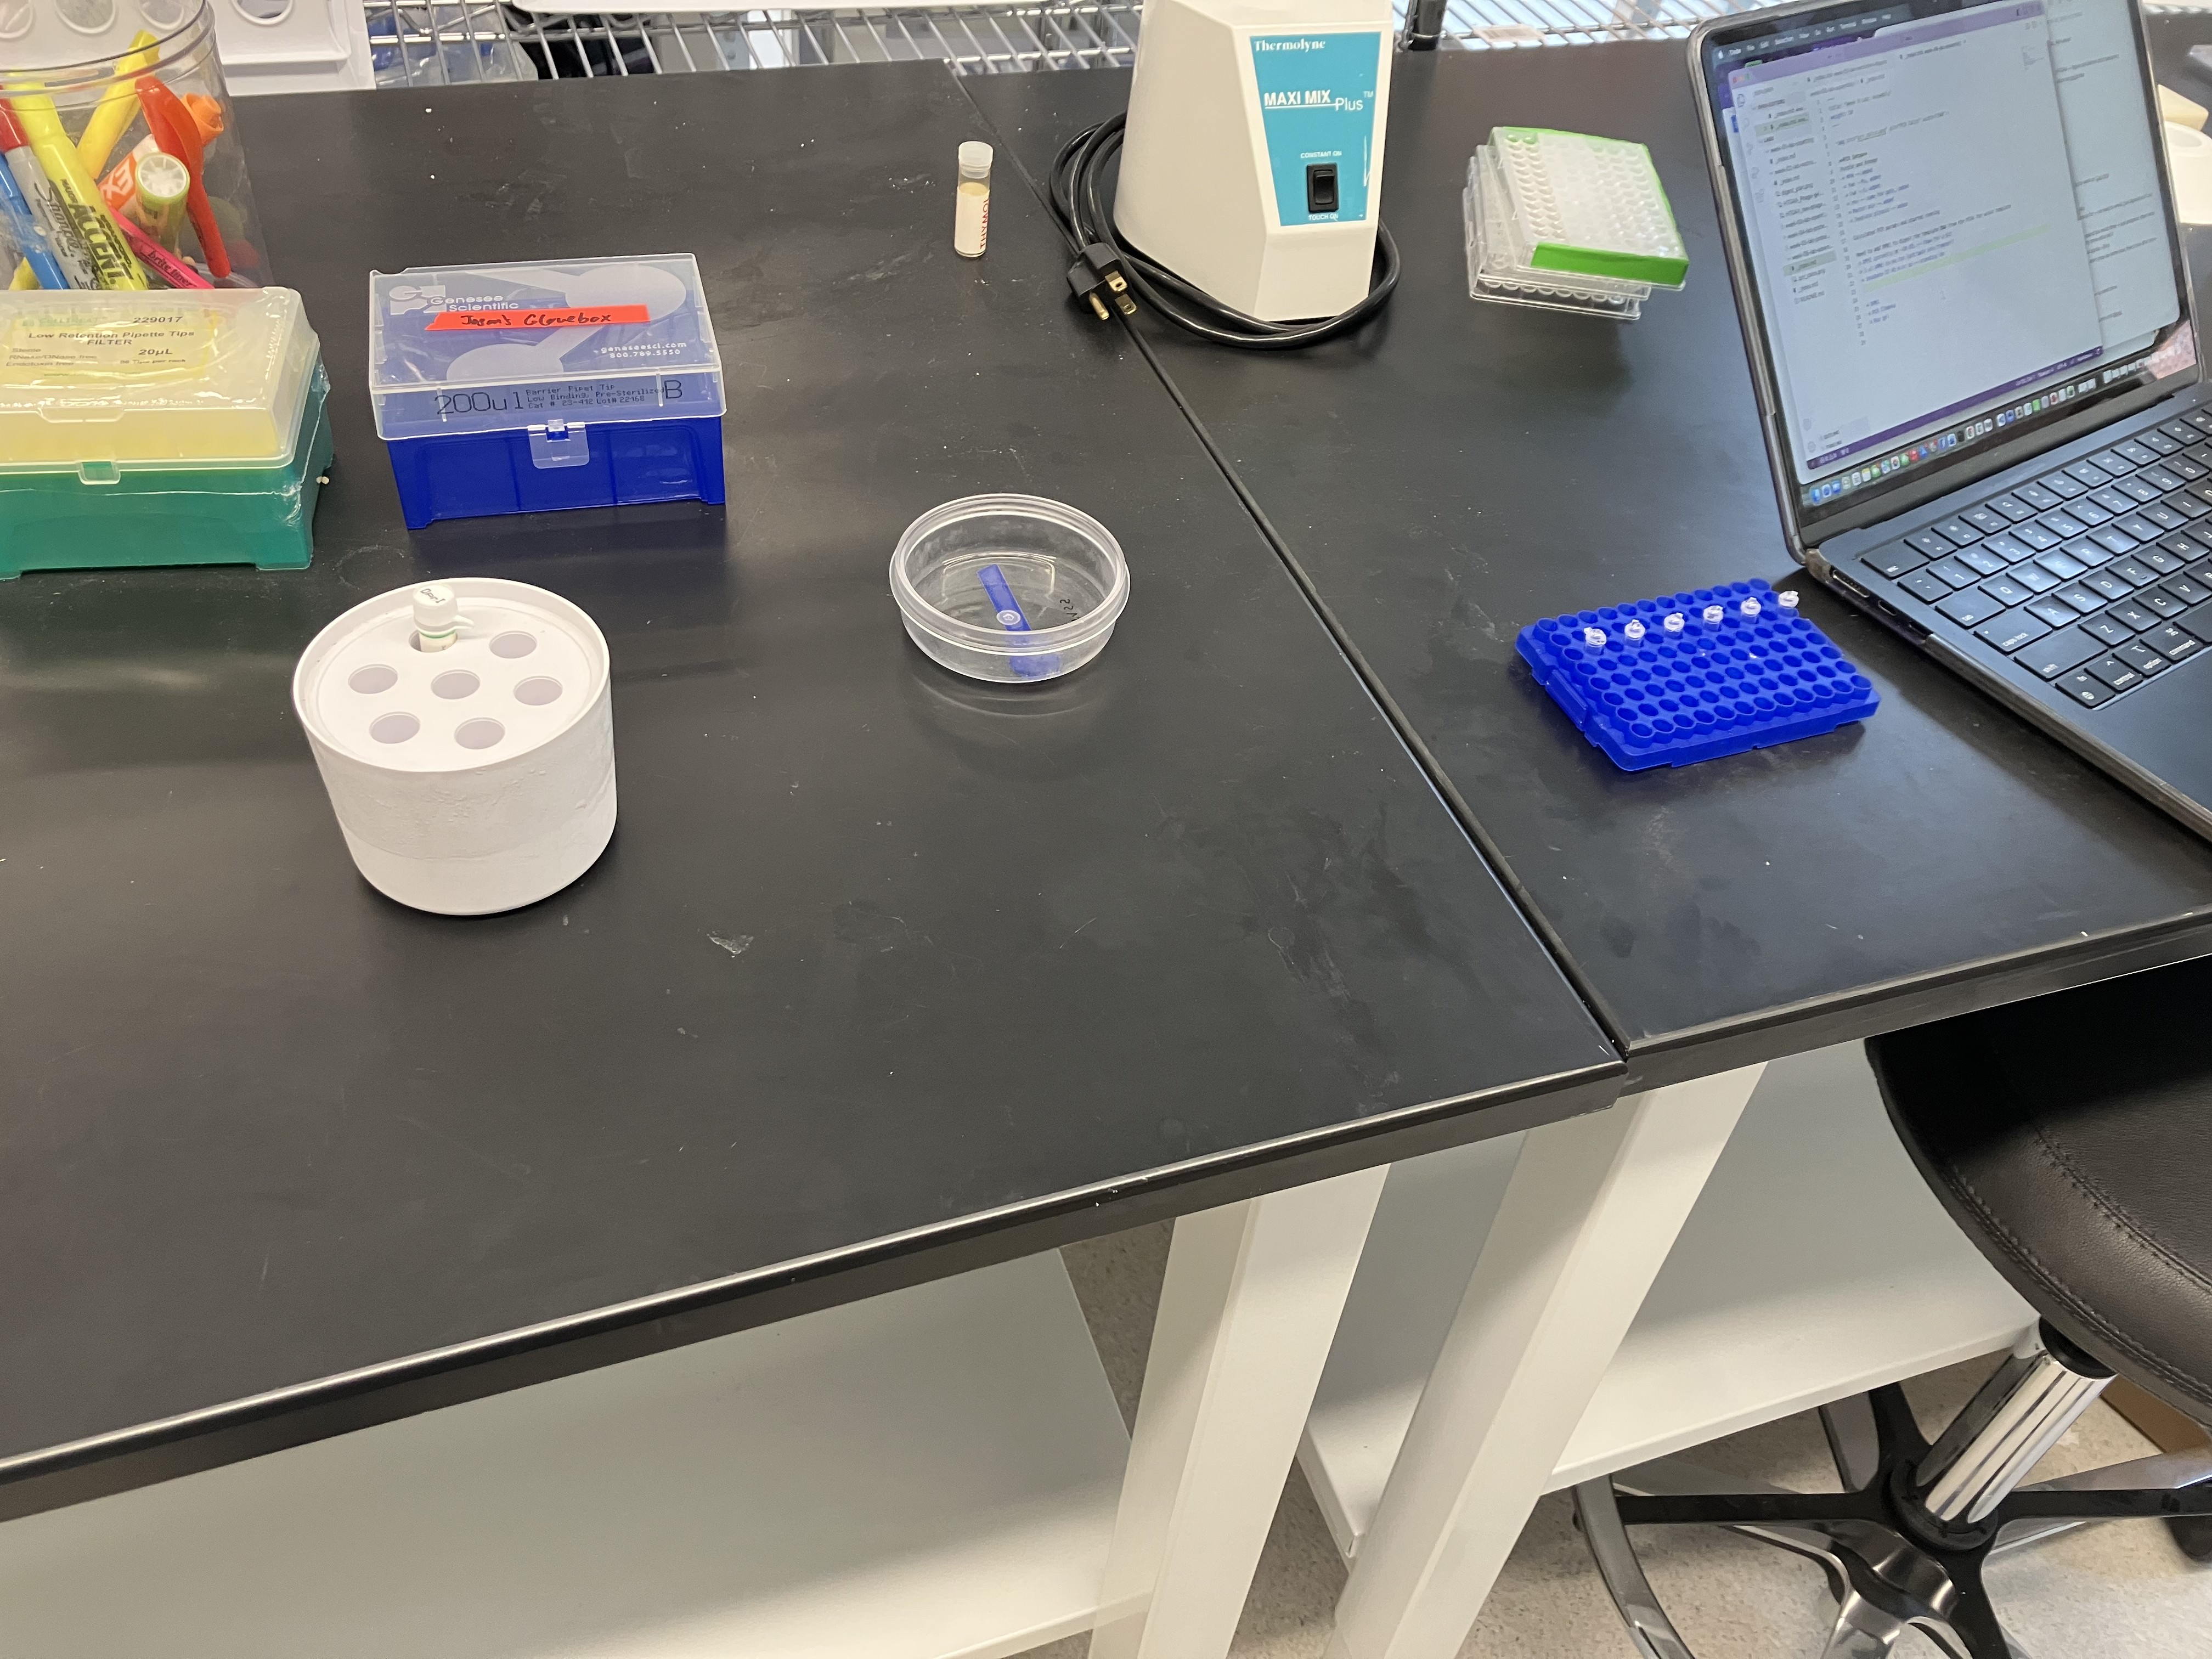
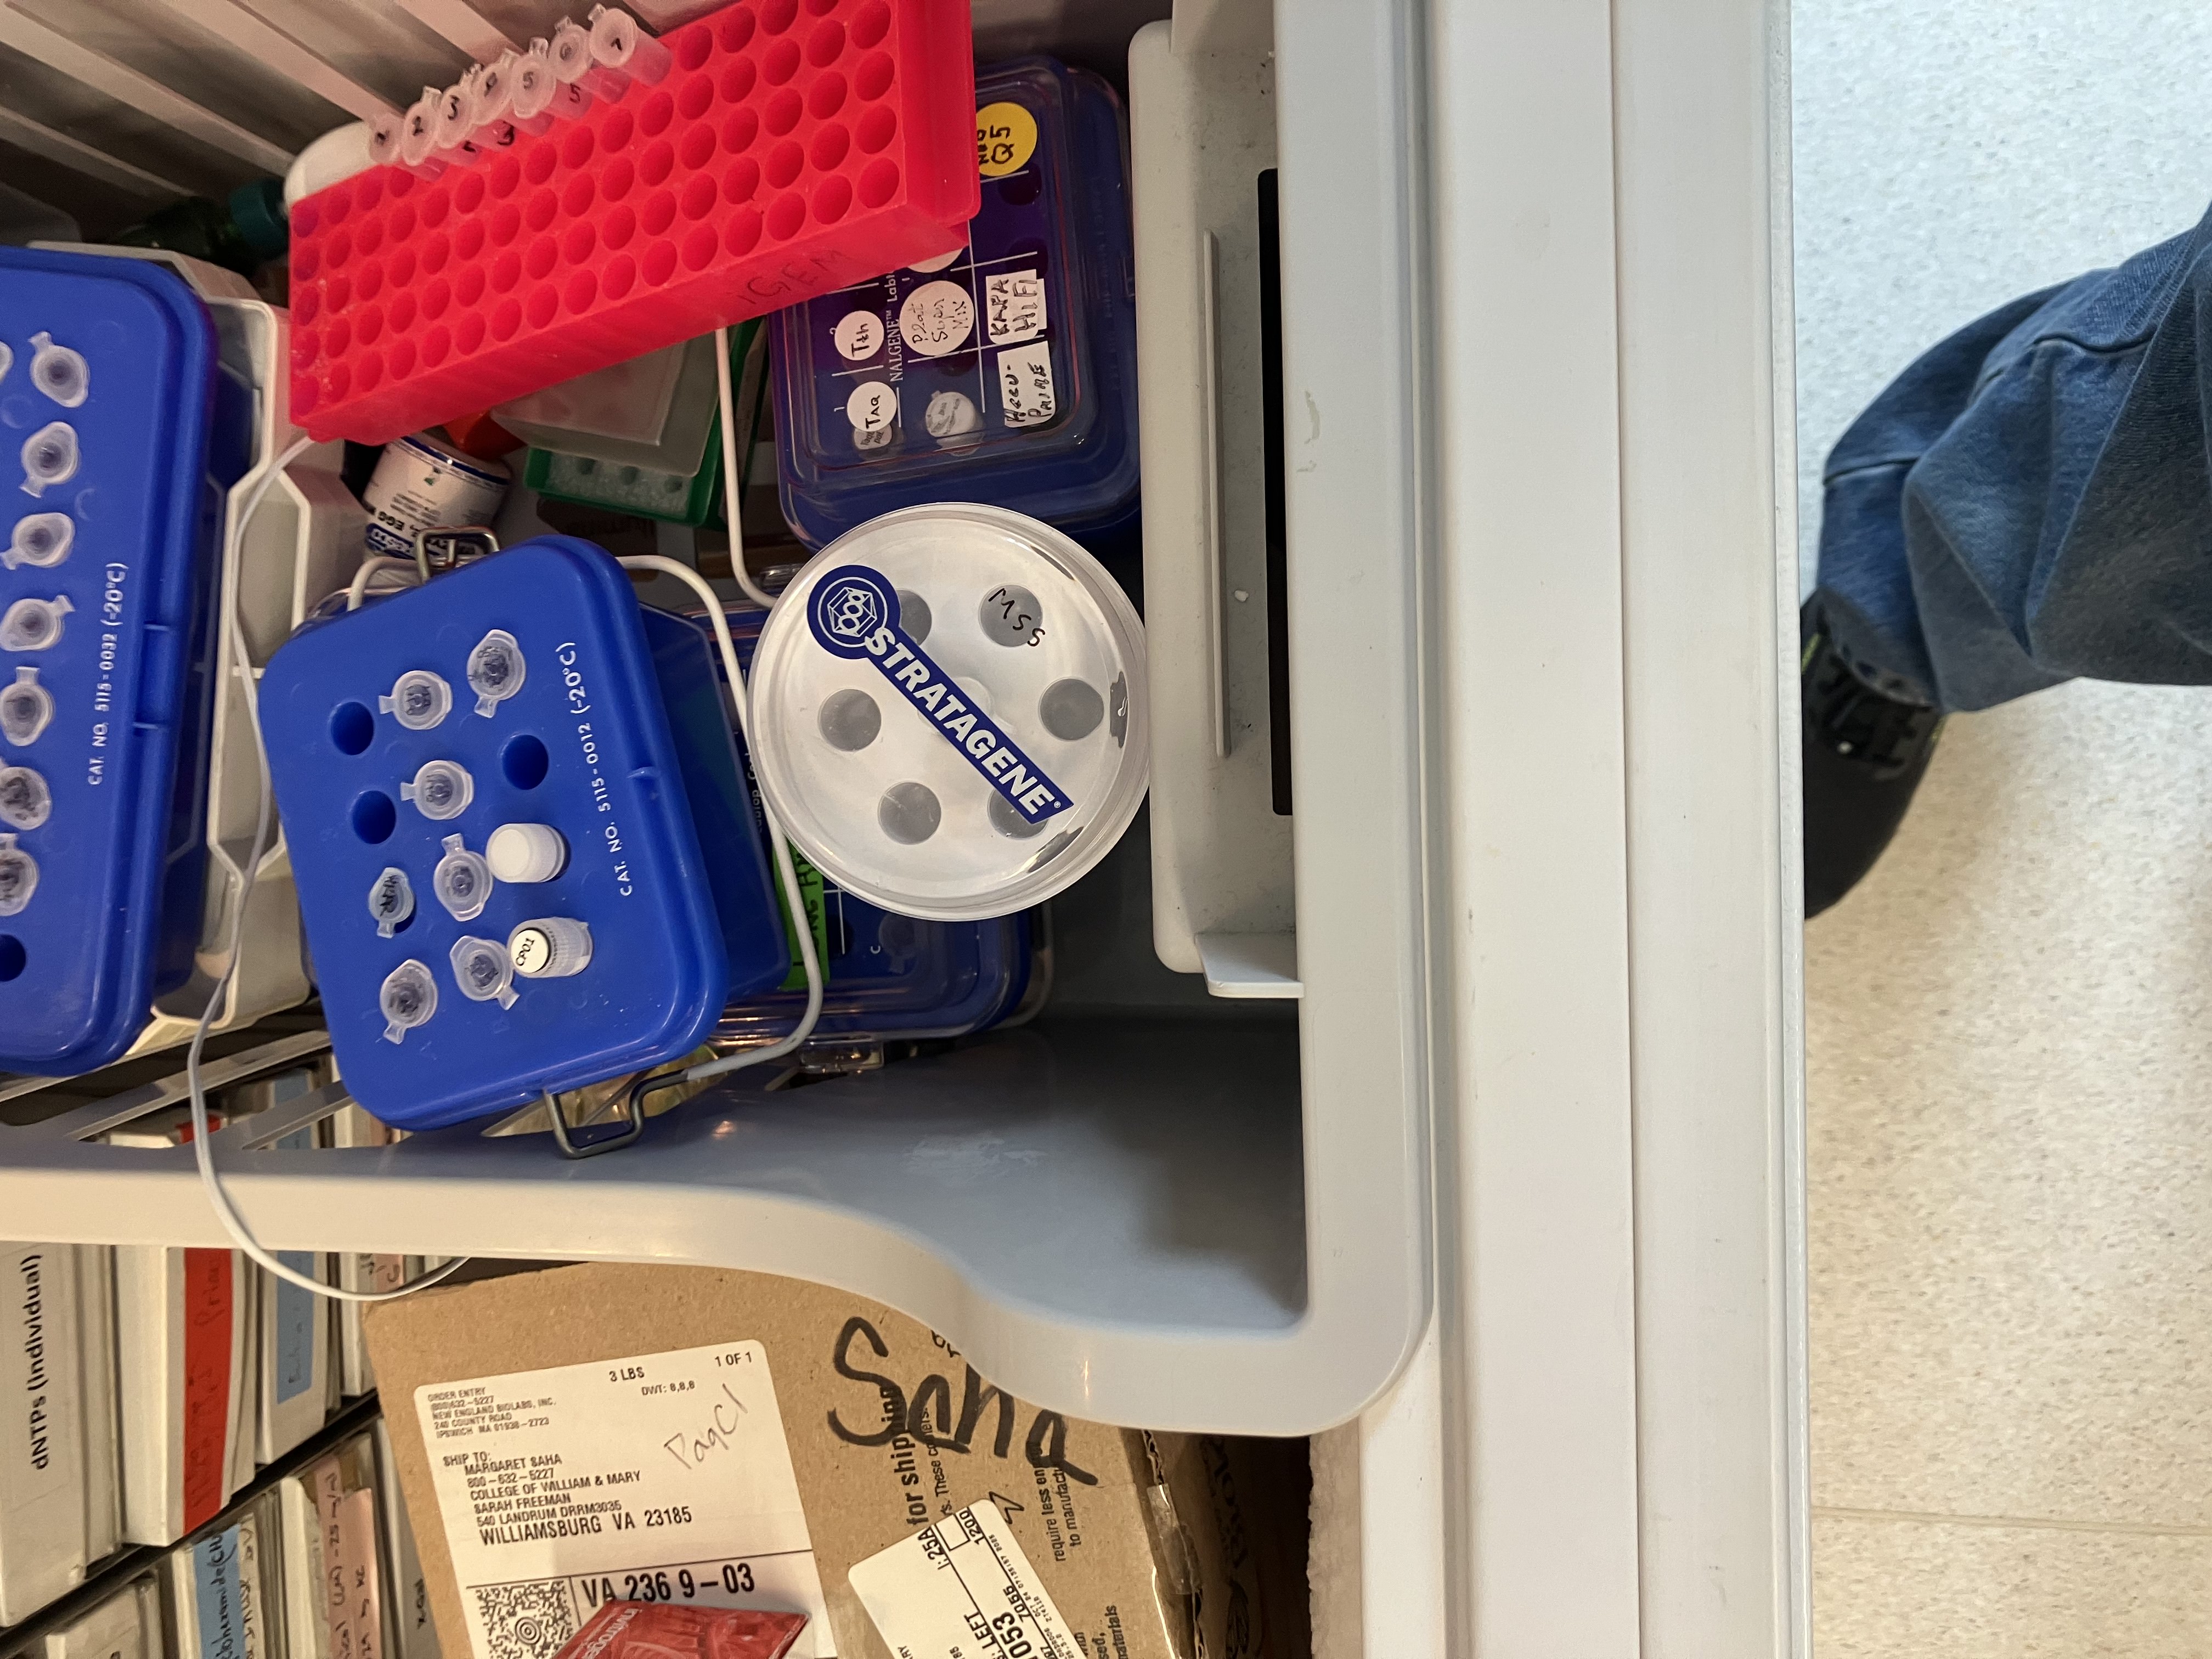
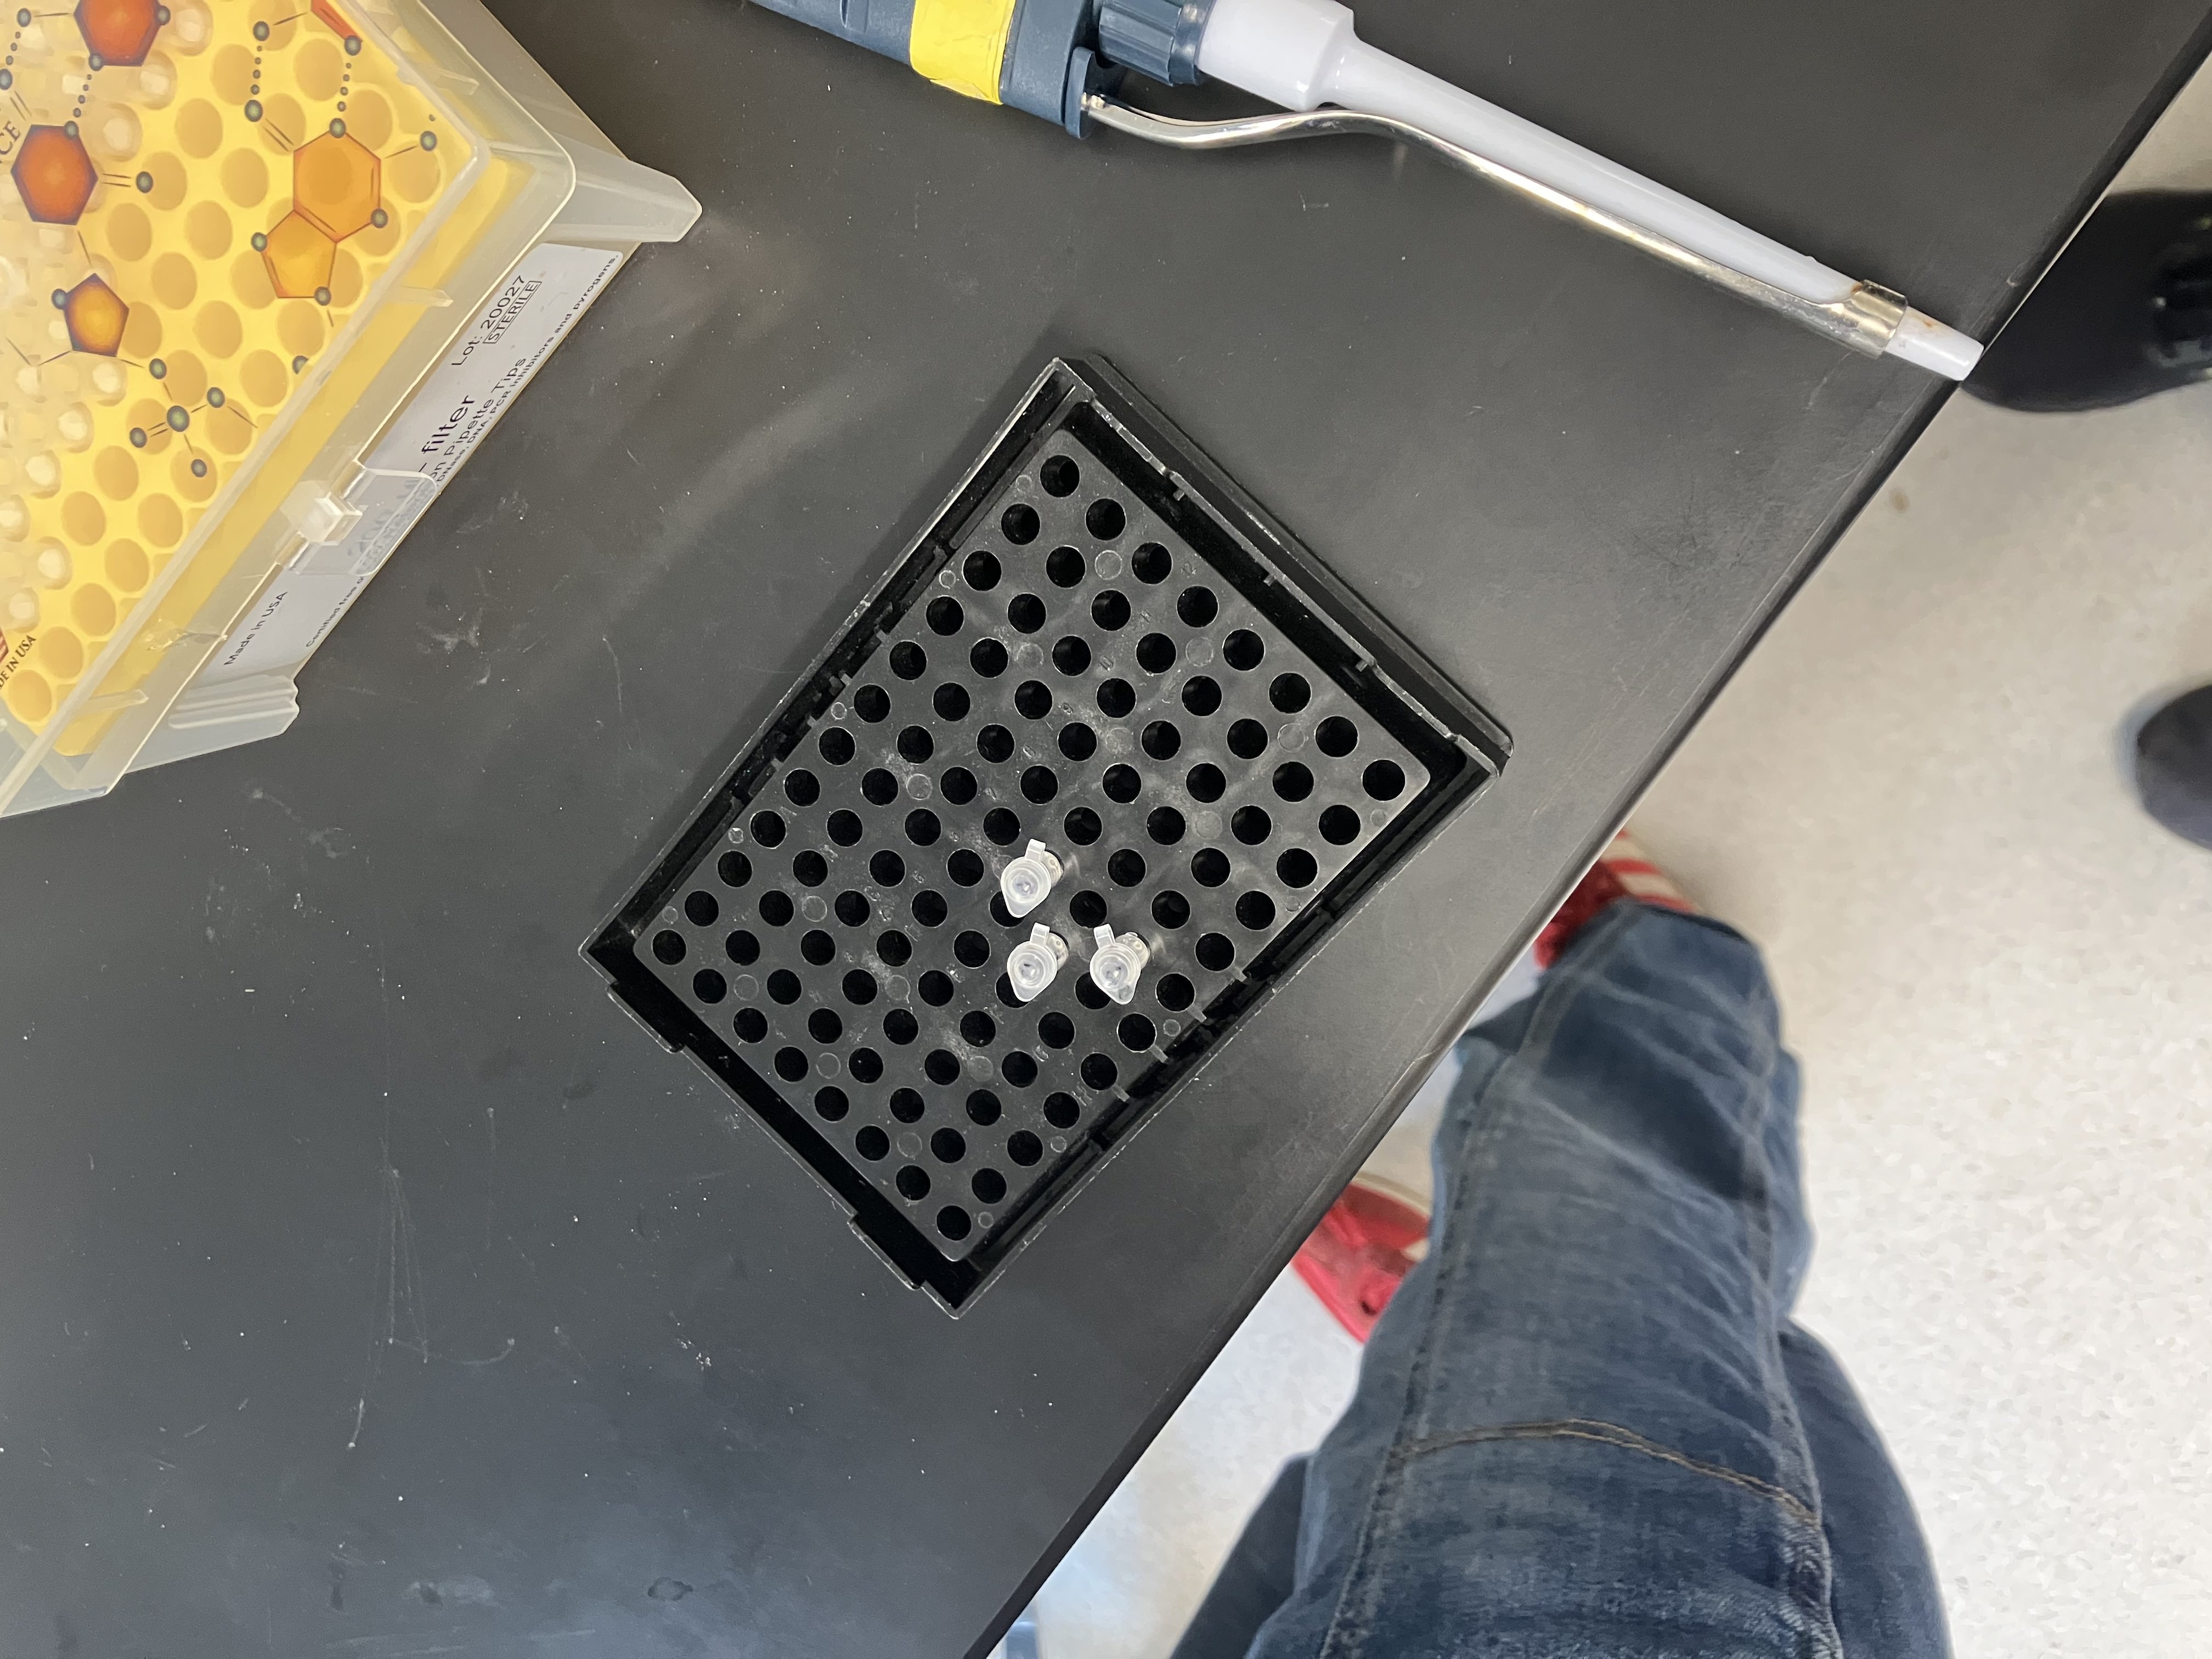
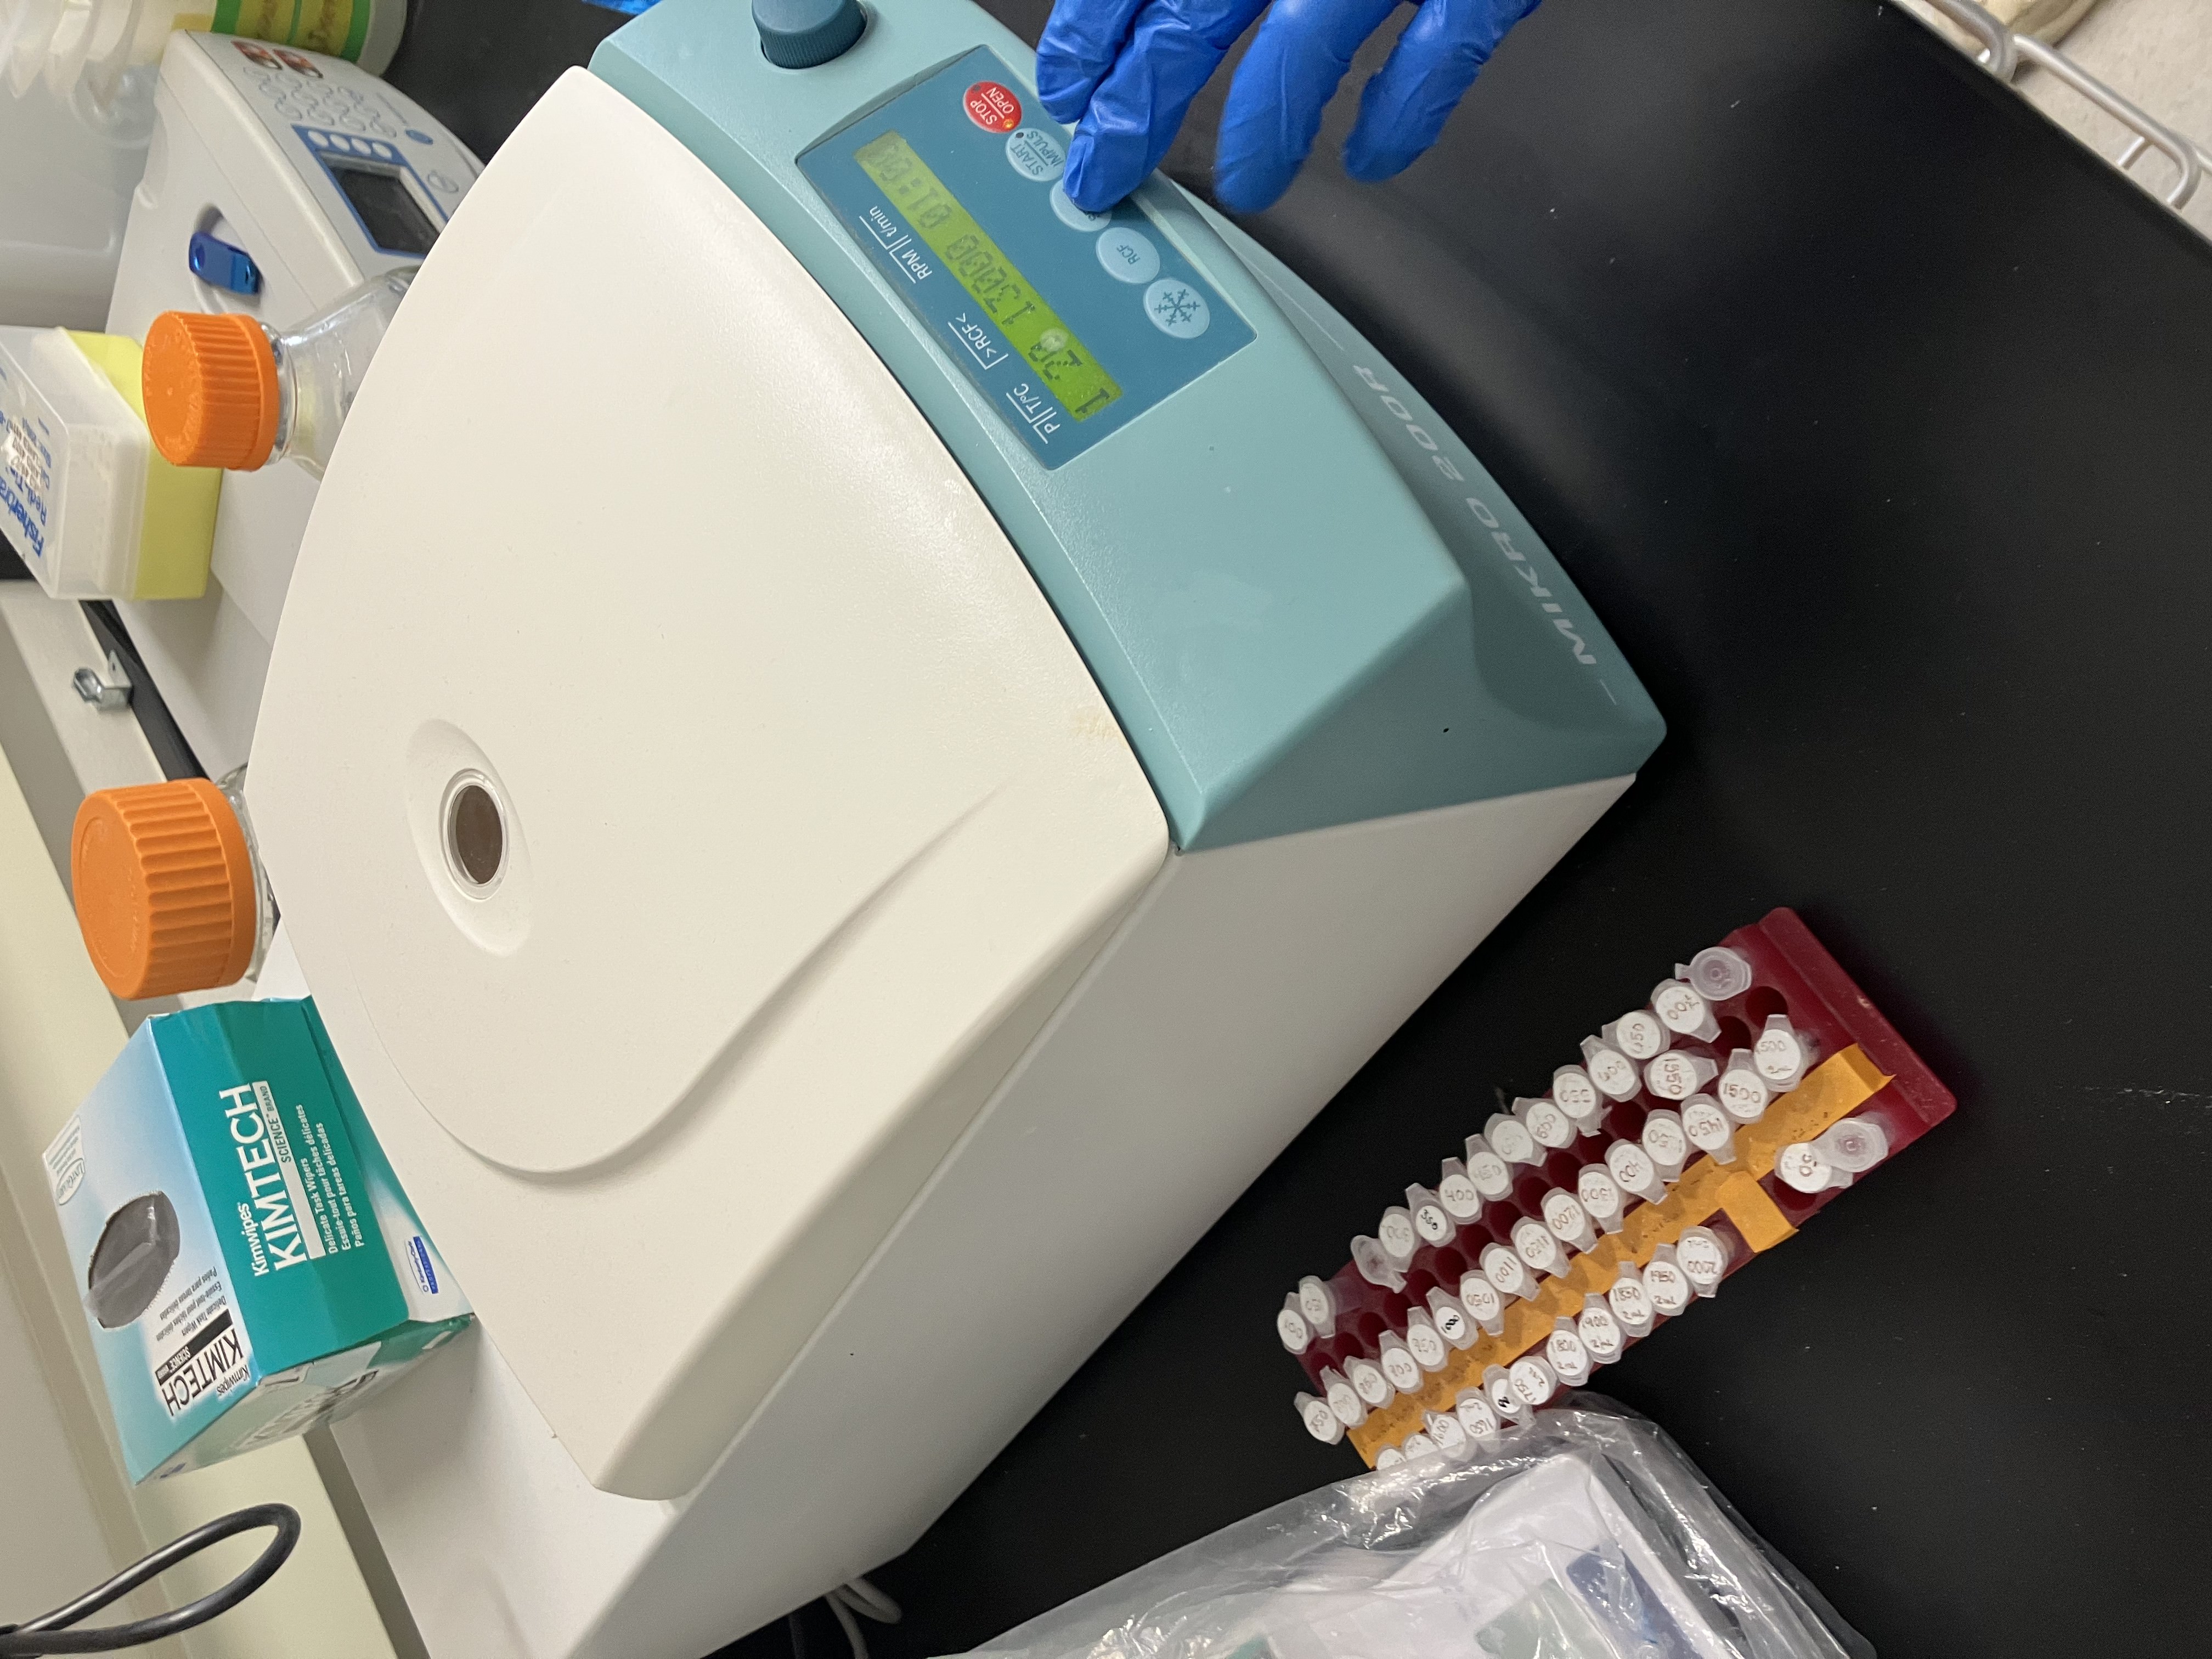
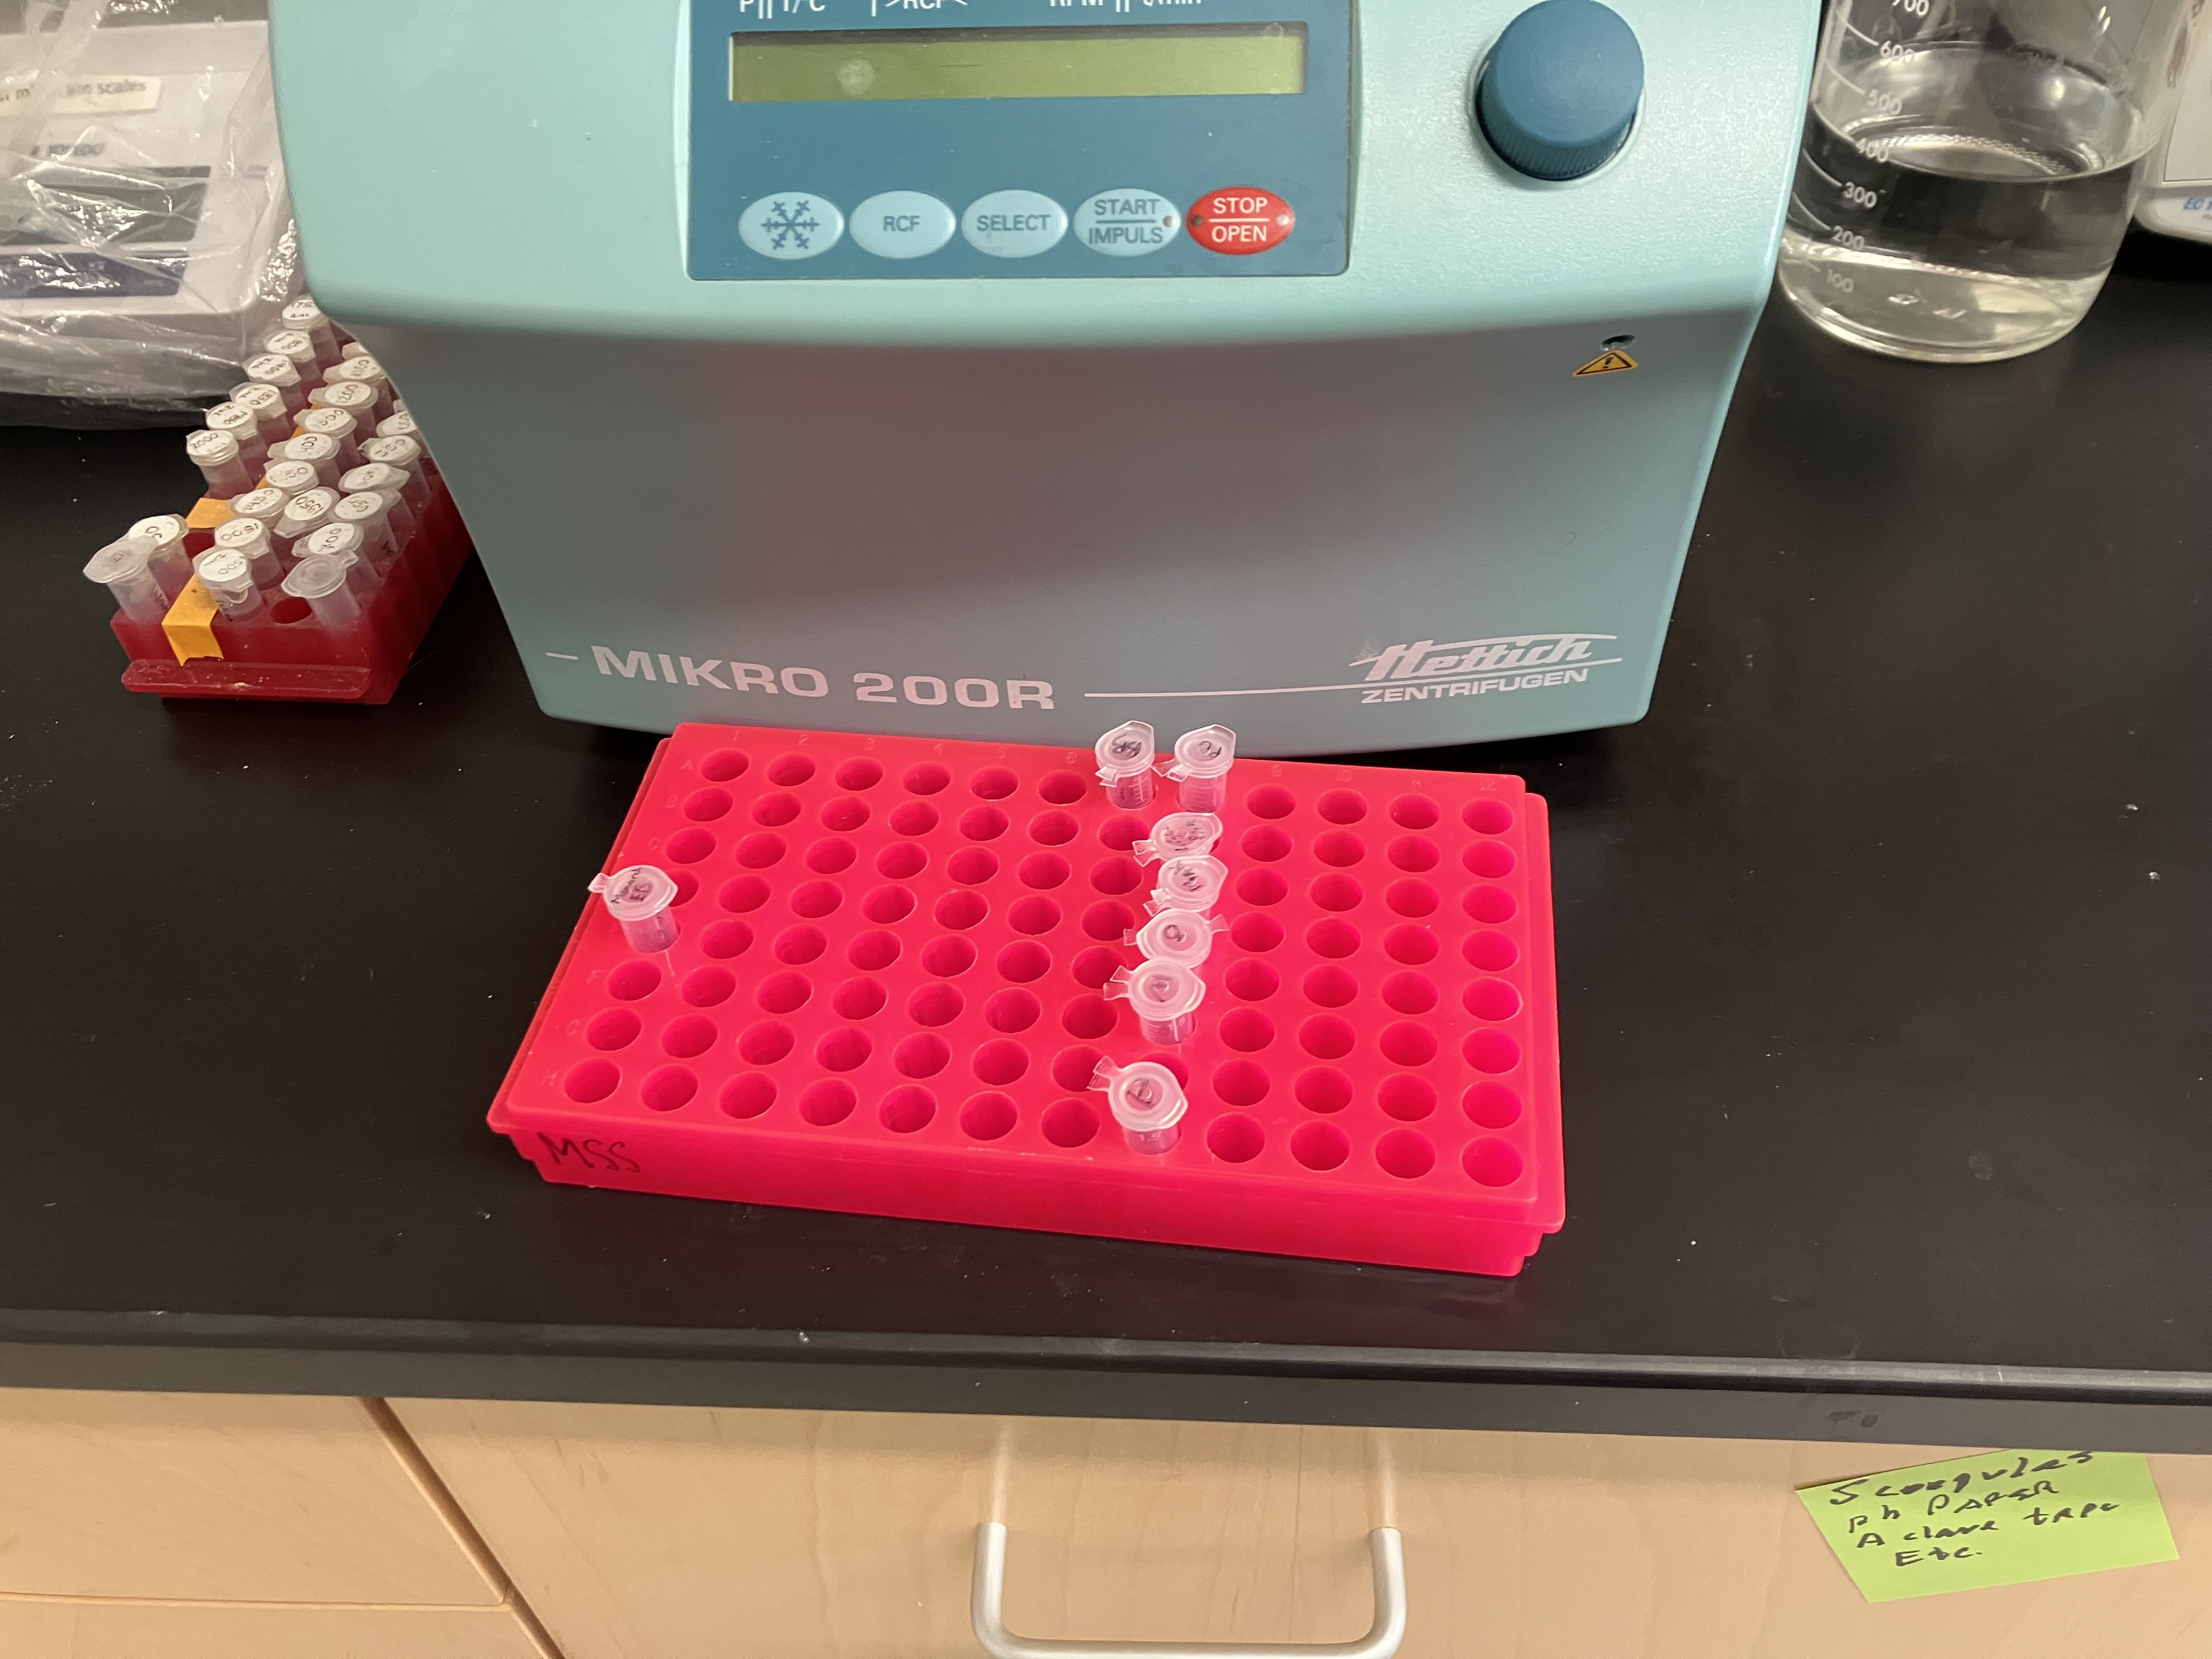
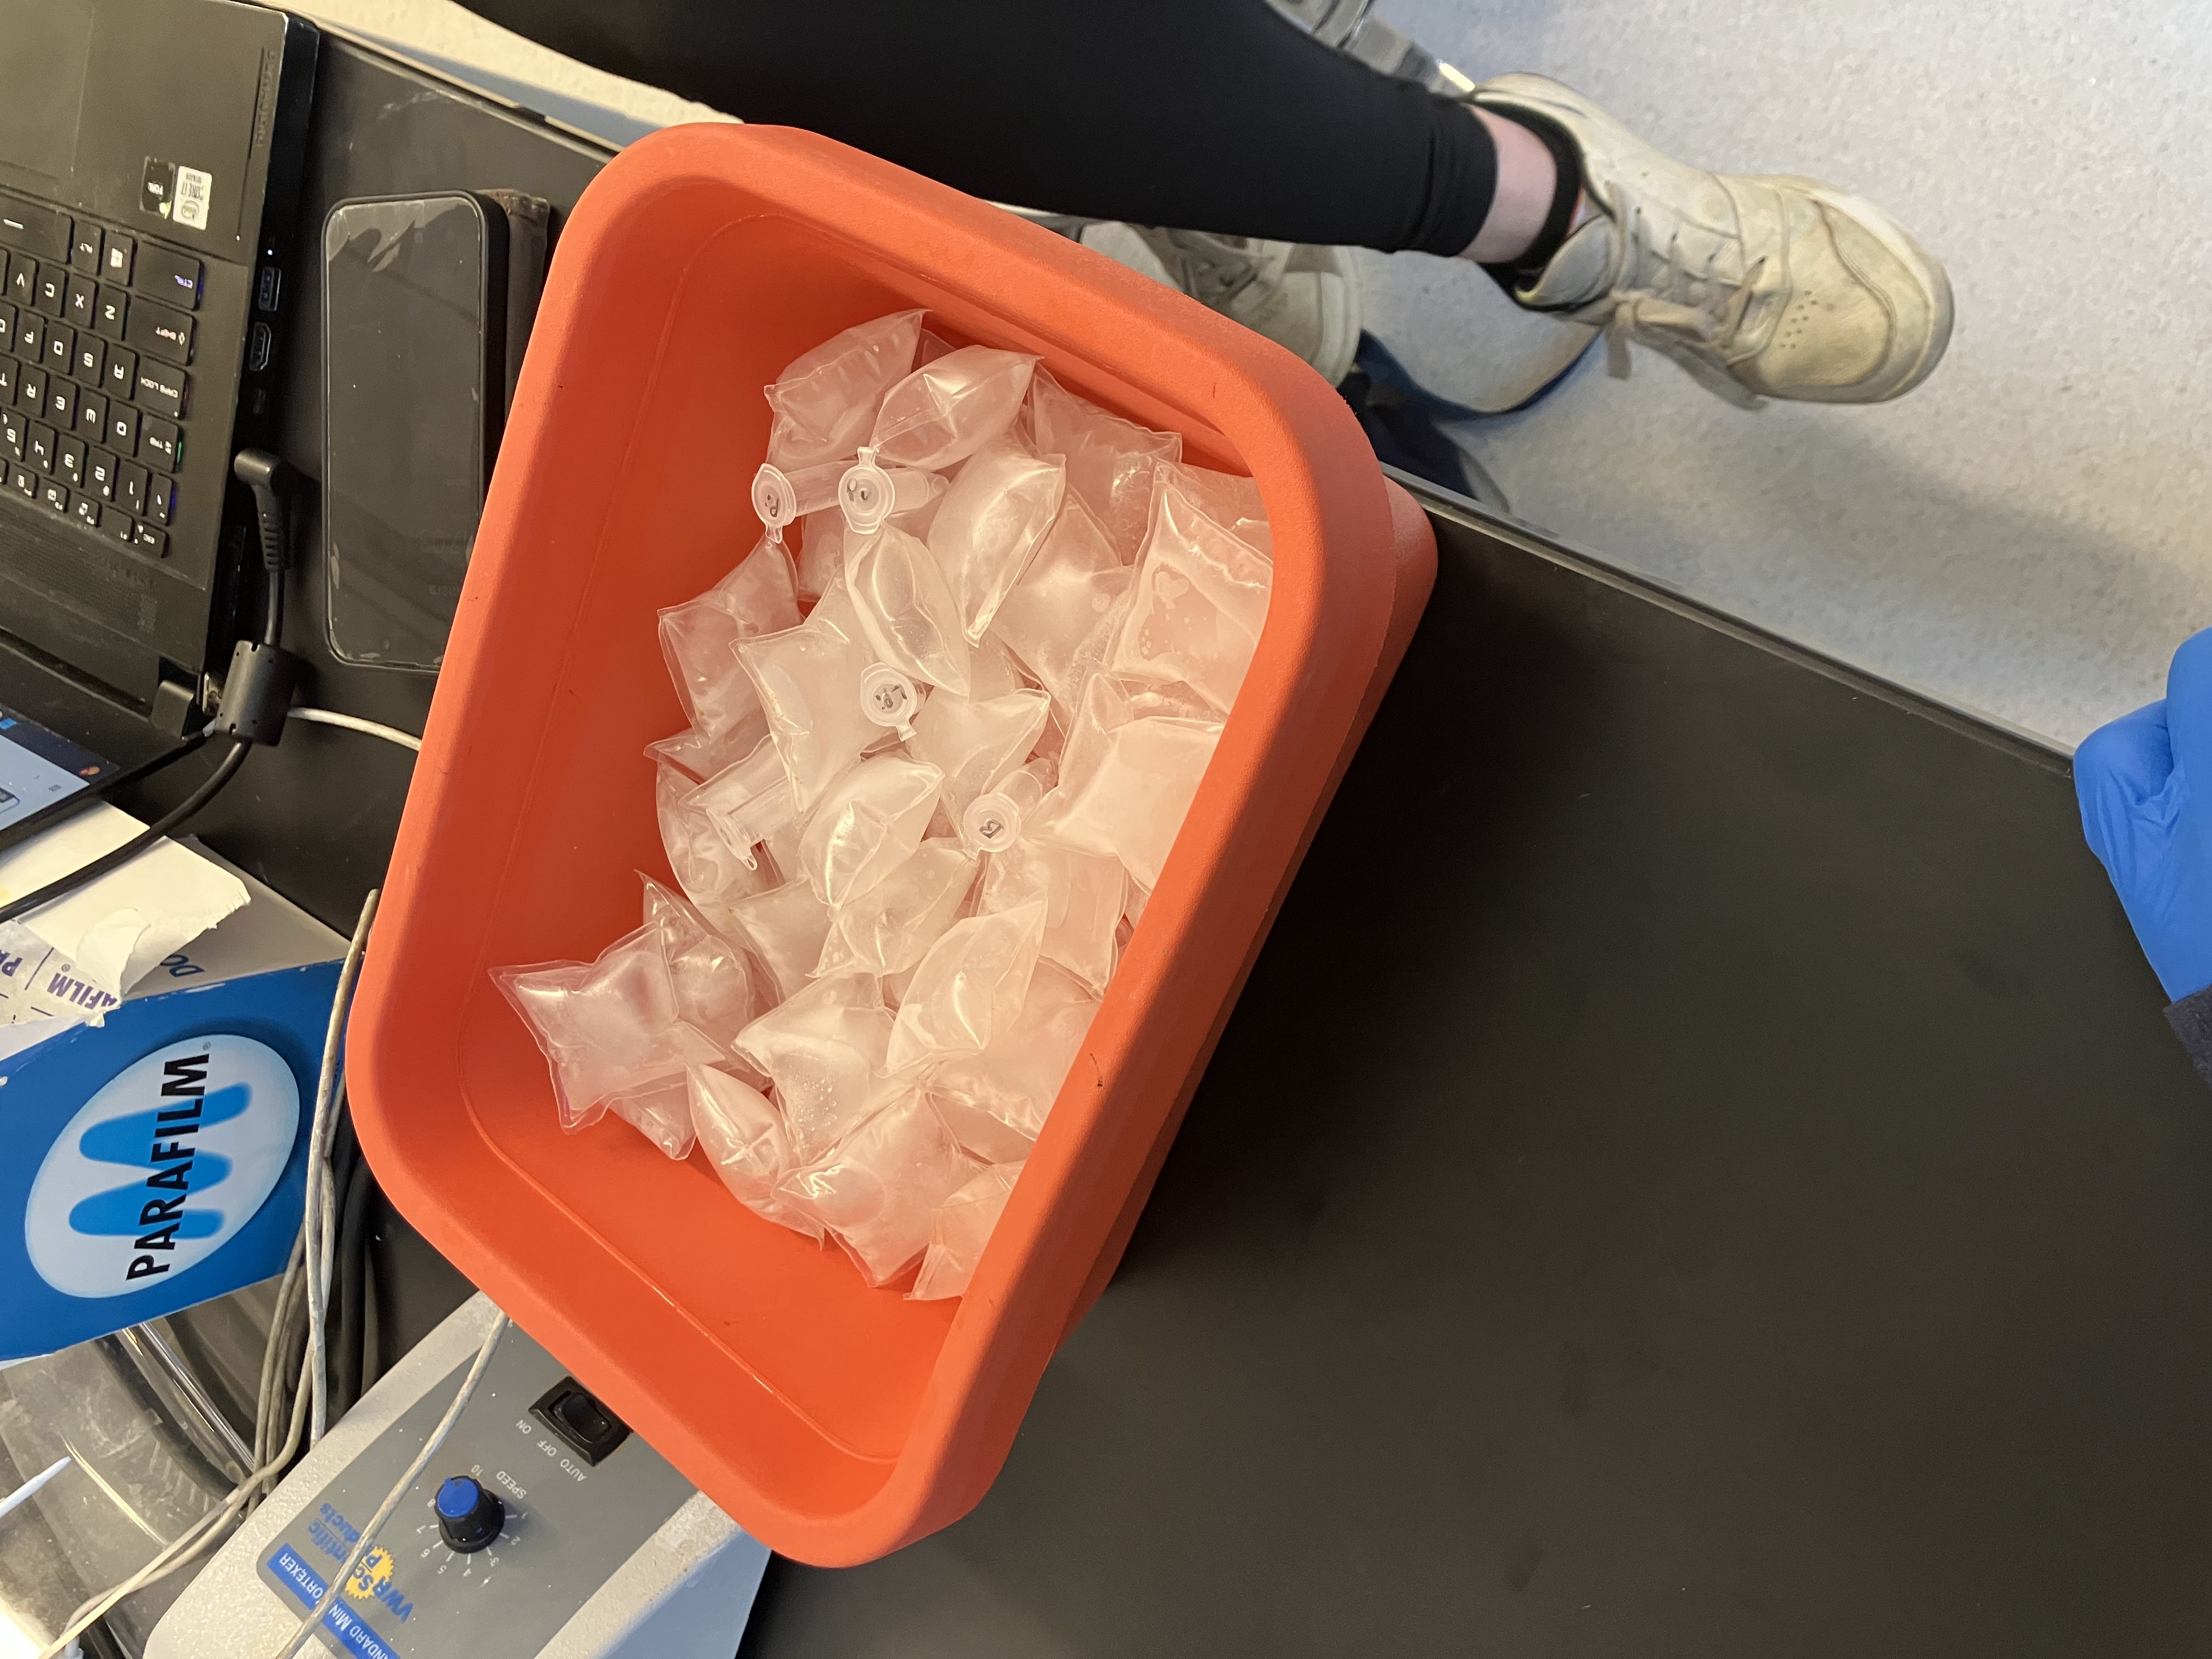
Gibson Assembly Lab Pre-Lab: Primer and PCR (Part 1 of 3) Read this section and scanned the NuPack software hyperlink Pre-Lab: Gibson Assembly (Part 2 of 3) Read this section Pre-Lab: DpnI Read this section Pre-Lab: Plasmid Transformation Read this section Part 1: Polymerase Chain Reaction (PCR) Prepared PCR (see photos below)
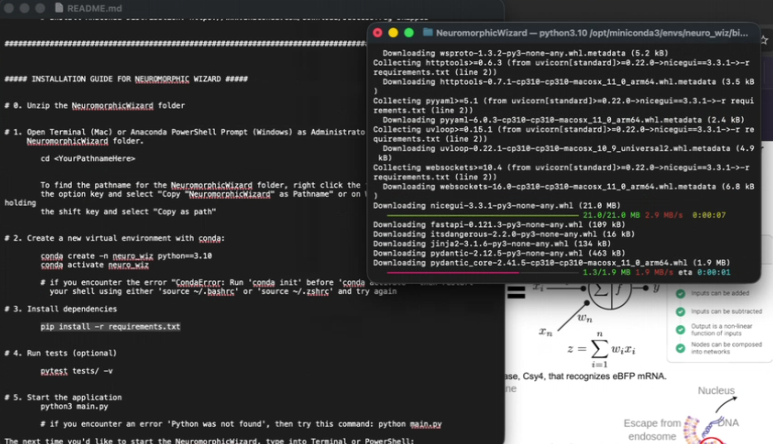
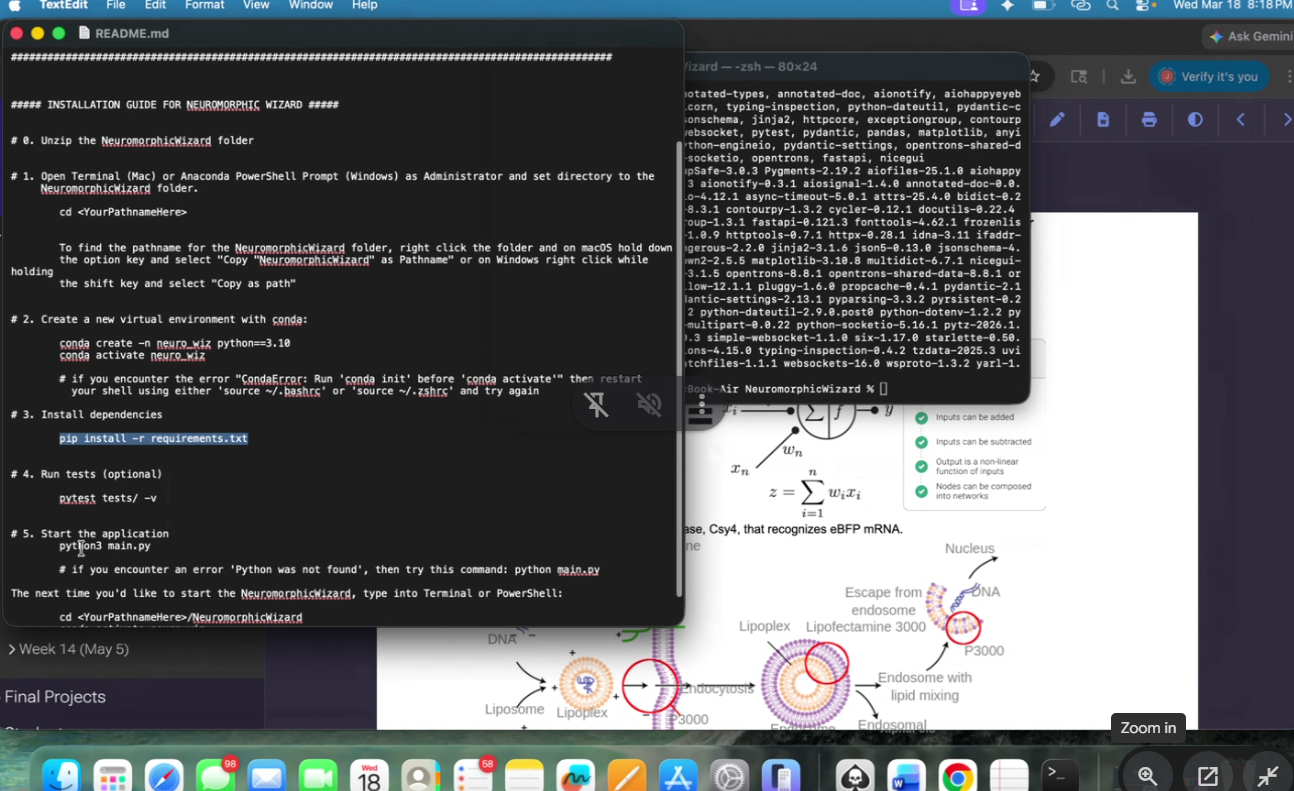
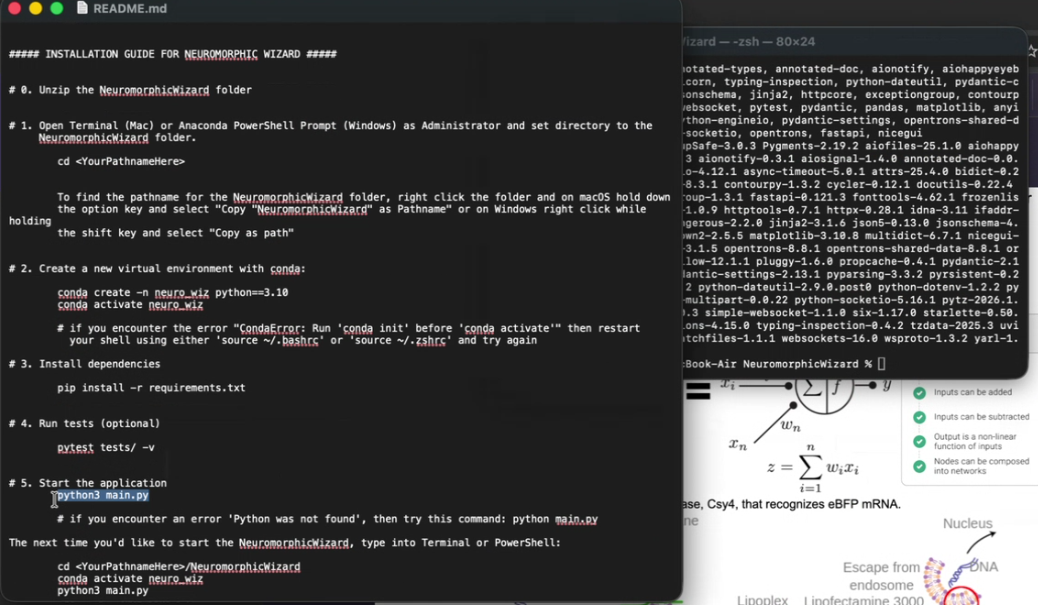
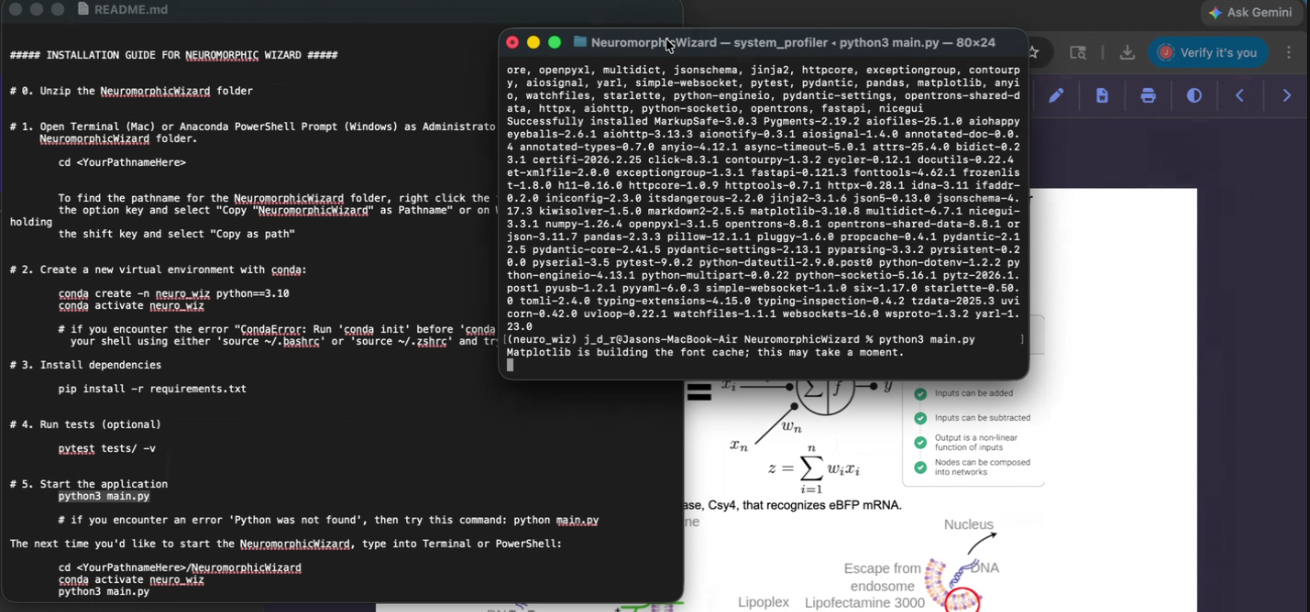
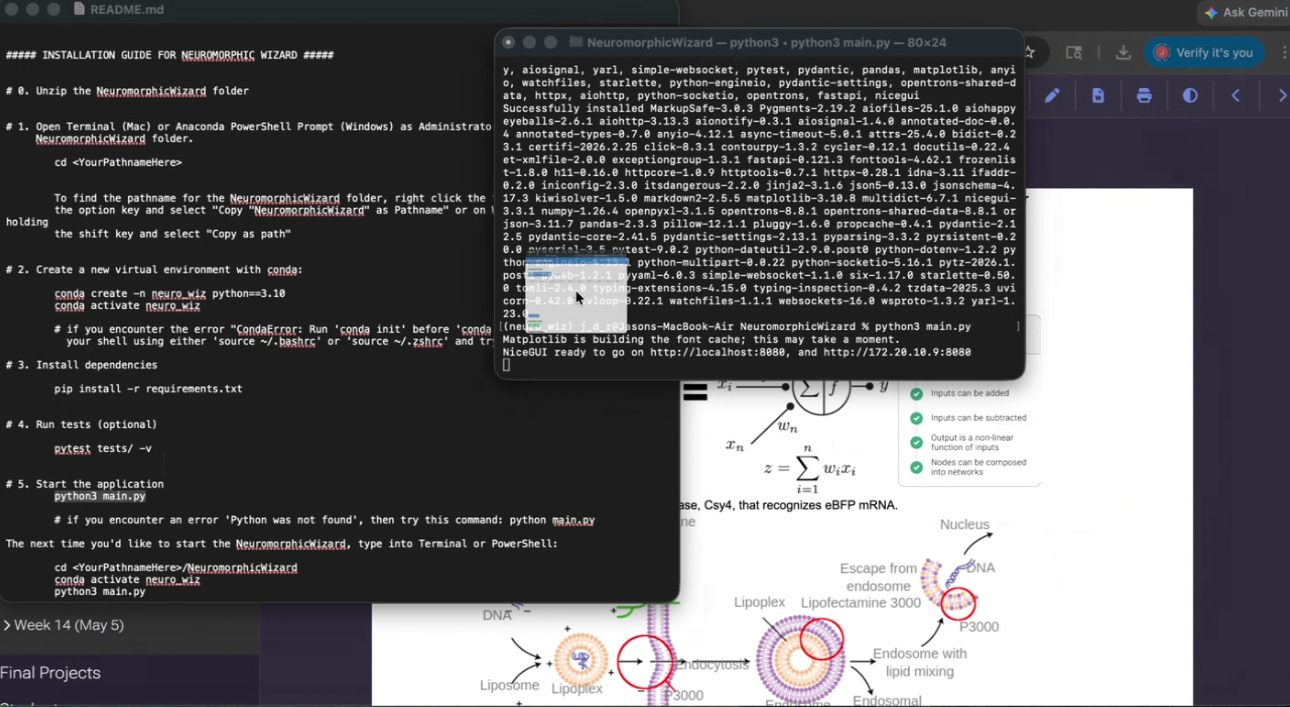
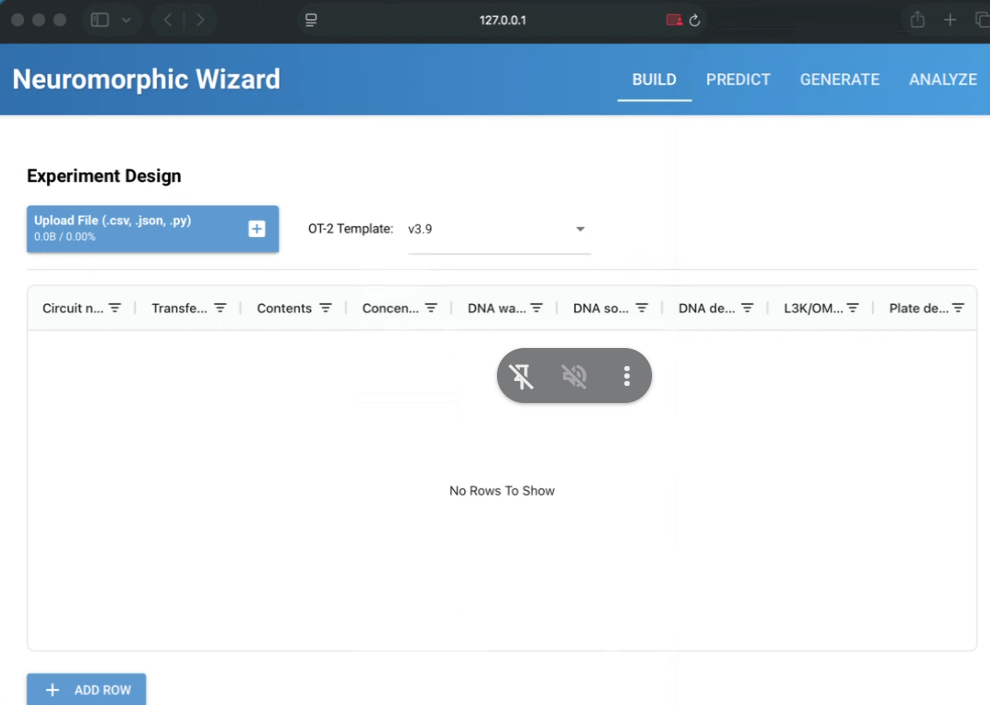
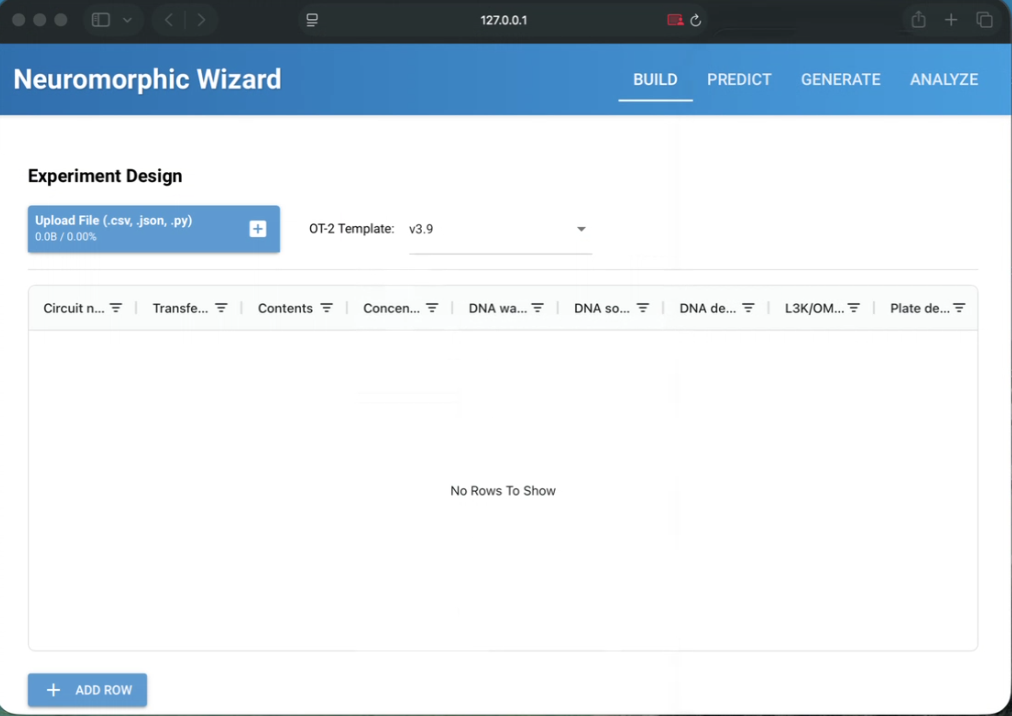
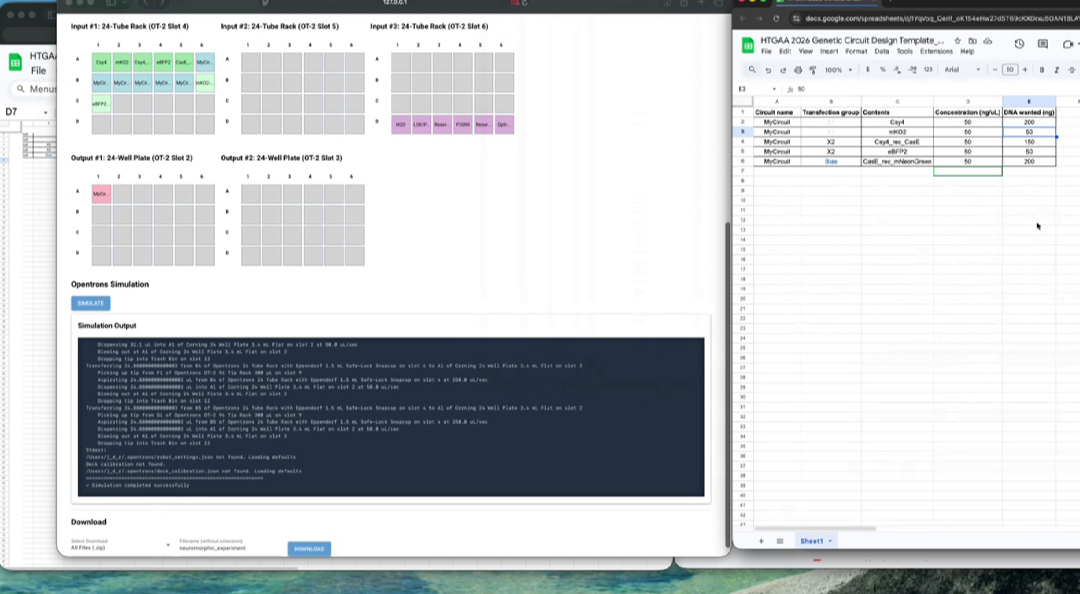
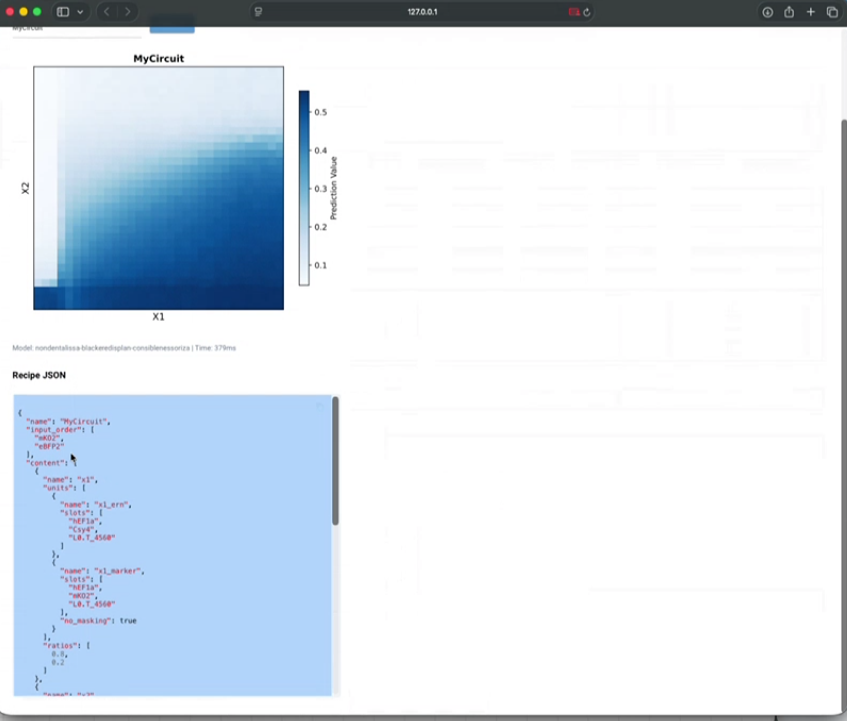
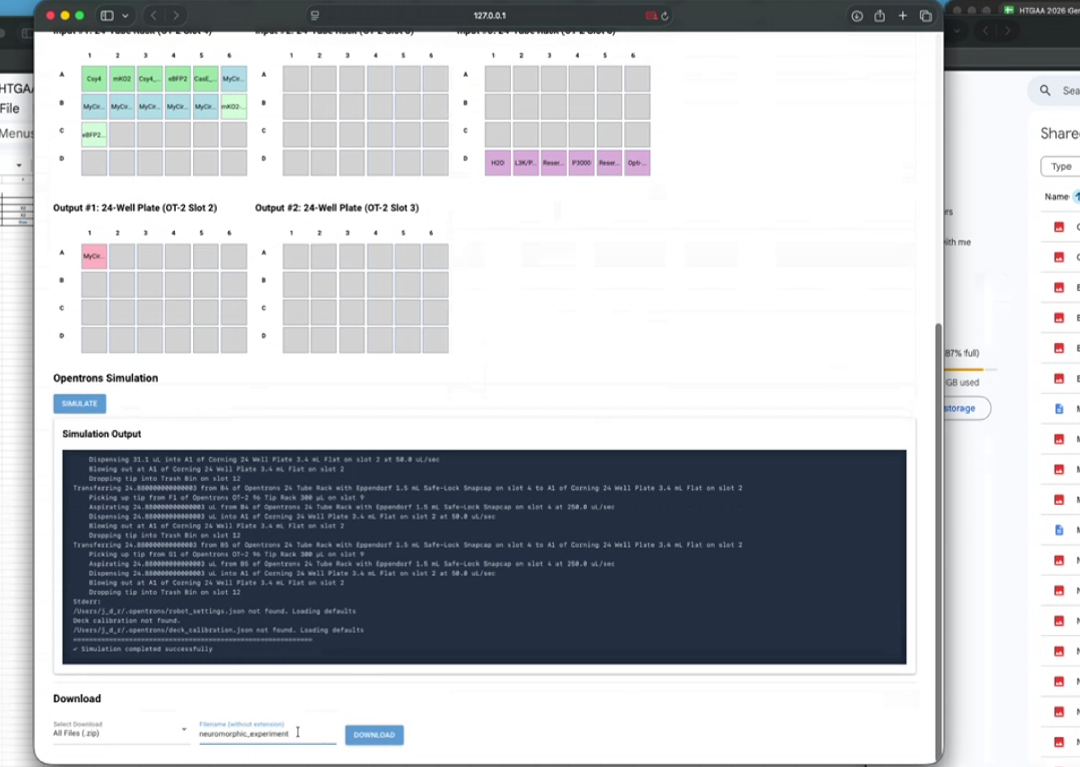
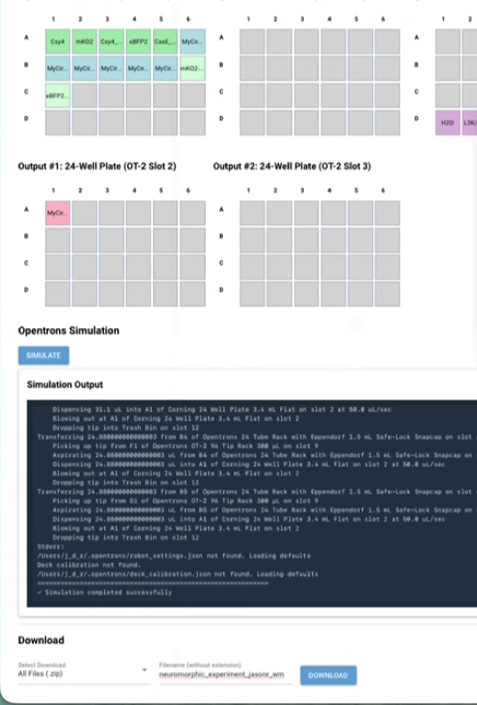
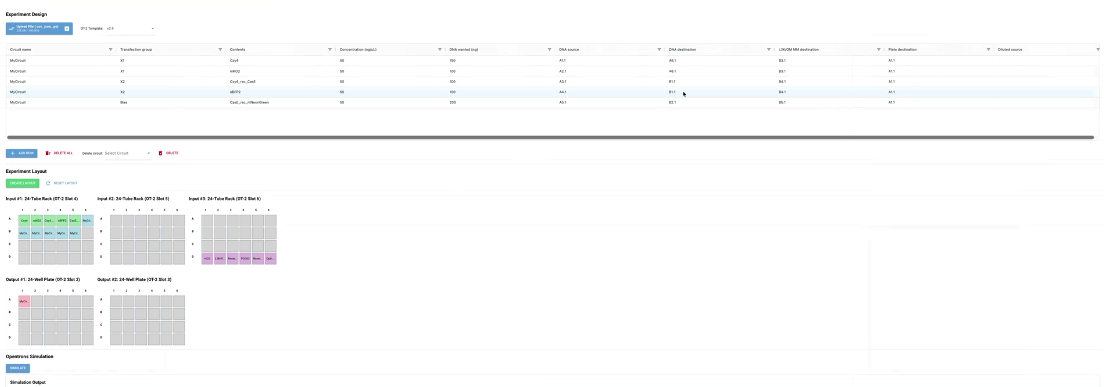
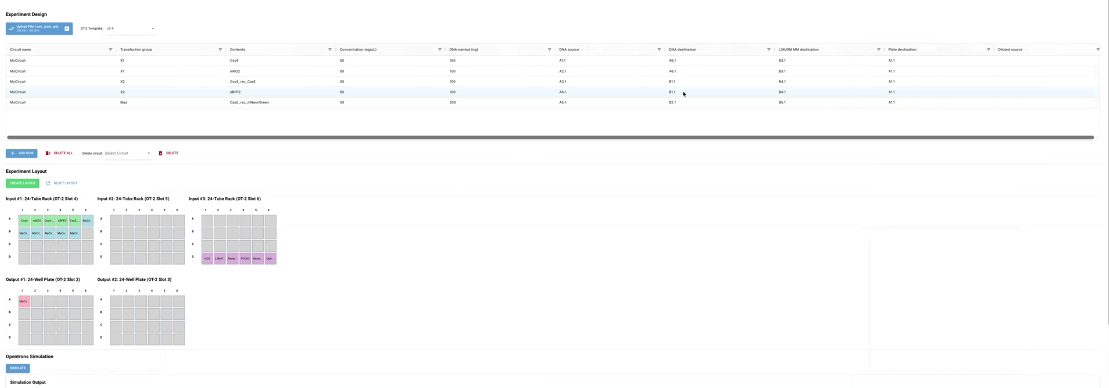
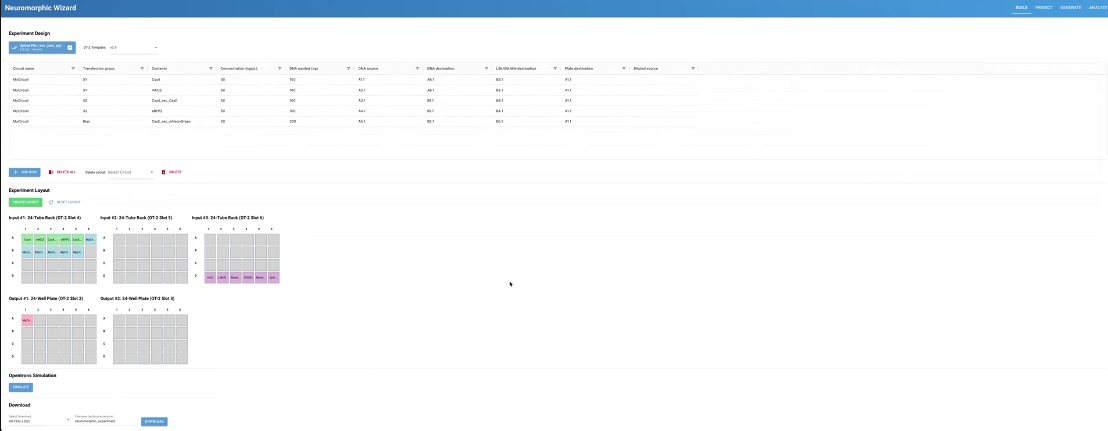
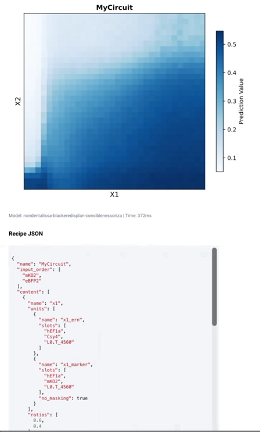
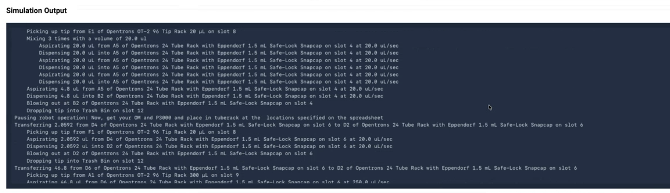
Week 7 Lab: Neuromorphic Circuits
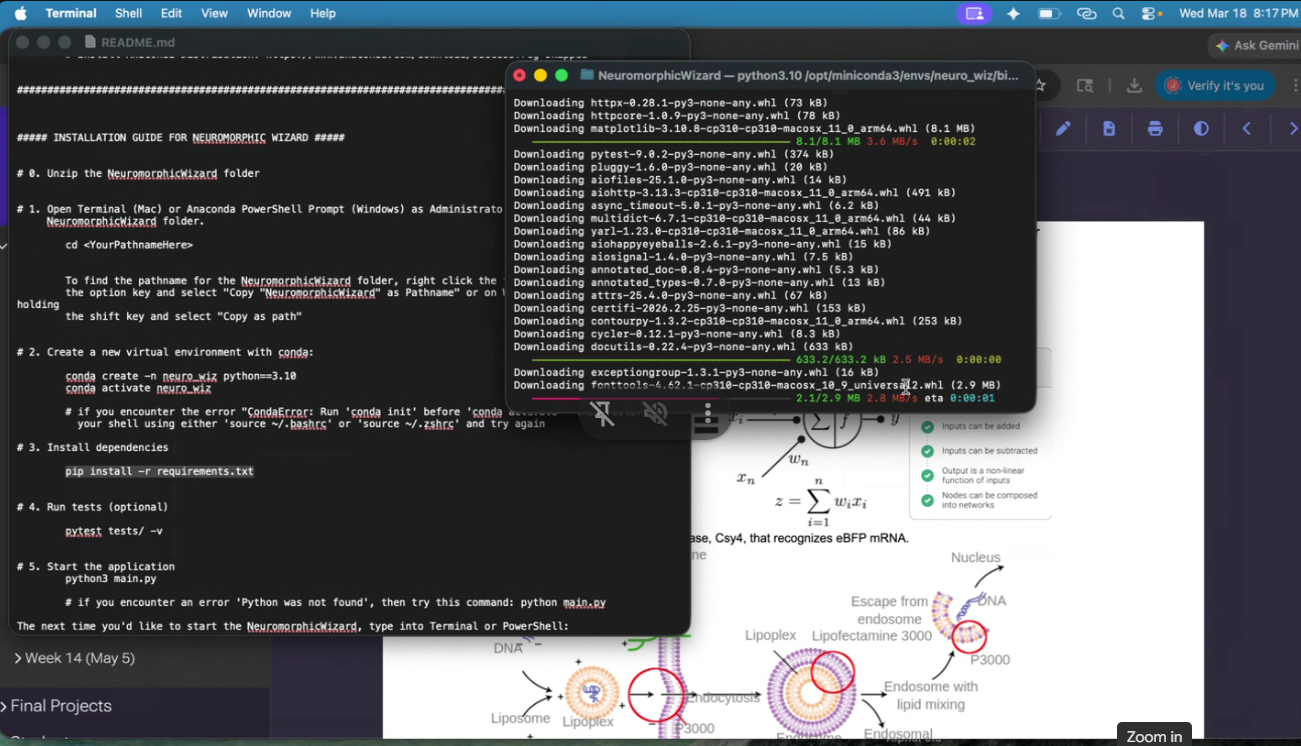
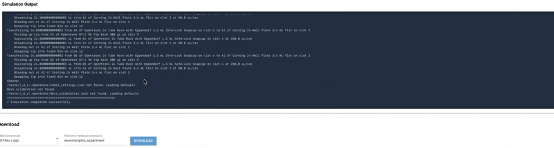
Neuromorphic Circuits Lab Downloaded Neuromorphic Wizard Completed Circuit Design and Simulation in Neuromorphic Wizard See Neuromorphic Wizard Result Screenshots Below
Cell-Free Systems Lab Was unable to perform this Lab protocol at the William & Mary Node Wet Lab, as this protocol was not performed at the Lab as part of William & Mary’s HTGAA engagement this semester. However I did review the related ‘Cell-Free Systems Laboratory’ protocol. Answers to the questions found in the ‘Homework questions’ section of the protocol can be found in my Week 9 Homework in the ‘Part A: General Homework Questions’ section 1 https://pages.htgaa.org/2026a/jason-ross/homework/week-09-hw-cell-free-systems/index.html ↩︎
Week 10 Lab: Mass Spectrometry
Mass Spectrometry Lab Was unable to perform this Lab protocol at the William & Mary Node Wet Lab, as this protocol was not performed at the Lab as part of William & Mary’s HTGAA engagement this semester. However I did review the related ‘Mass Spectrometry’ protocol.
Week 11 Lab: Introduction to Cloud Laboratories
Introduction to Cloud Laboratories See Week 11 and Week 12 Homework assignments for answers and documentation regarding all related questions 12 https://pages.htgaa.org/2026a/jason-ross/homework/week-11-hw-bioproduction-and-cloud-labs/index.html ↩︎ https://pages.htgaa.org/2026a/jason-ross/homework/week-12-bioproduction-and-cloud-labs2/index.html ↩︎
Week 12 Lab: Bioproduction of Beta-Carotene and Lycopene
Bioproduction of Beta-Carotene and Lycopene Lab Was unable to perform this Lab protocol at the William & Mary Node Wet Lab, as this protocol was not performed at the Lab as part of William & Mary’s HTGAA engagement this semester. However I did review the related ‘Bioproduction of Beta-Carotene and Lycopene Lab’ protocol. Answers to the questions found in the ‘Post Lab Questions’ section of the protocol can be found below:
No Lab for Week 13
No Lab for Week 14
![virtual_digest_sequence_Mycobacterium-phage-Kampy-complete-sequence-51378-bp-including-10-base-3-overhang-CGGCCGGTAA-Cluster-A4_[HiddenHello]](/2026a/jason-ross/labs/week-02-lab-dna-gel-art/virtual_digest_sequence_Mycobacterium-phage-Kampy-complete-sequence-51378-bp-including-10-base-3-overhang-CGGCCGGTAA-Cluster-A4_[HiddenHello].png)