Gibson Assembly Lab
Week 6 Lab: Gibson Assembly
This lab focused on using PCR, Gibson Assembly, and bacterial transformation to modify a plasmid carrying the amilCP chromoprotein gene. The goal was to introduce targeted color mutations and then transform the assembled plasmids into E. coli so that successful variants could be identified by colony color.
Our group worked on color variants intended to produce magenta and blue colonies. The experiment had several stages: PCR amplification, PCR cleanup, diagnostic gel electrophoresis, Gibson Assembly, transformation, recovery, plating, and colony observation.
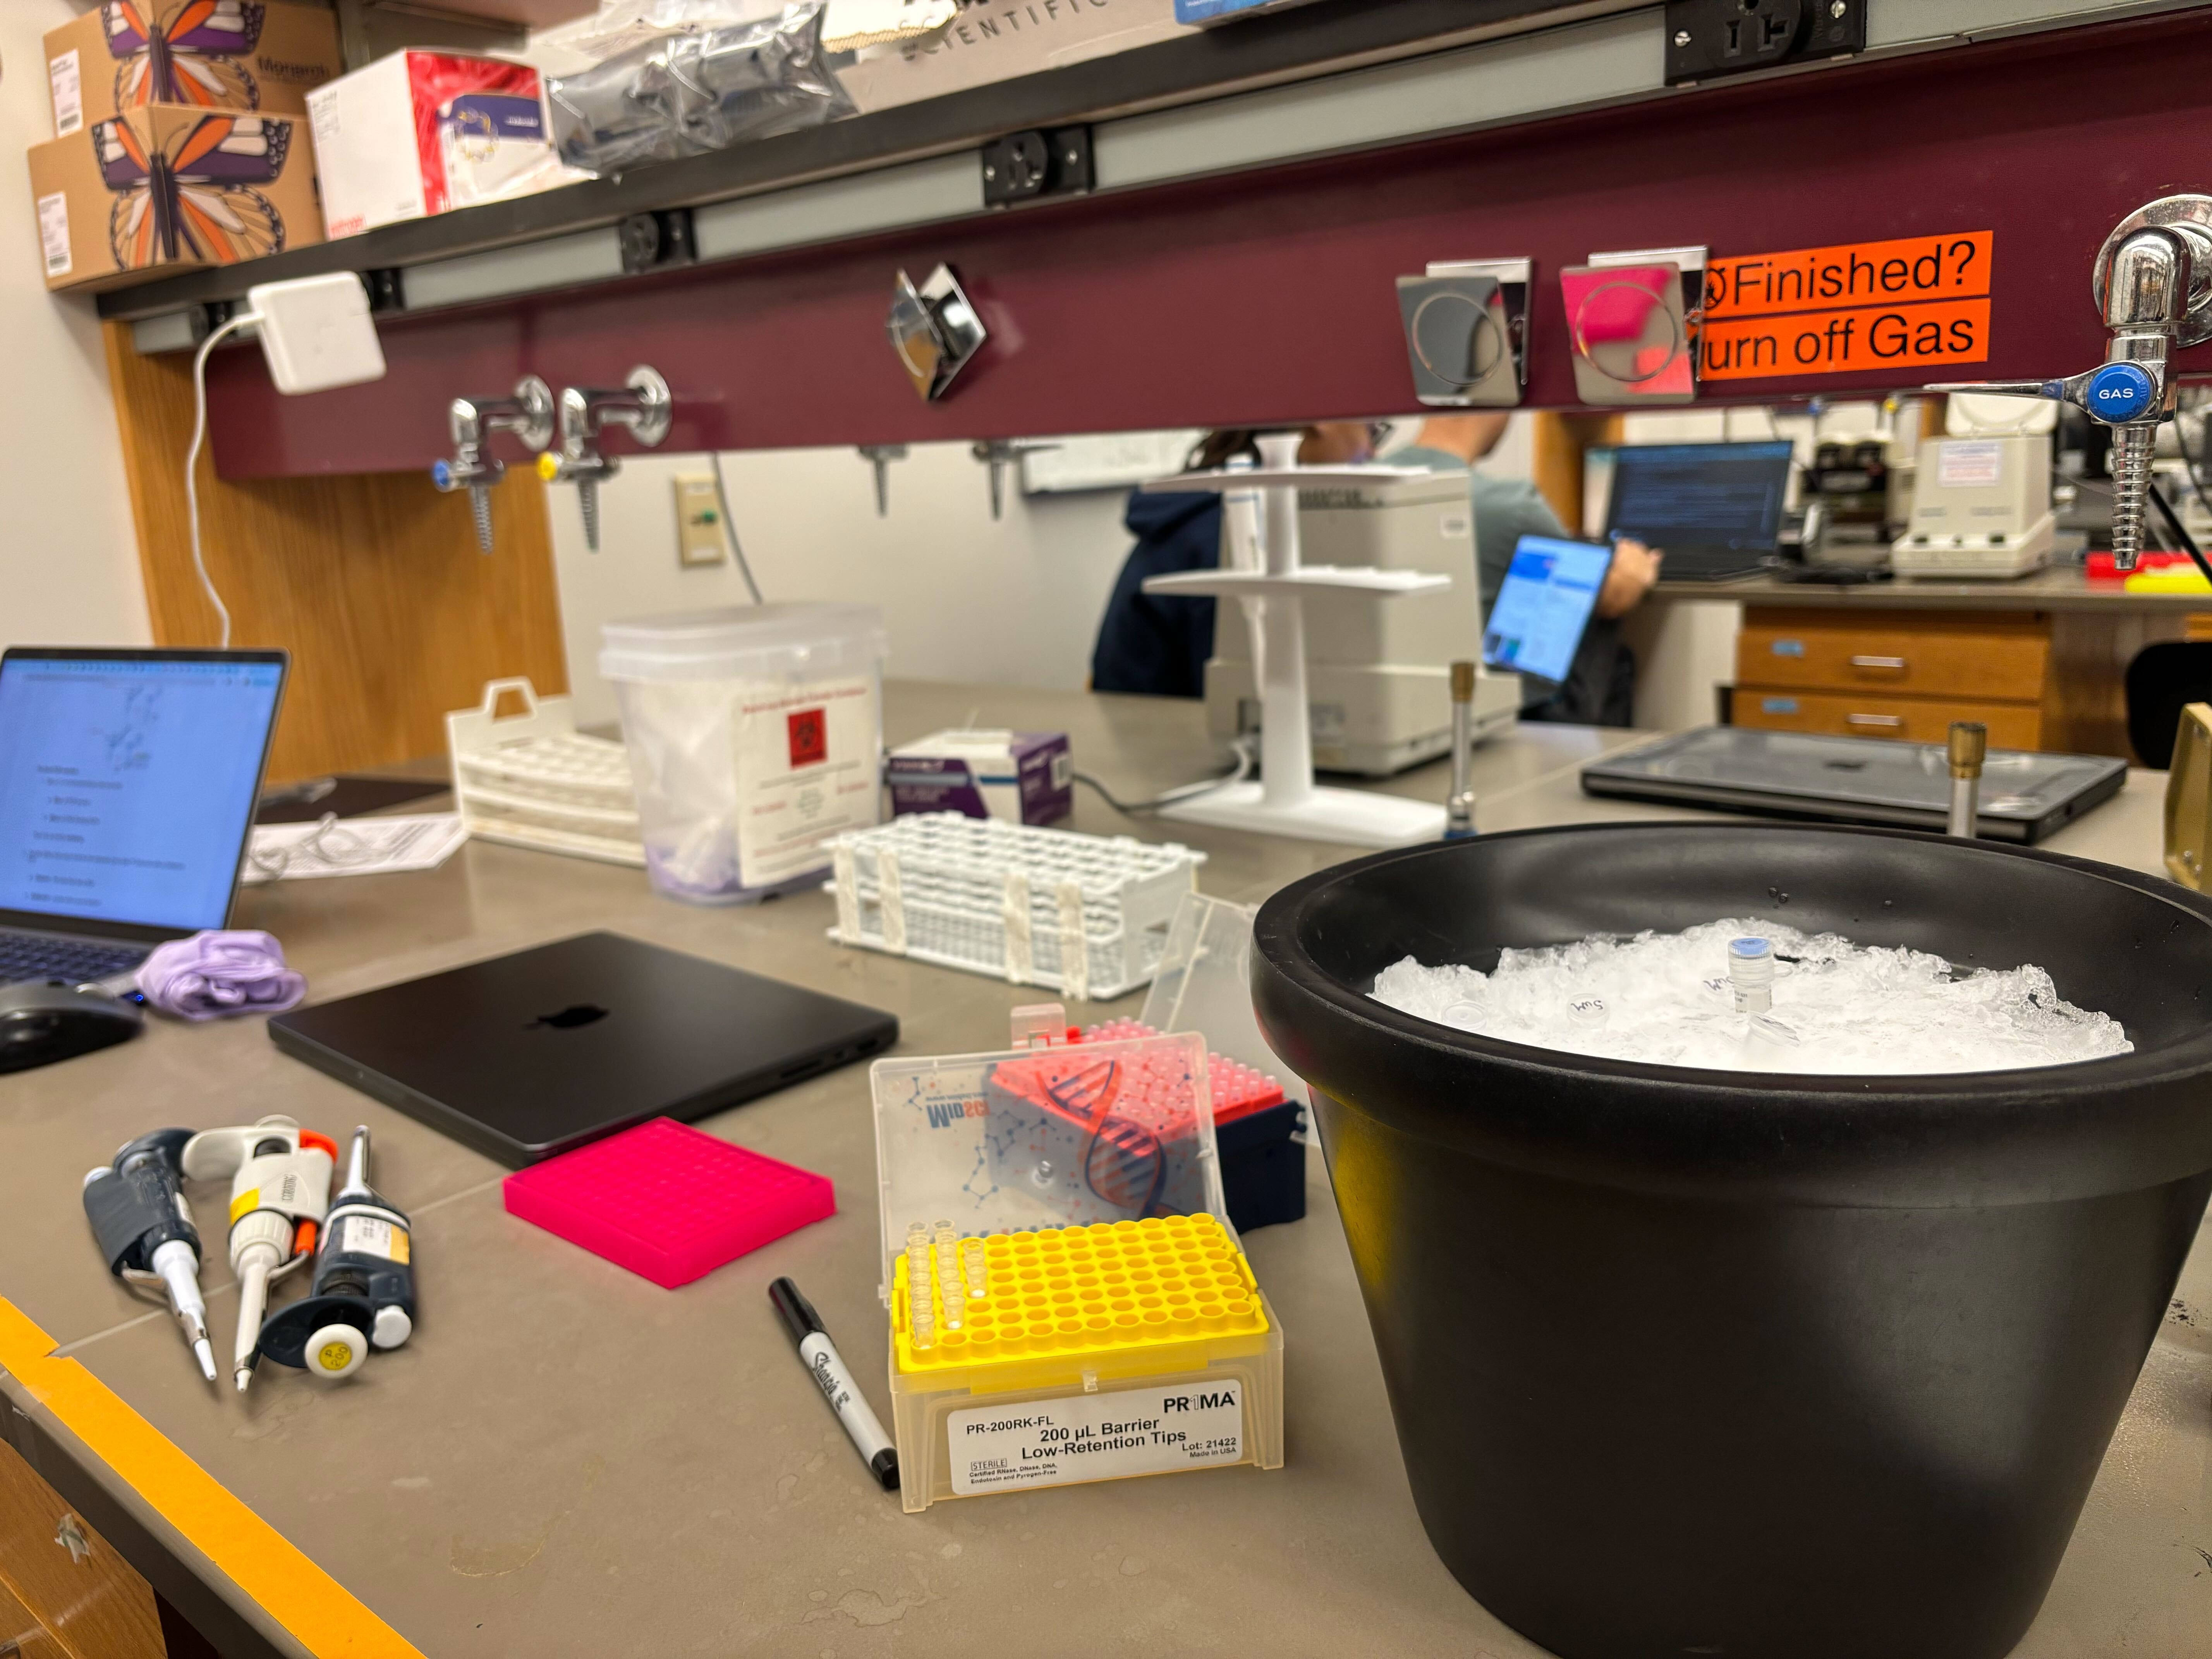
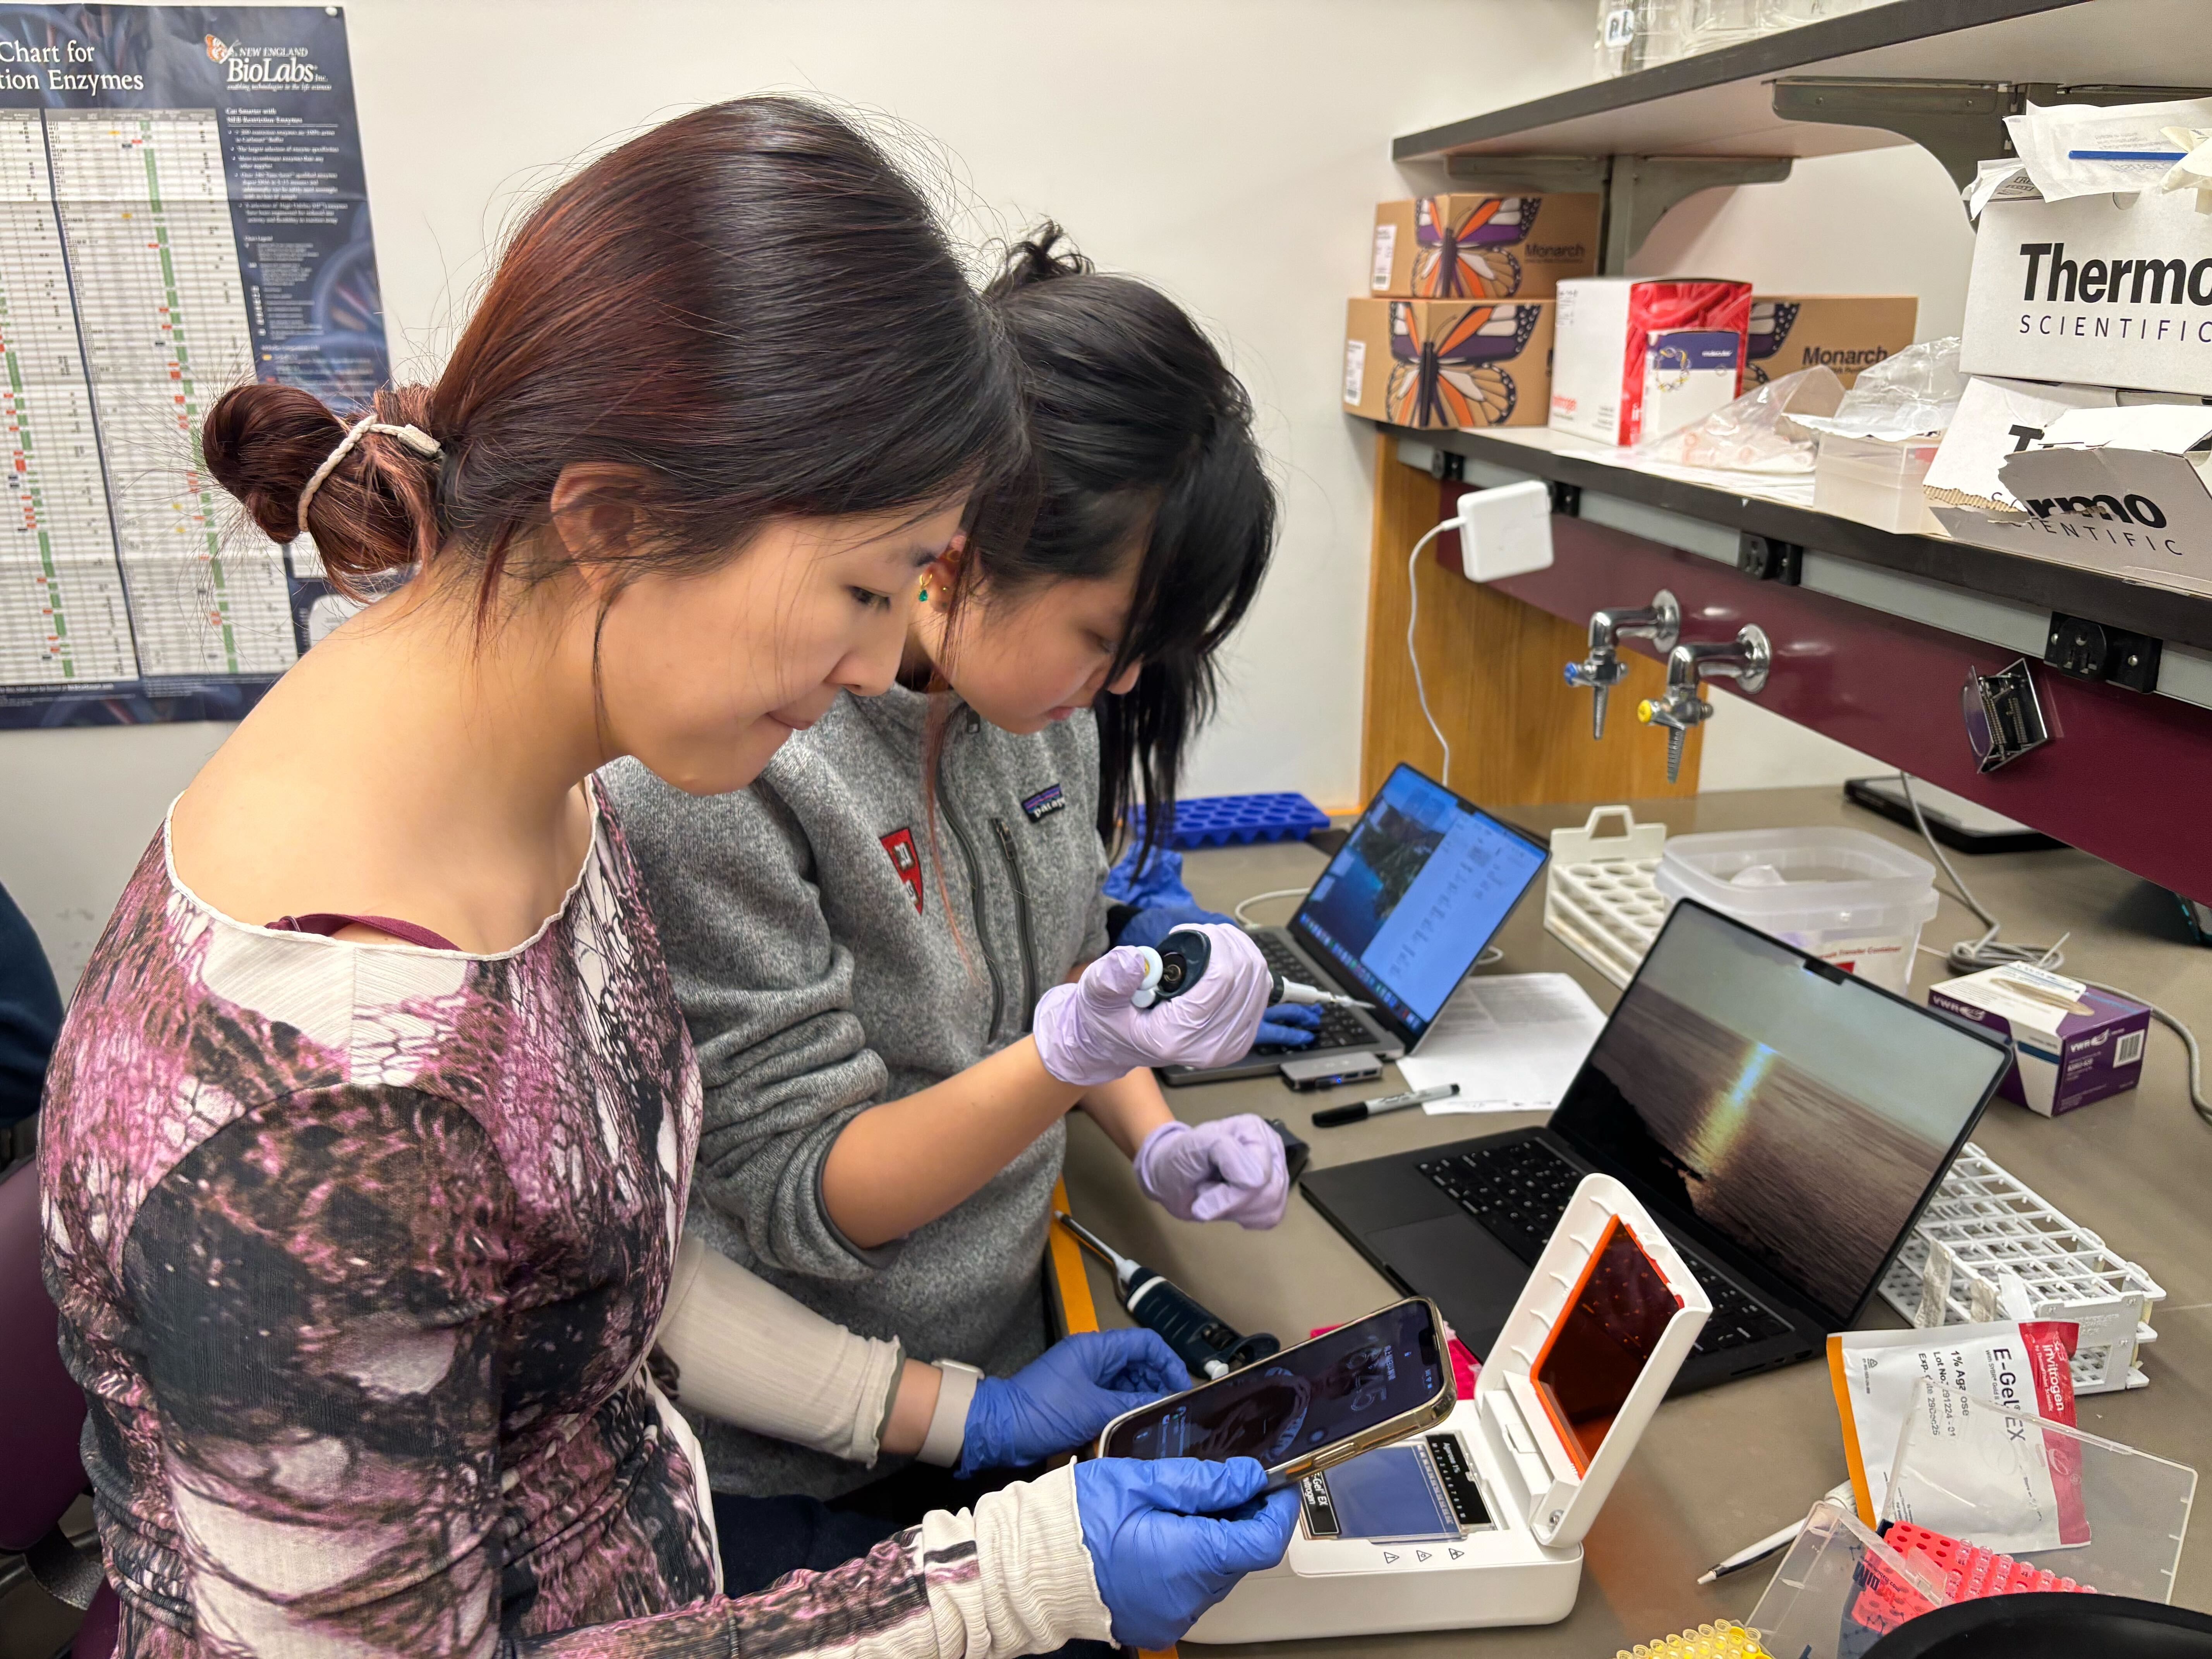
Photos
Here are the photos I took during the lab.
Overall Strategy
The basic idea was to split the plasmid into two PCR products and then put it back together with a designed mutation. One PCR reaction amplified the larger backbone region of the plasmid, and the other amplified the color insert region containing the mutation near the chromoprotein sequence.
After PCR, the fragments were purified and checked on a gel. If the fragments were present at the expected sizes, they could be combined using Gibson Assembly. Gibson Assembly uses overlapping ends between DNA fragments to join them into one circular plasmid. The assembled plasmid was then transformed into chemically competent E. coli cells and plated on antibiotic plates.
Part 1: PCR Setup
We ran two PCR reactions from the mUAV plasmid template.
The first reaction amplified the backbone fragment. This contained the plasmid parts needed for propagation and expression, such as the origin of replication, chloramphenicol resistance, promoter, and ribosome binding site.
The second reaction amplified the color insert fragment. This contained the region around the amilCP chromoprotein gene. The forward primer introduced the color mutation, so the PCR product was not just copying the original sequence. It was also adding the designed change.
Each 25 uL PCR reaction used:
| Component | Amount |
|---|---|
| Template DNA, 38.5 ng/uL | 0.8 uL |
| Forward primer, 5 uM | 2.5 uL |
| Reverse primer, 5 uM | 2.5 uL |
| Phusion HF PCR Master Mix | 12.5 uL |
| Nuclease-free water | to 25 uL |
Phusion polymerase was used because it is high-fidelity, which matters when the goal is to create a specific mutation without adding many unintended errors.
PCR Thermocycler Conditions
The backbone and color-insert reactions used different annealing and extension conditions because the fragments had different sizes and primer properties.
Backbone PCR
- 98°C for 30 seconds
- 26 cycles:
- 98°C for 10 seconds
- 57°C for 25 seconds
- 72°C for 1.5 minutes
- 72°C for 5 minutes
- 12°C hold
Color Insert PCR
- 98°C for 15 seconds
- 26 cycles:
- 98°C for 10 seconds
- 53°C for 20 seconds
- 72°C for 15 seconds
- 72°C for 5 minutes
- 12°C hold
The backbone needed a longer extension step because it was the larger fragment. The color insert was shorter, so the extension time was much shorter.
Part 1a: PCR Product Cleanup
After PCR, the products were purified using a Zymo DNA Clean & Concentrator kit. This step removed primers, salts, enzymes, and other leftover PCR components that could interfere with later assembly.
For each sample, the PCR product was mixed with DNA binding buffer and loaded onto a spin column. The DNA binds to the column under the buffer conditions. After centrifugation and washing, the DNA was eluted in a small volume of nuclease-free water.
The cleanup workflow was:
- Mix 20 uL PCR product with 100 uL DNA binding buffer.
- Load onto a ZymoSpin column.
- Centrifuge to bind DNA to the column.
- Wash twice with 200 uL DNA wash buffer.
- Elute DNA in 6 uL nuclease-free water.
The small elution volume helped keep the DNA concentrated for Gibson Assembly.
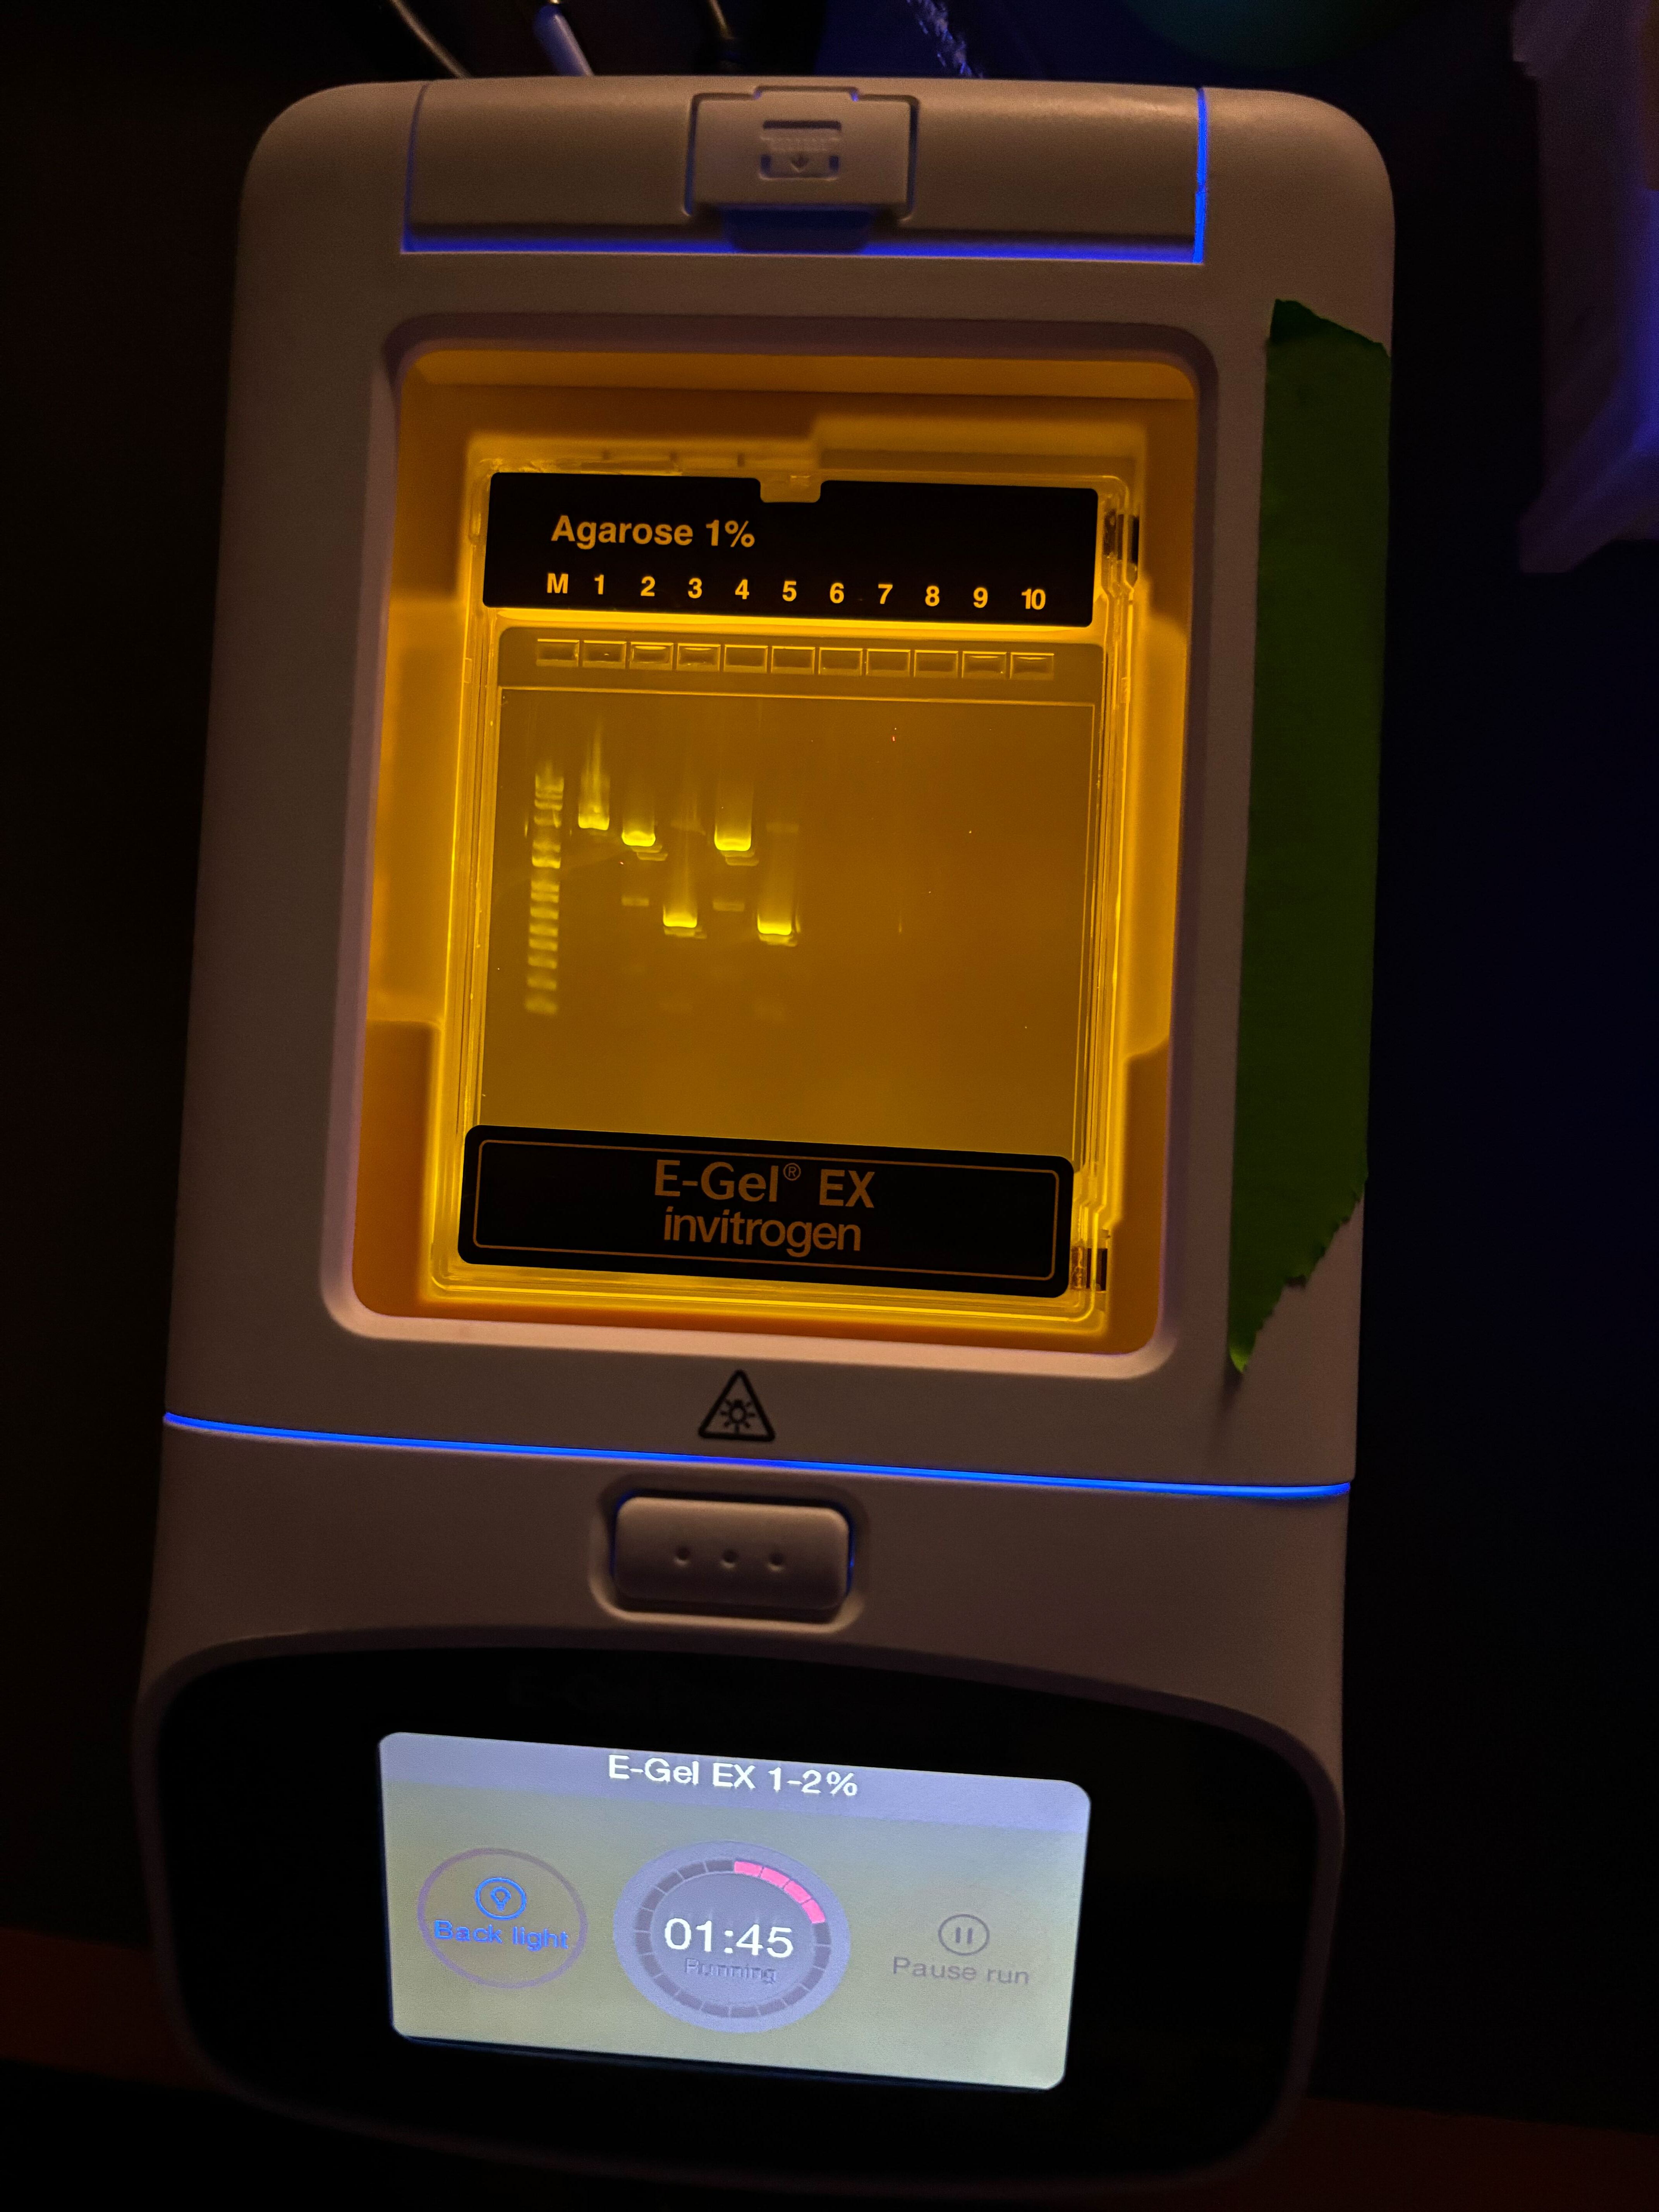
Part 1b: Diagnostic Gel Electrophoresis
After purification, we ran a diagnostic gel to check whether the PCR reactions produced fragments of the expected sizes. For each sample, 2 uL of purified DNA was mixed with 18 uL water before loading. A pre-diluted DNA ladder was also loaded, and the original mUAV plasmid was used as a reference.
The gel was useful because it gave a quick quality check before assembly. If the backbone and insert bands appeared at the expected positions, that meant the PCR products were likely usable. If a reaction had no band or many nonspecific bands, Gibson Assembly would probably fail or produce the wrong construct.
In our gel image, visible bands appeared in the expected lanes. That suggested that at least some PCR product was present and that the fragments could be carried forward into assembly.
Part 2a: Gibson Assembly
The purified backbone and color-insert fragments were combined using Gibson Assembly Master Mix. Gibson Assembly works because the DNA fragments are designed to have overlapping ends. These overlaps allow the fragments to find each other and be joined into a complete circular plasmid.
The reaction was set up in 10 uL total volume and incubated at 50°C for 15 minutes. After the incubation, 100 uL nuclease-free water was added to dilute the assembly product before transformation.
Mechanistically, Gibson Assembly has four main steps:
- An exonuclease chews back the 5’ ends of DNA fragments.
- Complementary single-stranded overlaps anneal to each other.
- A polymerase fills in missing bases.
- A ligase seals the remaining nicks.
This produces a circular plasmid containing the backbone and the mutated color insert.
Part 2b: Transformation
The Gibson Assembly products were transformed into chemically competent DH5α E. coli using heat shock.
The transformation workflow was:
- Thaw competent cells on ice for about 10 minutes.
- Add 4 uL diluted Gibson Assembly product to 20 uL competent cells.
- Incubate on ice for 30 minutes.
- Heat shock at 42°C for 45 seconds.
- Return cells to ice for 5 minutes.
- Add 100 uL SOC media.
- Recover with shaking for 60 minutes.
- Plate 100 uL on selective agar plates.
- Incubate plates at 37°C.
The heat shock step helps plasmid DNA enter the competent cells. The SOC recovery step gives cells time to recover and begin expressing the antibiotic resistance gene before they are placed on selective plates.
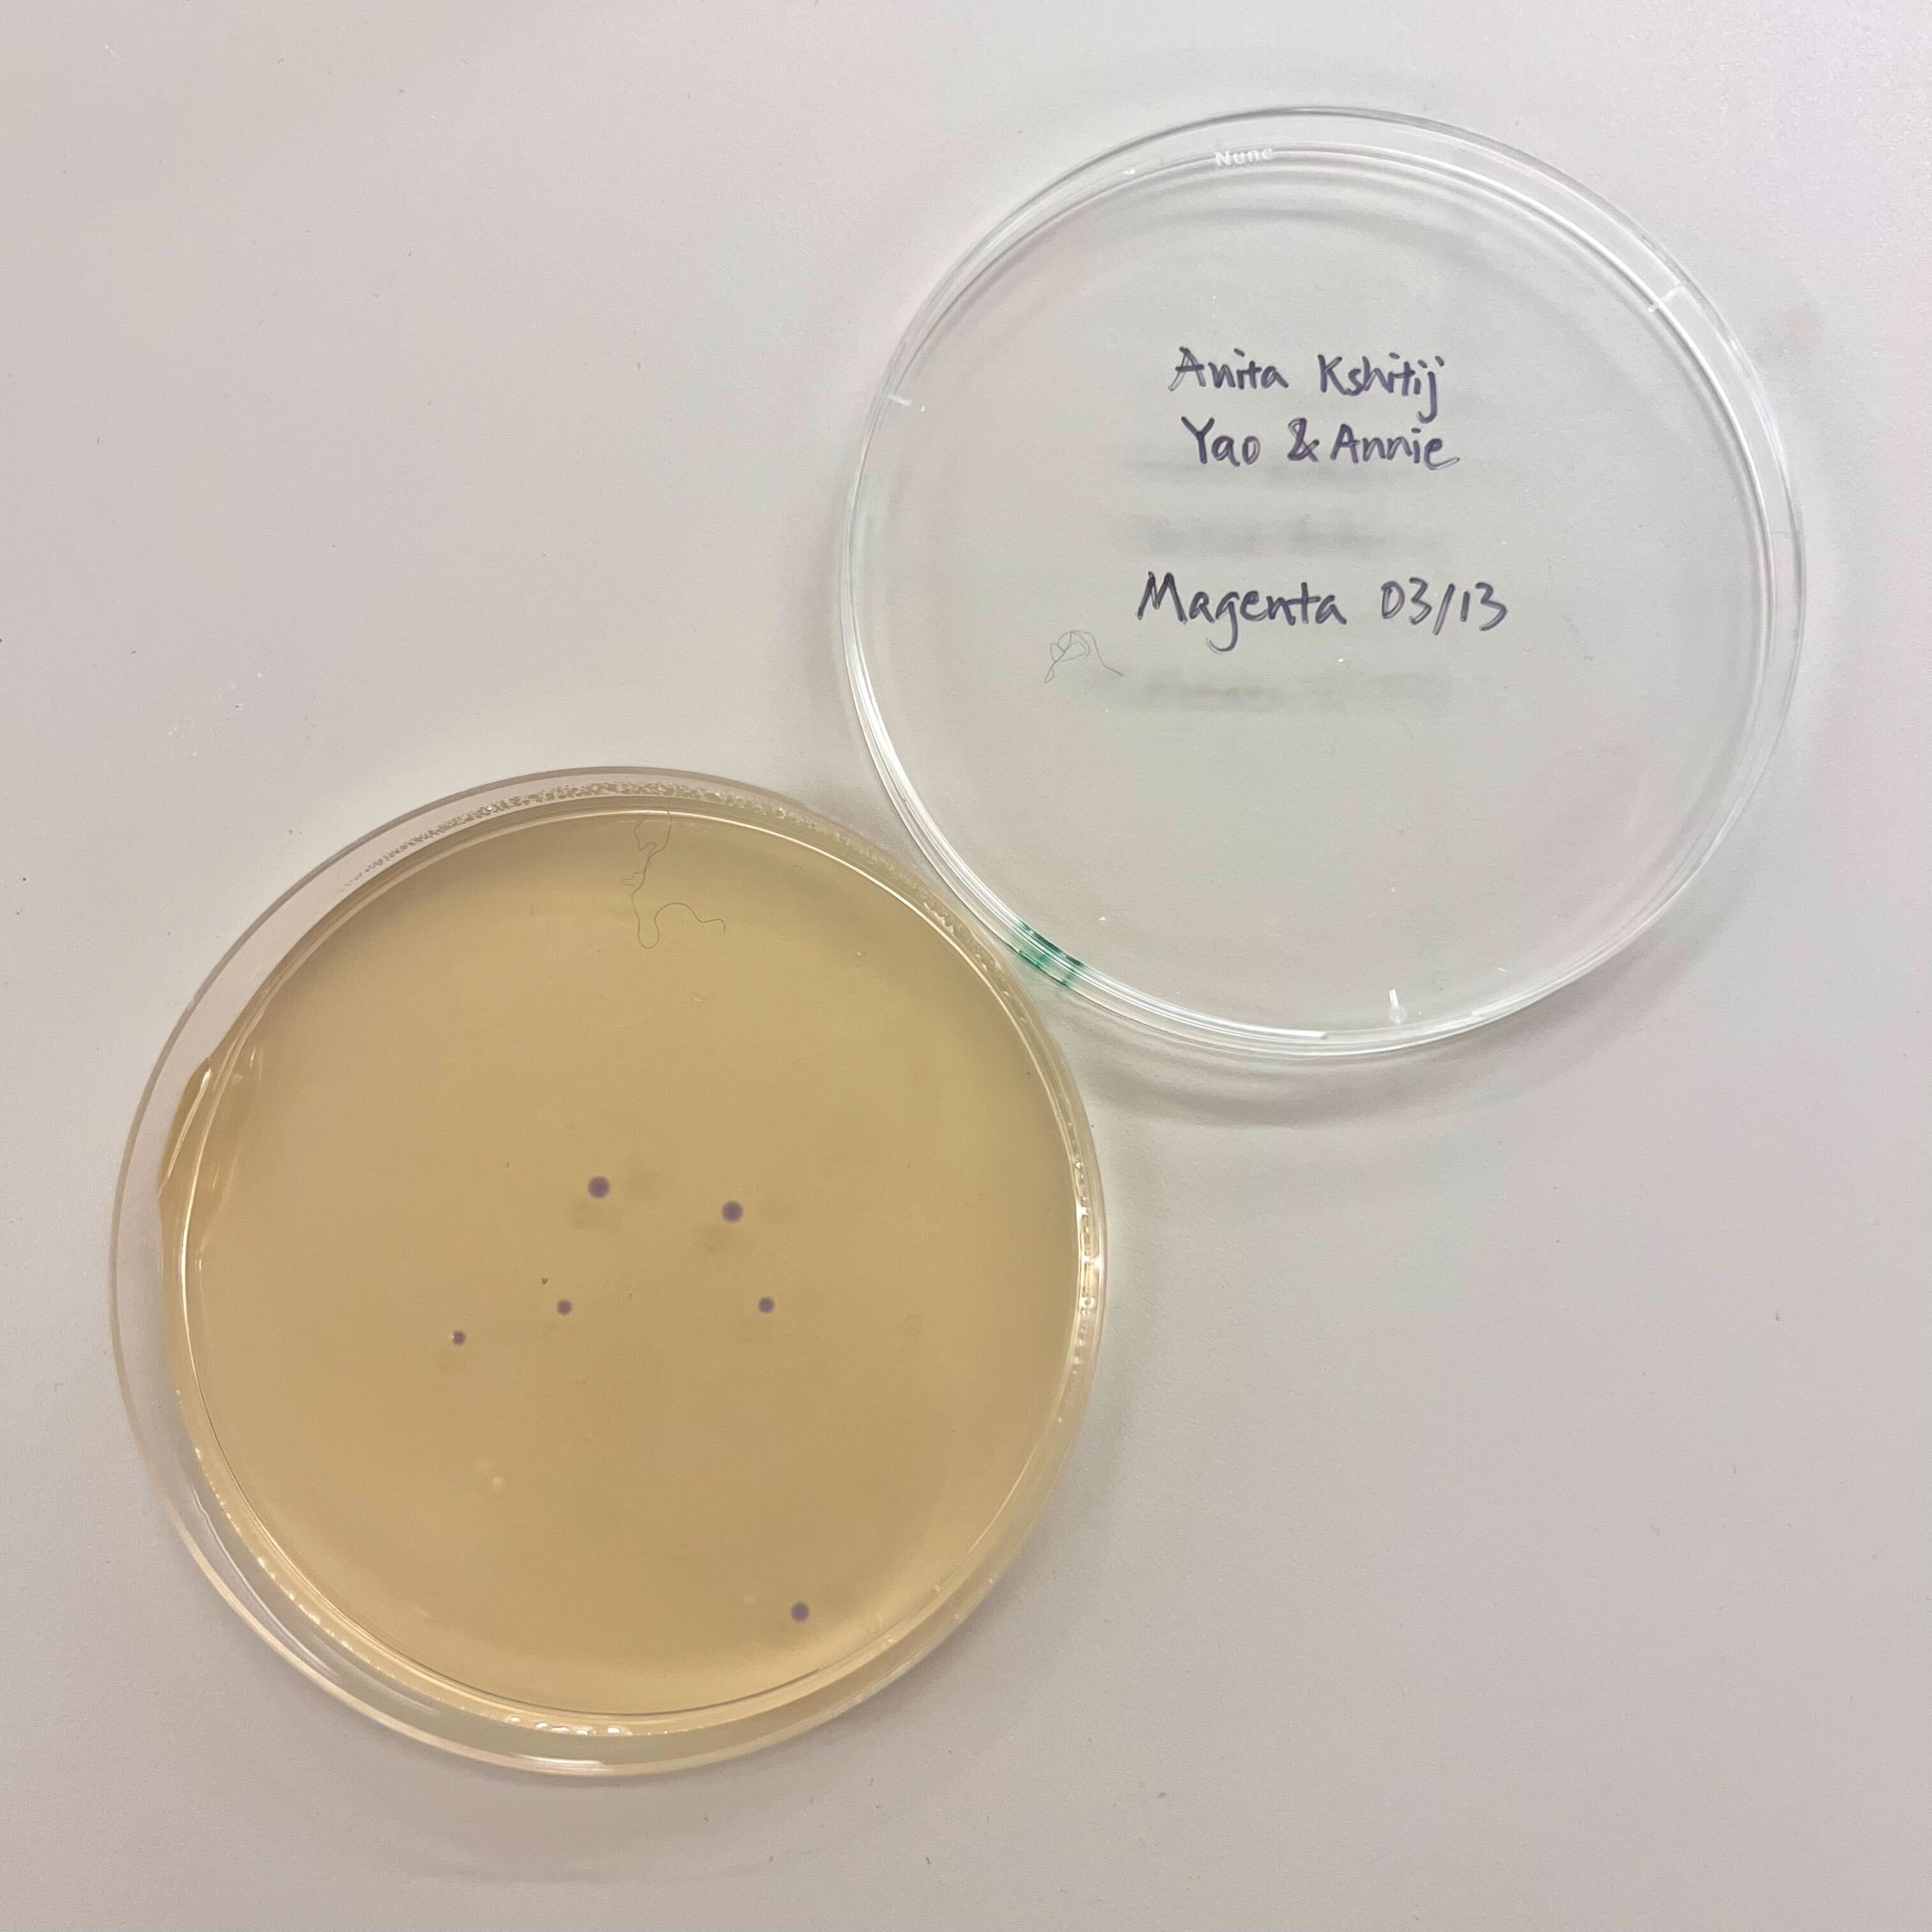
Results
The final colony count was low overall. The blue plate showed a small partial success, with a few visibly blue colonies. The magenta plates did not show clear magenta colonies. The colonies that did grow on those plates may have been untransformed, incorrectly assembled, or reverted toward the original purple amilCP color.
The result suggests that at least one assembly or transformation condition worked partially, but the efficiency was low. Possible reasons include low PCR yield, poor fragment ratio in Gibson Assembly, DNA loss during cleanup, inefficient transformation, or mutations not producing the intended visible color.
Reflection
This lab helped me understand how DNA design turns into an actual biological test. Before this, I thought of a mutation mainly as a sequence edit. In practice, the mutation had to pass through many physical steps: primer design, PCR amplification, cleanup, gel checking, Gibson Assembly, transformation, recovery, and plating.
The most useful checkpoint was the gel, because it showed whether the PCR step produced DNA fragments before we moved on to assembly. The plate result was also useful because it gave a biological readout of the whole workflow. Even if the gel looks reasonable, the construct still has to assemble correctly, enter cells, and express the intended chromoprotein.
The low colony count also showed how many things can reduce success in cloning. A weak final result does not necessarily mean one single step failed. It could come from small losses or inefficiencies across multiple steps. Overall, this lab made the full cloning pipeline much clearer to me.