Week 2 Lab: Lab DNA Gel Art
Part 1: Benchling & In-silico Gel Art
Part 0a: Designing my Gel Art
For this week’s lab, I aimed to create a cool shape that would be easily noticeable and bring a smile to whoever sees it. After thinking through a few ideas, I decided to try creating a rubber duck shape :)
To start designing, I took a picture of the gel alongside the ladder from Ronan’s website and copied it into Procreate on my iPad. Then I added guiding lines in the common areas where many of the segments from the randomizing tool appeared, and sketched the overall shape of a rubber duck.
Very quickly, it became clear that a rubber duck isn’t an “easy” shape to create with this technique. Because it is full of curves and the resolution is relatively low, getting a clear shape was much harder than expected.
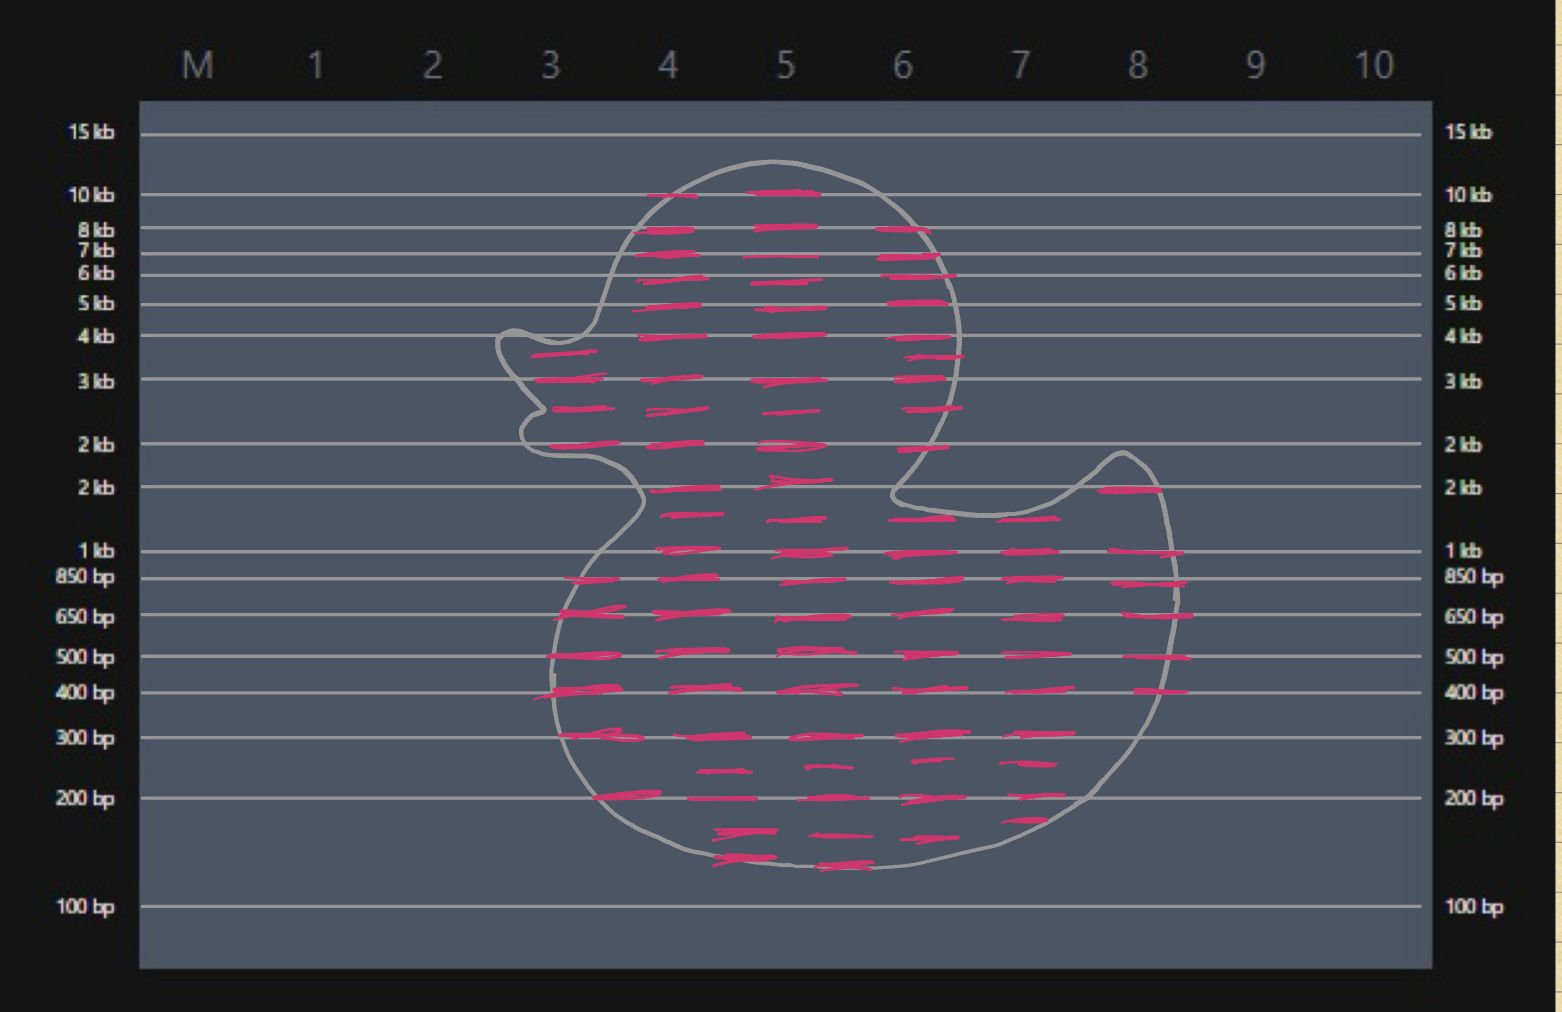
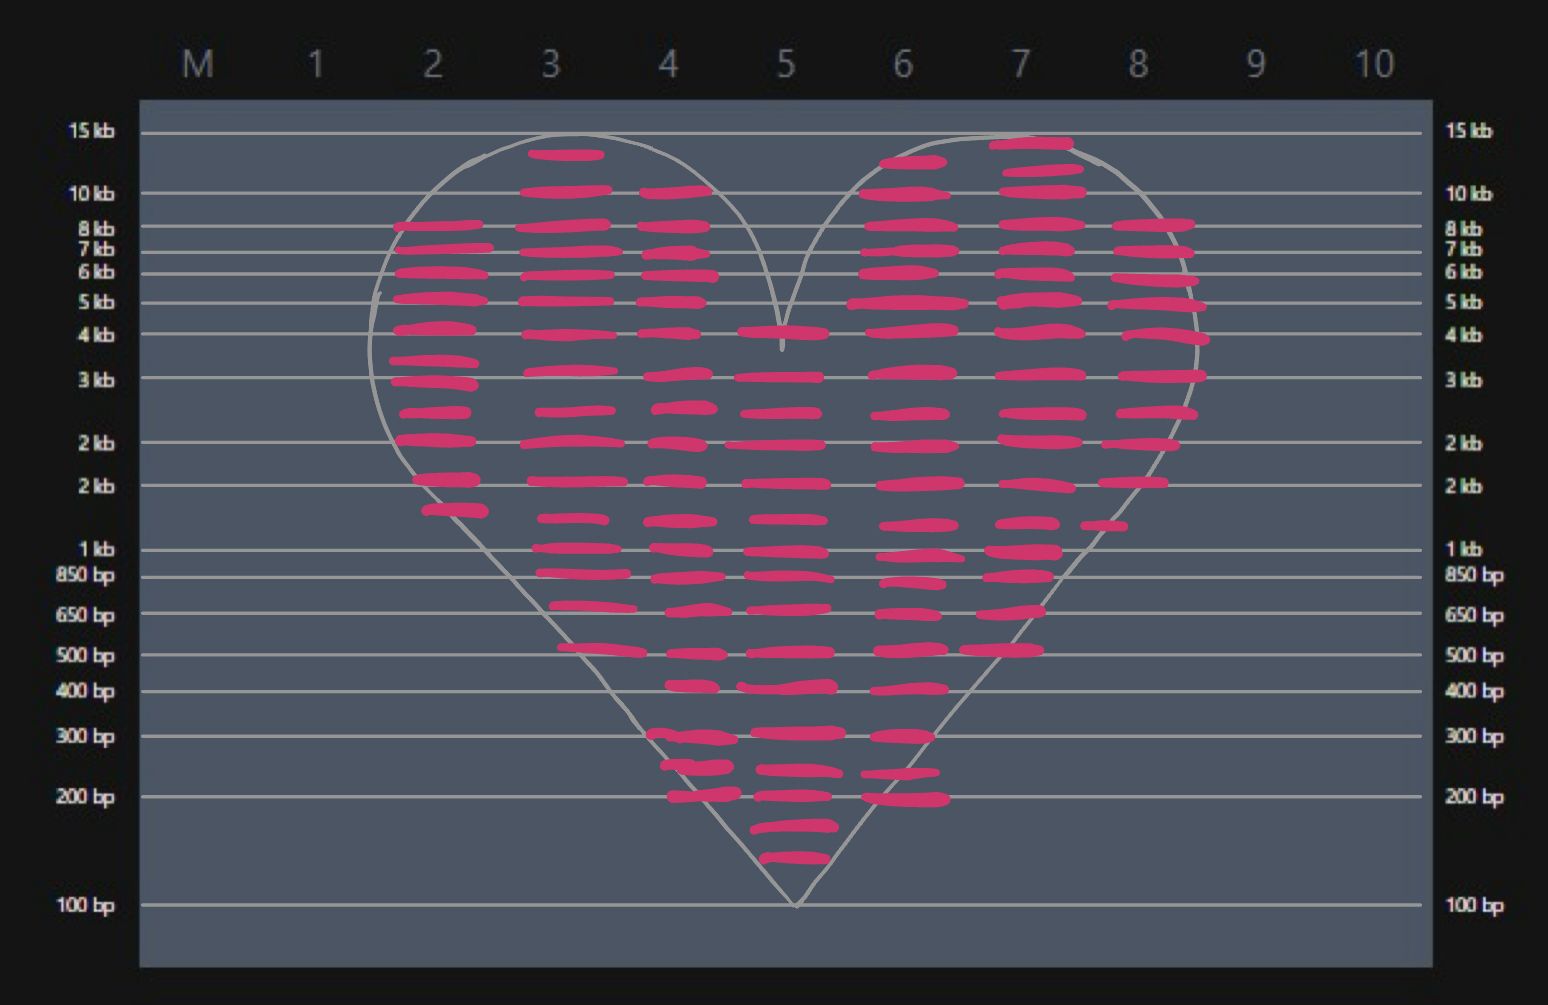
To make it more visible, I tried enlarging it to cover more potential segments (i.e., the image’s pixels), but it didn’t work the way I intended. After thinking it through a bit more, I decided to create a HEART! This too is a very curvy shape, but it’s definitely simpler than a duck - and it’s also Valentine’s Day in two days!
So I did the same thing and got the following basic design:
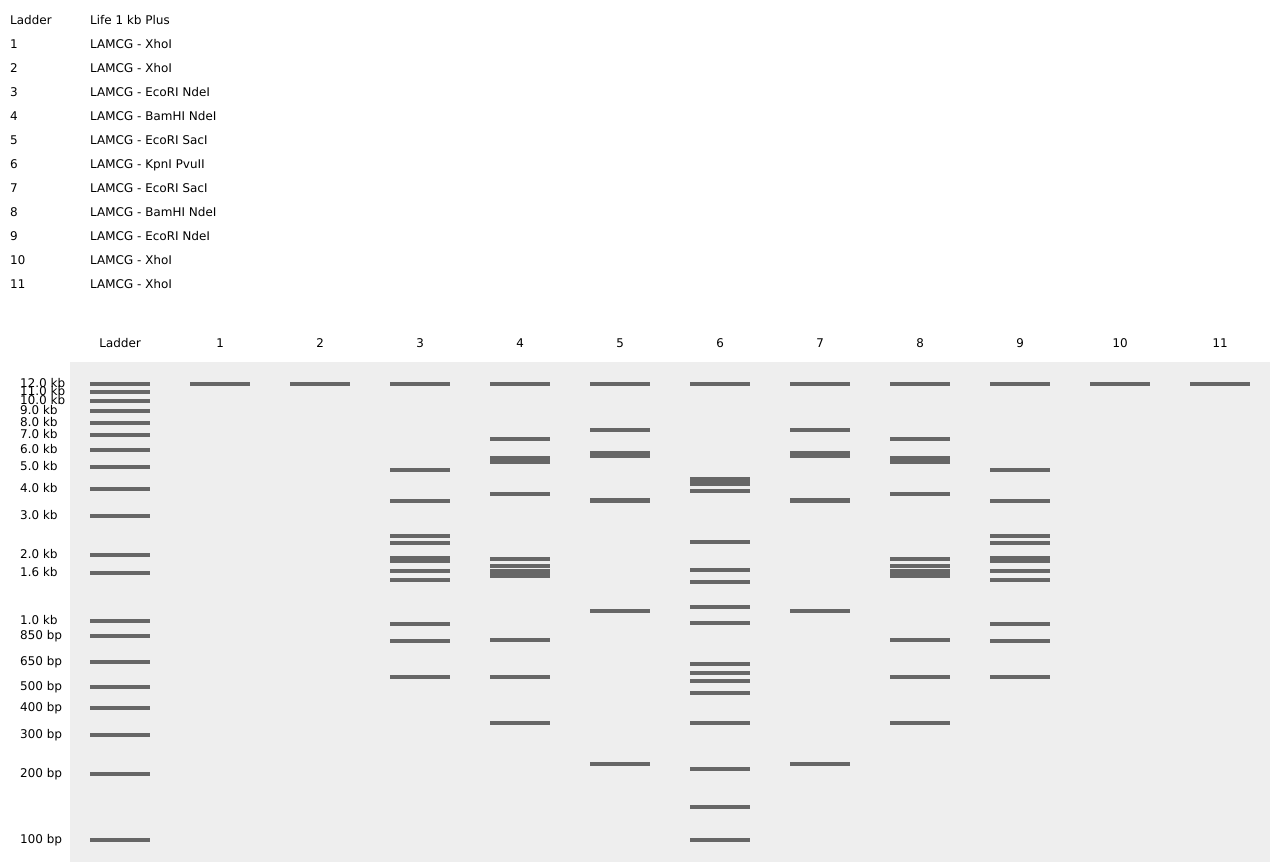
Once I was happy with my design (and honestly, while designing it), I started thinking about how I could determine which enzymes to use to make all of the DNA segments in the specific sizes I wanted. I realized the best and most efficient way for me to go about it was to use Ronan’s website again. I used the “randomize” tool again, only this time I did it for only one column at a time, to get familiar with all of the different combinations of 2-enzyme cuts I could get. It turns out that this number wasn’t very big (55 to be accurate — 45 from pairs + 10 single enzymes), and the options were limited. Since I didn’t want to use 3 or more enzymes, I had to work with this.
To be able to design through the website, I first got myself familiar with the different possible combinations of digestions, and then tried to search for the closest match to my original sketch. After a few tweaks, I created a design I was satisfied with and was ready to move on to the next step!
Part 0b: Expected Results and Walkthrough
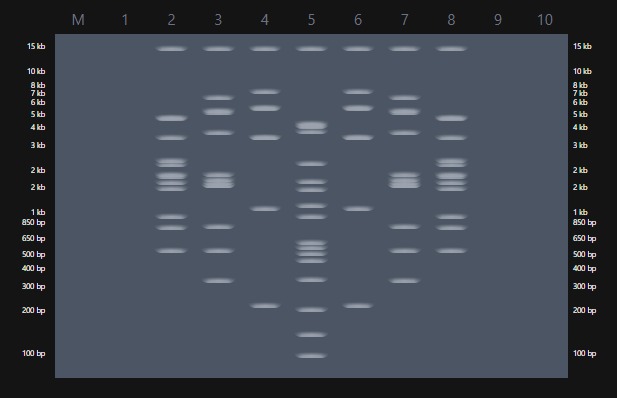
I then moved on to Benchling to transfer my design there by uploading the Lambda DNA and adding the corresponding restriction enzymes. After a few digestions, I noticed something weird — the HindIII enzyme cutting sites on Ronan’s website didn’t match the ones on Benchling. This means that my heart design didn’t look like a heart anymore :(
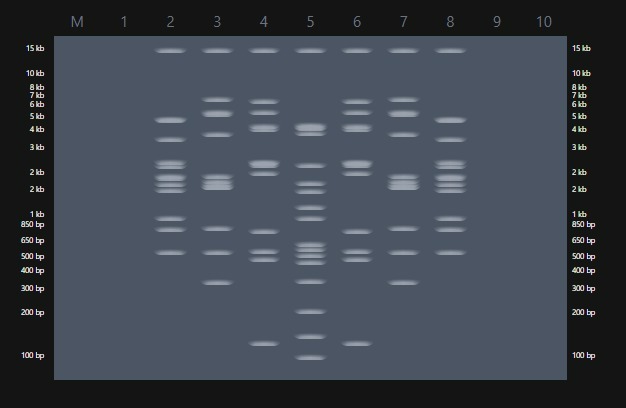
So I went back to Ronan’s website and tried to find alternatives with the hope that I would find them — and I did. The new design didn’t look as rounded as I wanted, but it was certainly a heart, and I went with it! Here is the Benchling design:
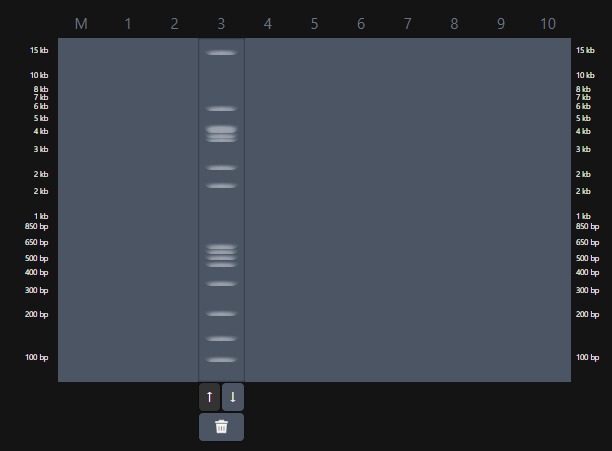
And the equivalent design in Ronan’s website:
And so I moved on to the next step!
Part 2: Gel Art - Restriction Digests and Gel Electrophoresis
Part 1a: Preparing a 1% agarose electrophoresis gel
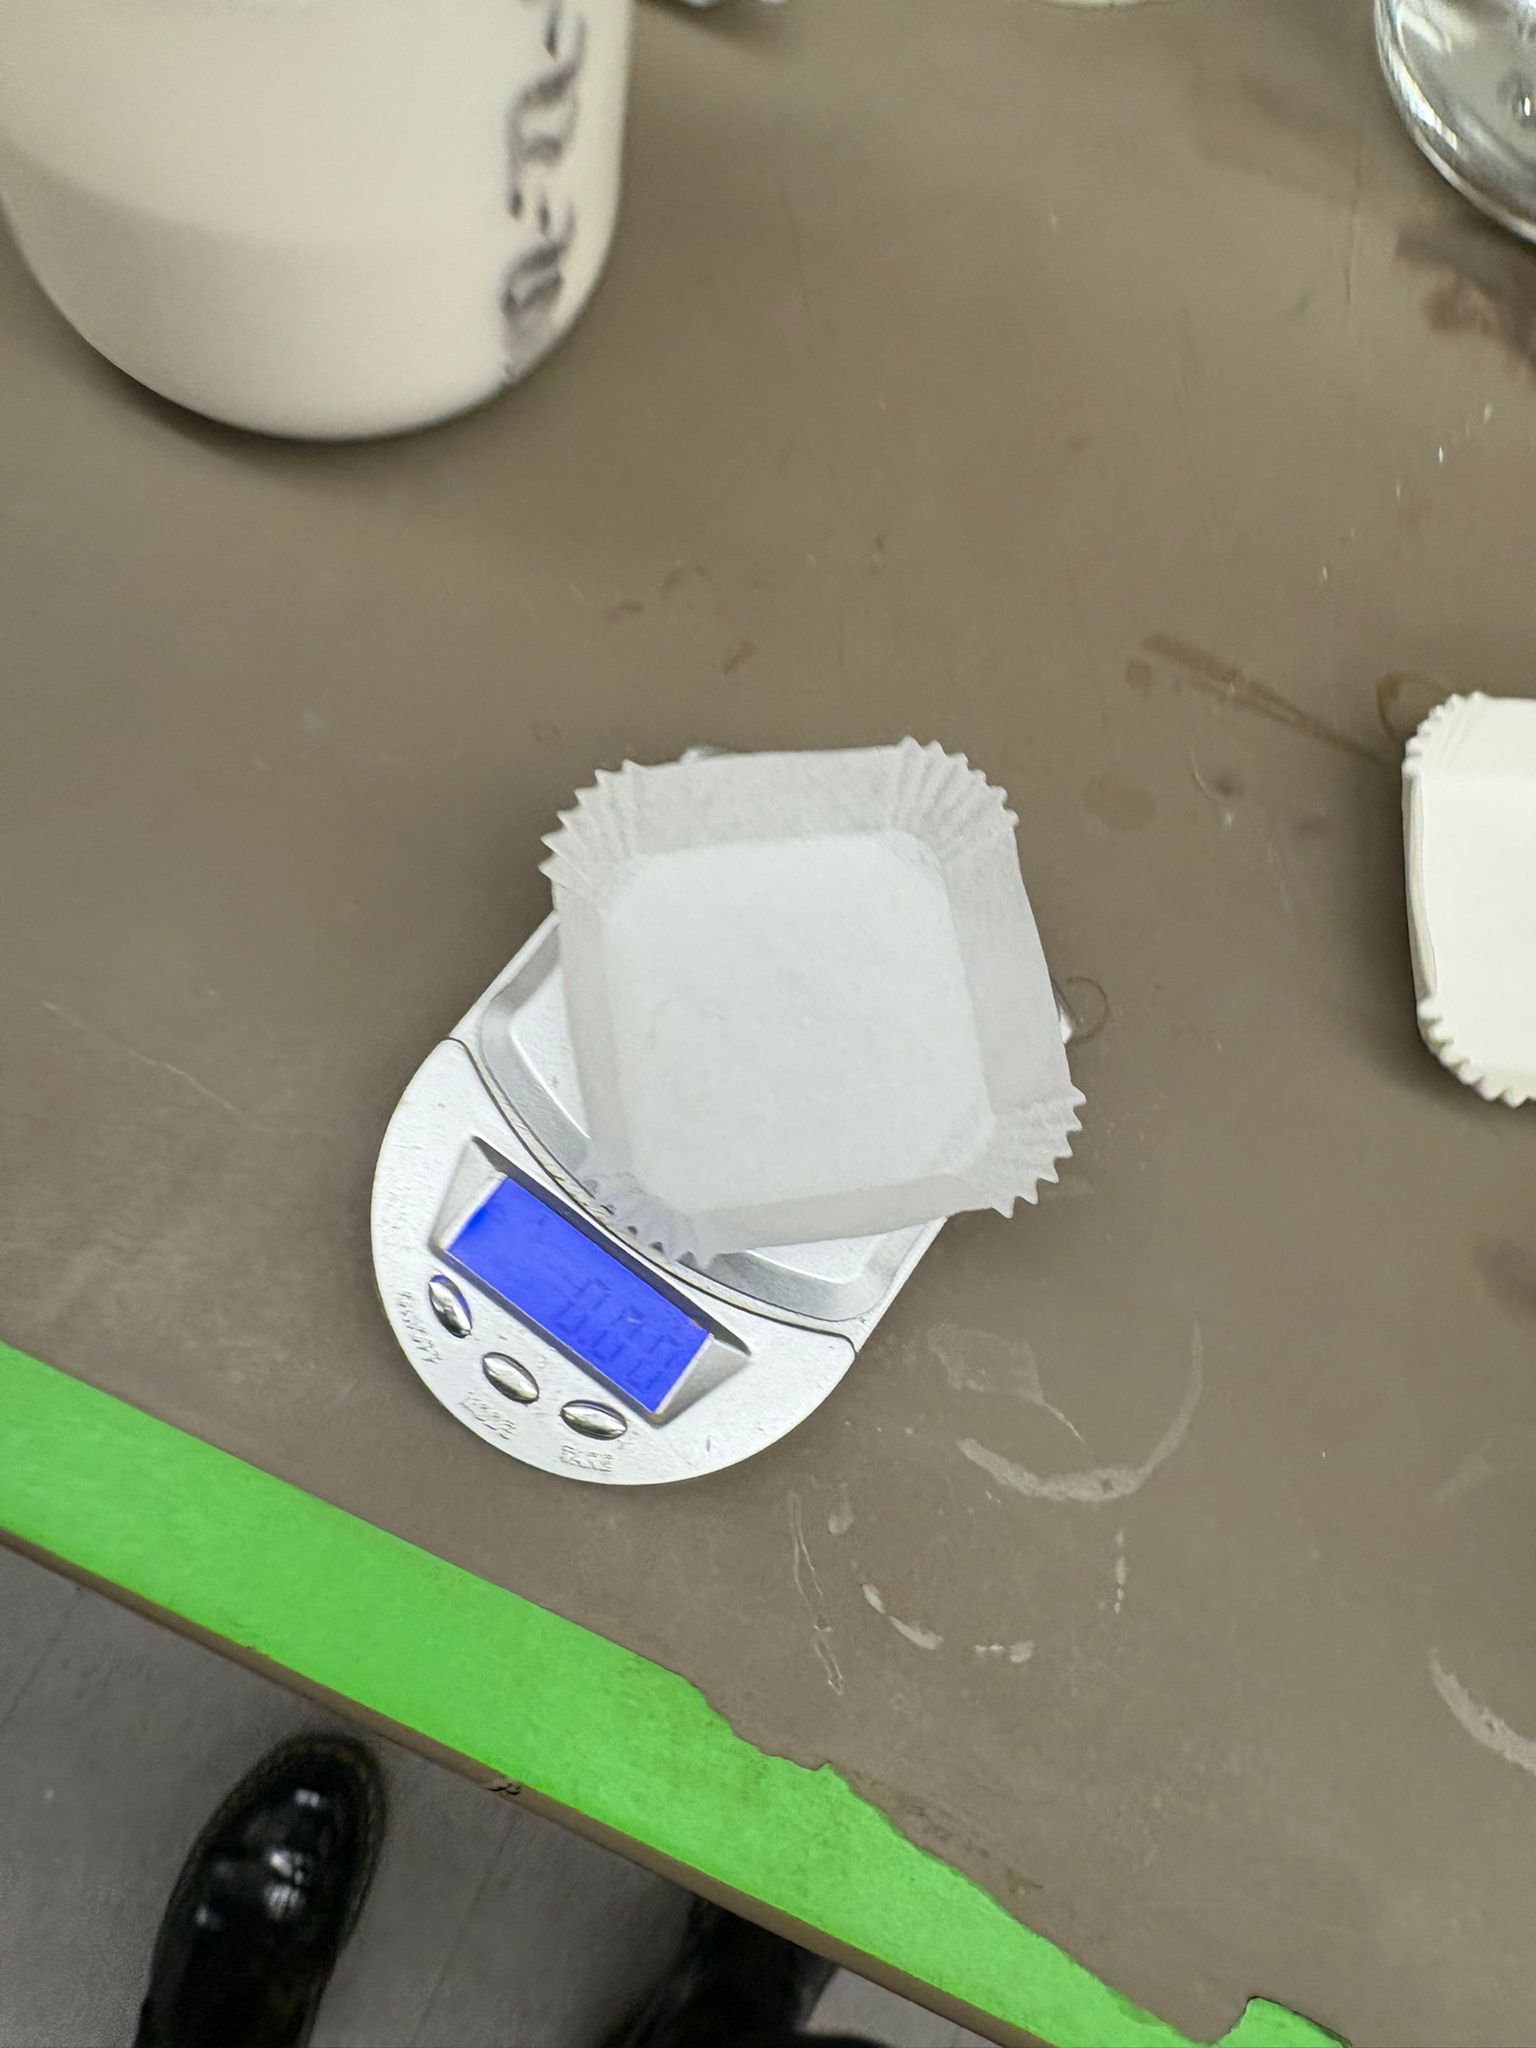
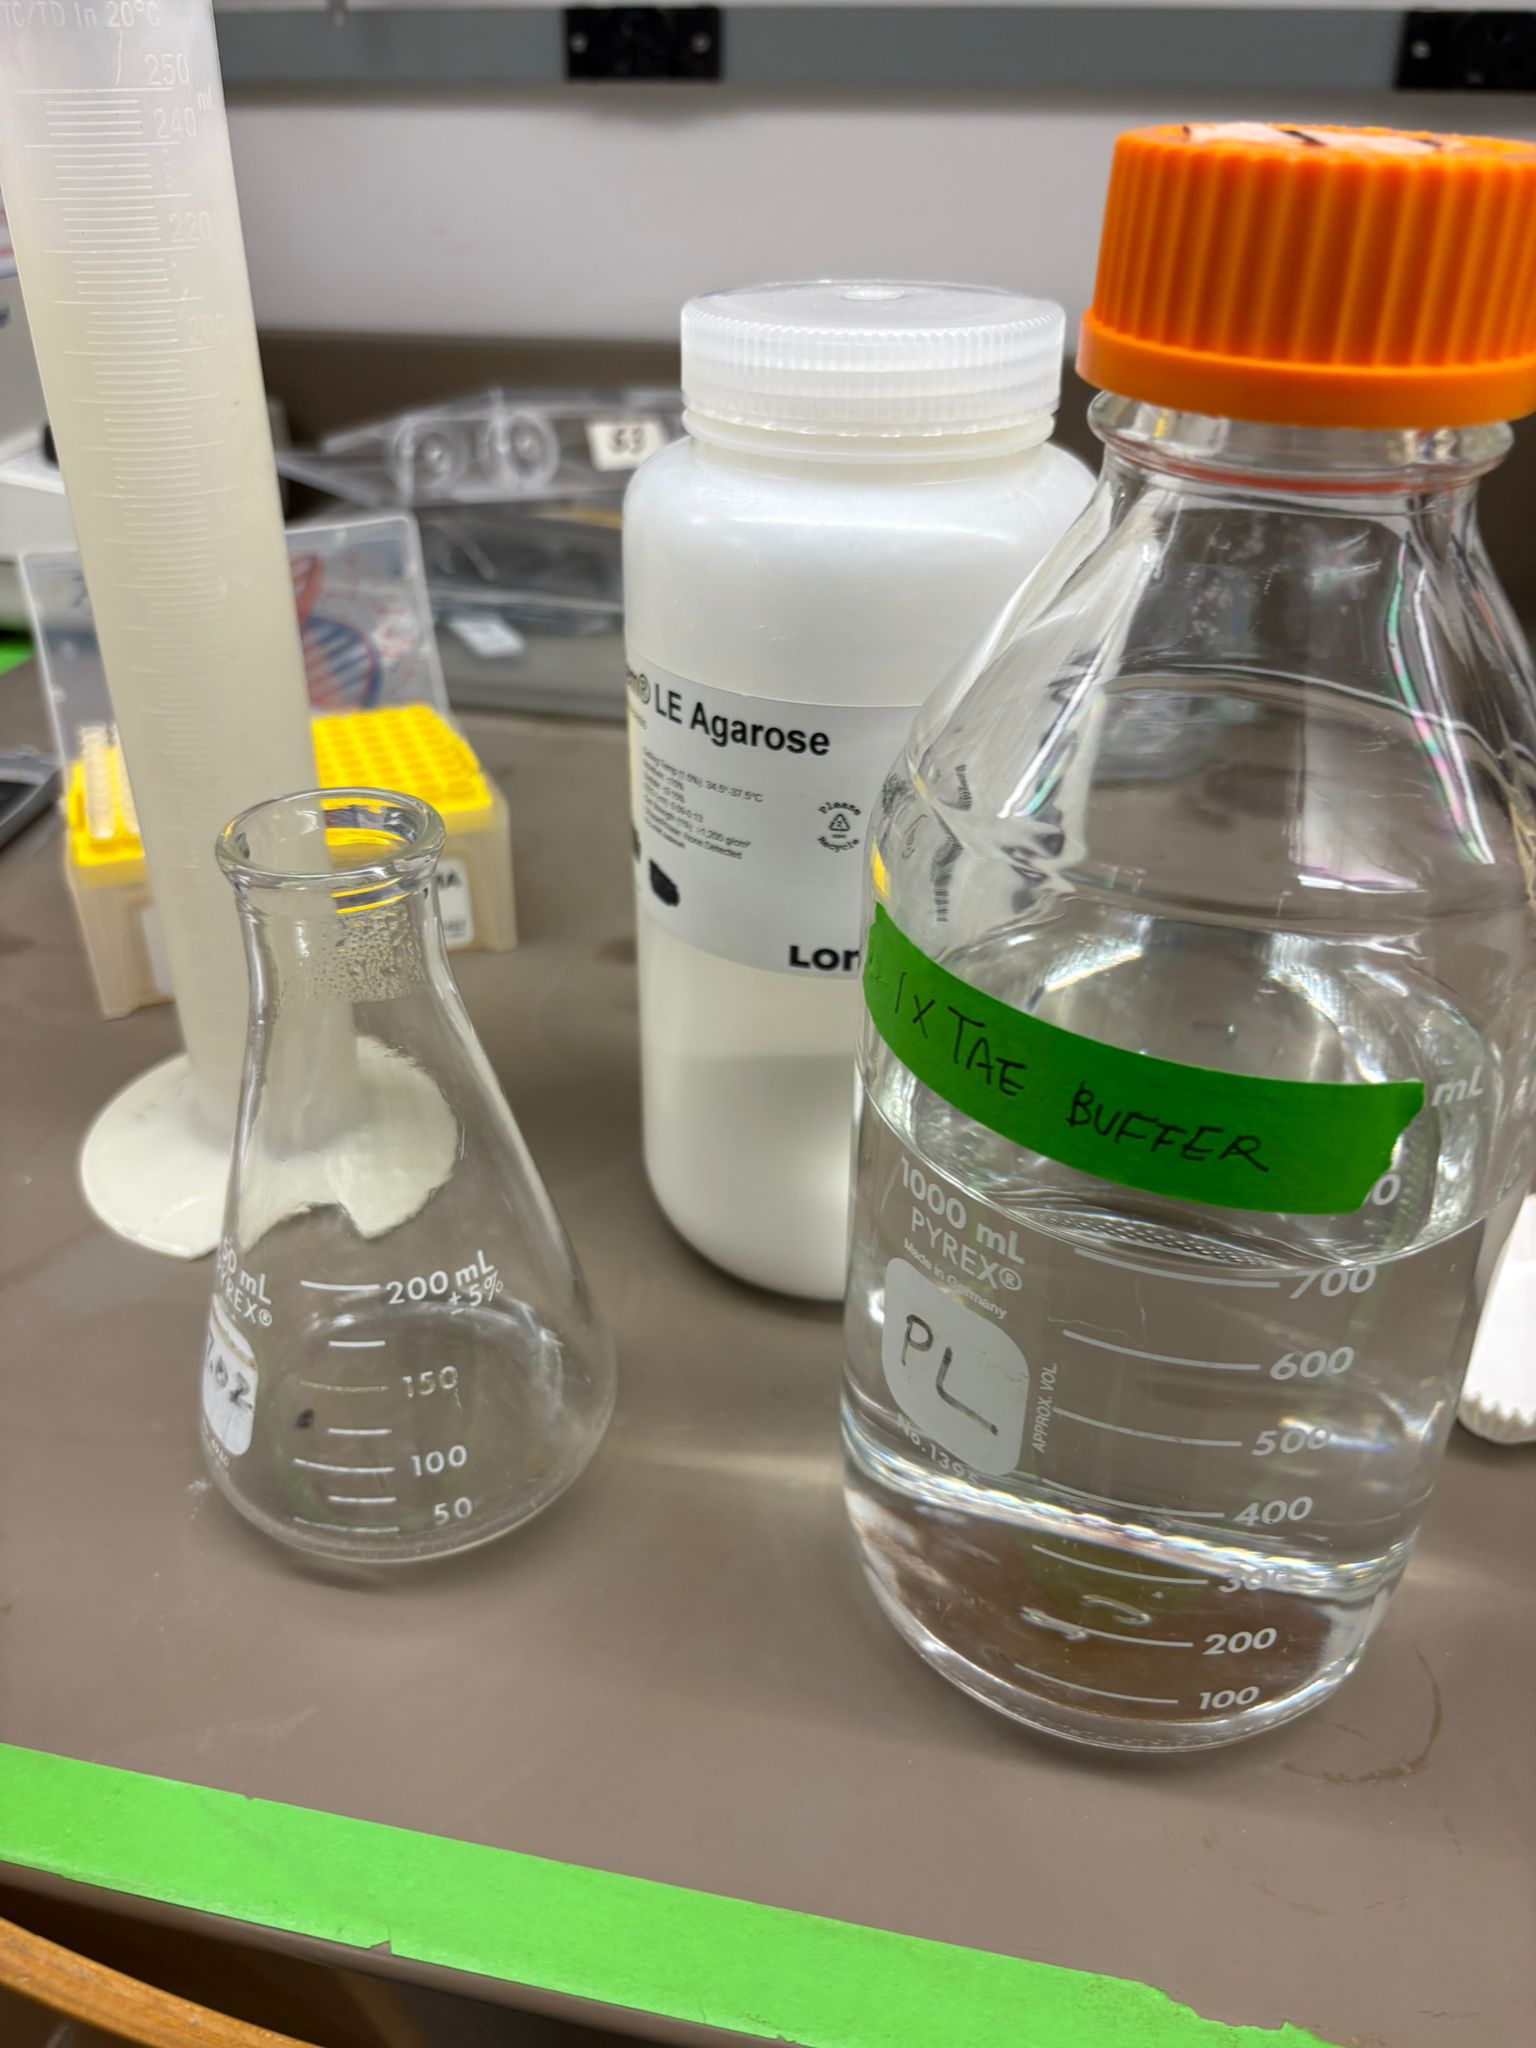
I created the gel solution and poured it into the gel tray. Weighing the agarose and measuring the TAE buffer:
Pouring the solution into the gel tray:
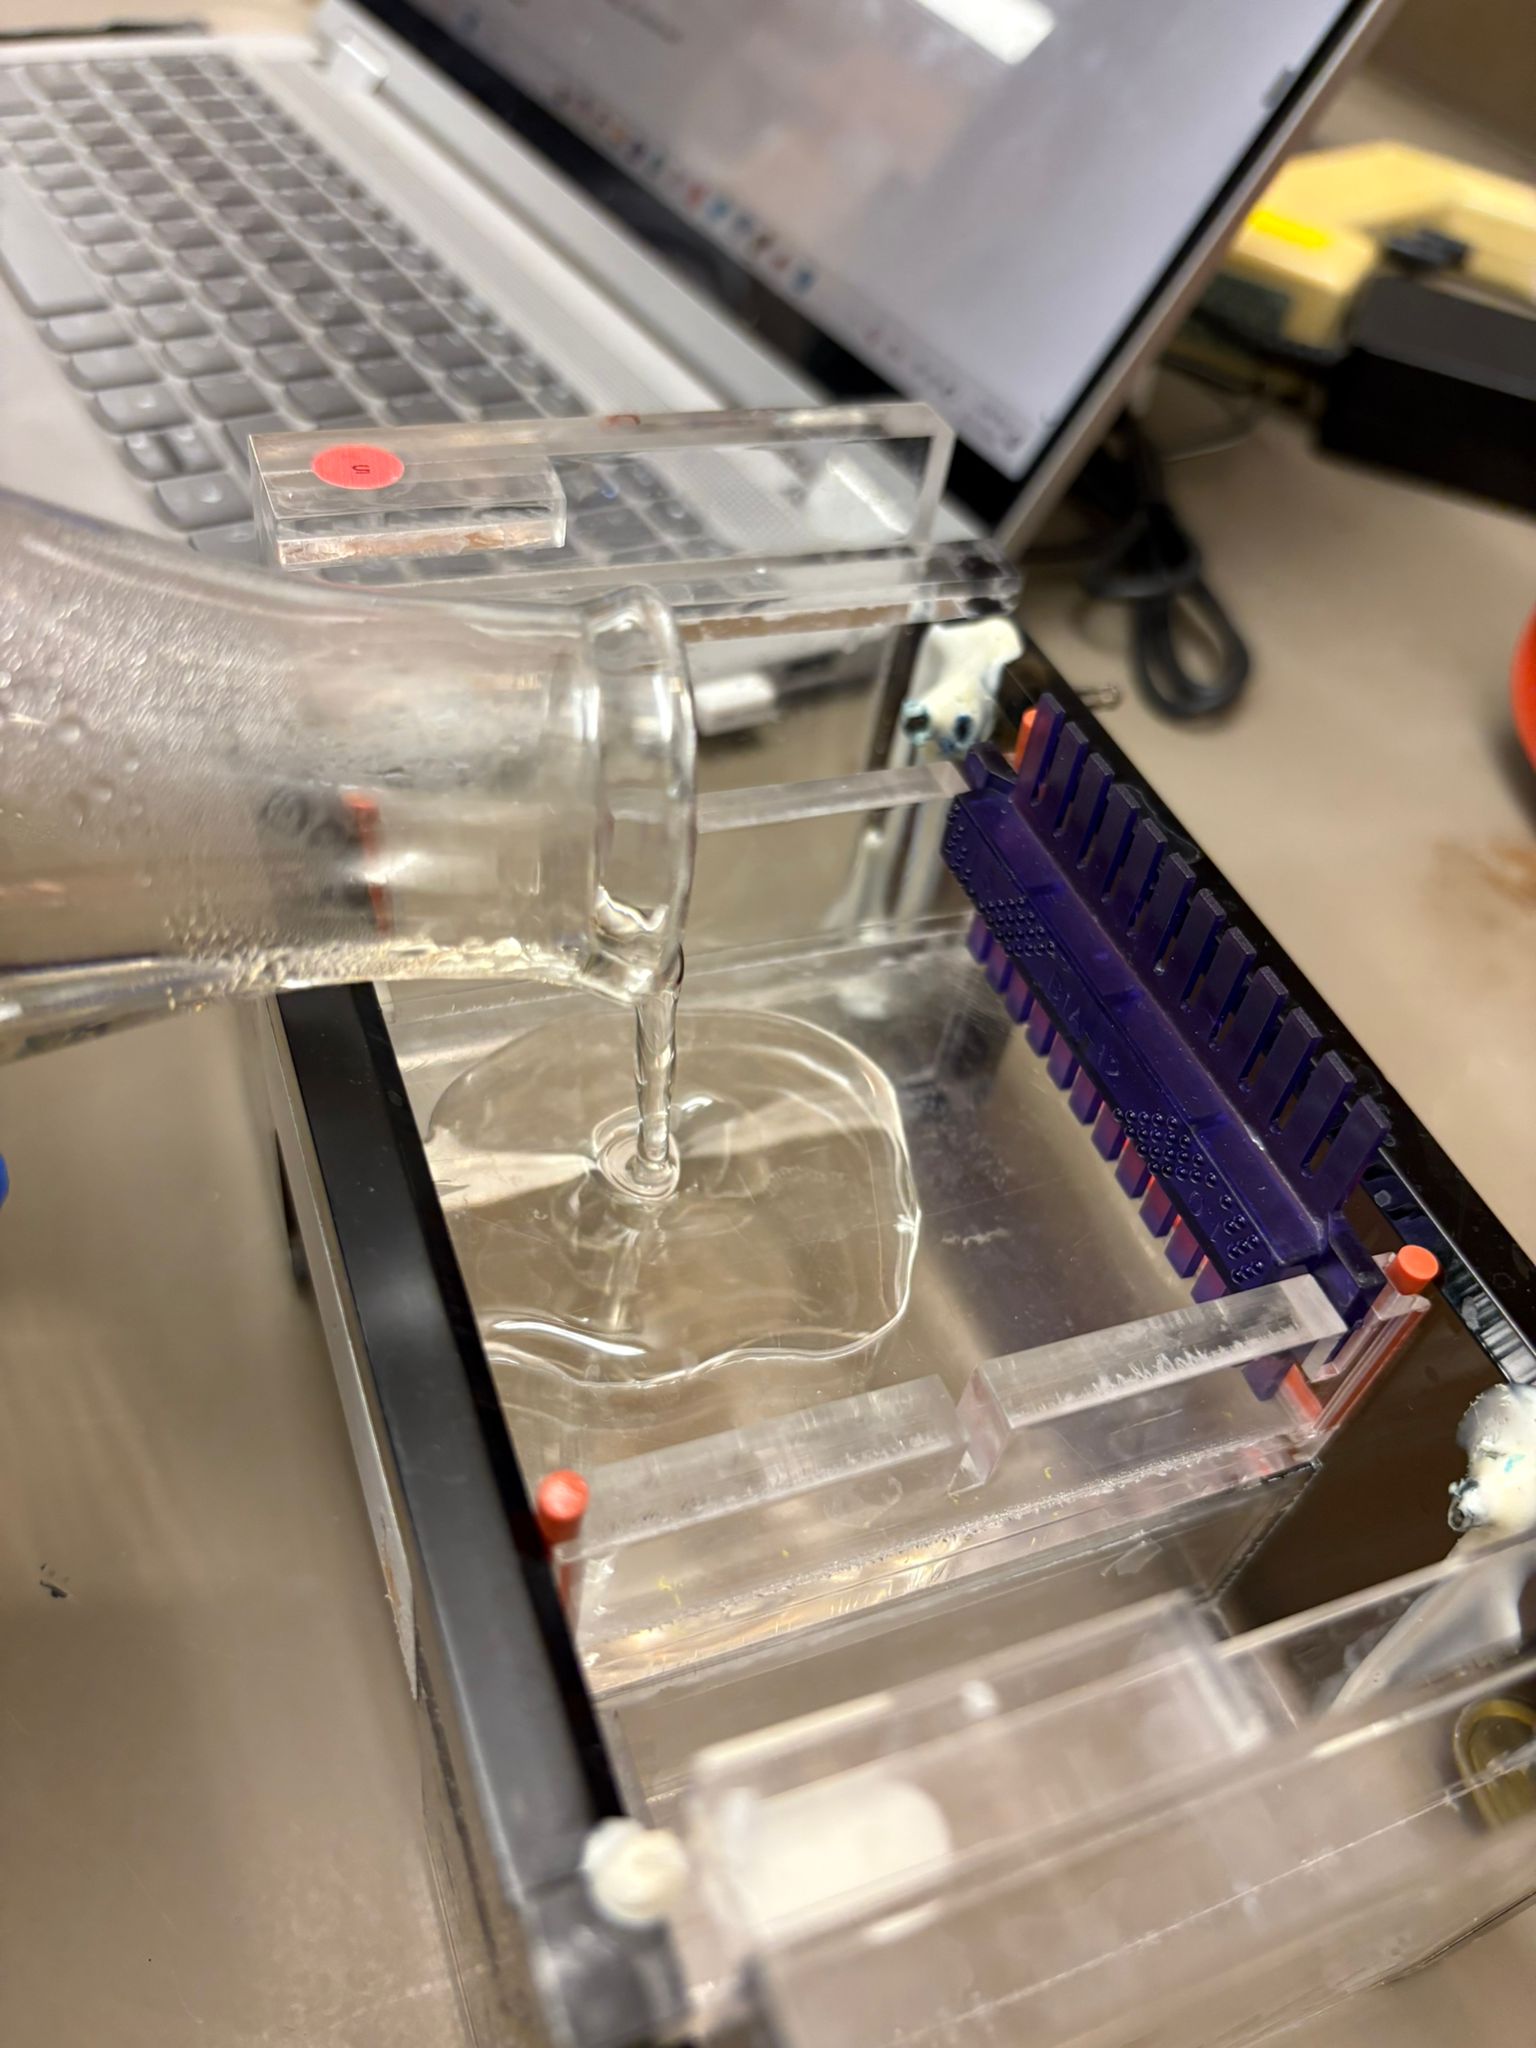
Then I let it set and moved on to the next step!
Part 1b: Restriction Digest
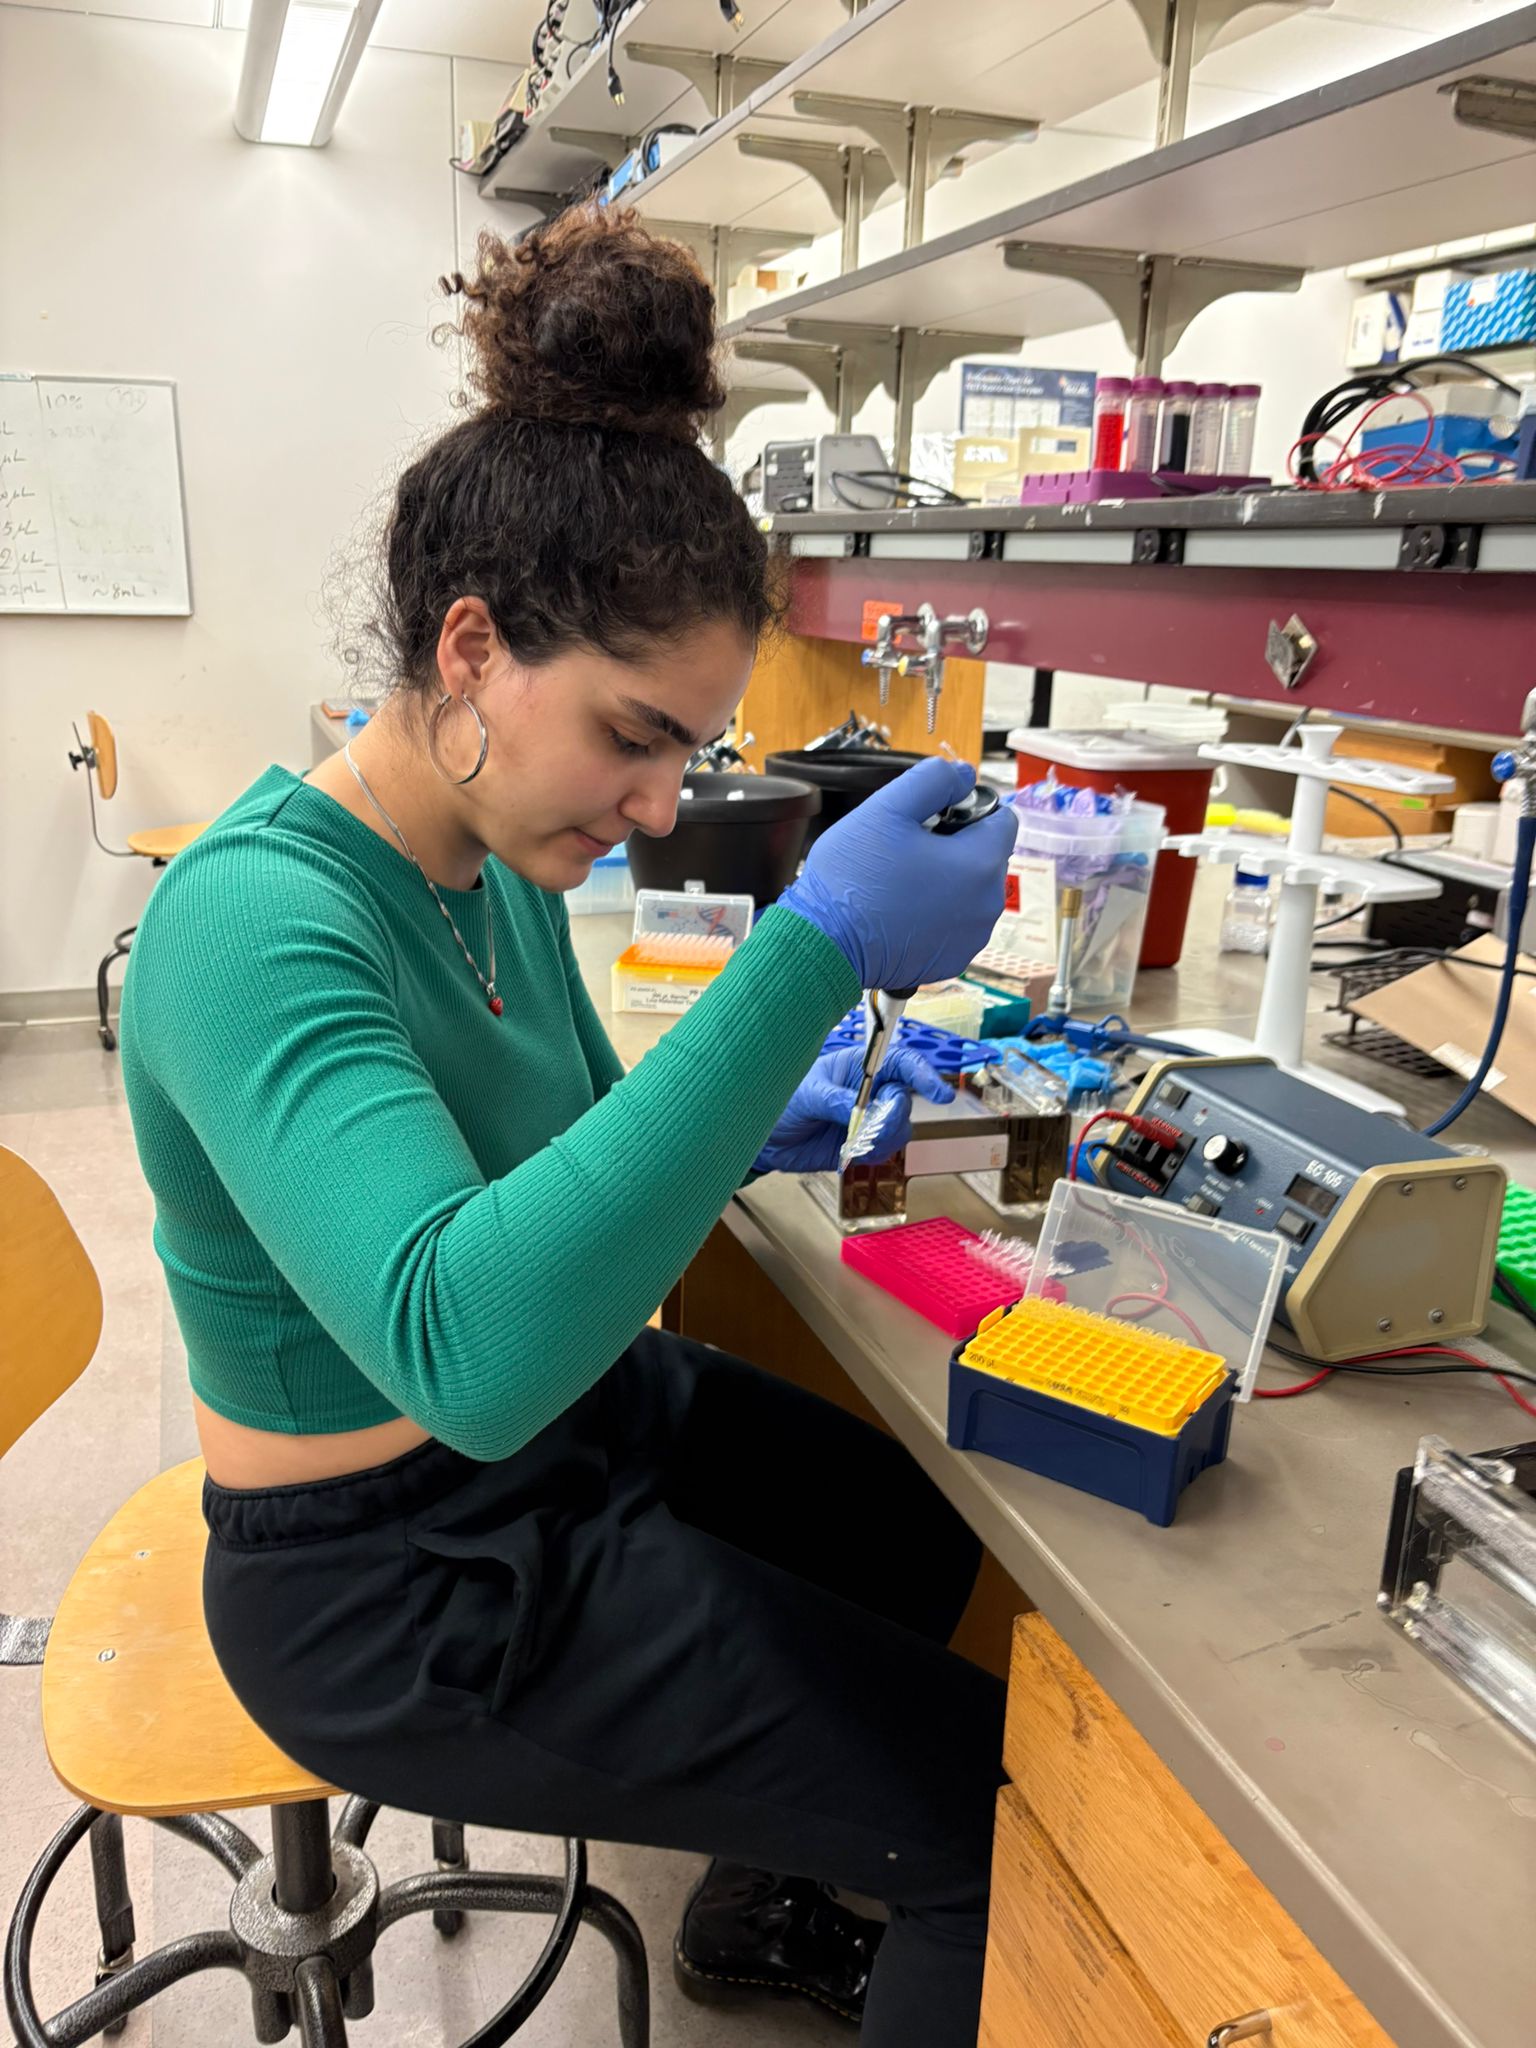
Here I again followed the protocol for digesting the Lambda DNA with my chosen enzymes: Pipetting:
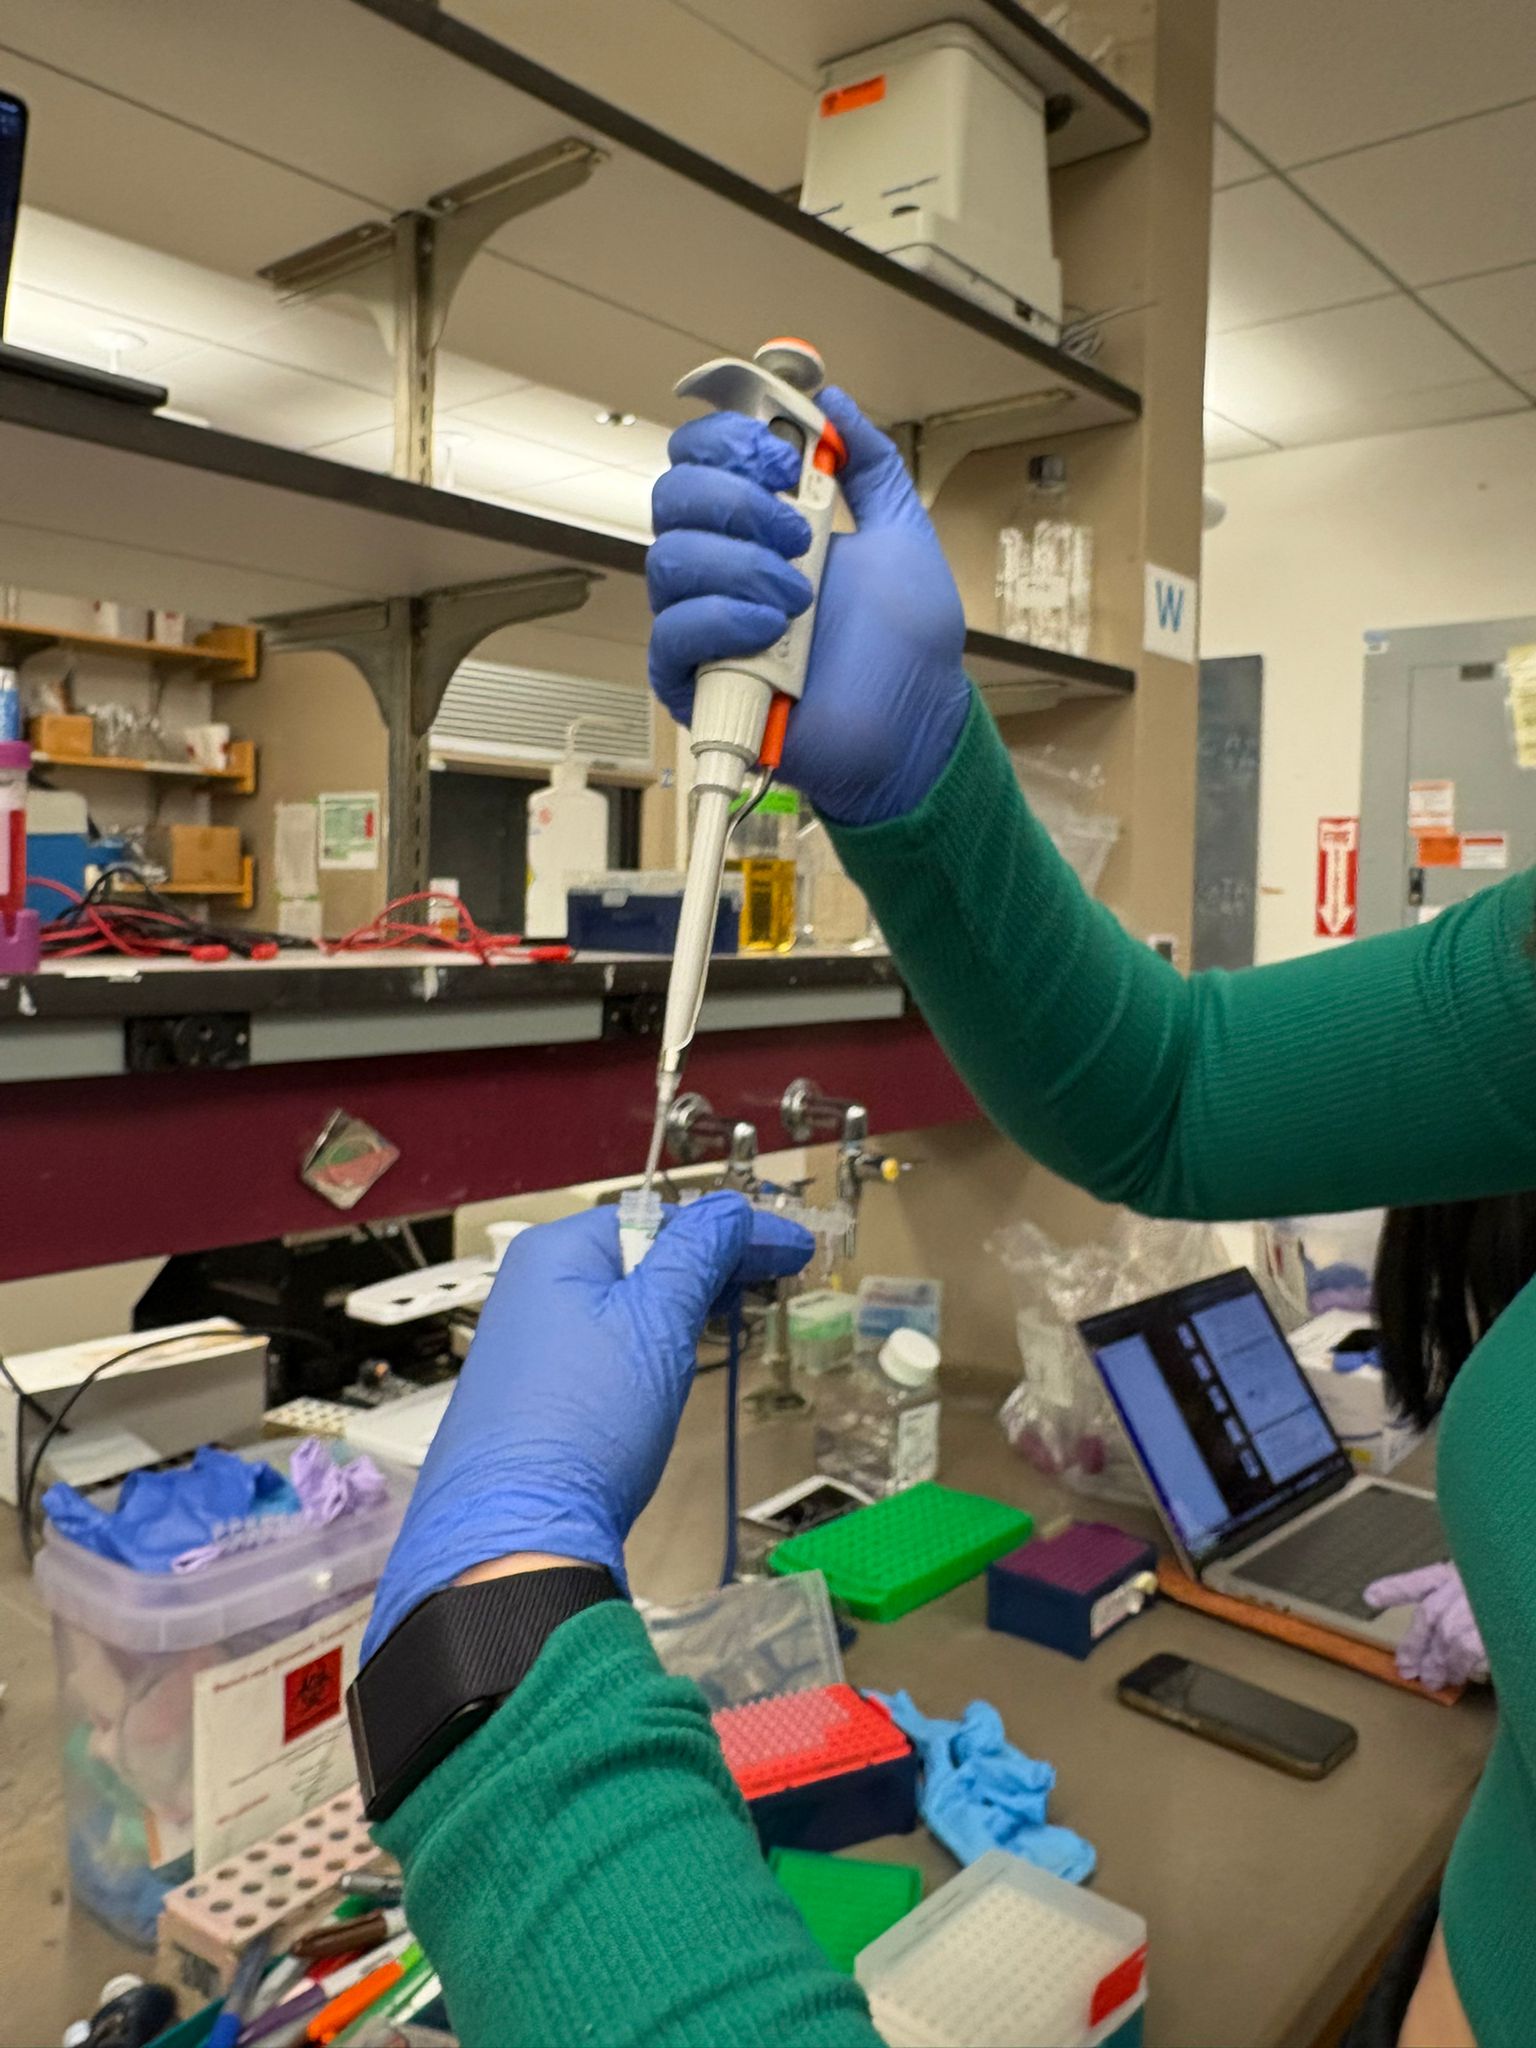
And put the tubes in the 37ºC incubator for 30 minutes.
Part 2: Gel Run
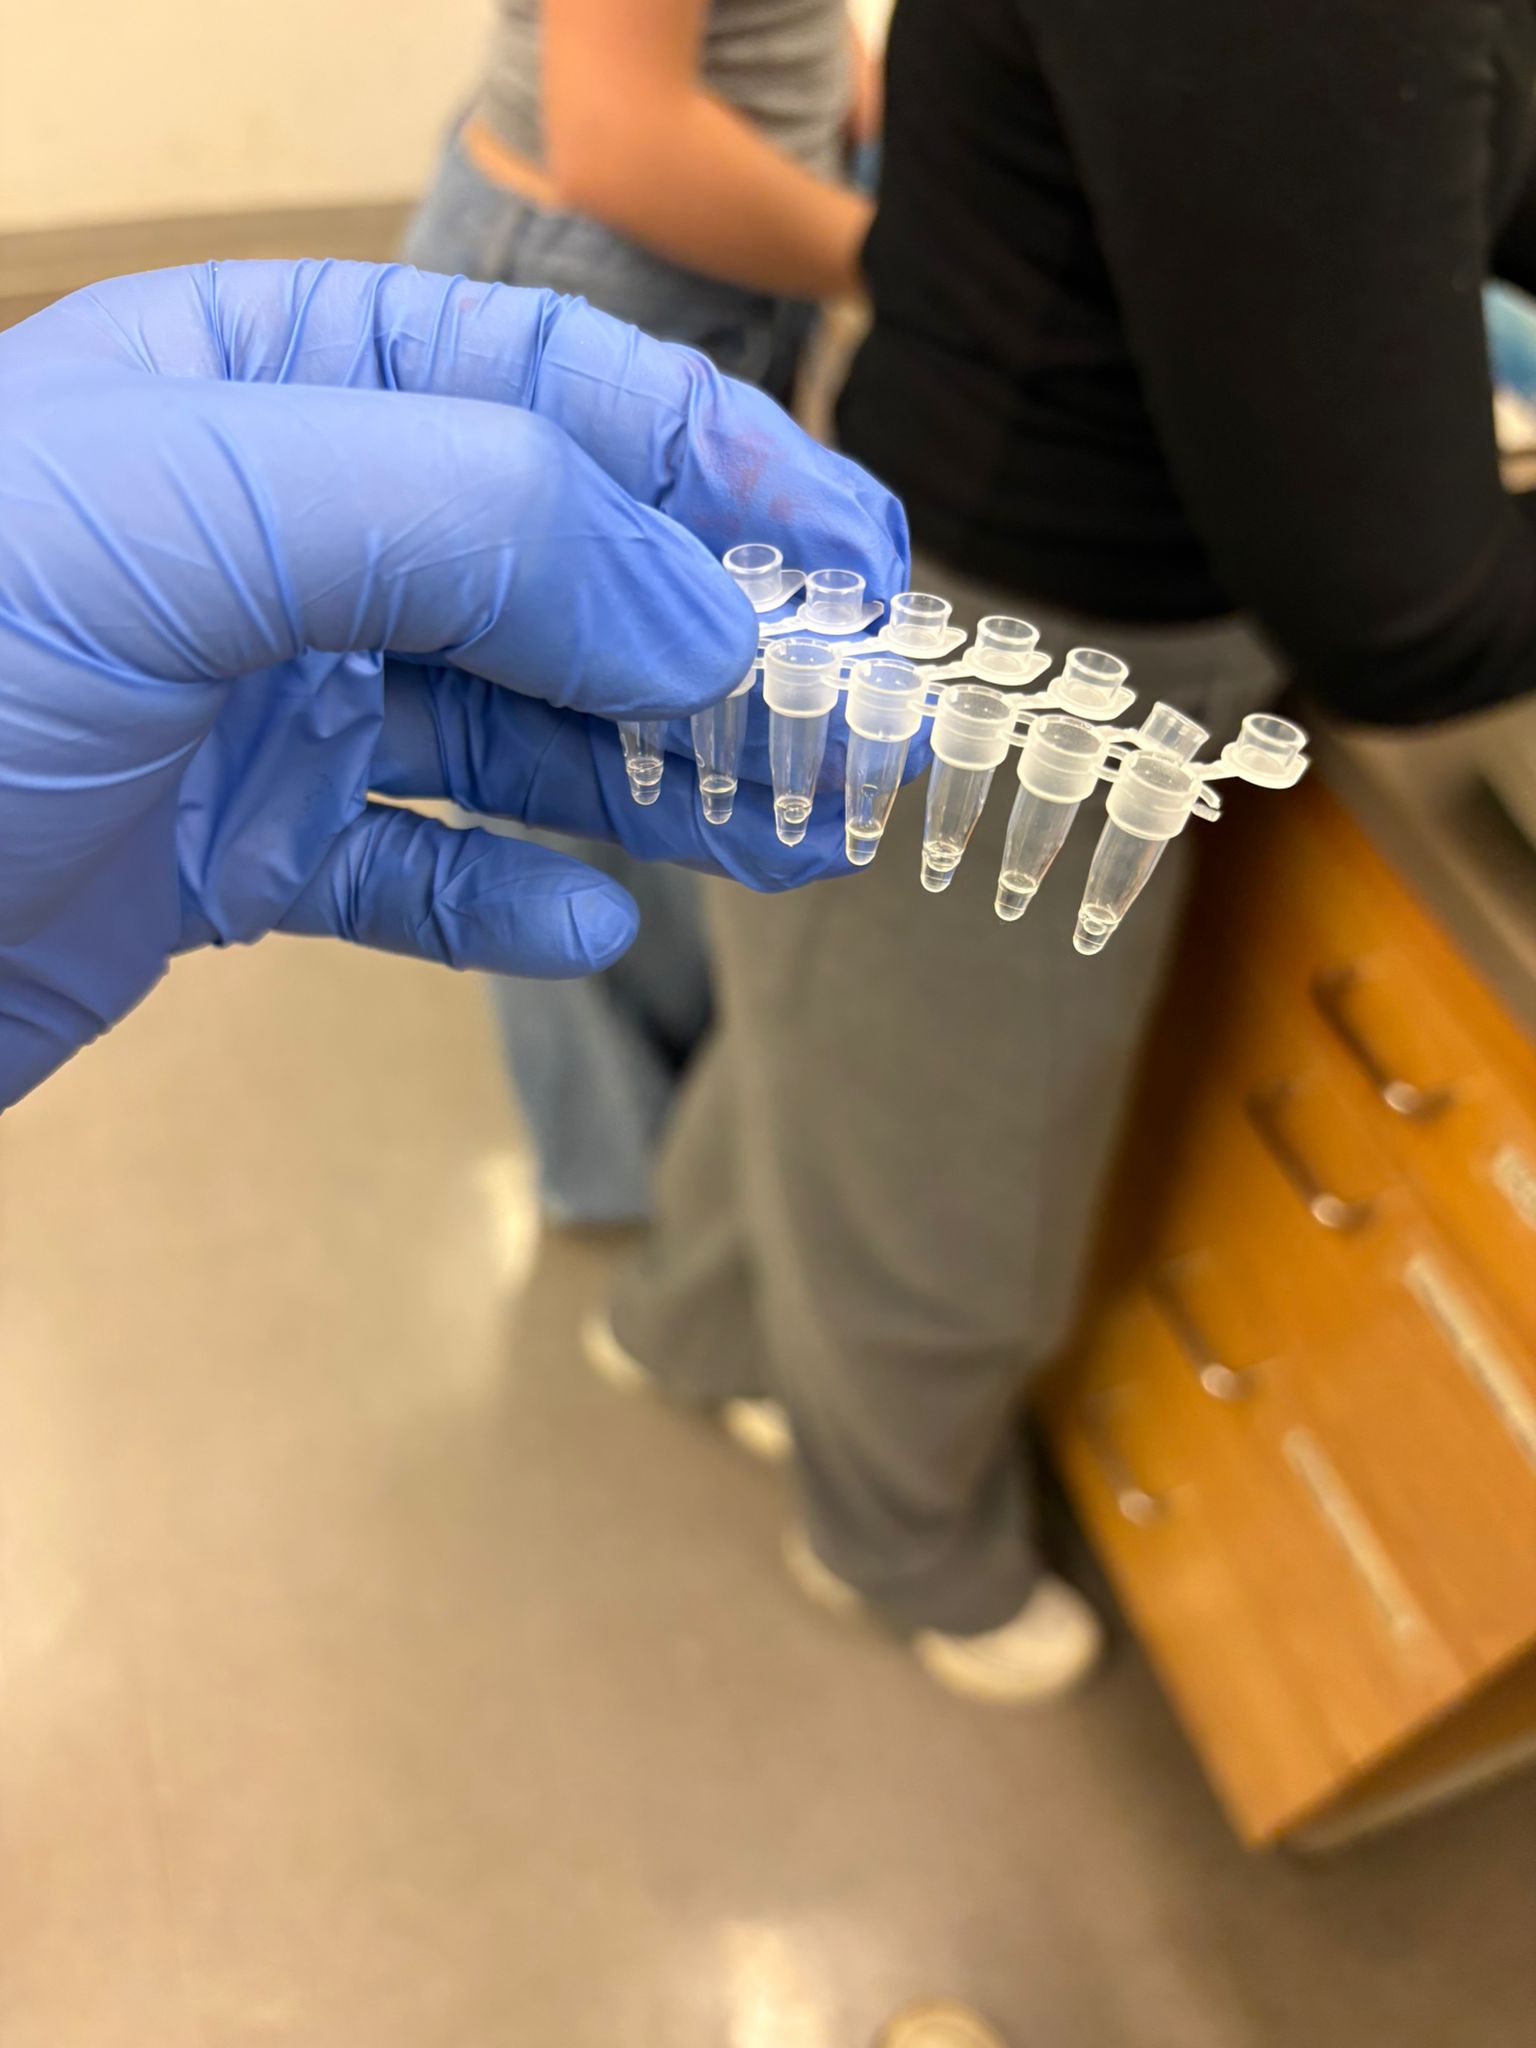
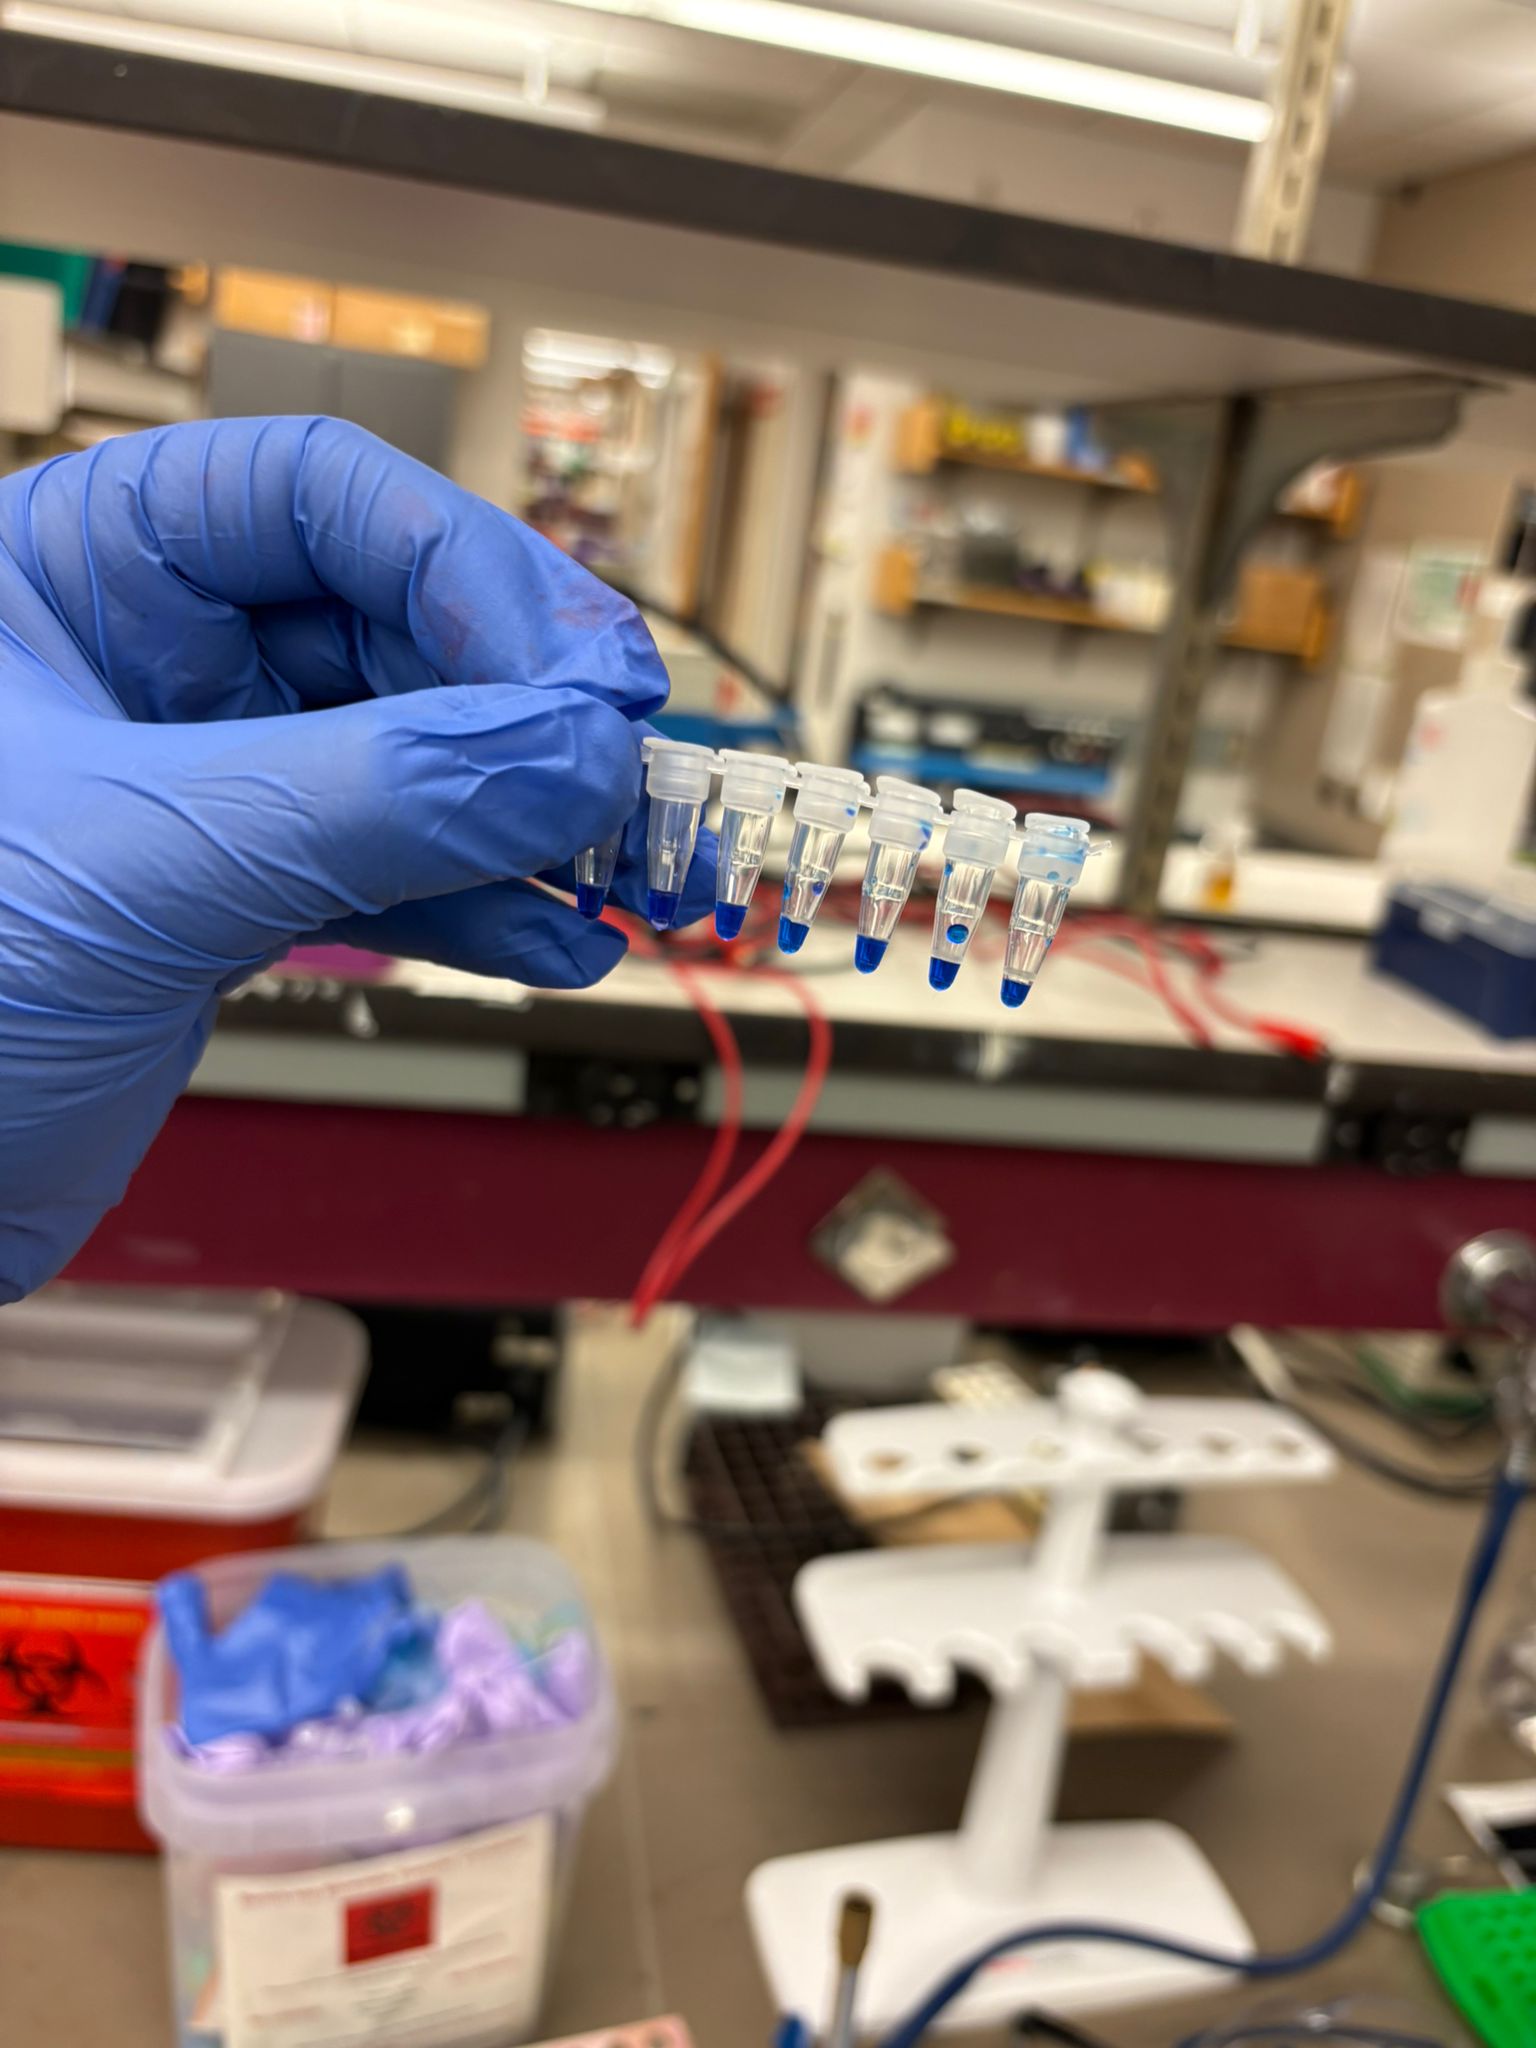
Now I was finally ready to start assembling all of the components together! I took my tubes with the digested Lambda DNA and enzymes out of the incubator and prepared a new set of tubes with the right concentrations of water, loading dye, and digest solution.
I then went on and poured the TAE over the gel until fully covered and started loading it!
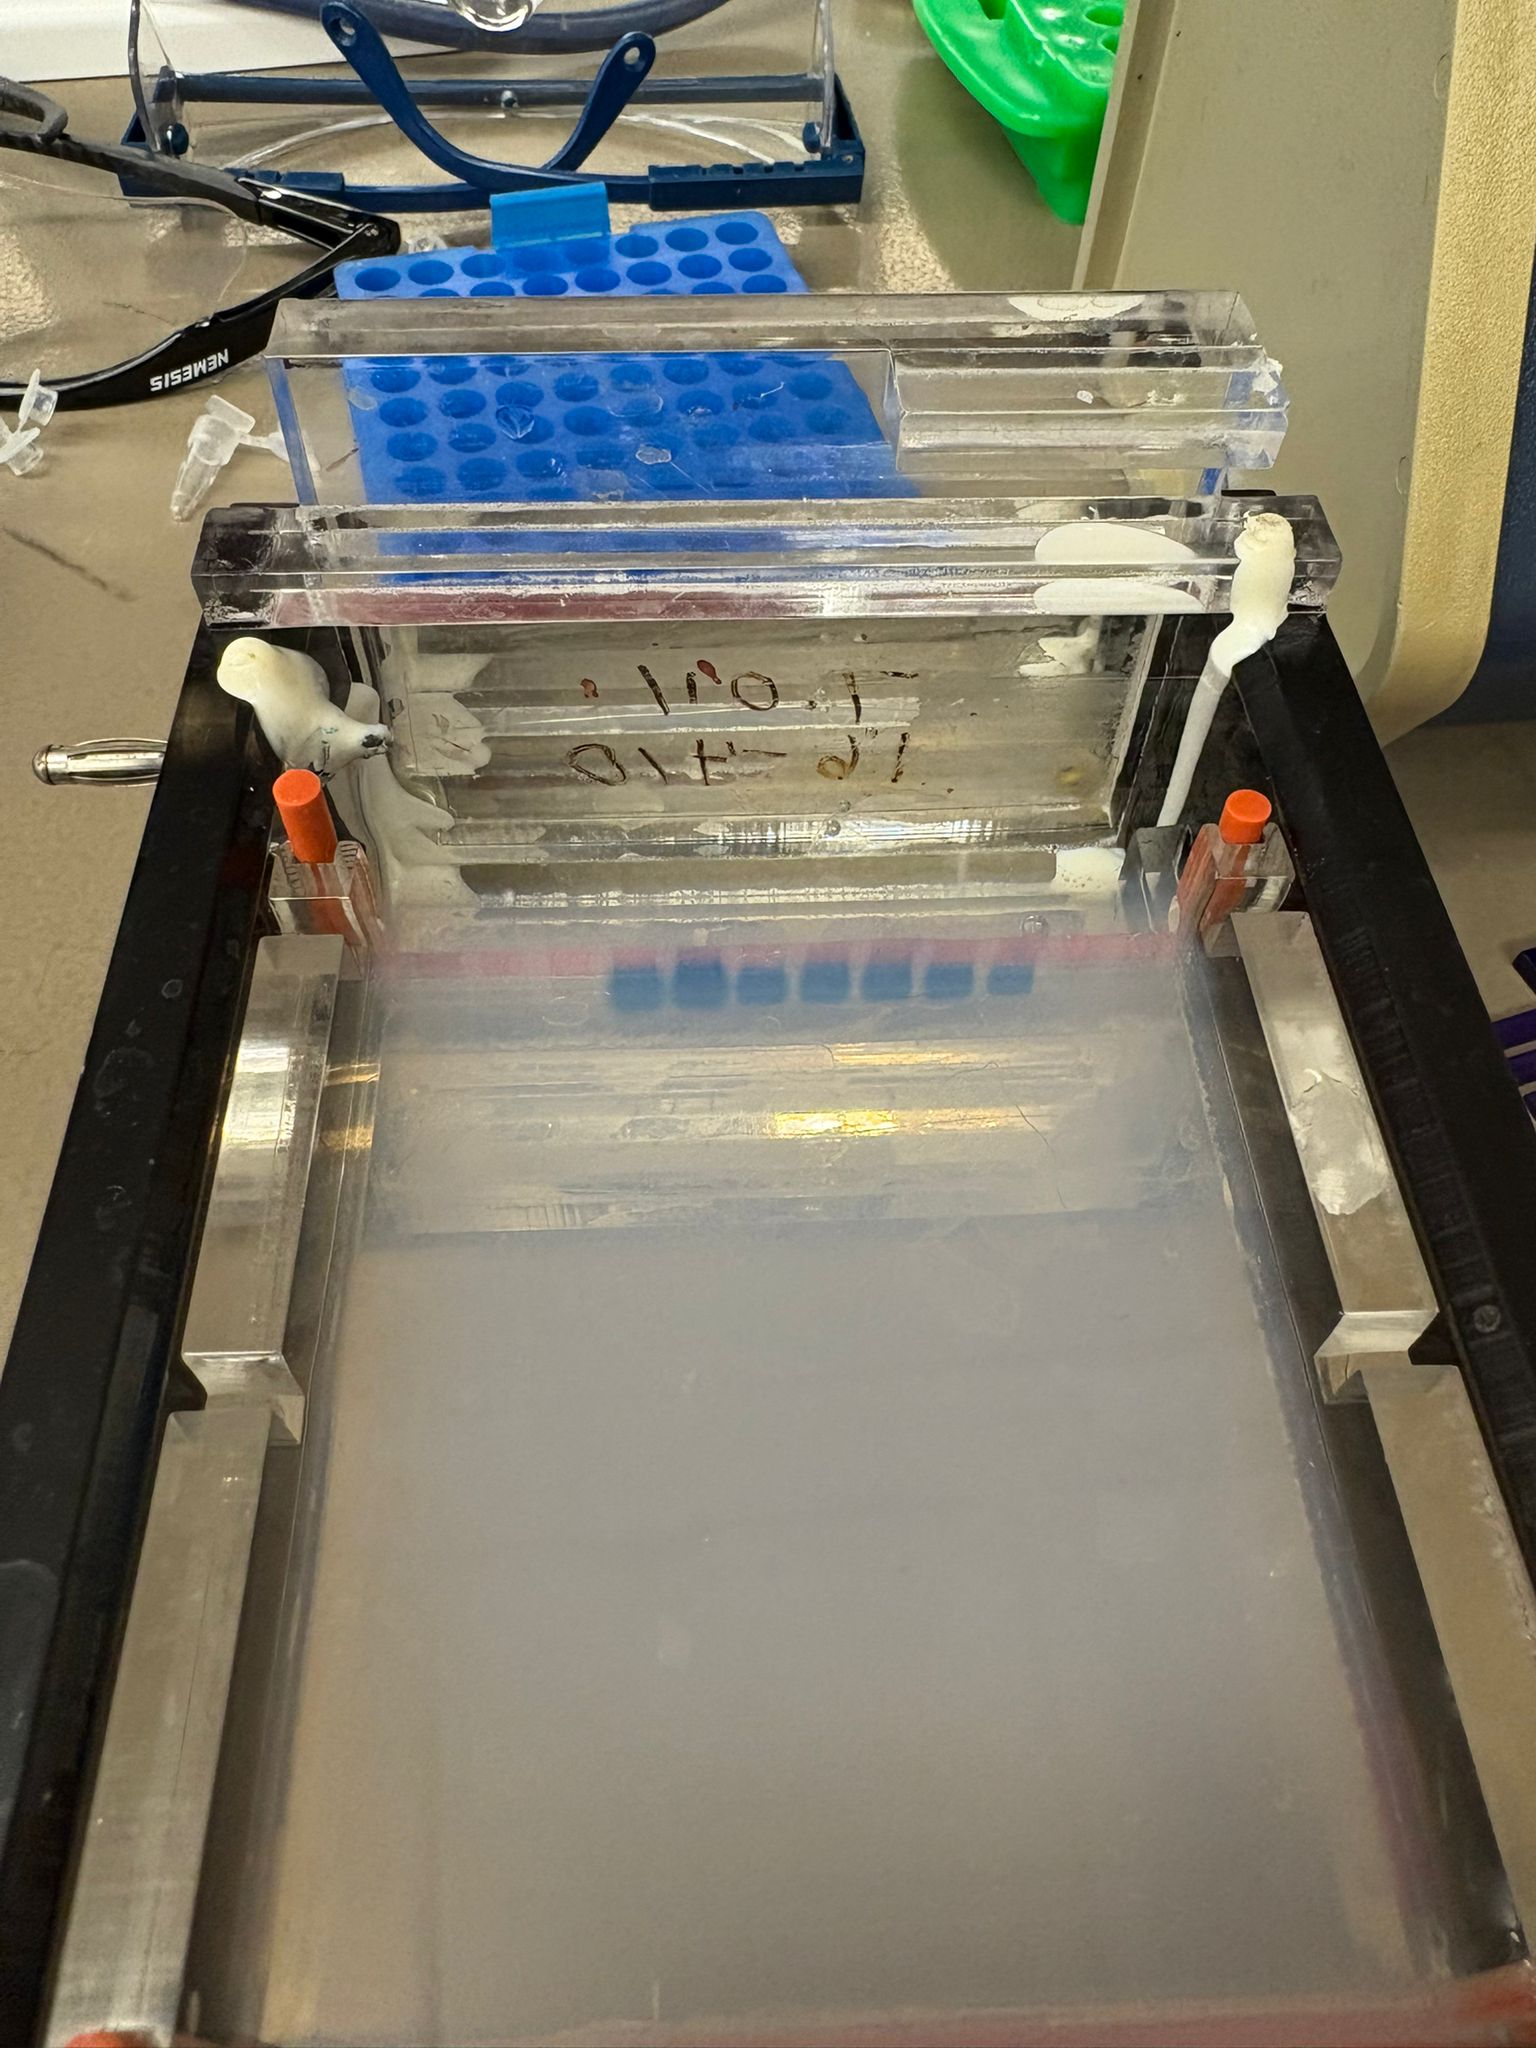
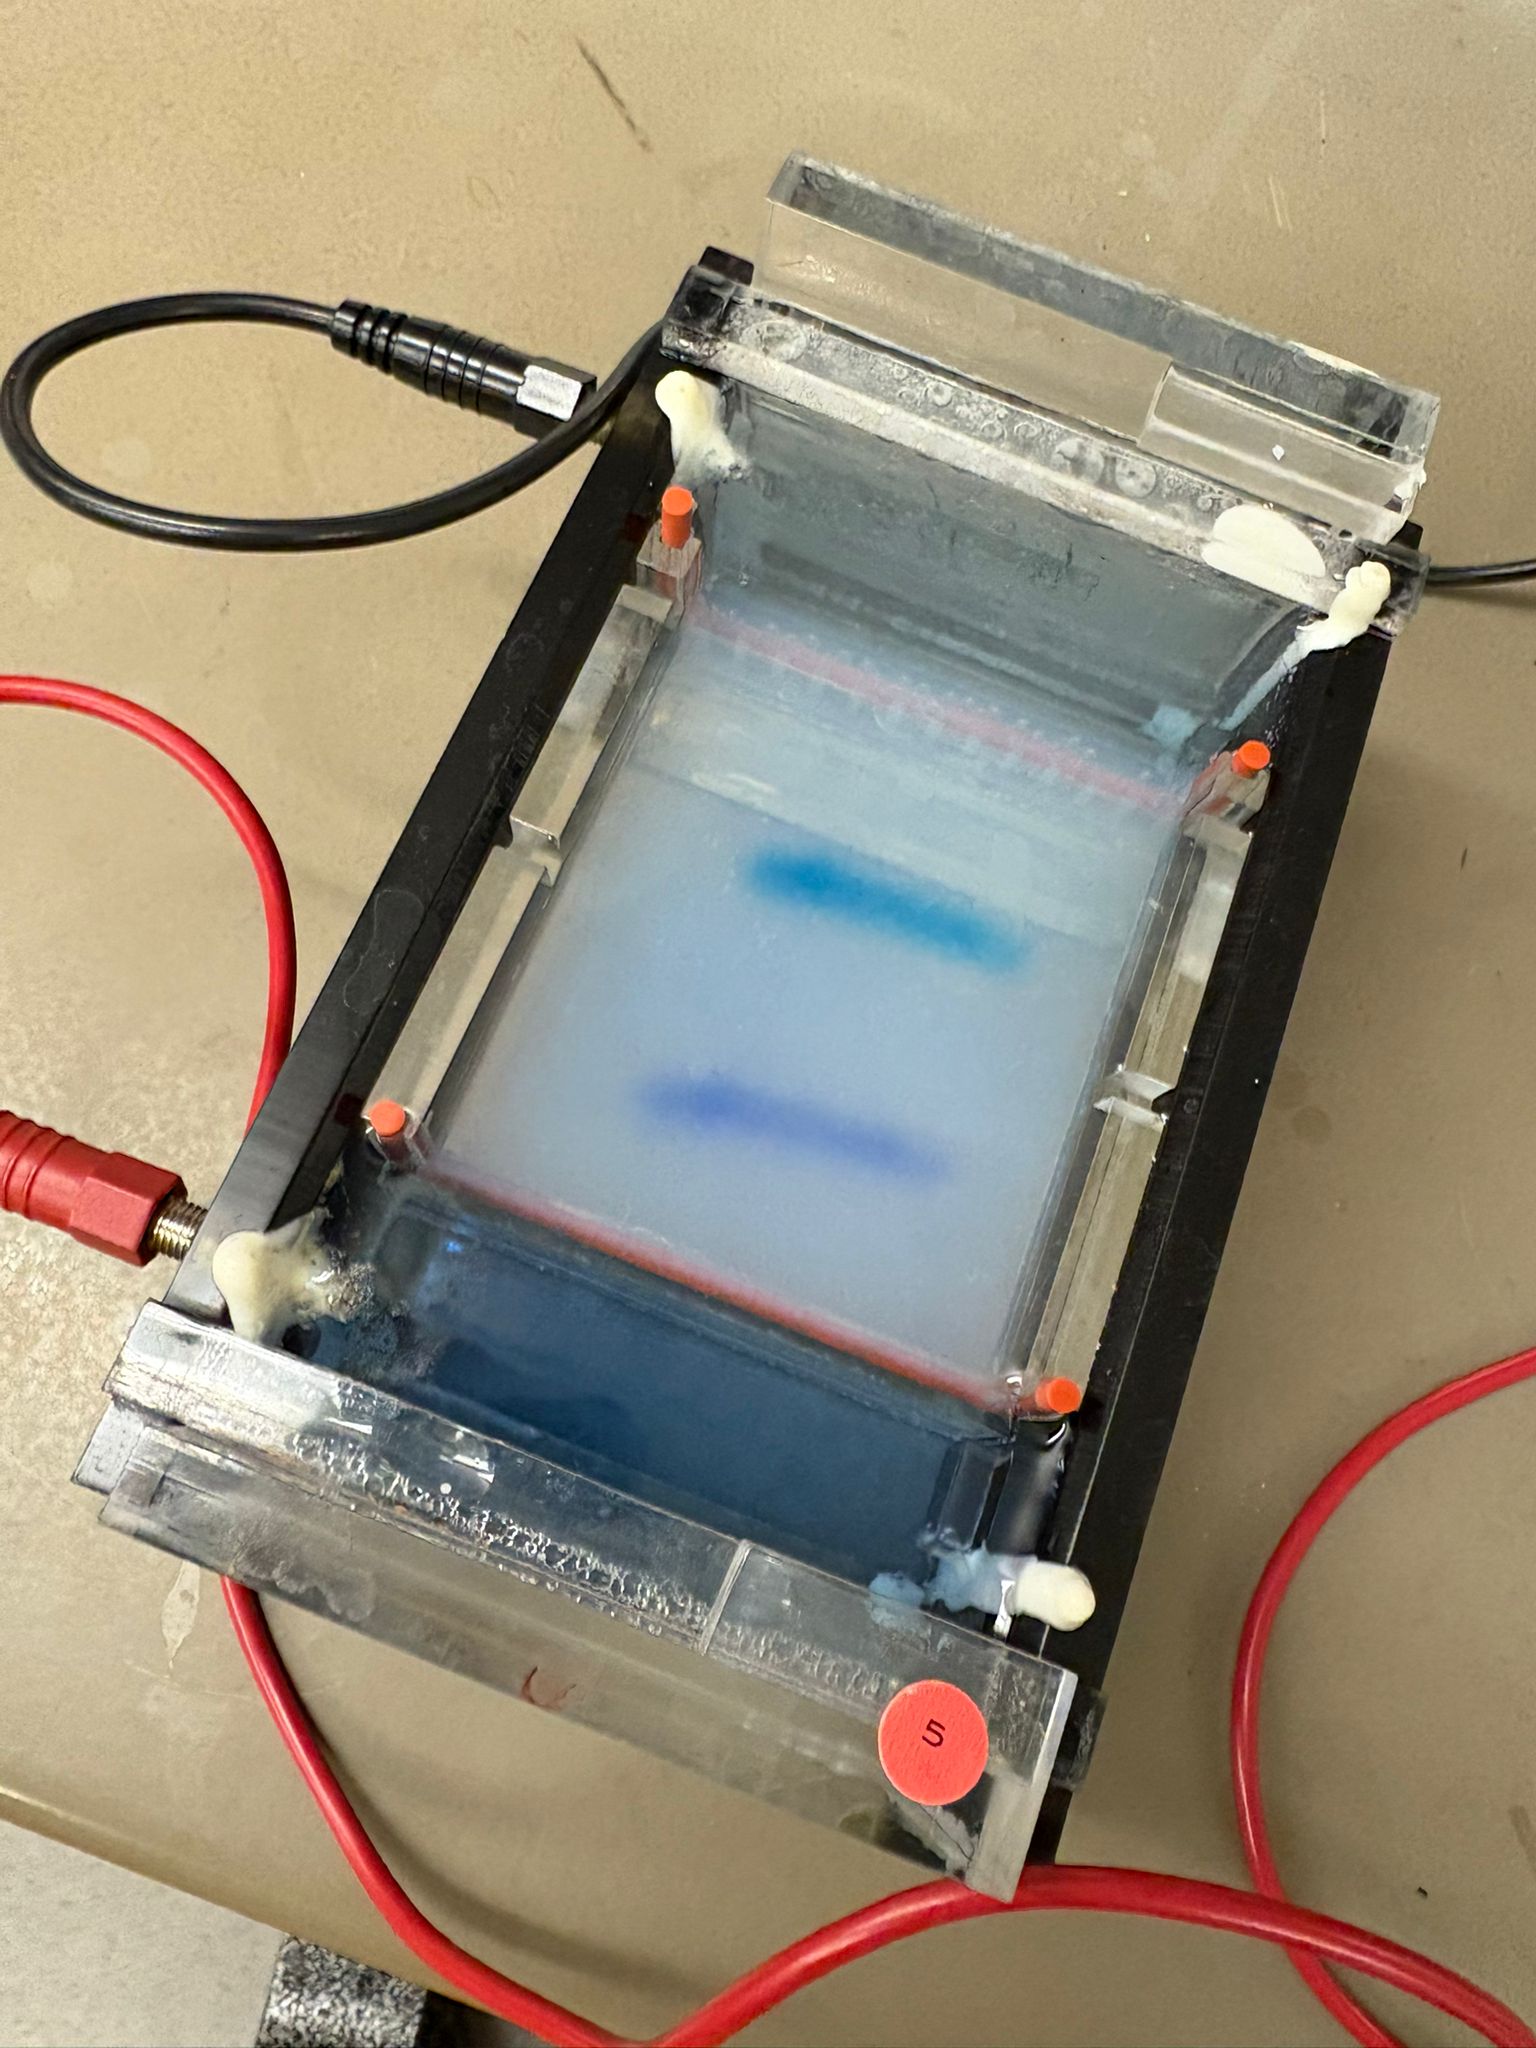
Then, I connected it to power and let it run:
Part 3: Imaging Your Results with a Transilluminator
After about 40 minutes, when the dye reached about 3/4 of the gel, I stopped it and carefully took it out of the tray:
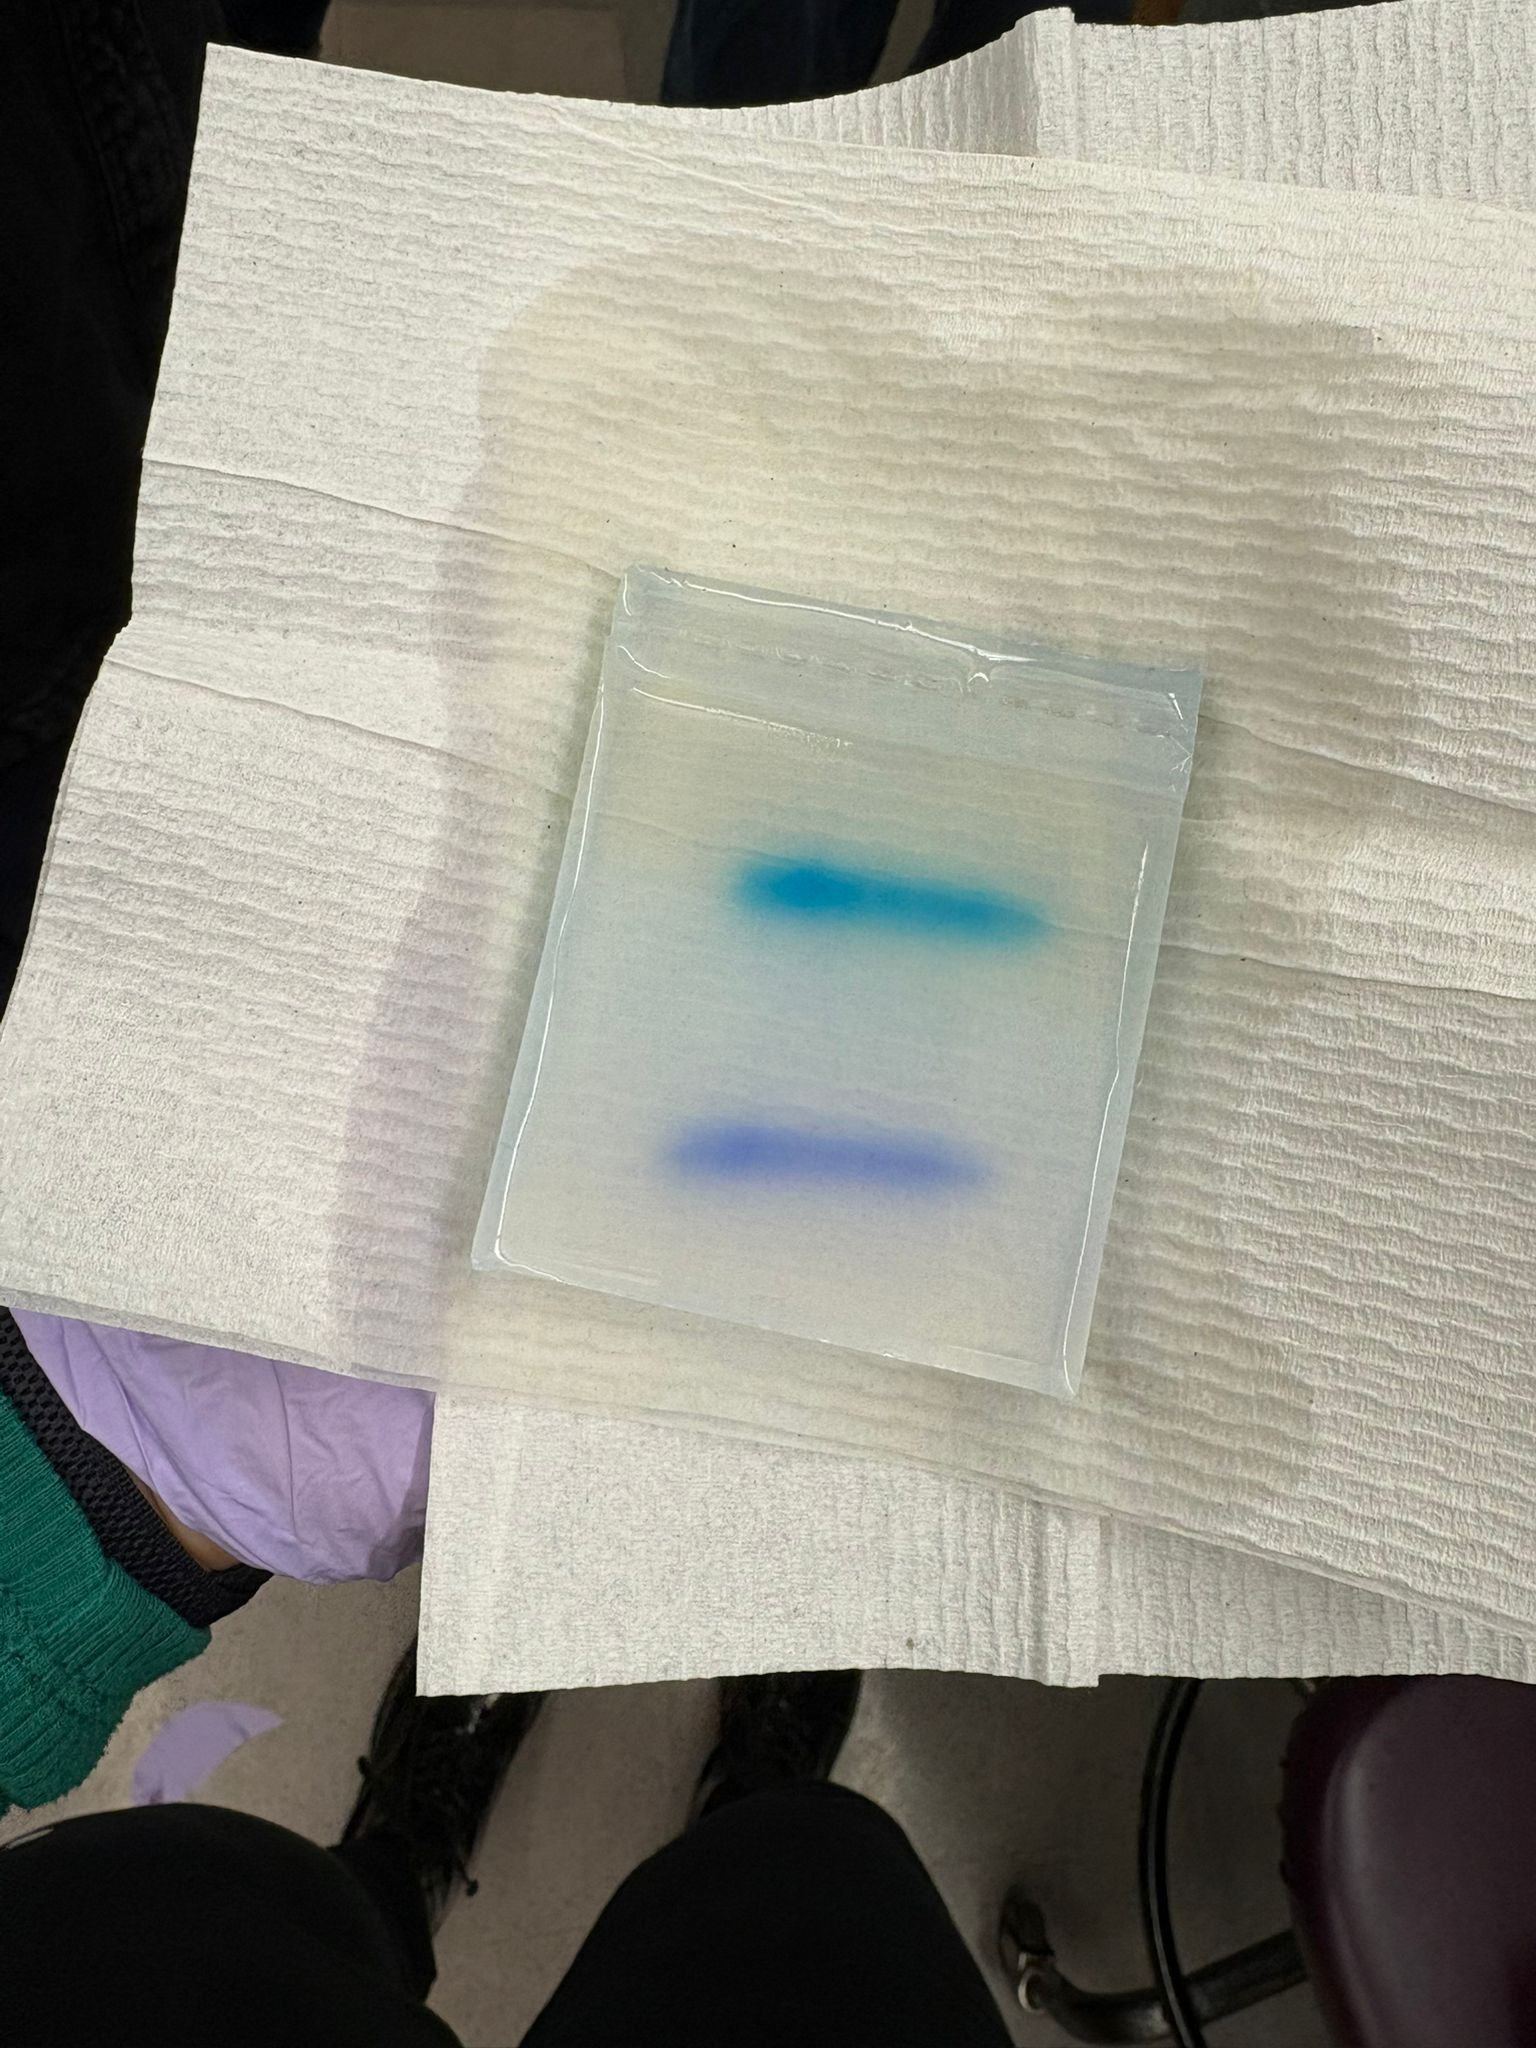
Finally, we used the blue light transilluminator to see the results. We were all thrilled to see what it would look like… And here is the final result!
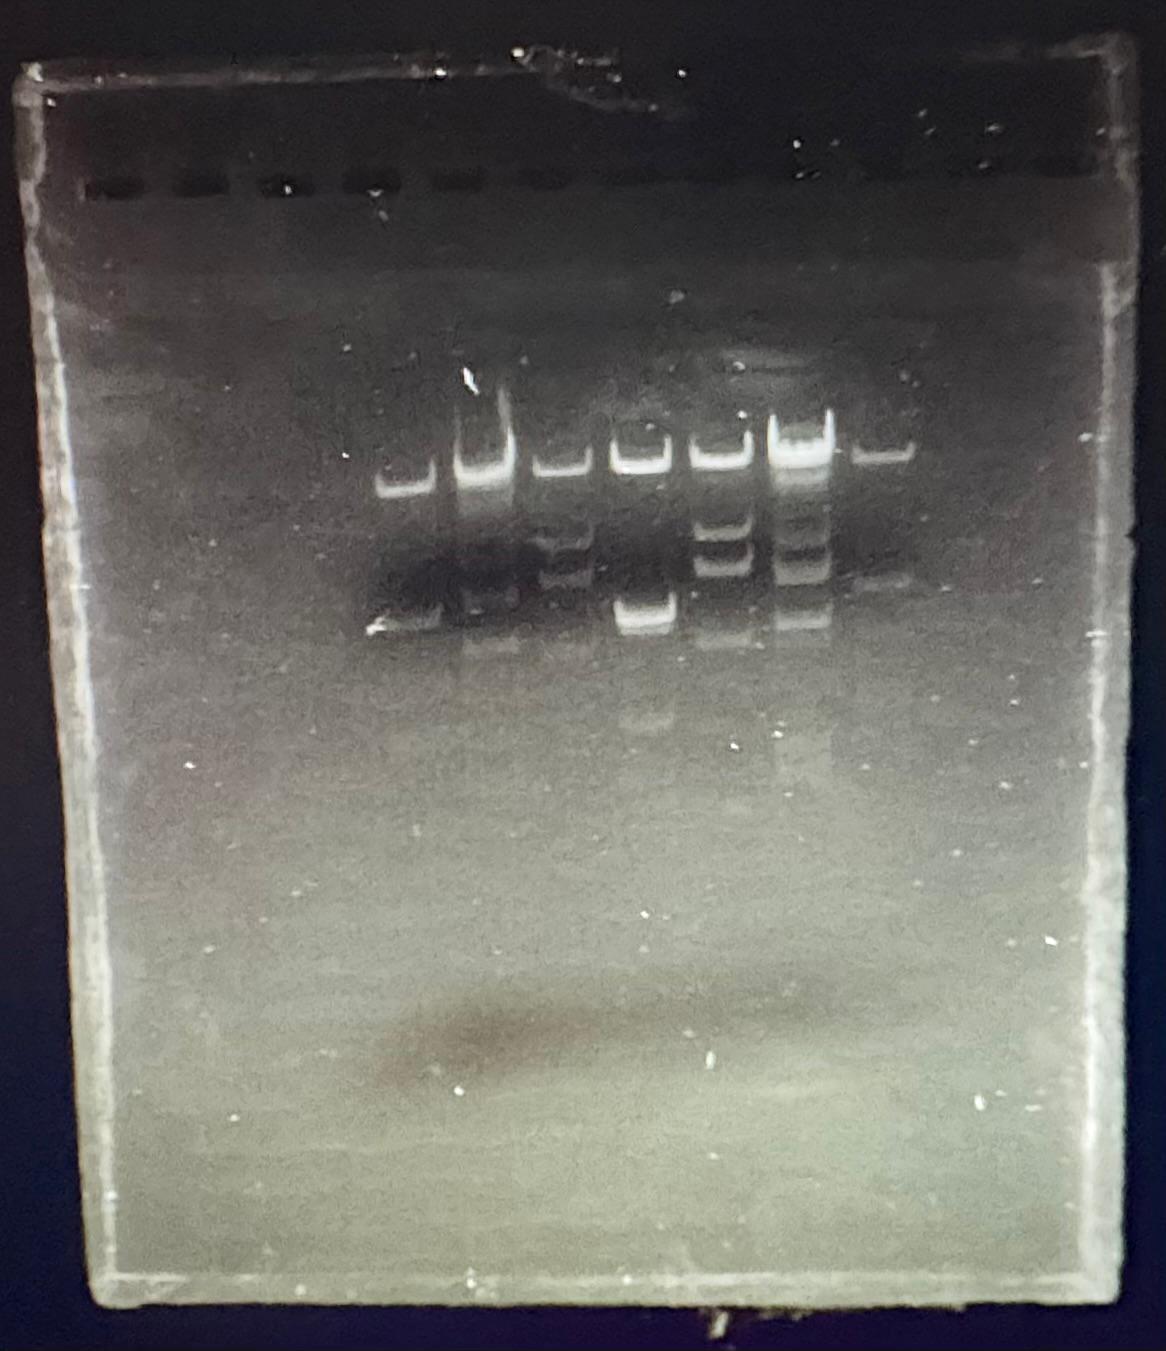
It may not be exactly the same as my original design, but I can still see the heart and am very proud of the final result and all of the journey there! :)
Here is the same picture but with annotations of the border of the heart, to try and help you see the shape yourself:
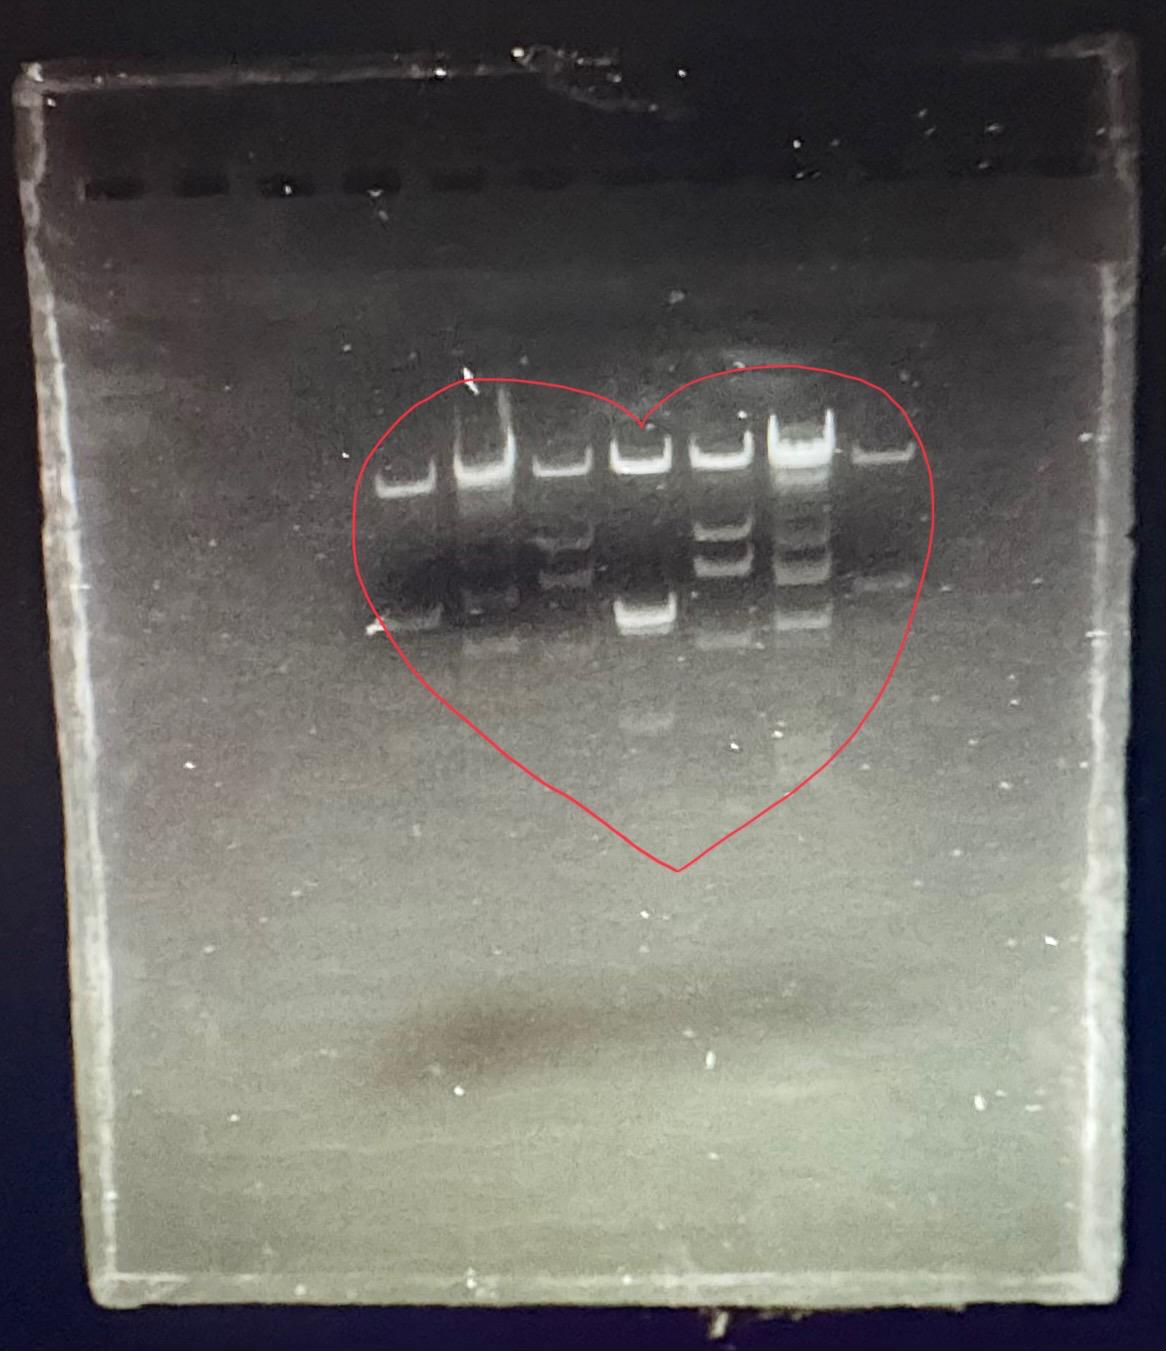
I don’t know about you, but I ❤️ it!