Week 7 Lab: Lab Neuromorphic Circuits and Biomaterials
In this week’s lab, we designed neuromorphic genetic circuits (IANNs) using the Neuromorphic Wizard and learned how intracellular systems can perform analog computations and approximate universal functions. The Opentrons OT-2 then created our designs and transfected them into HEK293 cells in the Weiss Lab. In addition, we worked with mycelium by packing it into molds to grow everyday objects!
Neuromorphic Genetic Circuits (IANNs)
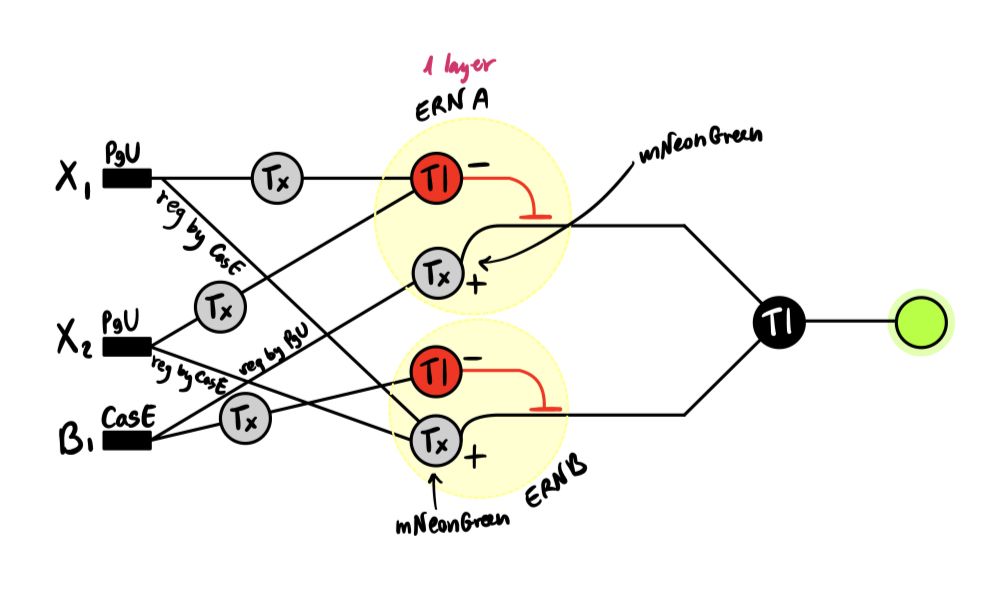
Initially, I wanted to design a function that would create a diamond shape, but I realized that it was much more difficult than expected to define it mathematically in the first quadrant, and even harder to implement using the Neuromorphic Wizard. I therefore decided to recreate one of the designs presented in lecture by Prof. Ron Weiss, the Dual Region TRBL (Top Right Bottom Left) circuit, in order to better understand the key concepts.
Here is my final design as a diagram:
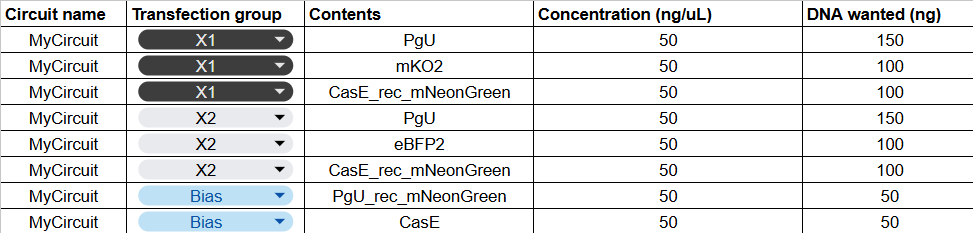
Here is the .csv file I inputted to the wizard:
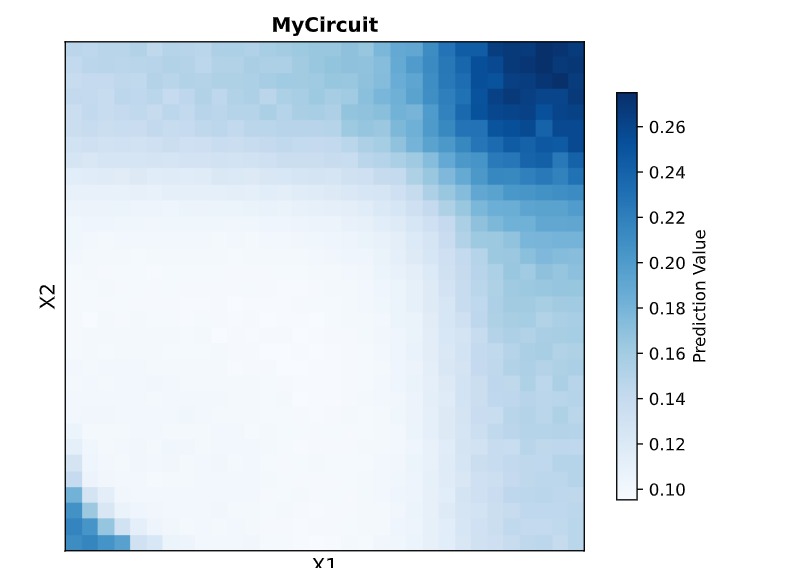
Here is the prediction of the wizard for the behavior of the circuit:
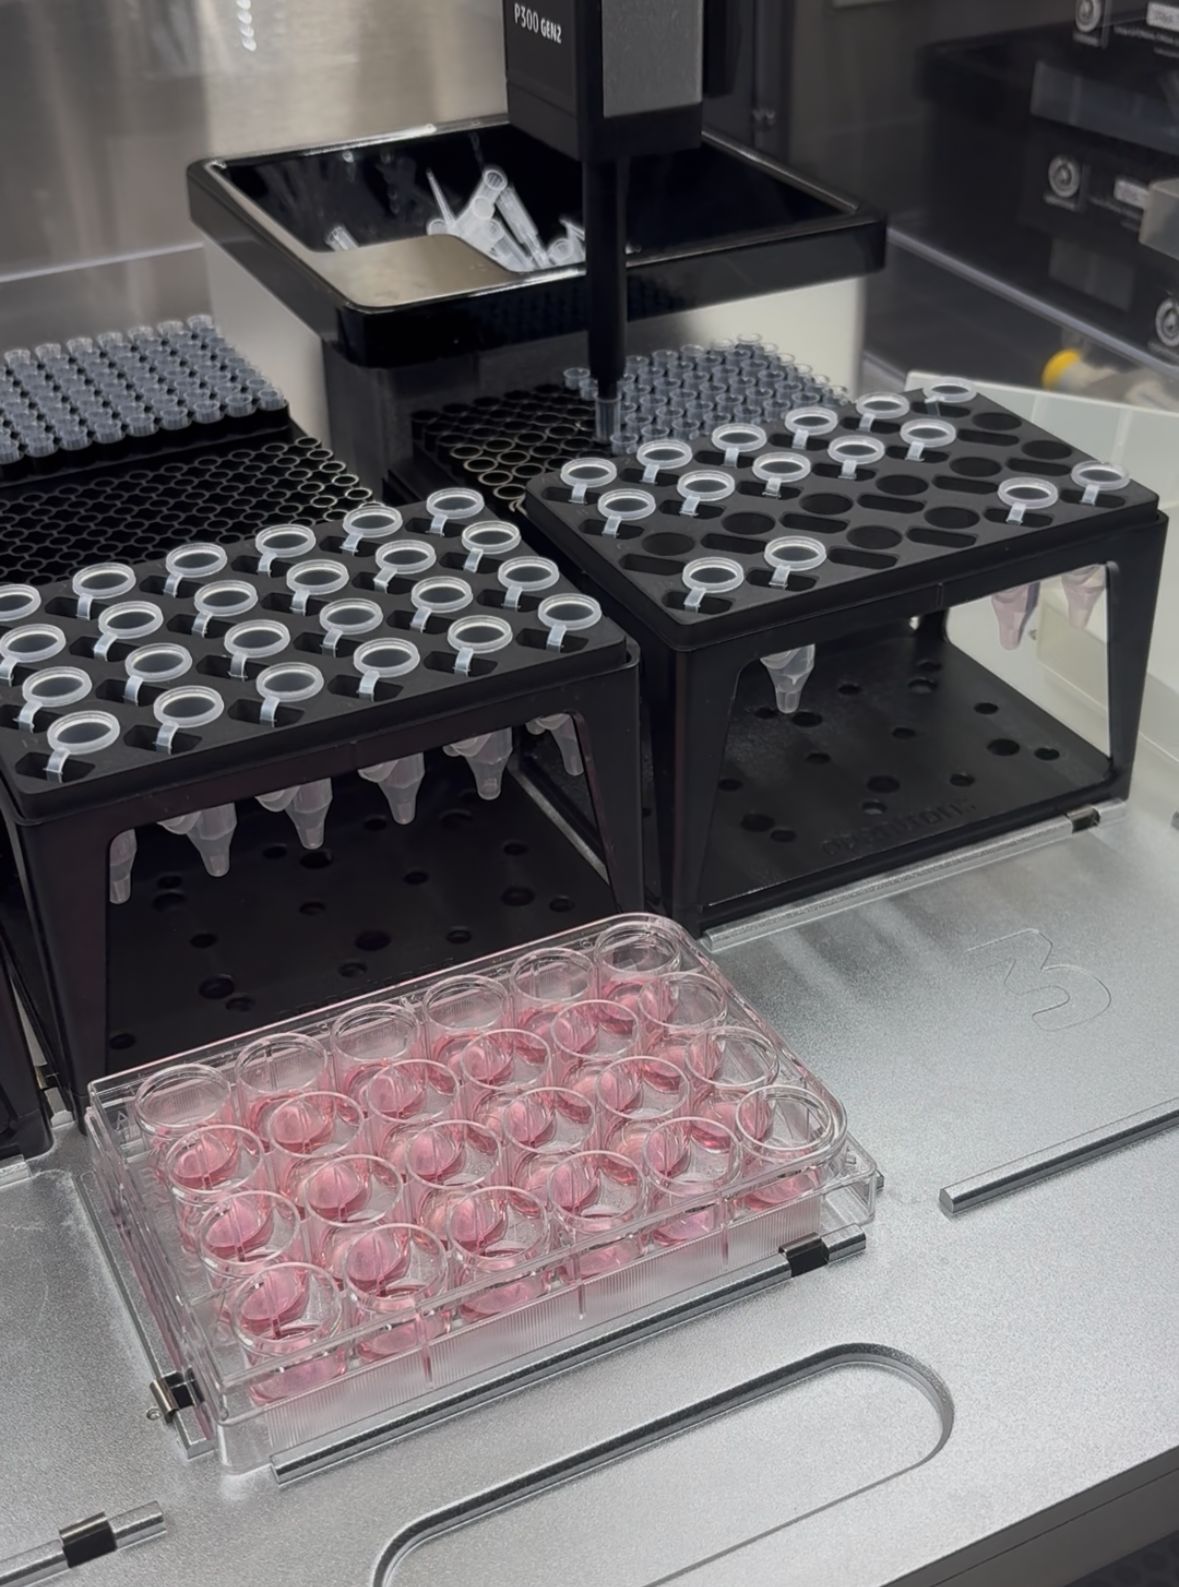
The following day, I observed the Opentrons building the circuit and using lipid nanoparticles to insert it into HEK293 cells in the lab:
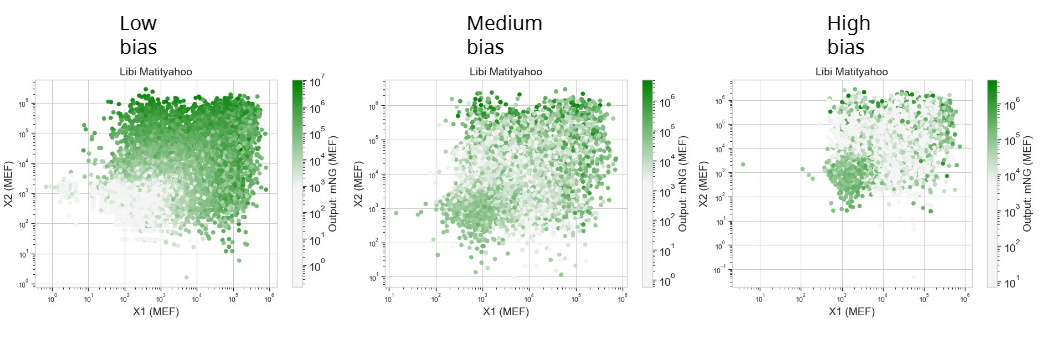
Here is the actual data from the constructed circuit in the HEK293 cells:
As you can see, the results turned out as expected. It was interesting to observe the effect of the different bias concentrations, and it made me wonder how the behavior would change if one of the inputs (X₁ or X₂) was removed.
Mycelium-Based Biomaterials
For this part of the lab, I first brainstormed ideas for what I wanted to make. Initially, I thought about creating something larger, like a chair or a table, but due to the limited amount of material available, I decided to make a small lampshade:)
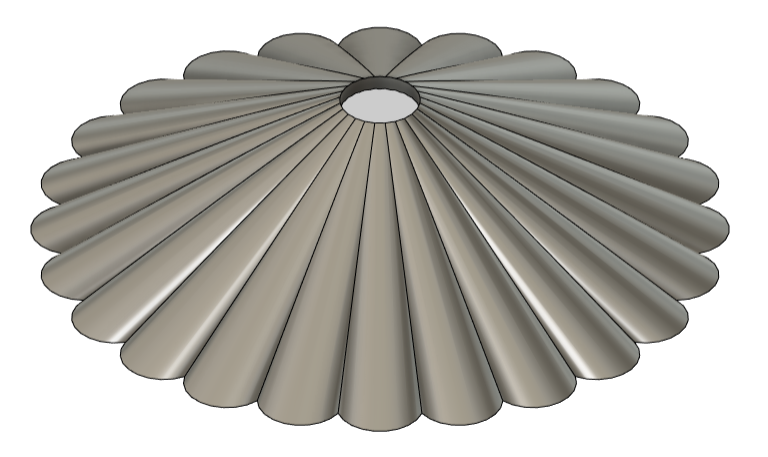
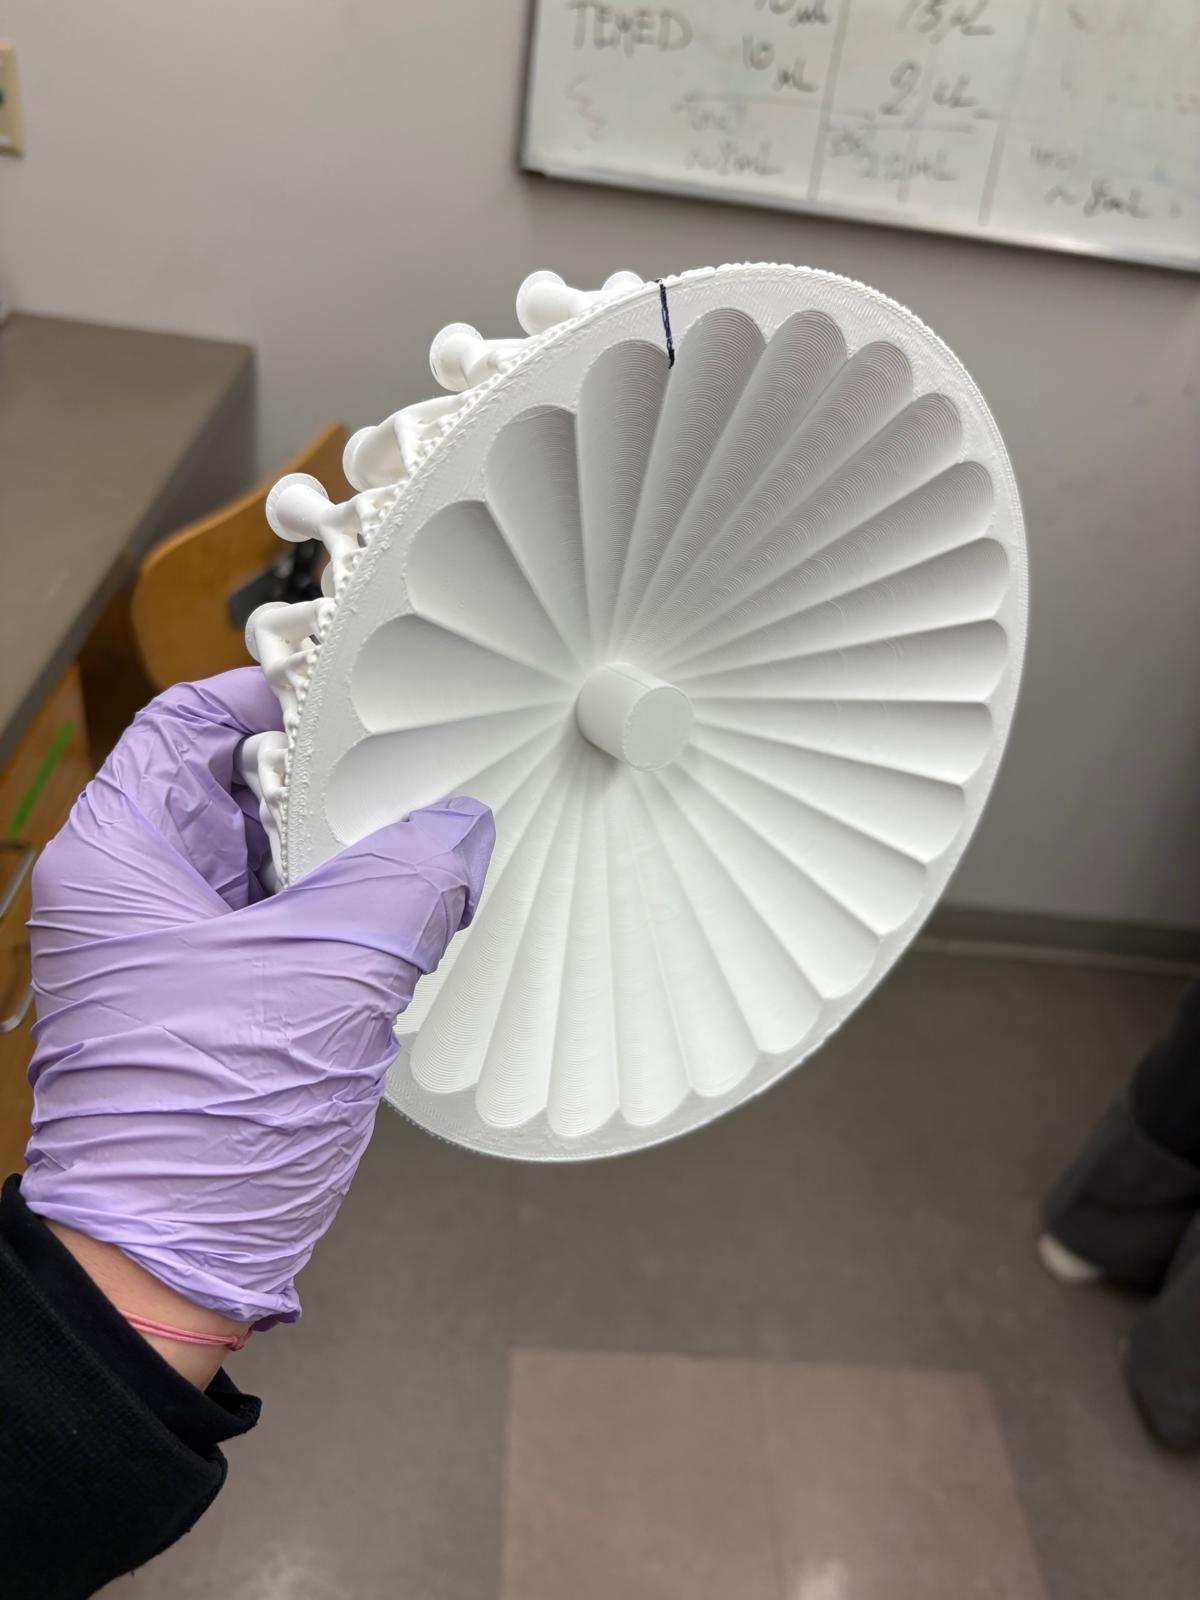
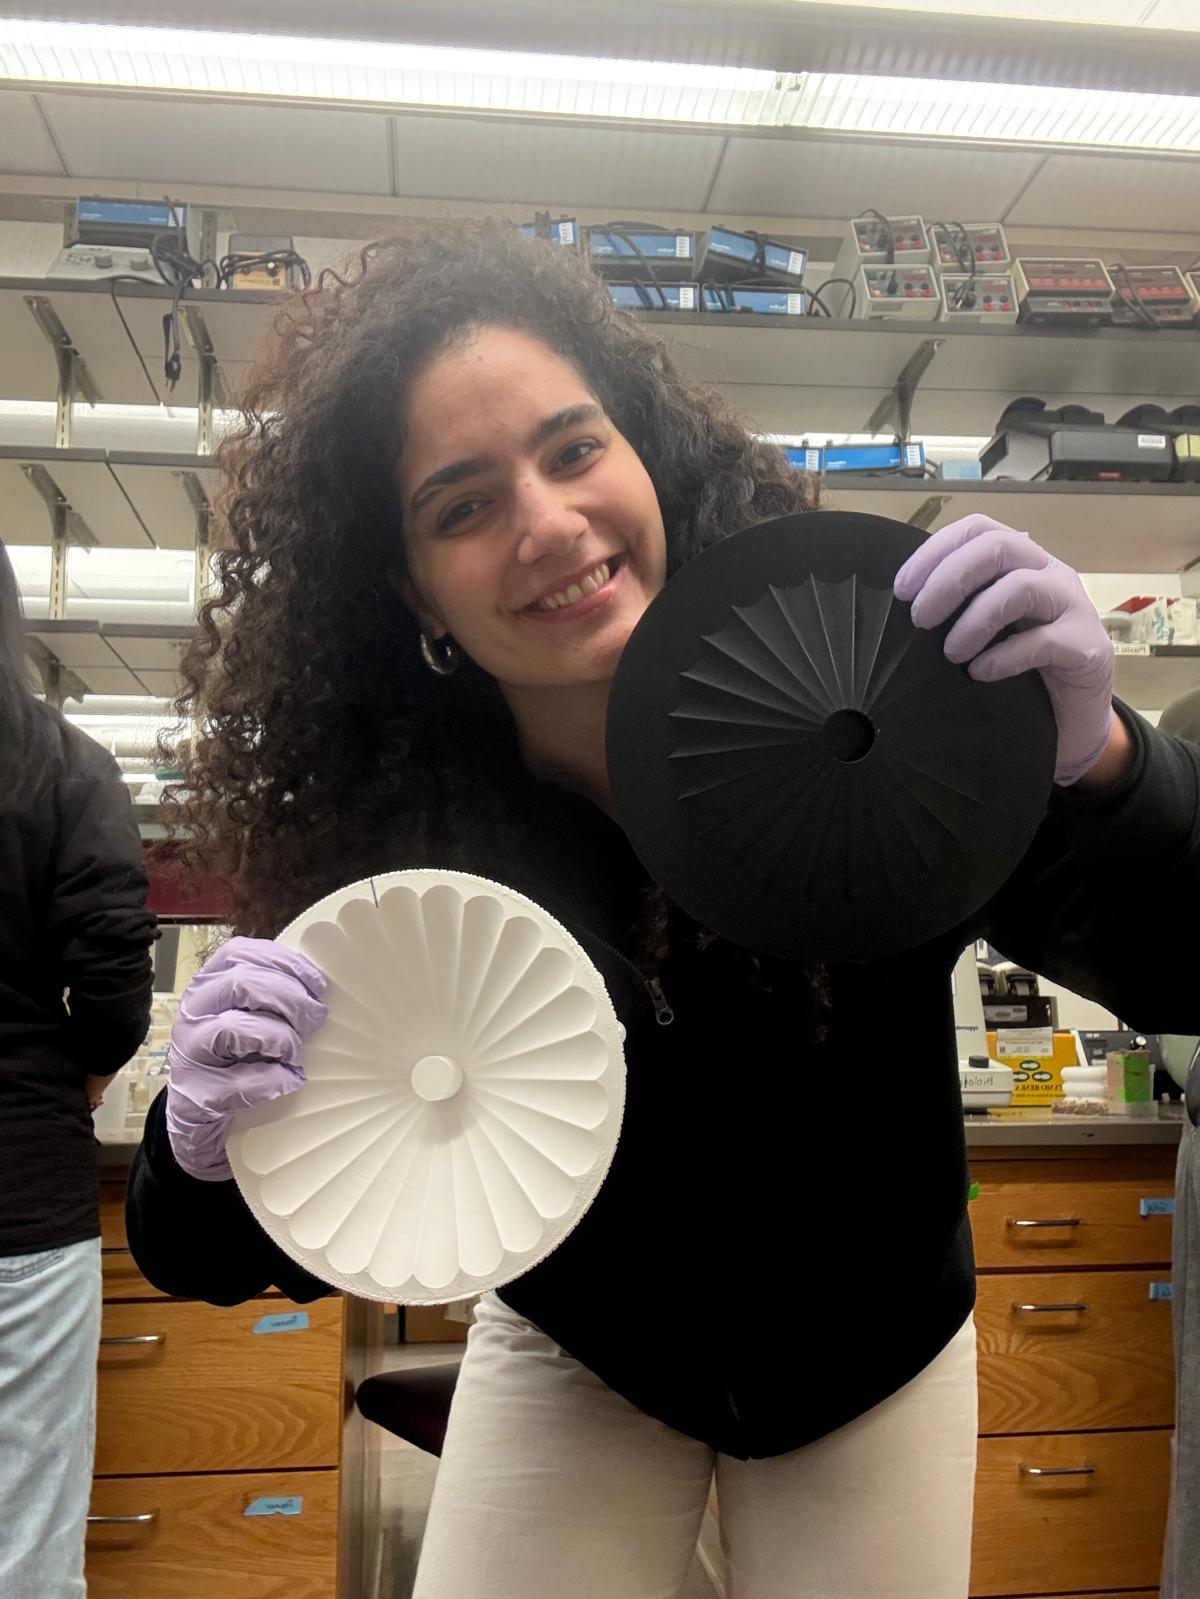
I explored different shapes and decided on a design inspired by a mushroom. I used Fusion 360 to first create the positive shape of the lampshade:

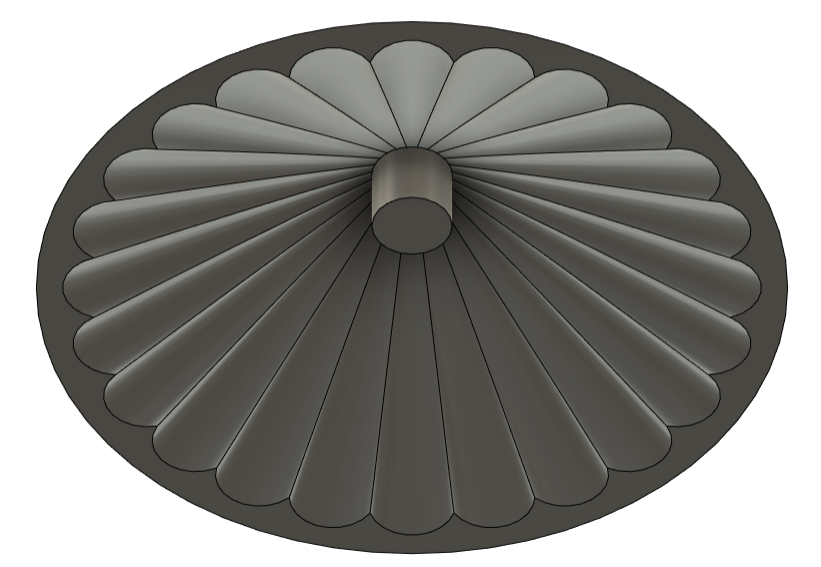
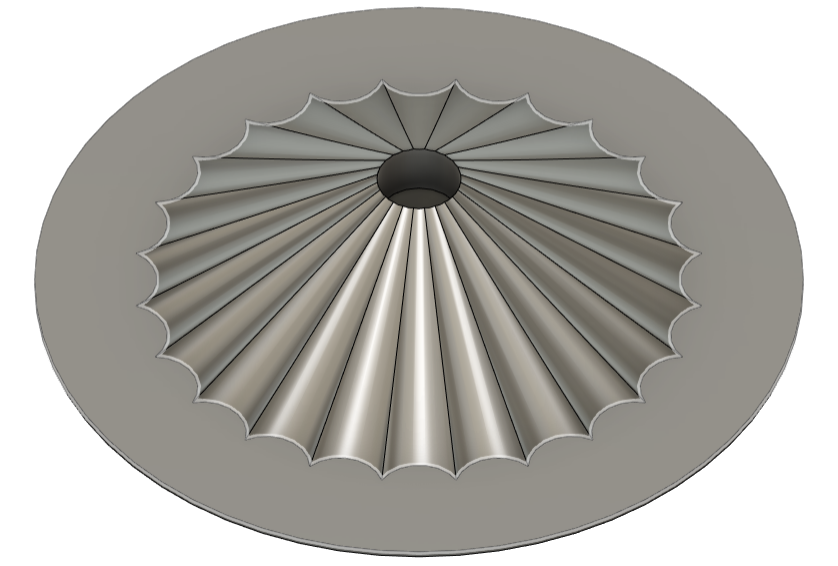
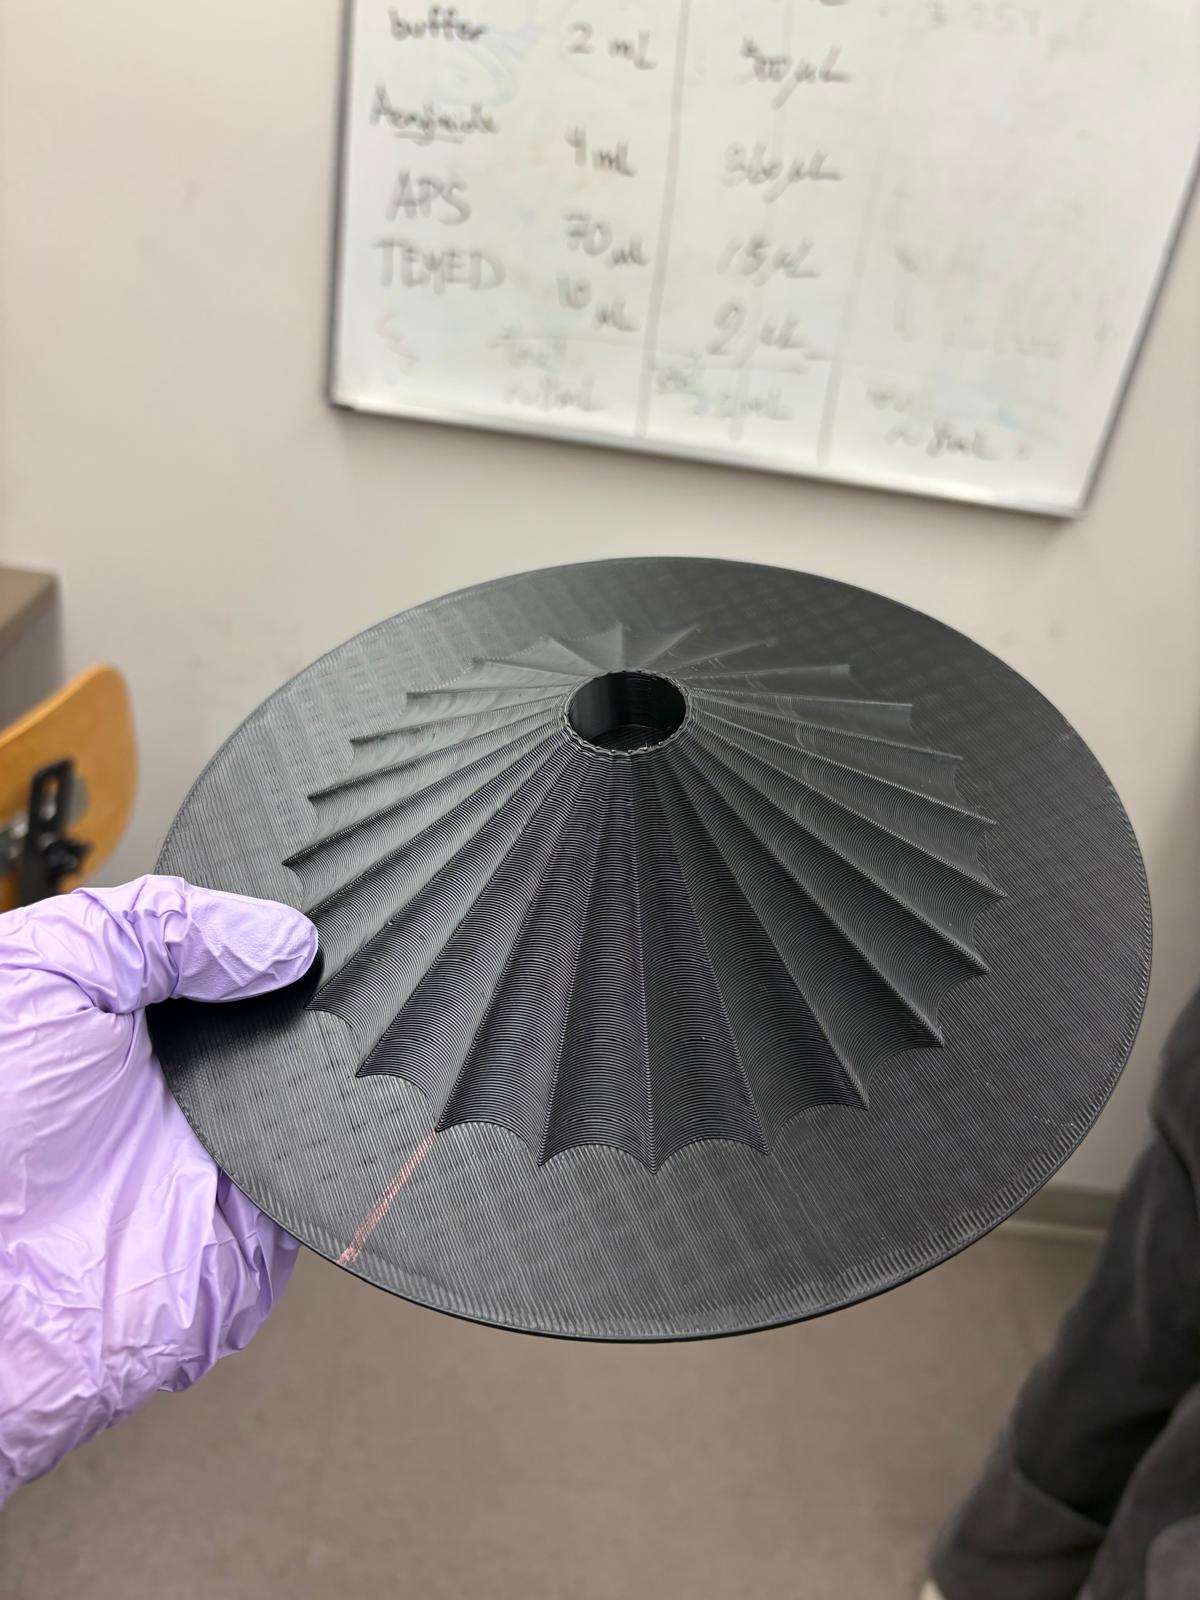
Then, I created the negative mold from that design:
Next, mold was printed using the P2S Bambu Lab printer:
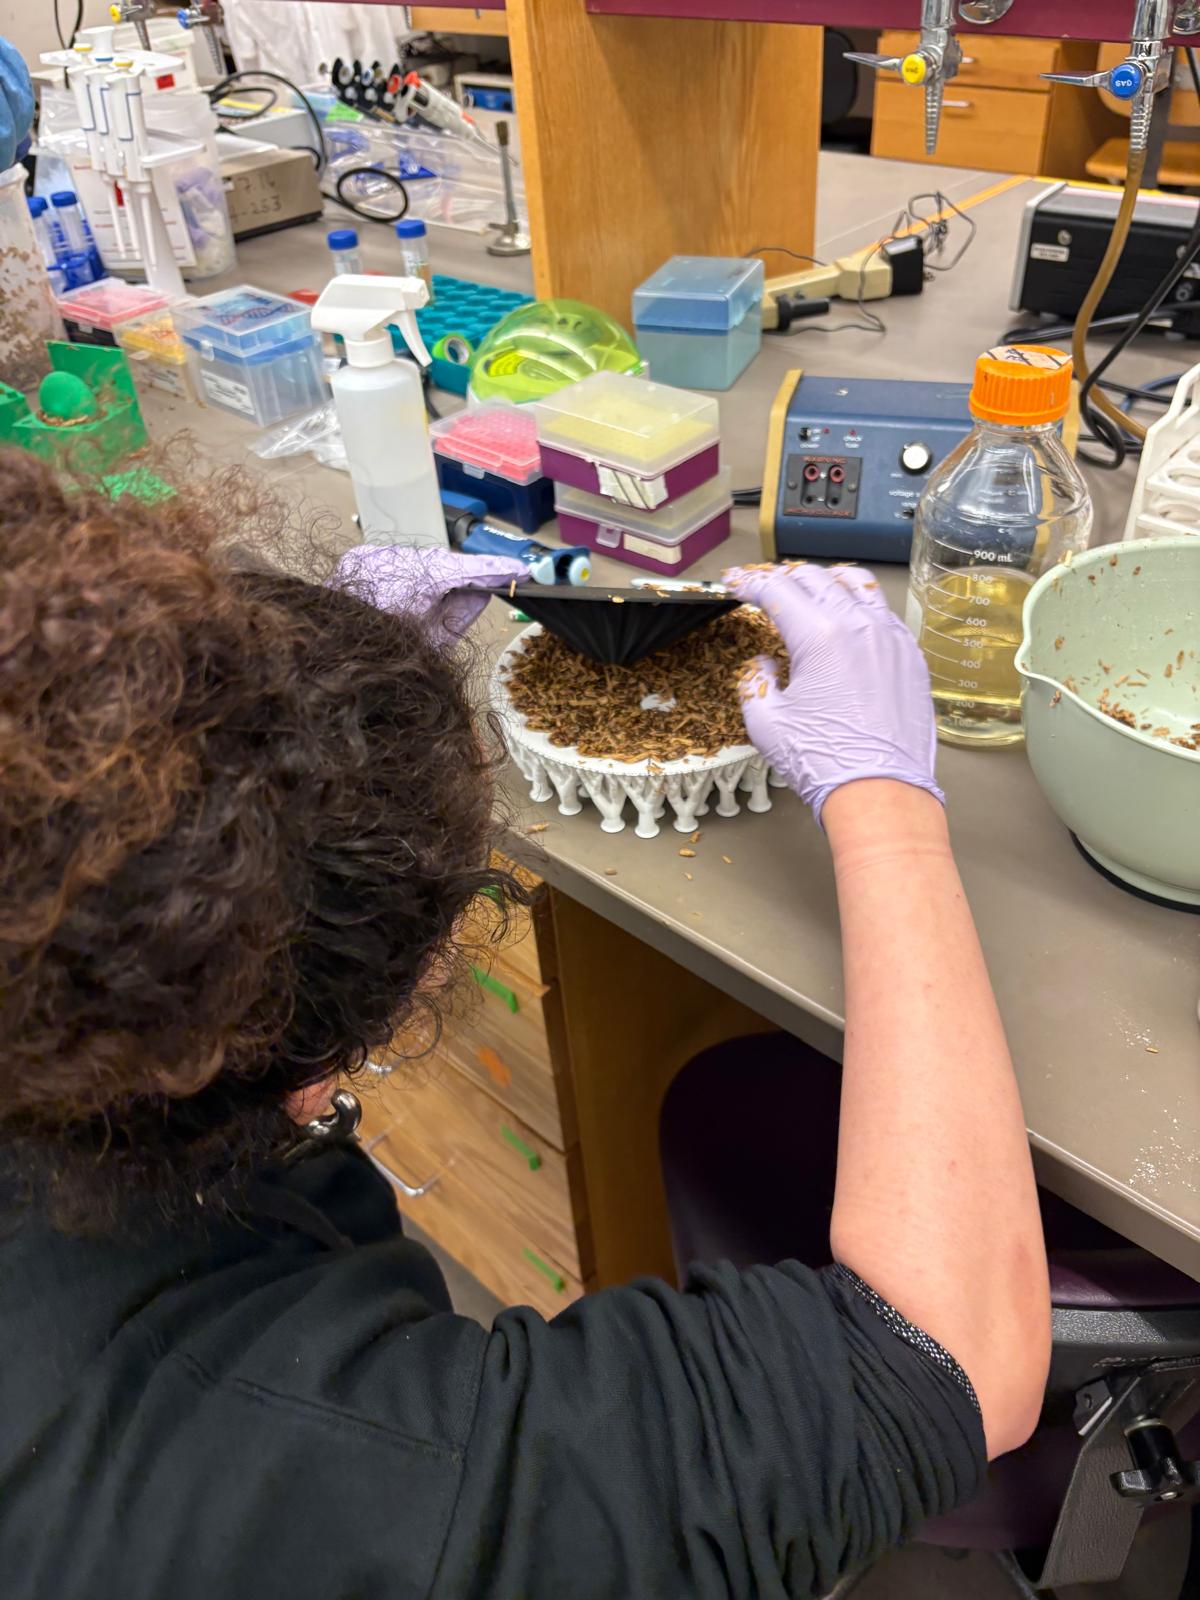
In the lab, I mixed the growth medium and packed it into the mold:
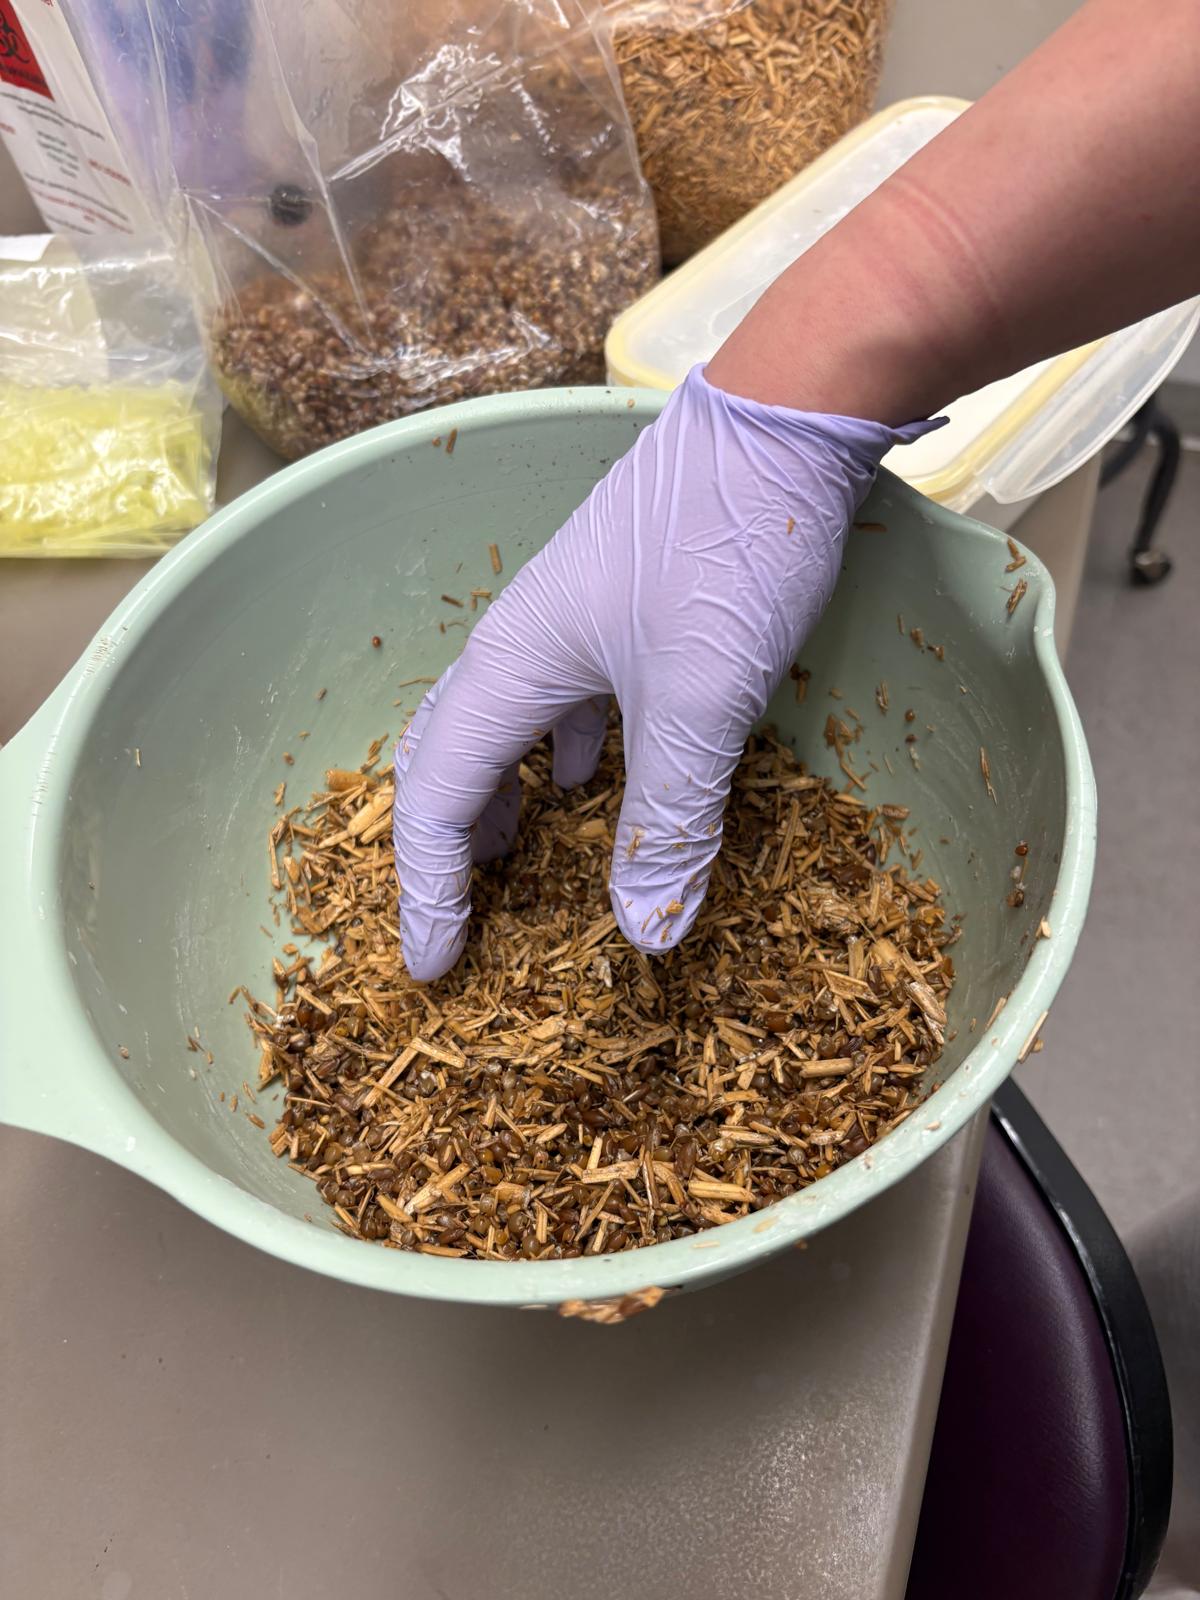

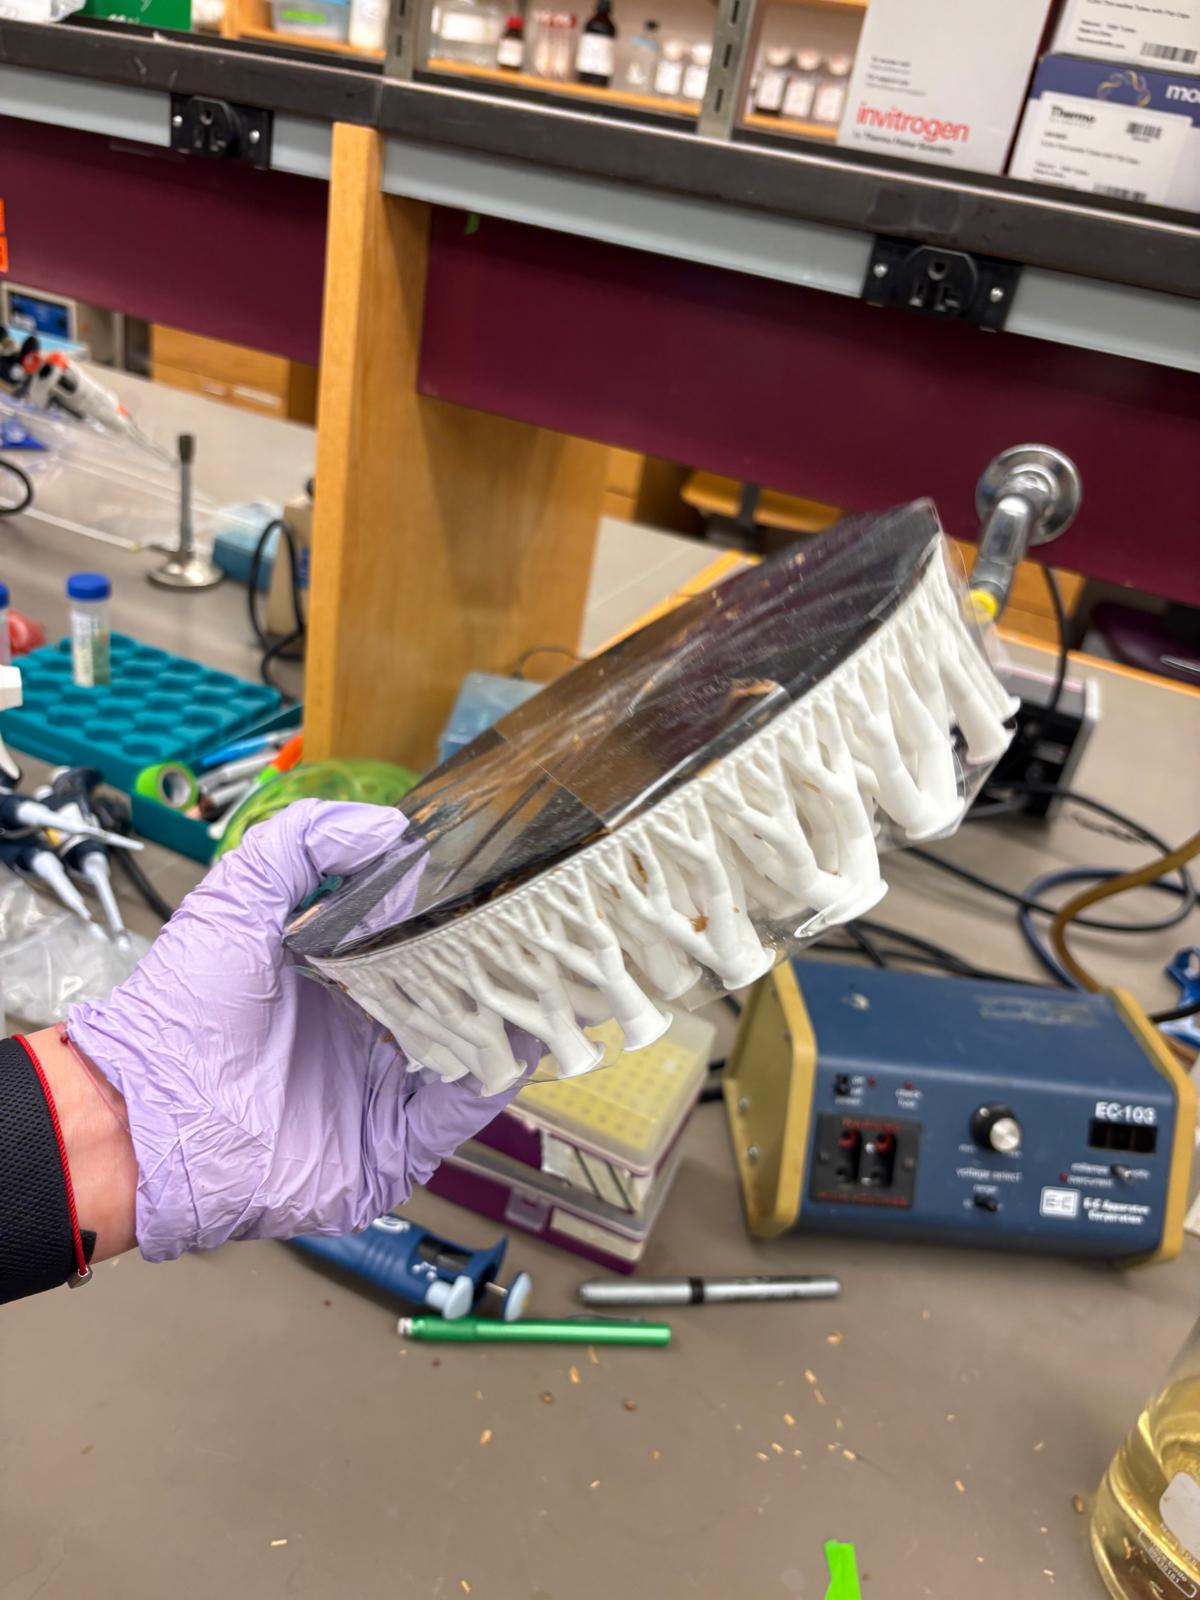
The mold was then left to sit and grow:
The results will be ready in a few weeks!
Hello! Libi from the future here:)
I know you’re excited to see the result, but first, just a few more details:
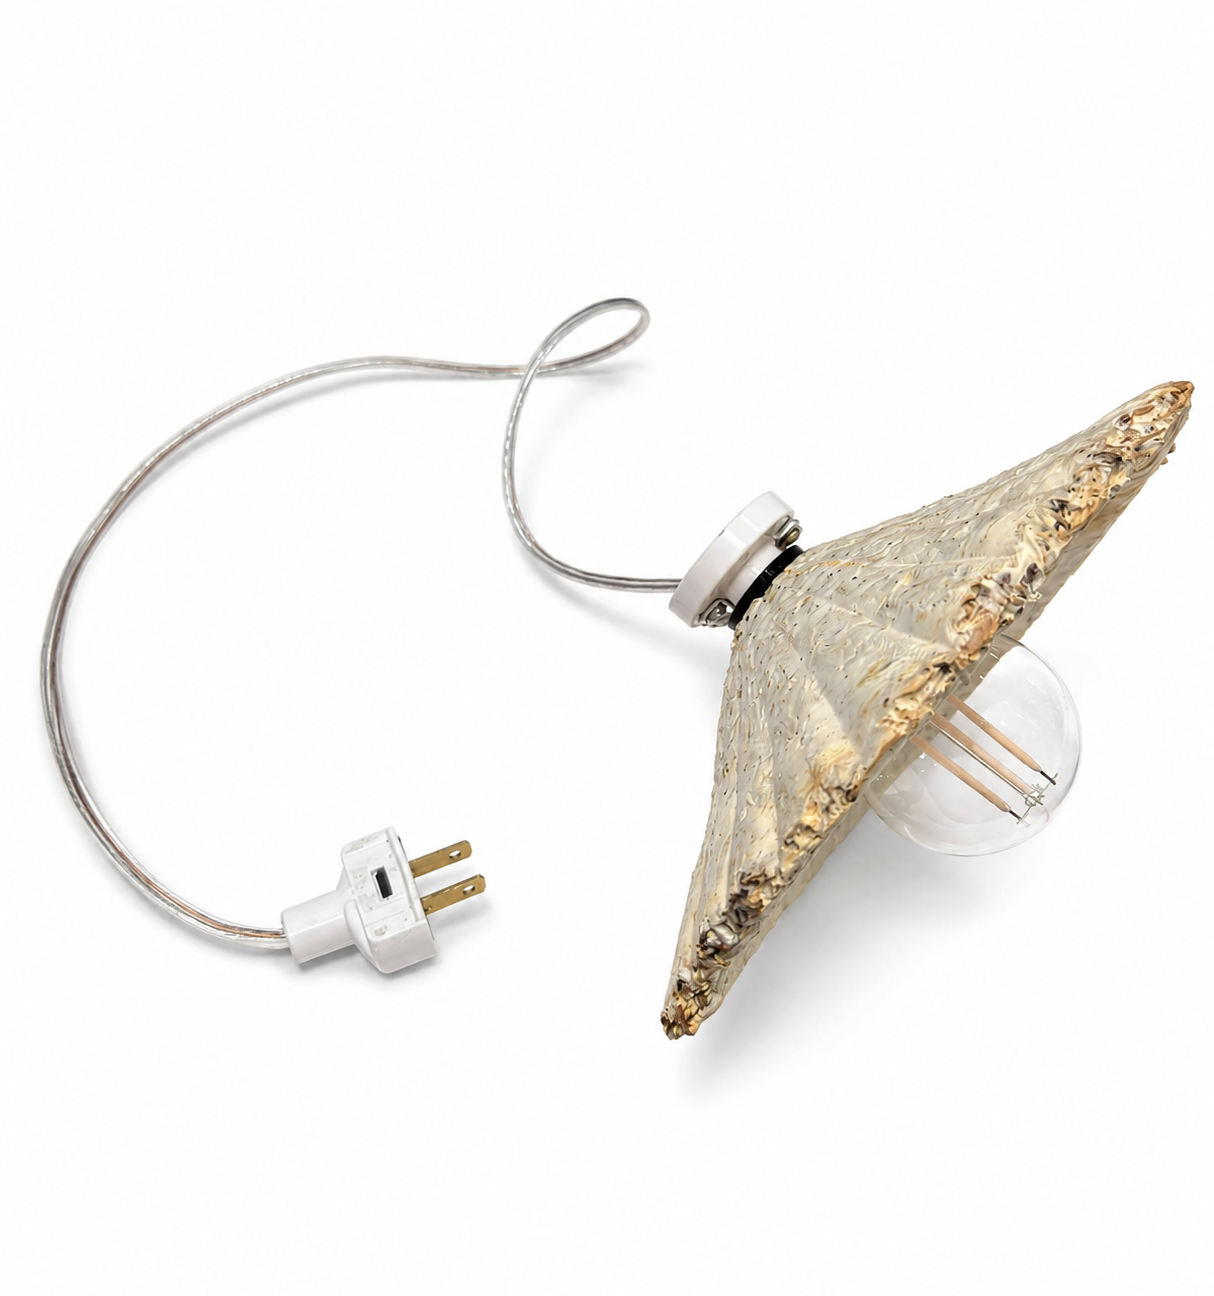
I went out and bought a plug, wire, light bulb socket, and a light bulb that I thought would complement the design and preserve its natural aesthetic. I then soldered all the electrical components together and 3D printed a custom mount to create a clean and secure connection between the socket and the lamp.
And now…
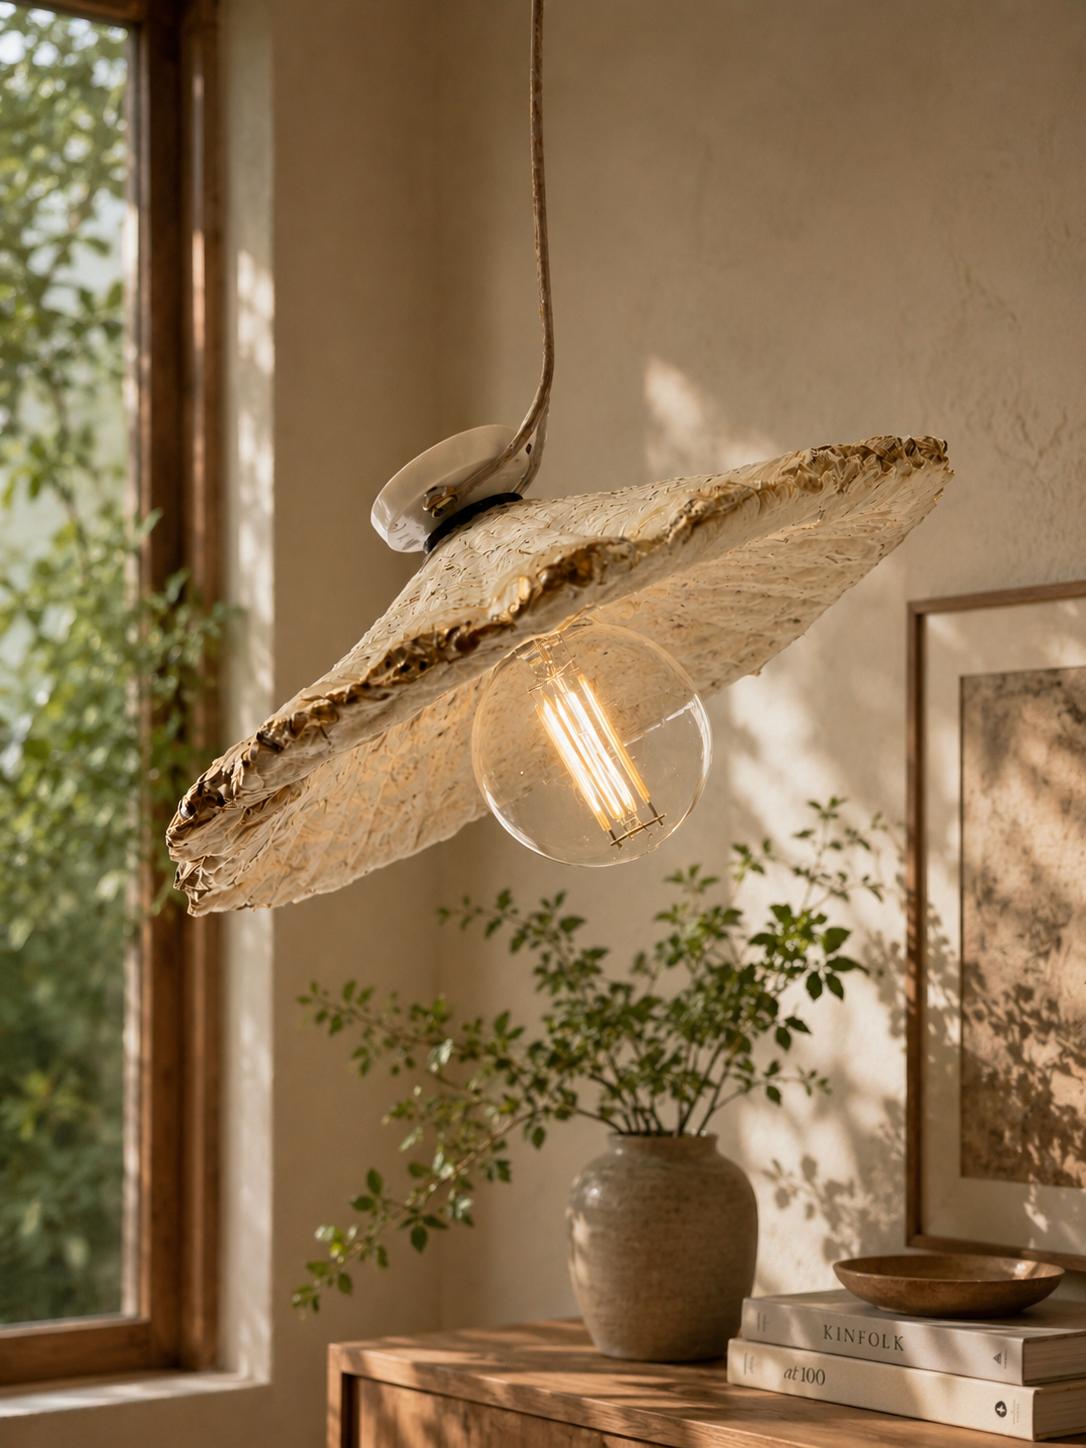
Here is the result!
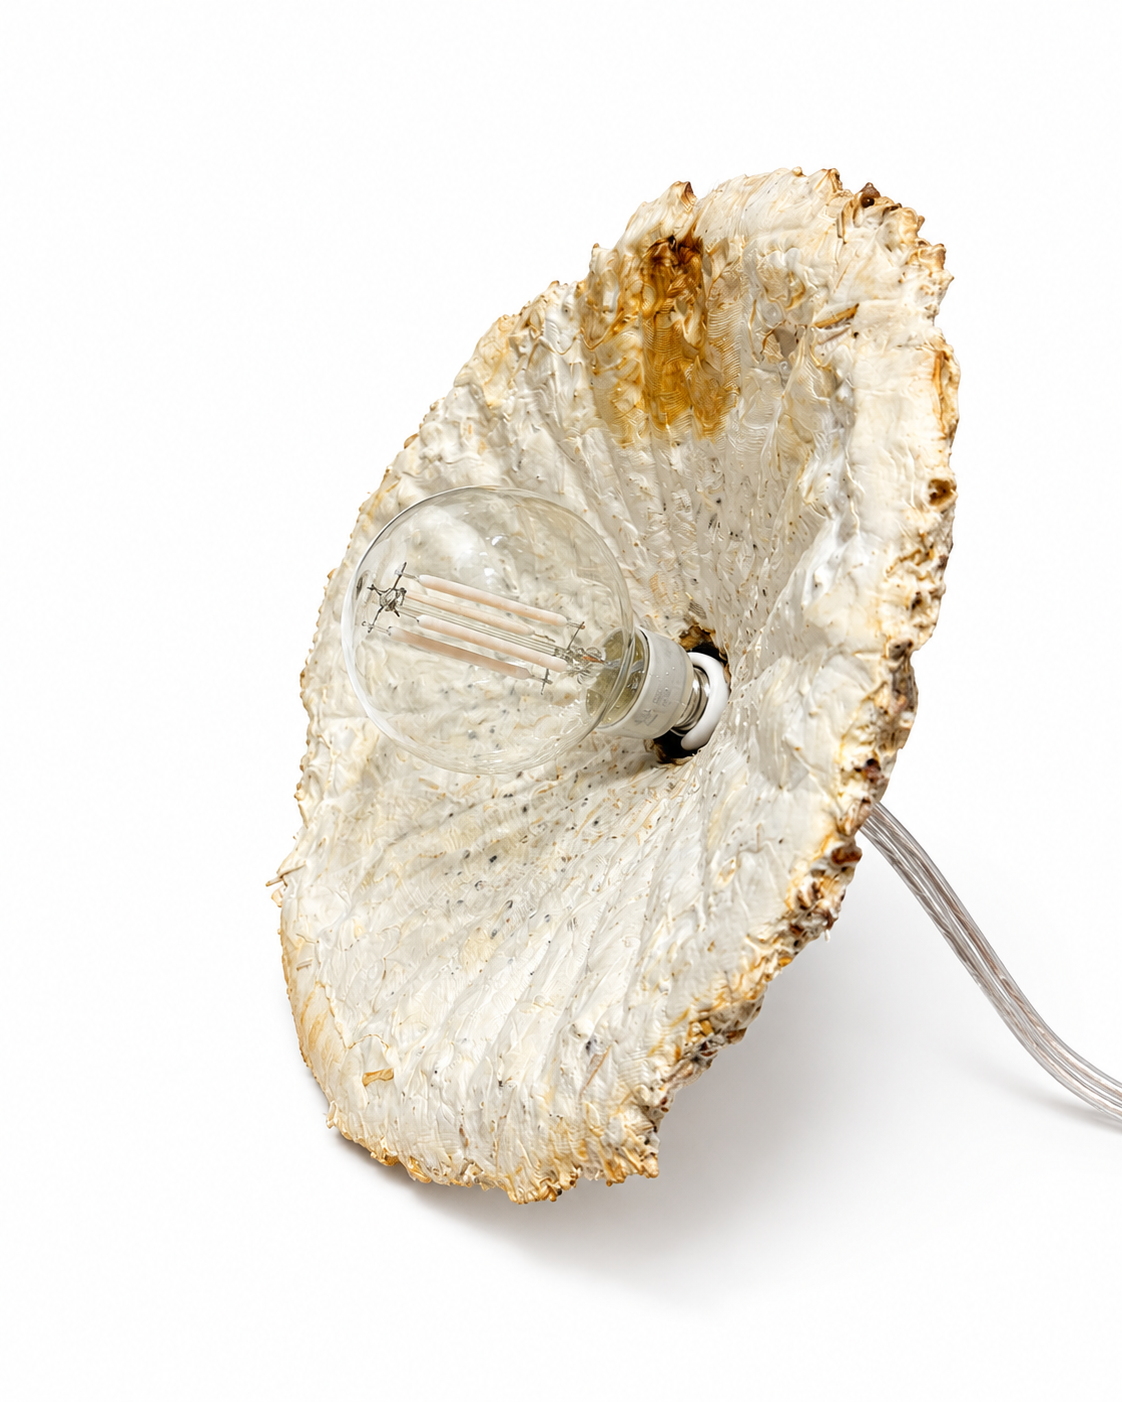
And this is how it looks with the light on:
Hope you enjoyed this week’s lab as much as me:)