Subsections of Labs
Week 1 Lab: Pipetting
Lab One: Pipetting
Notes:
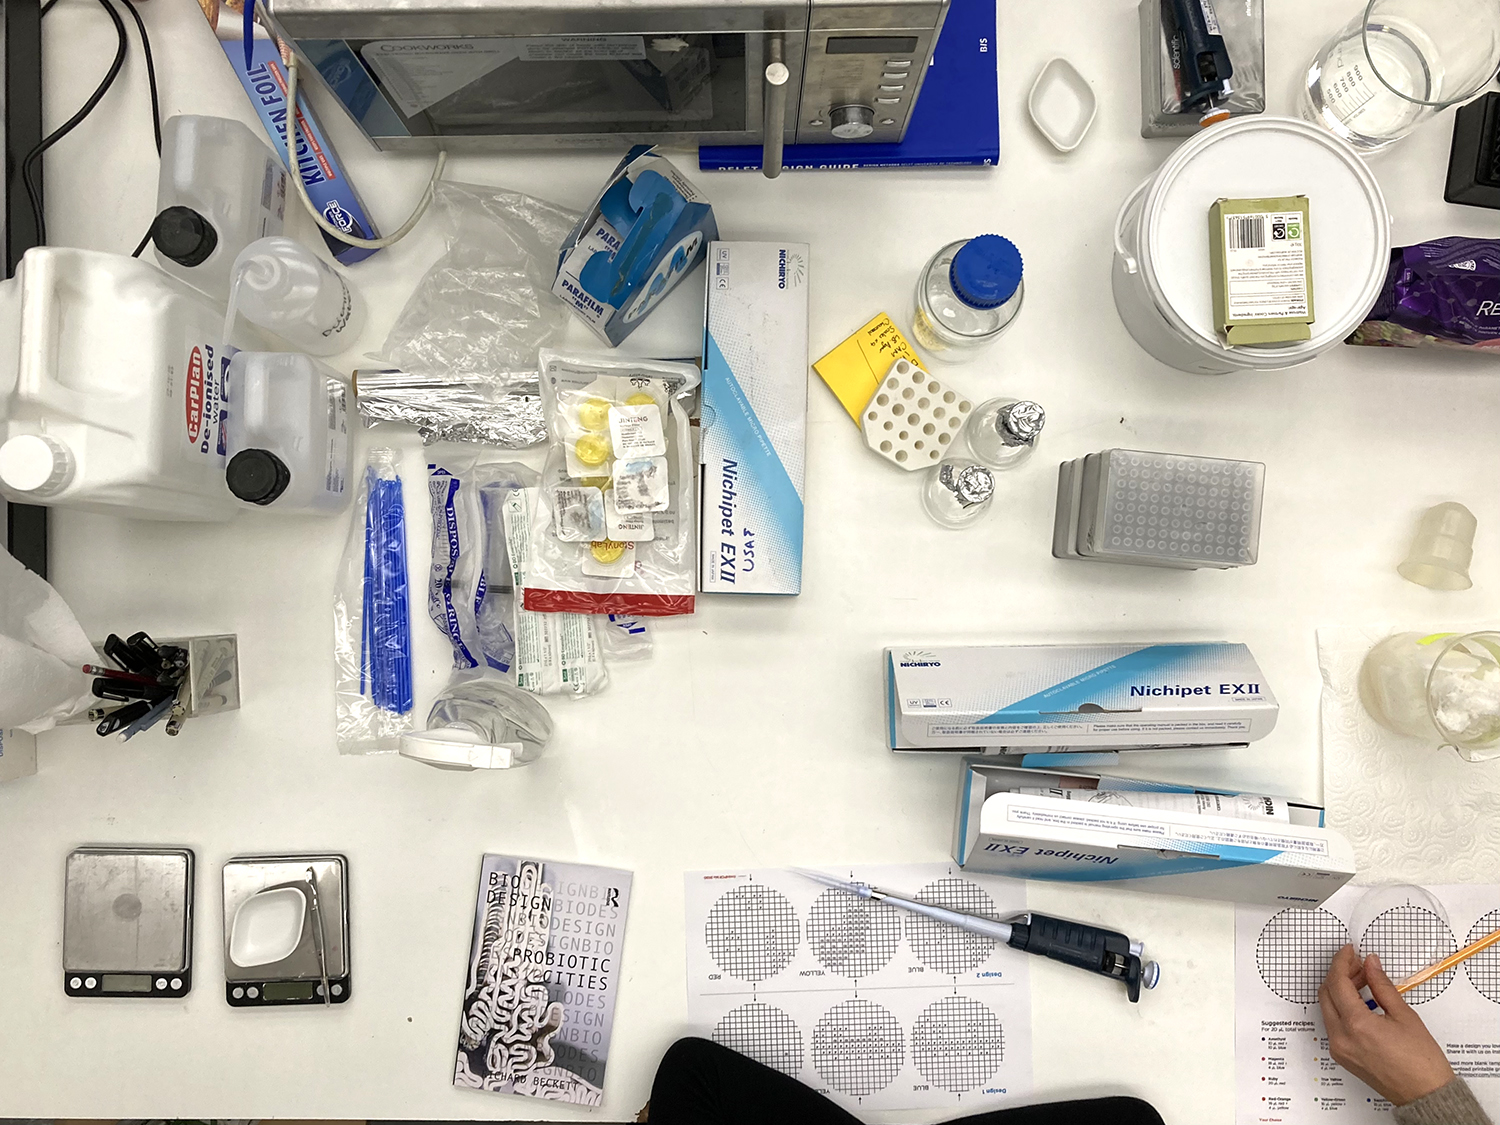
- There are several differnt size pipettes and tips to use depending on the amount of fluid you want to dispense or extract.
- Pipettes sizes:
P20: 1-20uL of liquid
P200: 20-200uL
P1000: 100-1000uL
- Pipettes sizes:
- Pipette tips: 10uL, 200uL, 1000uL
- They are adjustable within their specified range using the adustment wheel located at top of pipette.
- If you have a 1-20uL pipette and the set read out is: 015, then you have it set to aspirate/dispense 1.5uL.
- The smallest tip will only fit on the small pipette.
- There are are two stops on the plunger, the first stop measures the amount the pipette is set to, the second stop (plunger depressed all the way) will blow out the pipette.
- There is a button on the top of the pipette which will detach/eject the tip from the pipette.
- Tips are single use only!
- Do not invert the pipette! This can damage the mechanism, especially if there is fluid in the tip. If there is no tip attached you can set it down.
Pipette Practice
- Always pipette with a steady hand, and avoid touching the walls of Eppendorf or PCR tubes.
- You can mix a solution by aspirating and dispensing samples in the tube. Do this slowly to avid introducing bubbles in the mixture.
Week 2 Lab: Preparing Gels for Art
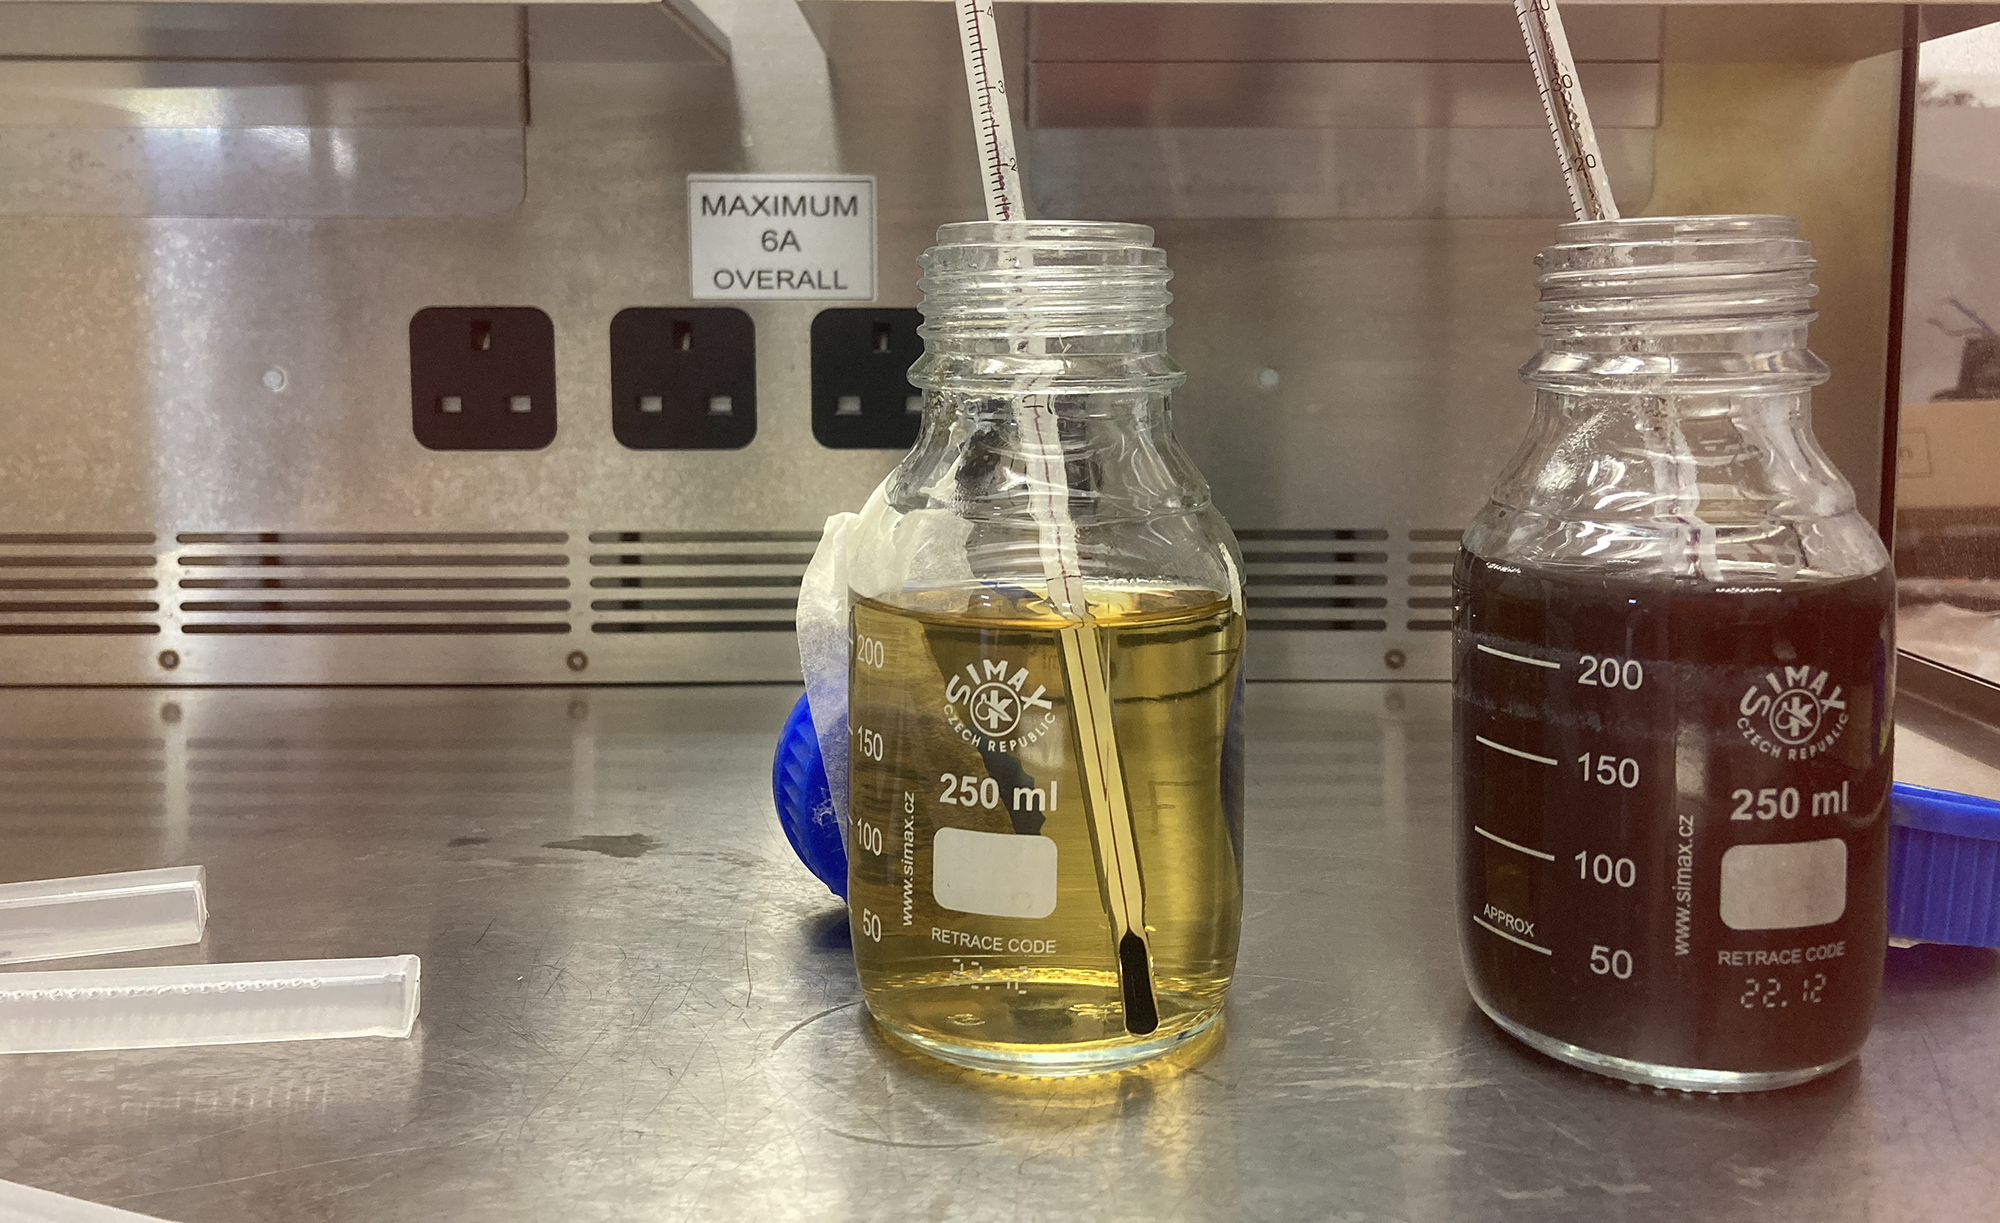
Agar solutions cooling down under the hood
- In this LifeFabs lab we focused on preparing gels for:
- Electropheresis- Mixing reagents to produce gel, and pouring gel into tank.
- Agar plates- to streak with E. Coli.
Agrose Gel for Electropheresis
- Prepared by mixing a 250mL batch of agarose gel solution. Solution contained TAE buffer and Red safe DNA stain, heated in the microwave to dissolve agarose. Once solution was completely disolved the gel was poured into tank with comb in place and set aside to cool.
Agar Plates
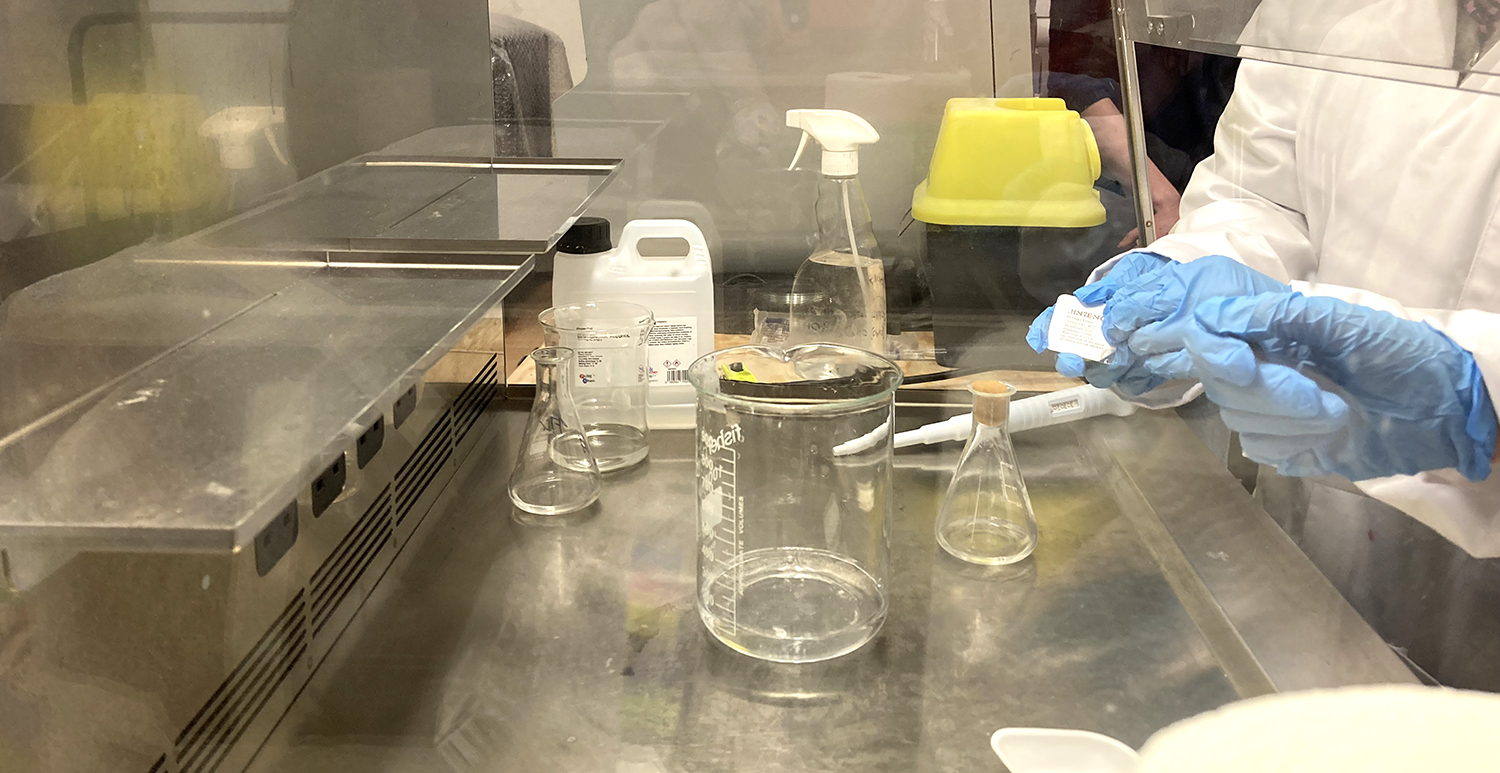 Getting ready to add antibiotic to solution
- First step was to mix the agarose solution. We prepared two 250mL batches, one with black activated charcoal, and a clear one without antibiotic.
- Both were heated in the microwave (45 sec pulses) until the agar was completley dissolved. I believe we added the activated carbon after heating.
- Solutions were placed under the hood with thermometer waiting for the solution to cool down to 55C.
- Antibiotic was added to solution, then plates were poured.
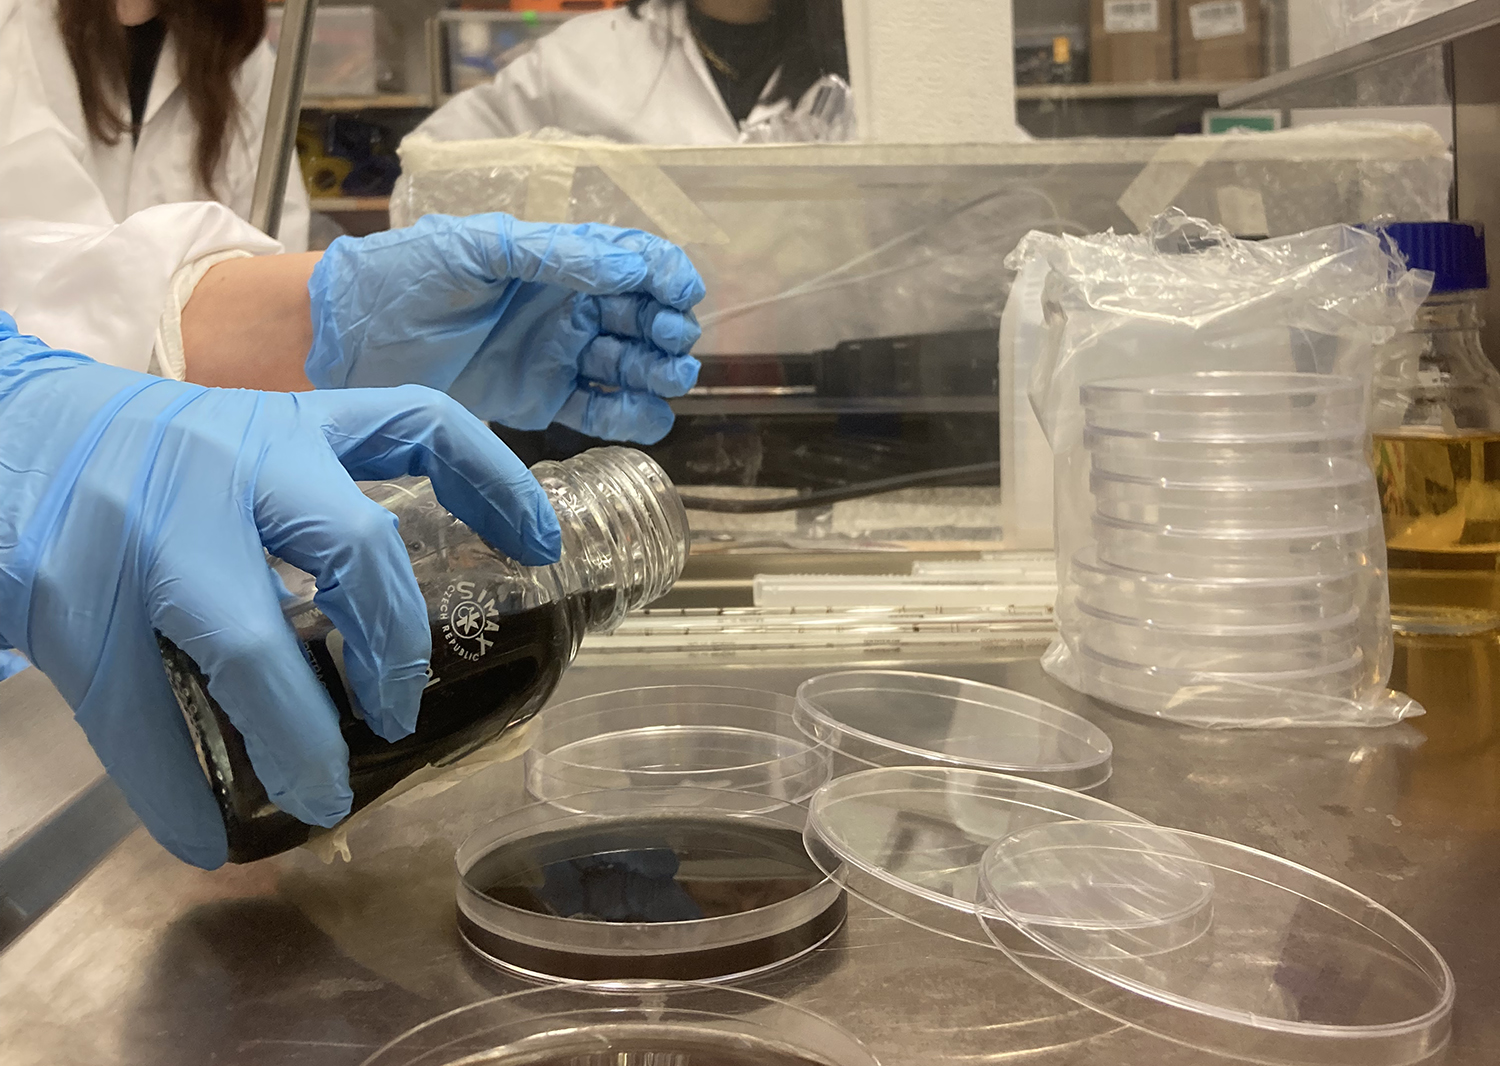
- Each plate was poured with approximately 25mL, about halfway full. You have to move through this process quickly as the agarose starts to congeal as it cools.
- The lids are placed on top of the dishes once they’re poured, but with space for condensation to escape. Once they’re cooled off they’re ready to be streaked.

- Using a culture collector, we each sampled a different E. Coli colony/color from its culure dish and streaked a black plate with the sample.
- There are two basic patterns used for streaking; the commonality between methods is they’re both linear, and connected by crossing over the end point of the former with the starting point of the ladder.
- Best practice is to gently swab the surface of the agrose gel without piercing it’s surface.
- Once the plates are swabed, they’re labeled, sealed with parafilm, and placed in the incubator.