This lab was completed virtually (coding, simulation, and design).
The physical wet lab (running the robot with real bacteria and plates) was not performed.
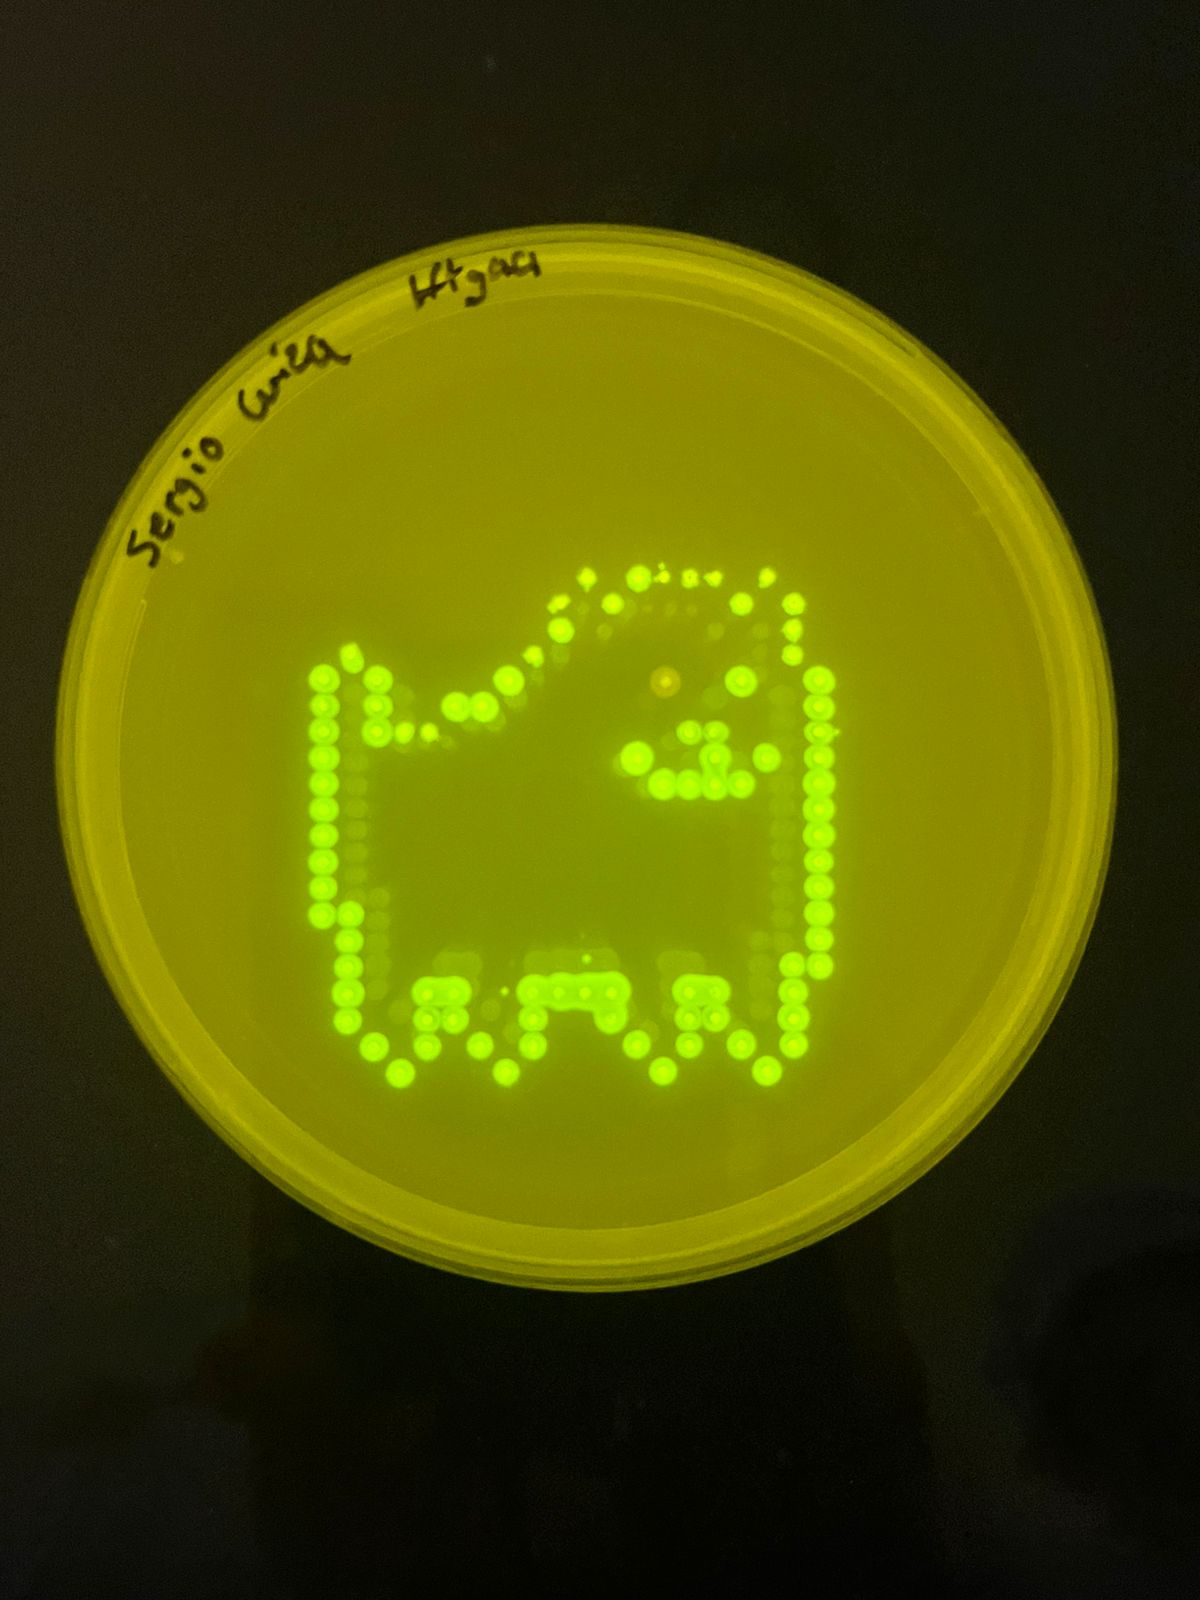
The virtual design originally planned more colors, but only two fluorescent bacterial strains (two colors) were available, so the pattern was simplified accordingly.
The final simulated result image is shown below.
Overview & Objective
In this two‑day lab, we program the Opentrons OT‑2 pipetting robot to deposit genetically engineered E. coli (expressing fluorescent proteins) onto black charcoal agar plates, creating glowing bio‑art. The lab combines synthetic biology, automation, and art. Skills gained: writing Opentrons Python protocols, simulating robot moves, and understanding fluorescent proteins (GFP, RFP, etc.).
Pre‑Lab Reading (Summary)
“Central Dogma” of Opentrons: Paper Protocol → Opentrons Protocol (Python/API) → Compiled Protocol (robot commands).
Simulation: Always simulate before running on a real robot to avoid wasting reagents.
GFP and friends: GFP (green), RFP (red), etc. – fluorescent proteins used as visible markers.
Black agar: Charcoal powder added to make designs contrast under UV.
Opentrons Python API: Functions like pick_up_tip(), aspirate(), dispense(), drop_tip(), and .move().
Protocol Part 1: Virtual Design & Coding
Due to limited fluorescent strains, only two colors were usable. The original multi‑color pattern was replaced by a simpler checkerboard‑like pattern using alternating spots of two colors (Green and Red) on a 5×5 grid.
Python Code – Corrected for Opentrons API & Colab Simulator
The code below uses the actual Opentrons Python API (valid methods) and the helper functions provided in the HTGAA26 Colab (location_of_color, dispense_and_jog). It places a 5×5 grid of spots, alternating colors, with 9 mm spacing.
fromopentronsimportprotocol_apifromopentrons.typesimportPointmetadata={'protocolName':'Two‑Color Pixel Art (Checkerboard)','author':'HTGAA Student','apiLevel':'2.13'}defrun(protocol:protocol_api.ProtocolContext):# Load labware (IDs match the Colab's deck layout)tiprack_20=protocol.load_labware('opentrons_96_tiprack_20ul',1)reservoir=protocol.load_labware('usascientific_12_reservoir_22ml',2)plate=protocol.load_labware('corning_6_wellplate_16.8ml_flat',3)# Pipette (P20 single-channel)p20=protocol.load_instrument('p20_single_gen2','right',tip_racks=[tiprack_20])# Define source wells for each color (A1 = green, A2 = red)green_source=reservoir.wells()[0]# A1red_source=reservoir.wells()[1]# A2# Helper: location_of_color (provided in Colab – we assume it's defined)# But we'll just use the wells directly.# Grid parameters: 5x5 spots, spacing 9 mm, centered on the first well of the plate# The plate's well A1 top center is our reference (0,0,0) in deck coordinates.center_location=plate.wells()[0].top()# z = 0 at surfacestart_x=-18# mm from center (leftmost)start_y=-18# mm from center (bottommost)spacing=9# mmforrowinrange(5):forcolinrange(5):# Compute absolute coordinates relative to the center of well A1x_offset=start_x+col*spacingy_offset=start_y+row*spacingtarget_center=center_location.move(Point(x=x_offset,y=y_offset,z=0))# Alternate color: (row+col) even -> green, odd -> redif(row+col)%2==0:source=green_sourceelse:source=red_source# Pick up a fresh tip for each spot (simpler and avoids cross‑contamination)p20.pick_up_tip()# Aspirate 5 µL from the color sourcep20.aspirate(5,source)# Dispense at the target location (use dispense_and_jog helper if available)# For safety, we use p20.dispense() then move up.p20.dispense(5,target_center)p20.move_to(center_location.move(Point(z=10)))# lift upp20.drop_tip()protocol.comment("Two‑color checkerboard pattern completed.")