Labs
Lab writeups:
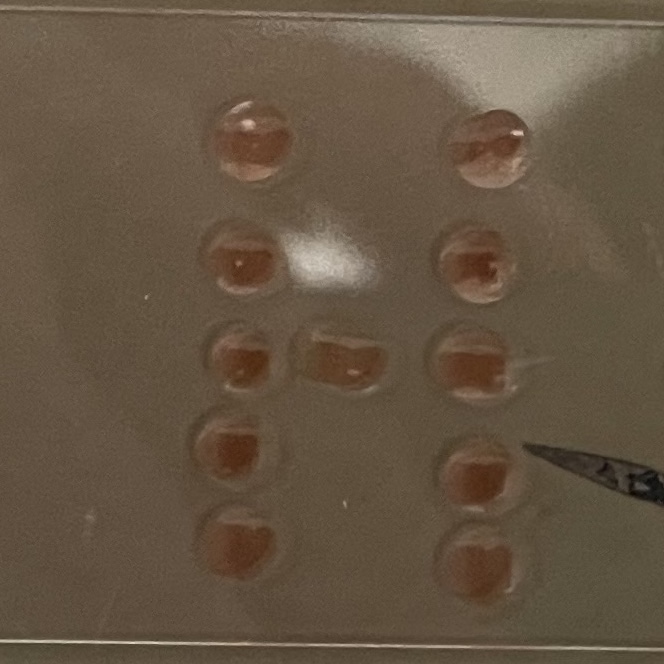
I used P20 (1-20uL) pipettes to create a letter “H” pattern with red food coloring solution contained in an Eppendorf tube.
Week 10 Lab: Mass Spectrometry
See homework for this week.
See homework for this week.
No lab assignment for this week. Working on the final project.
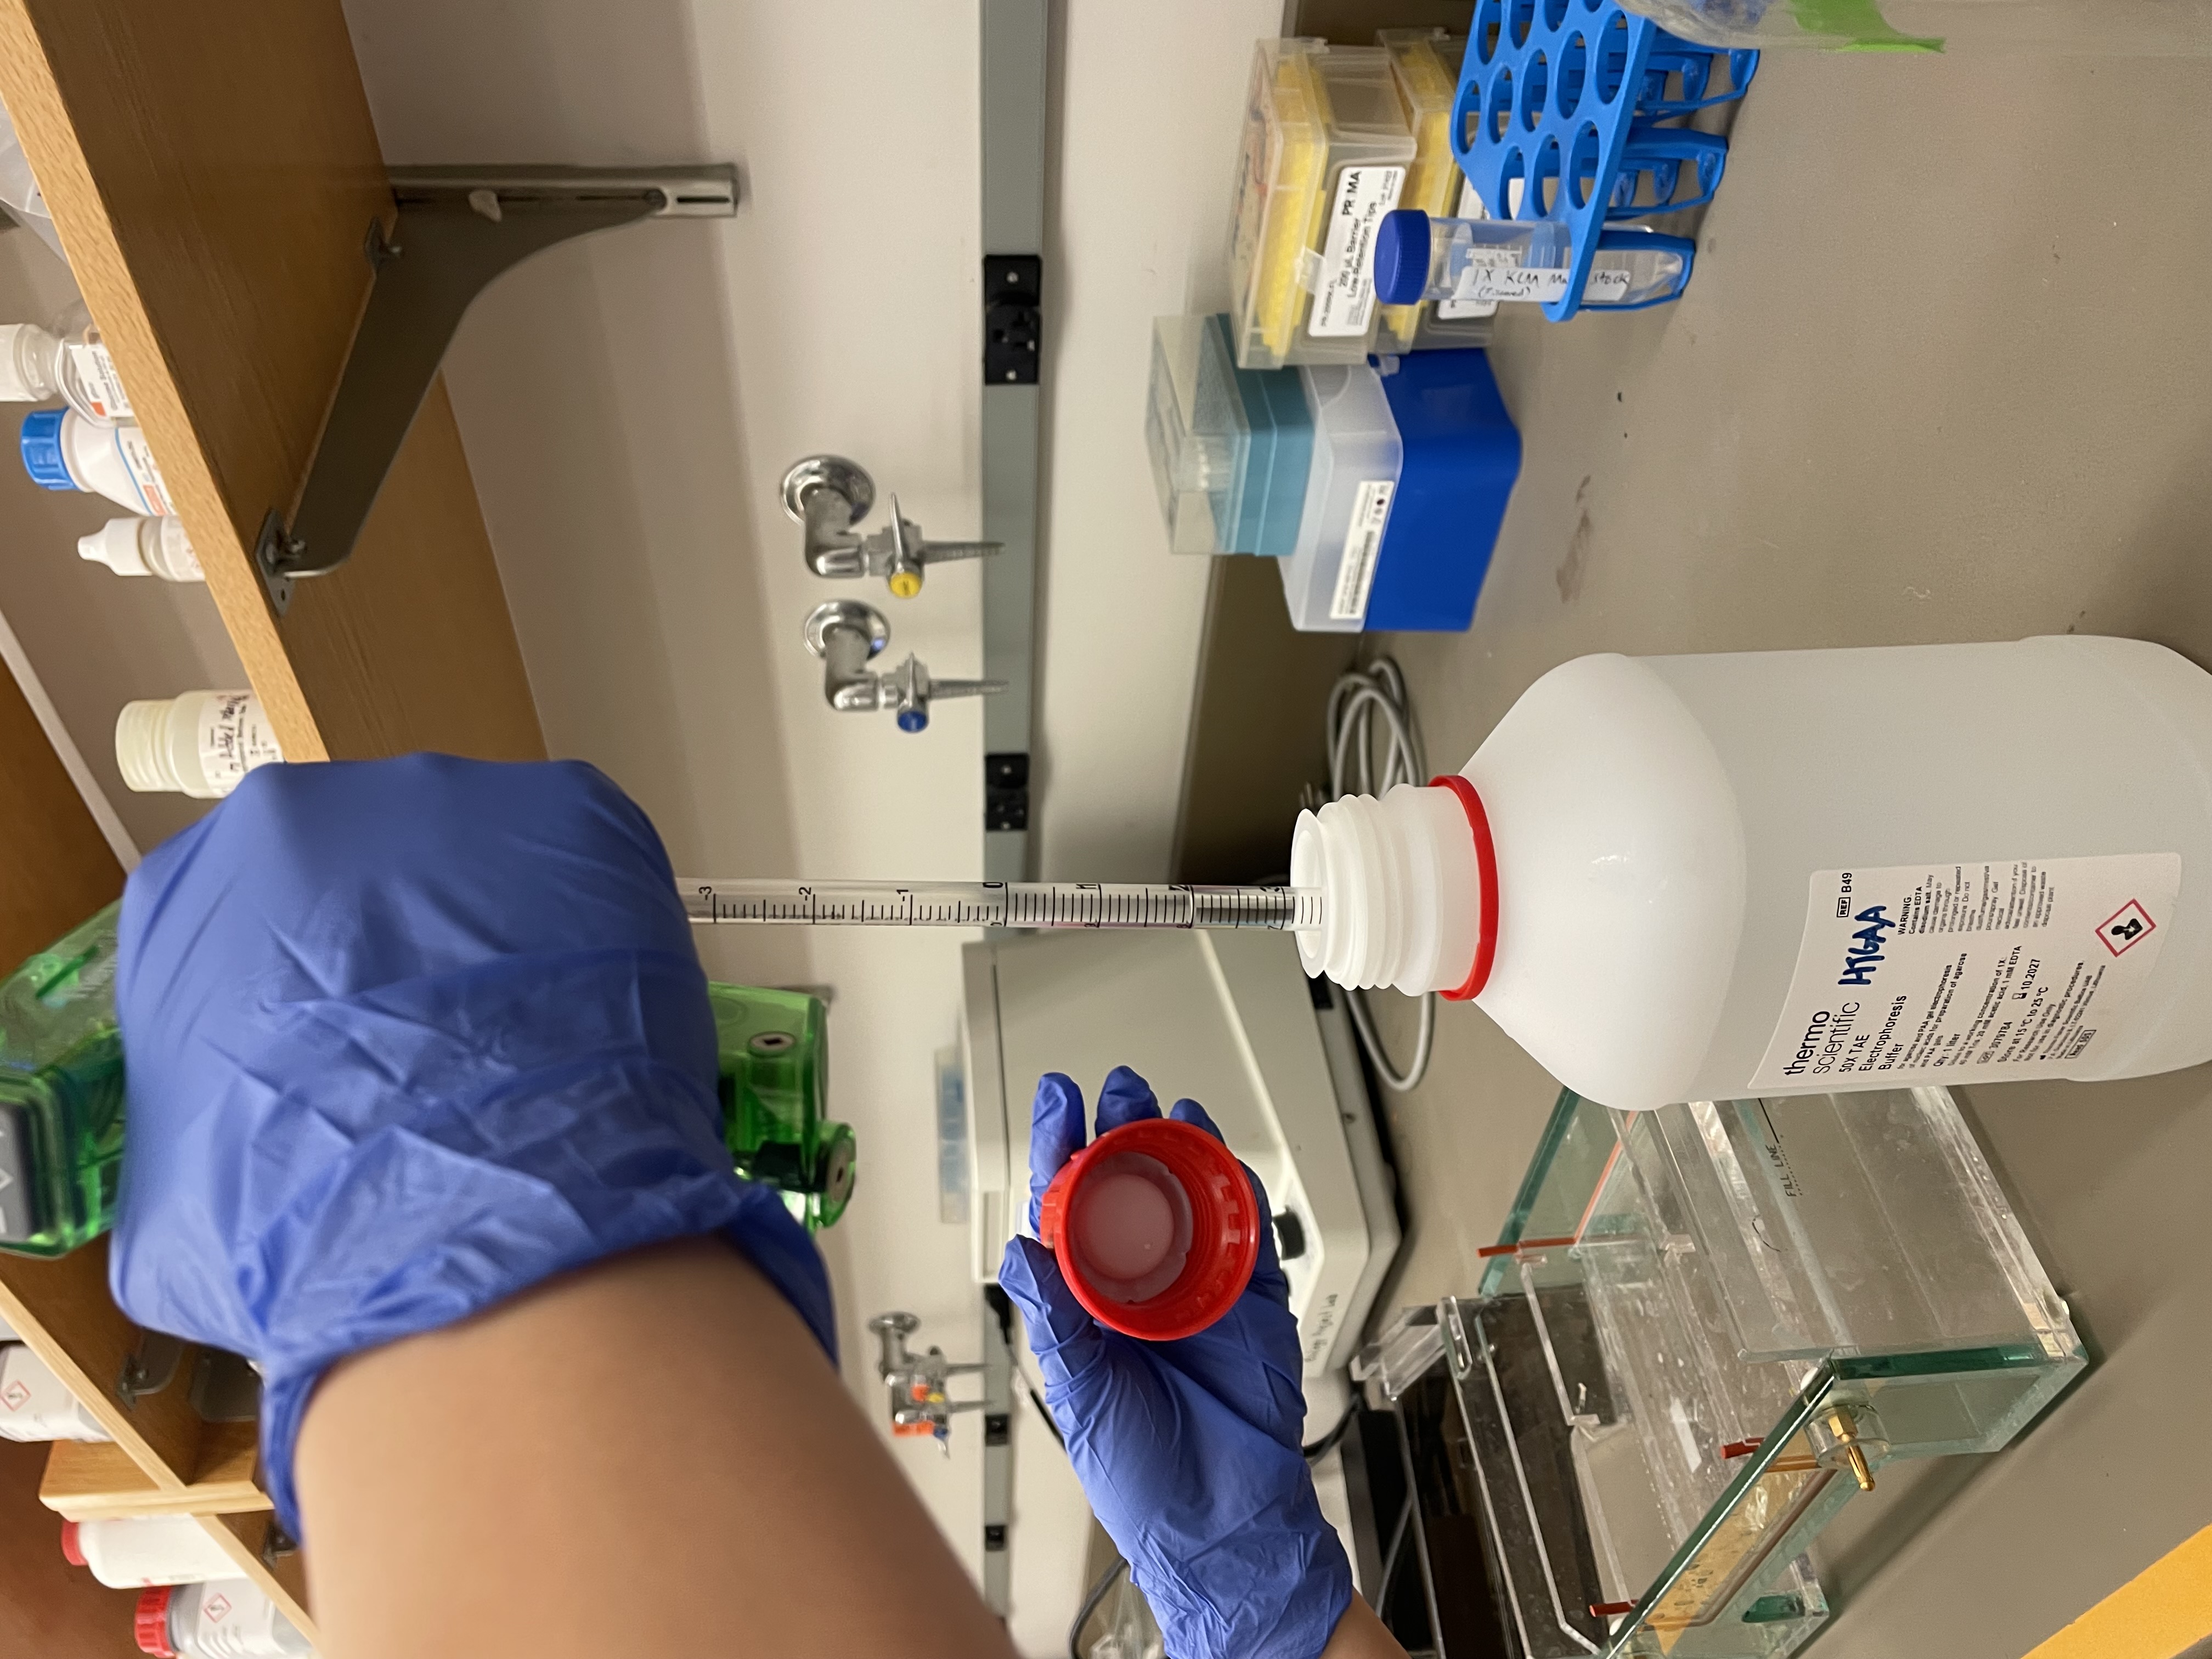
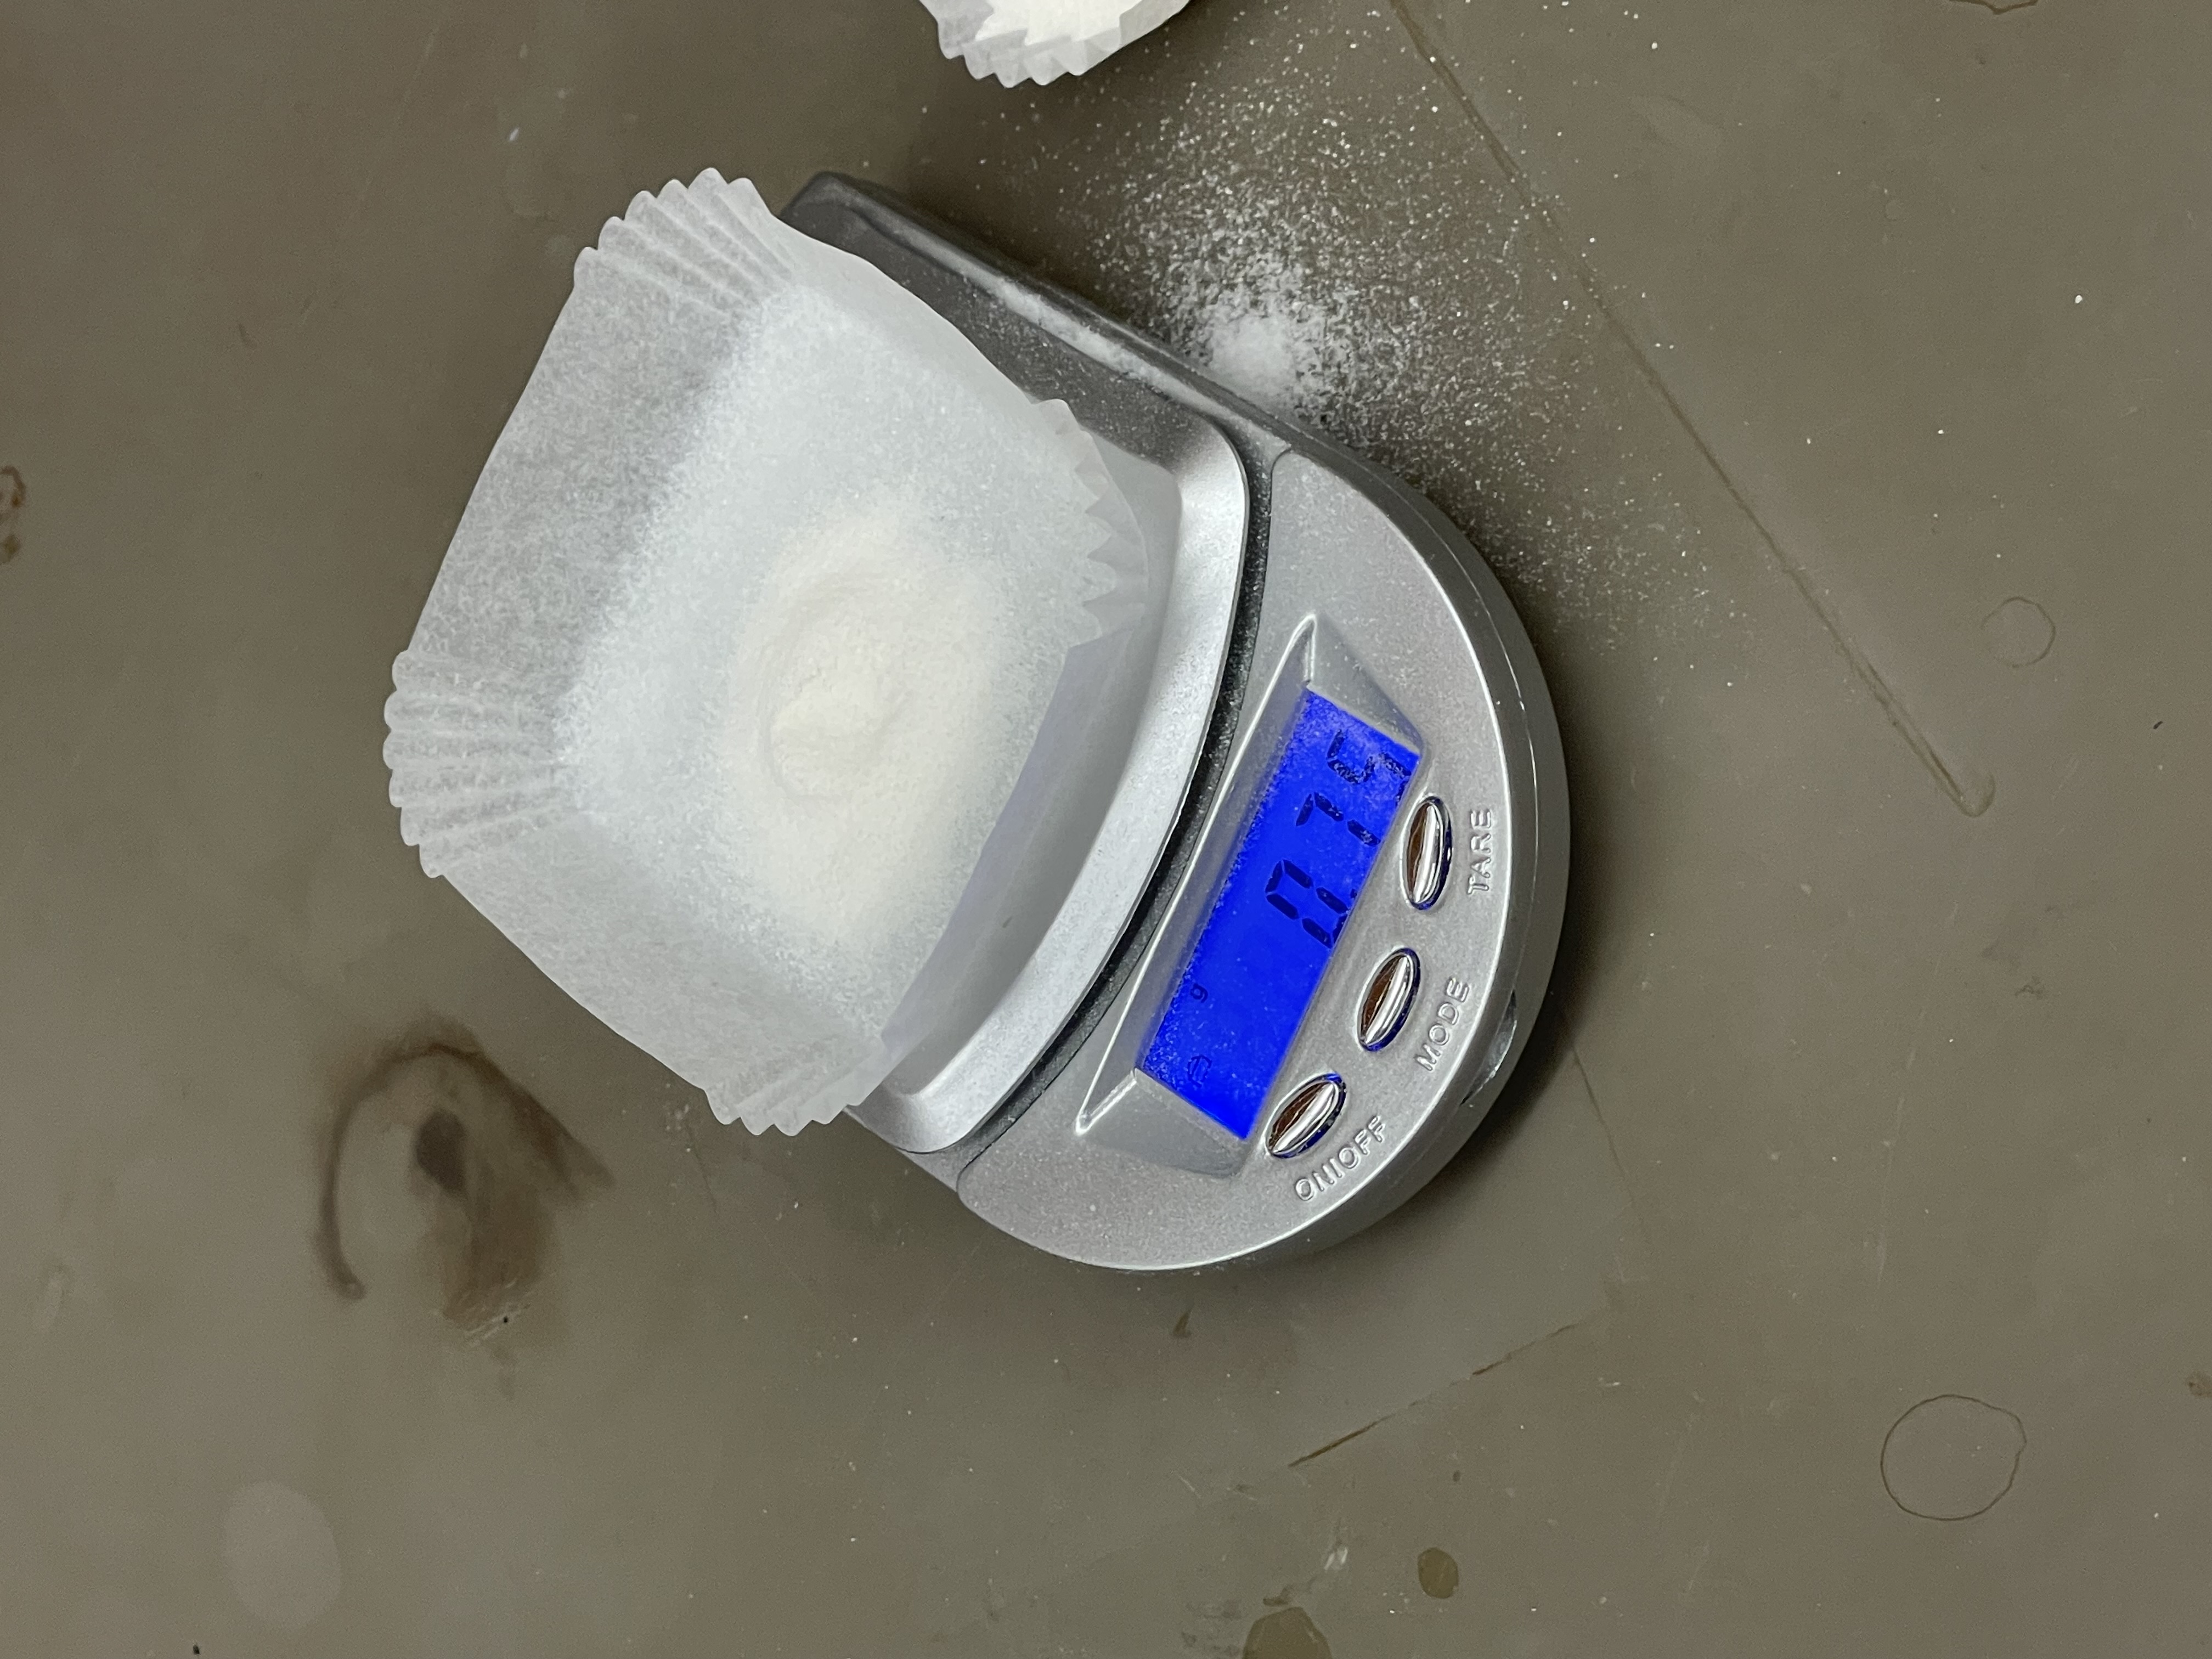
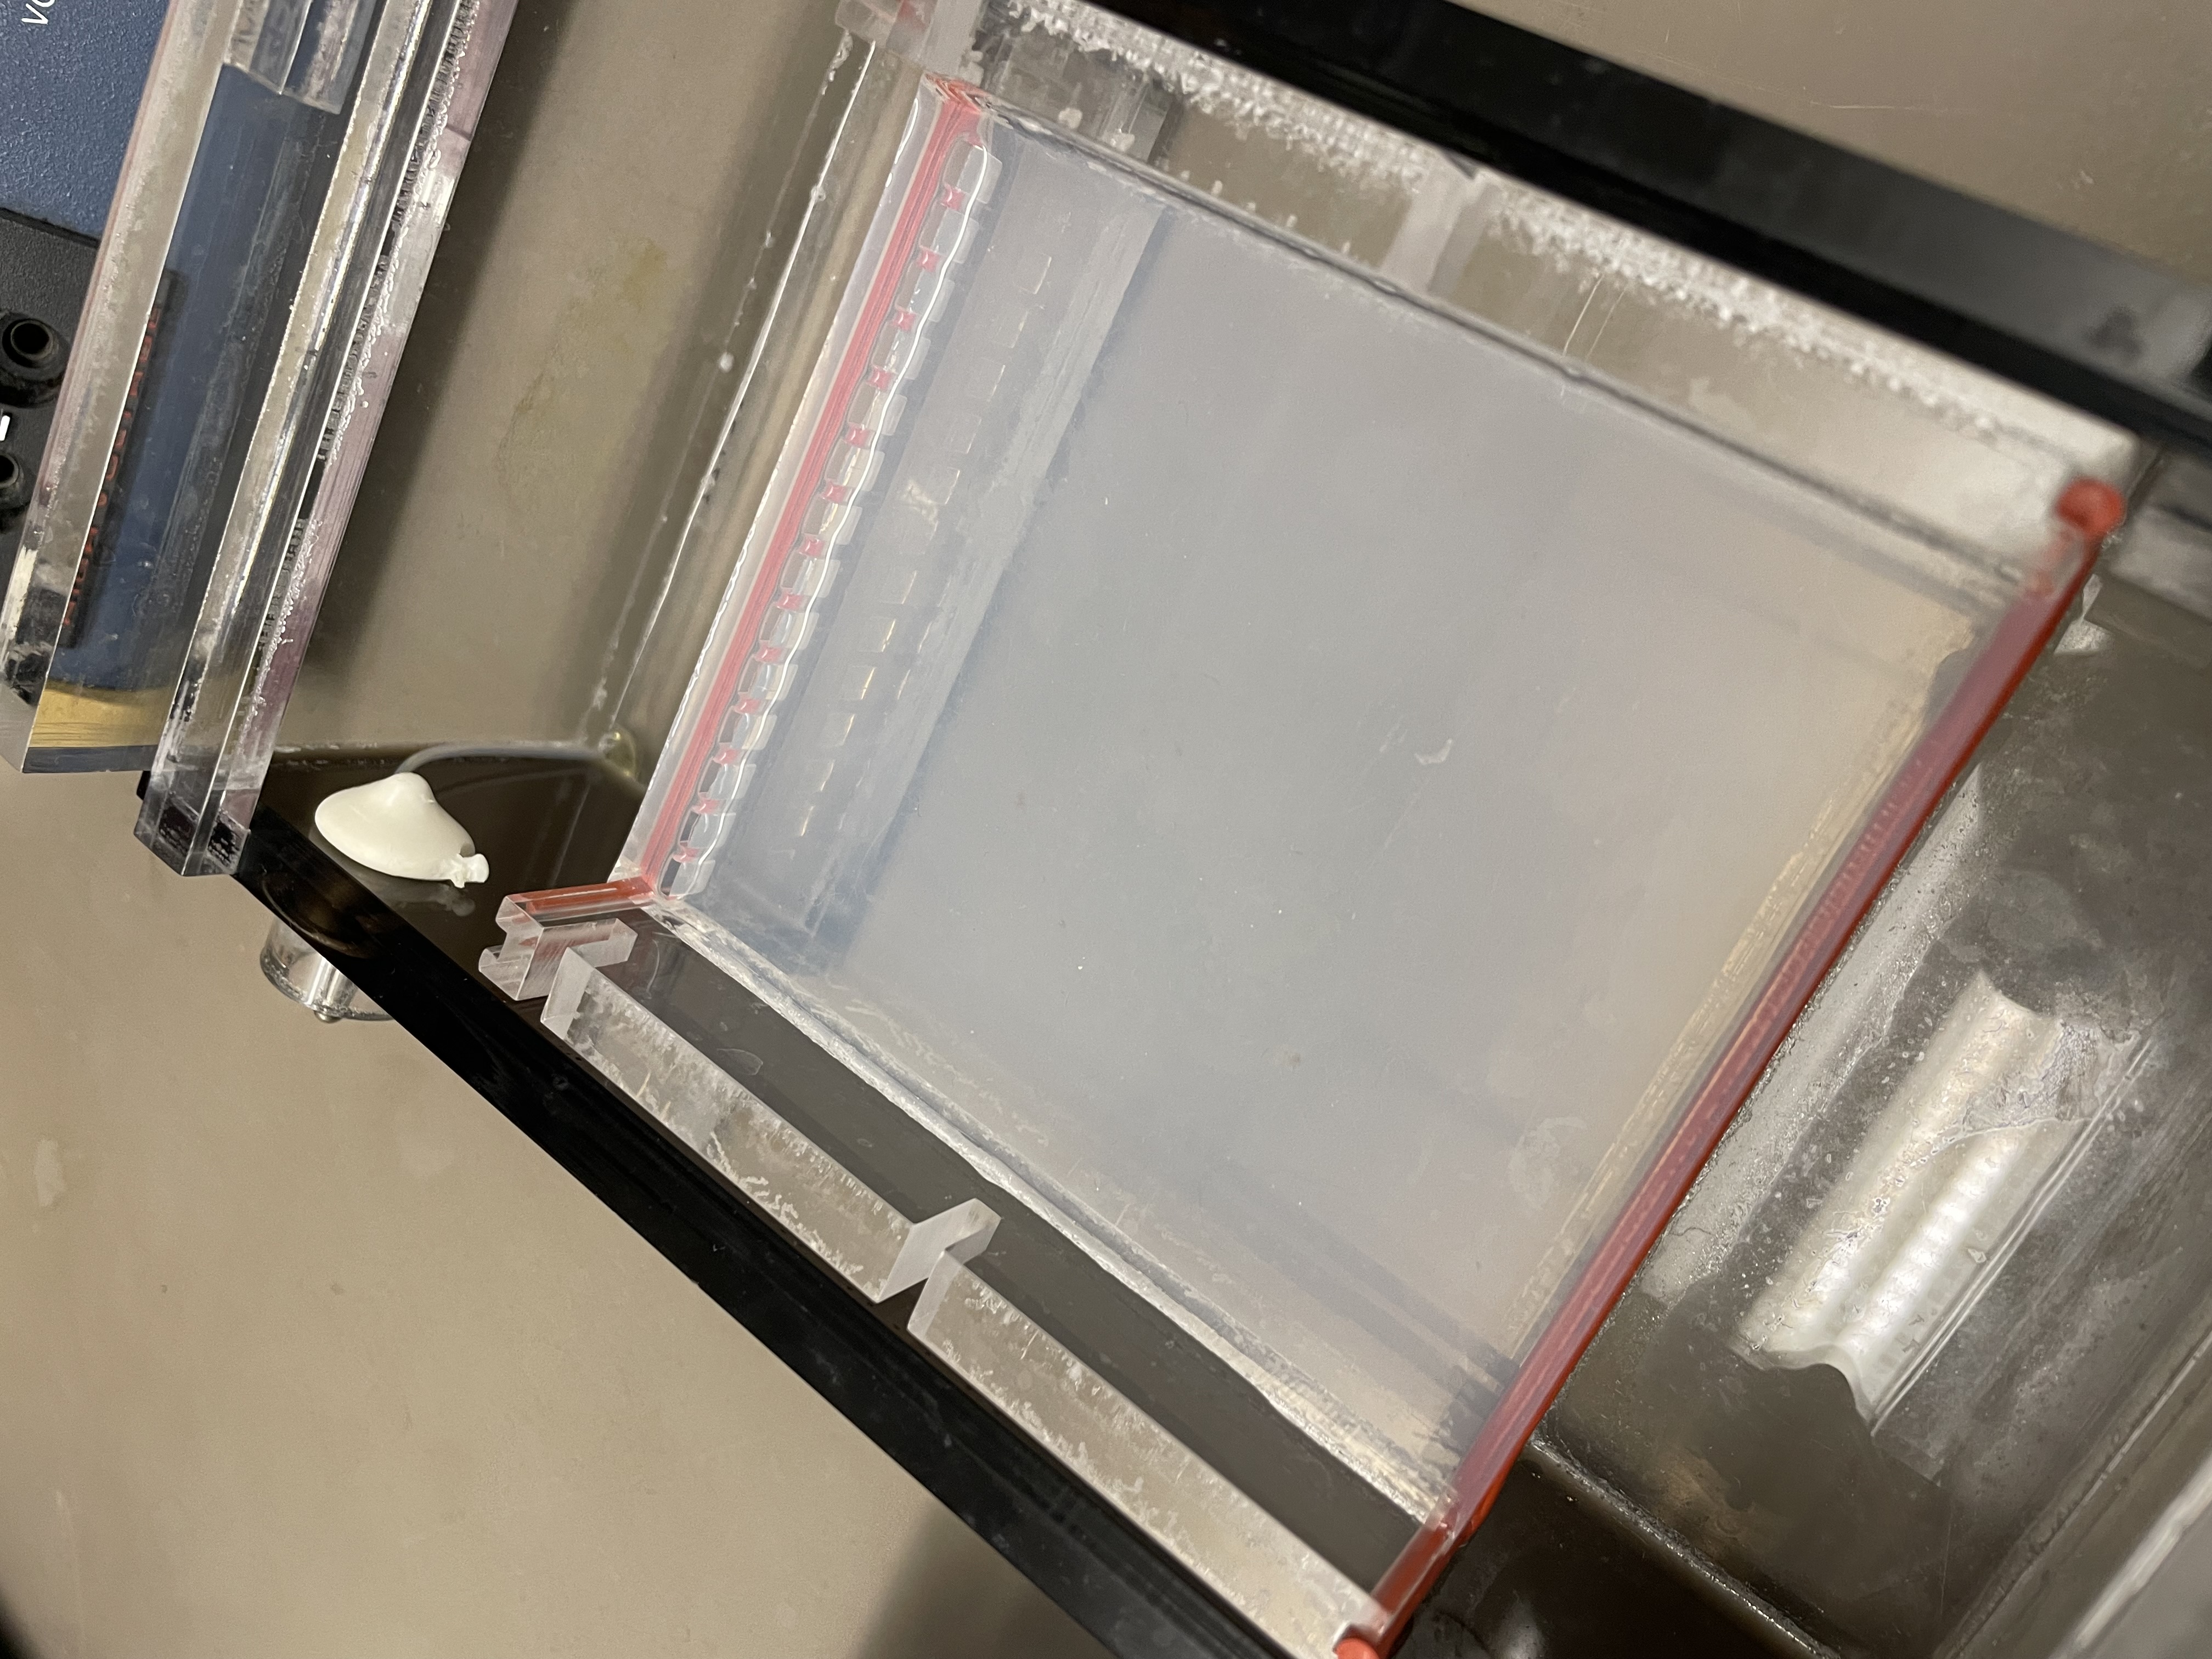
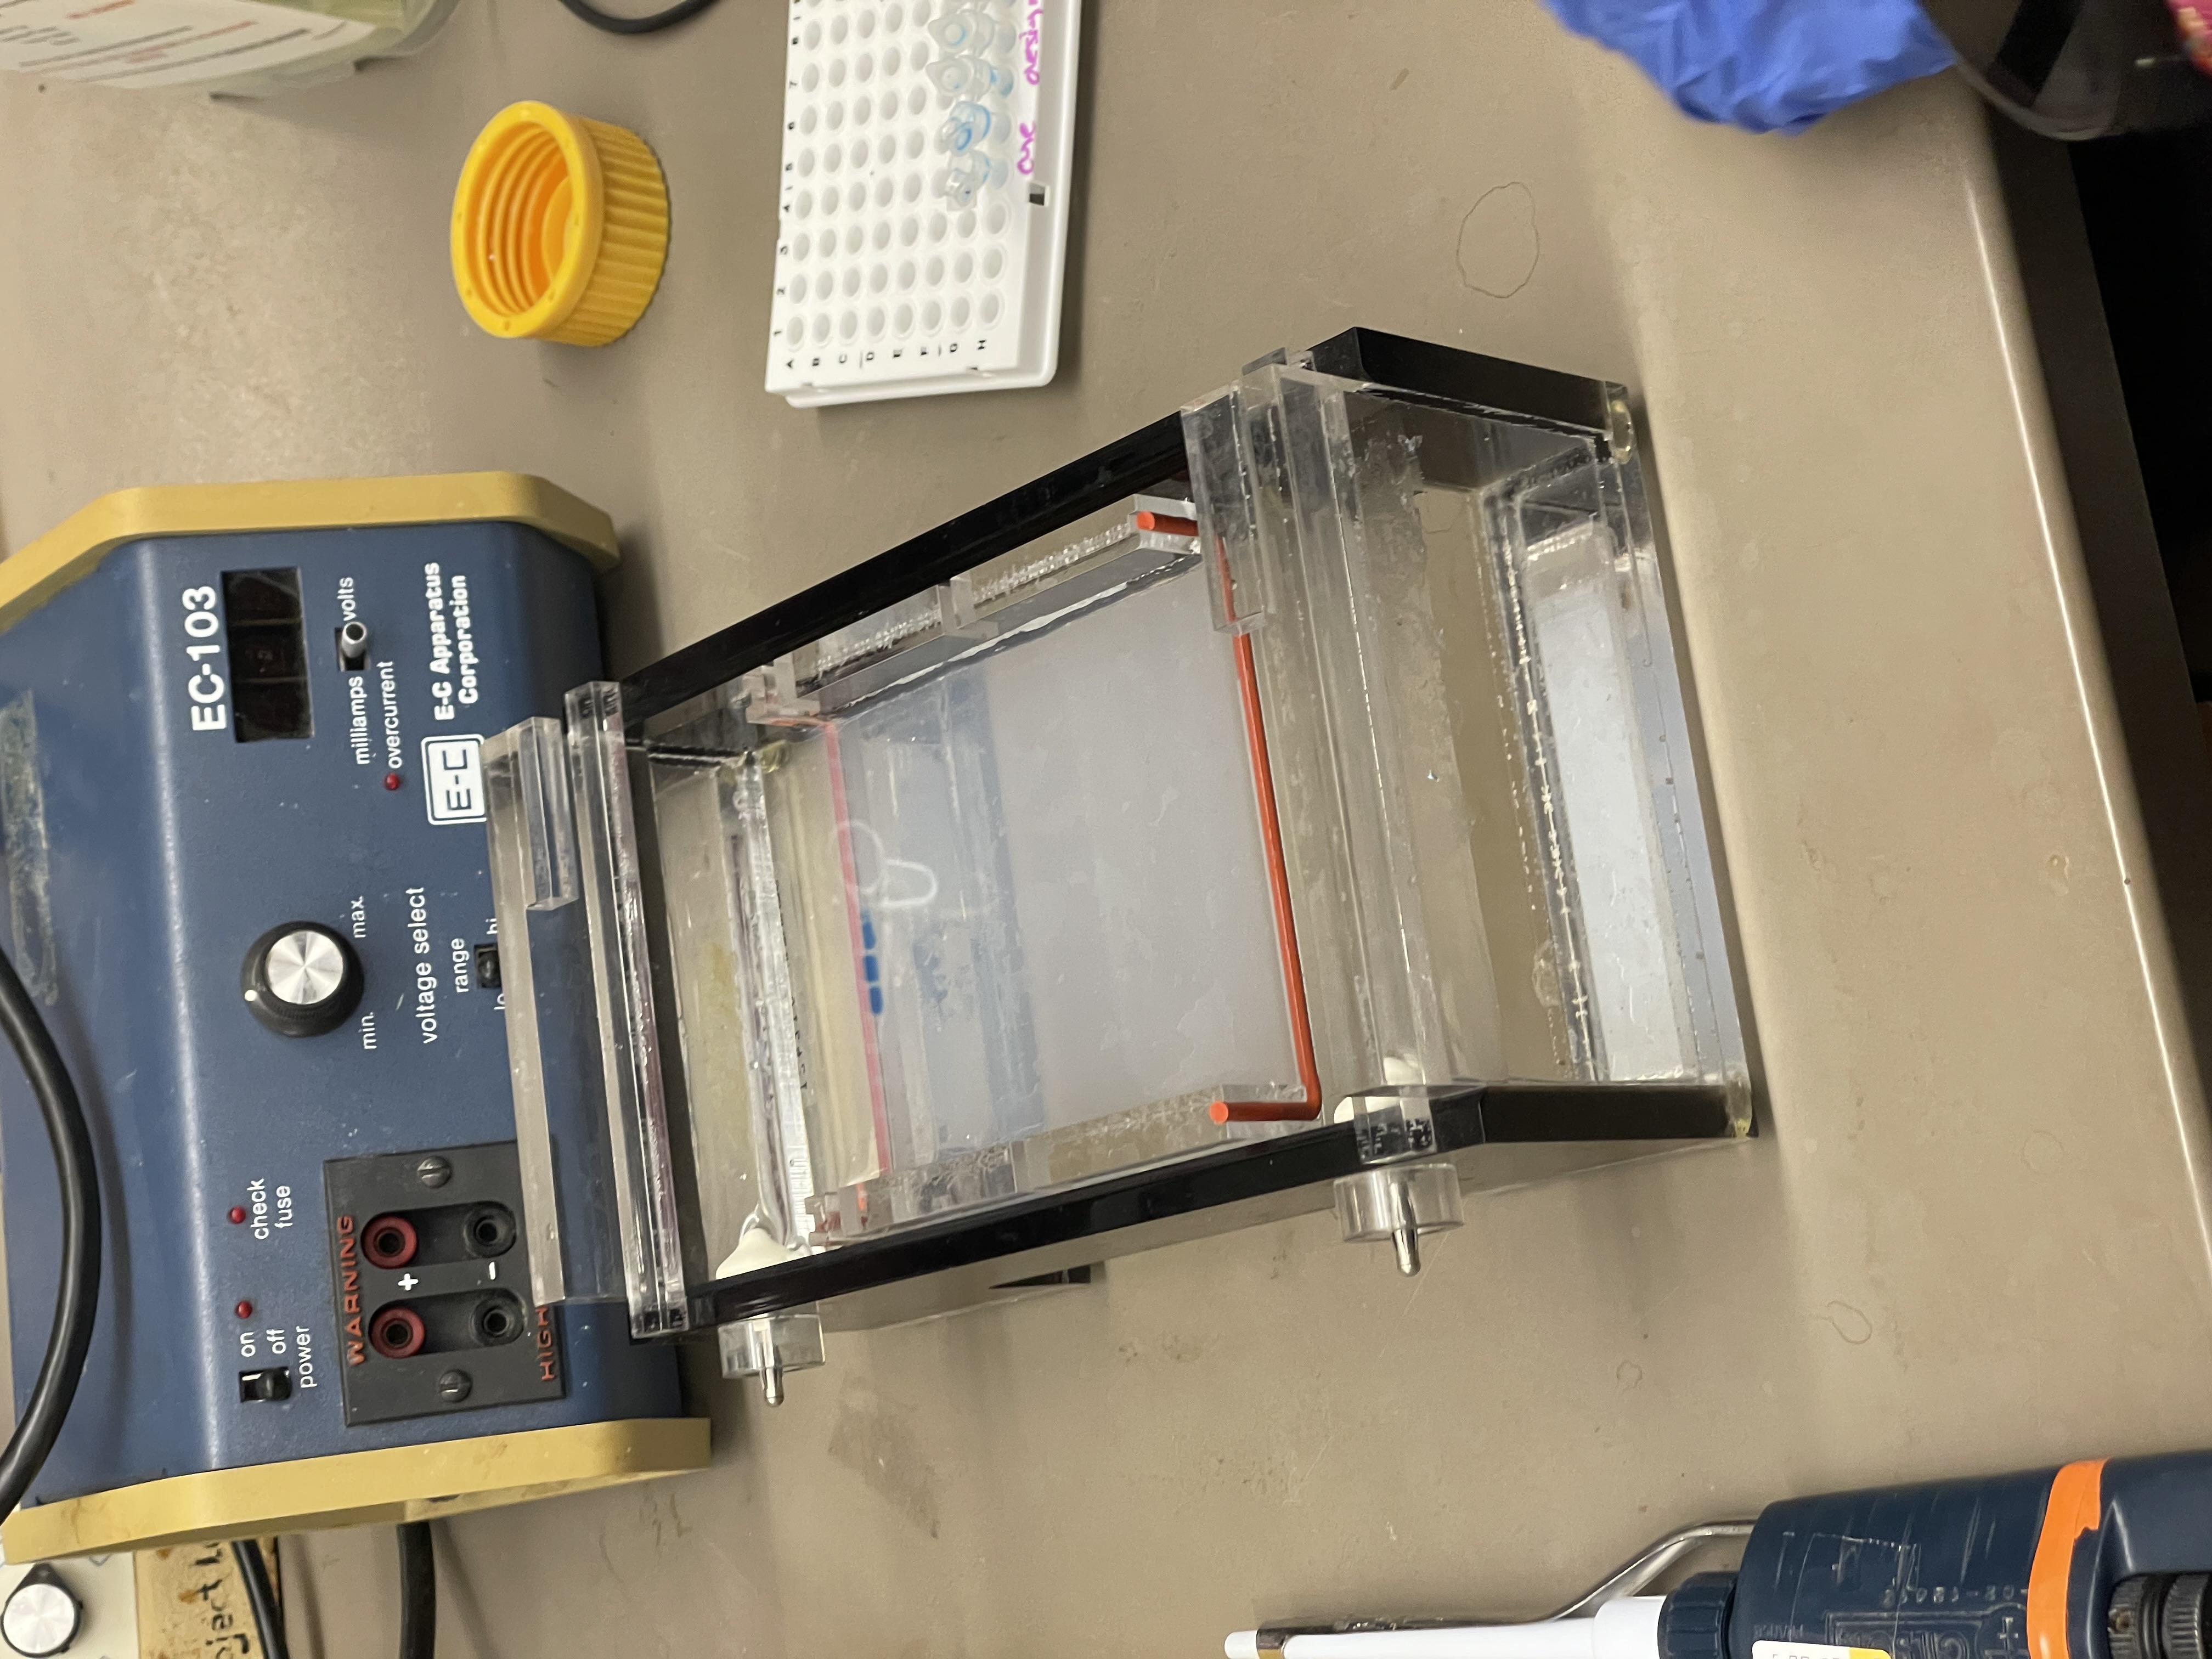
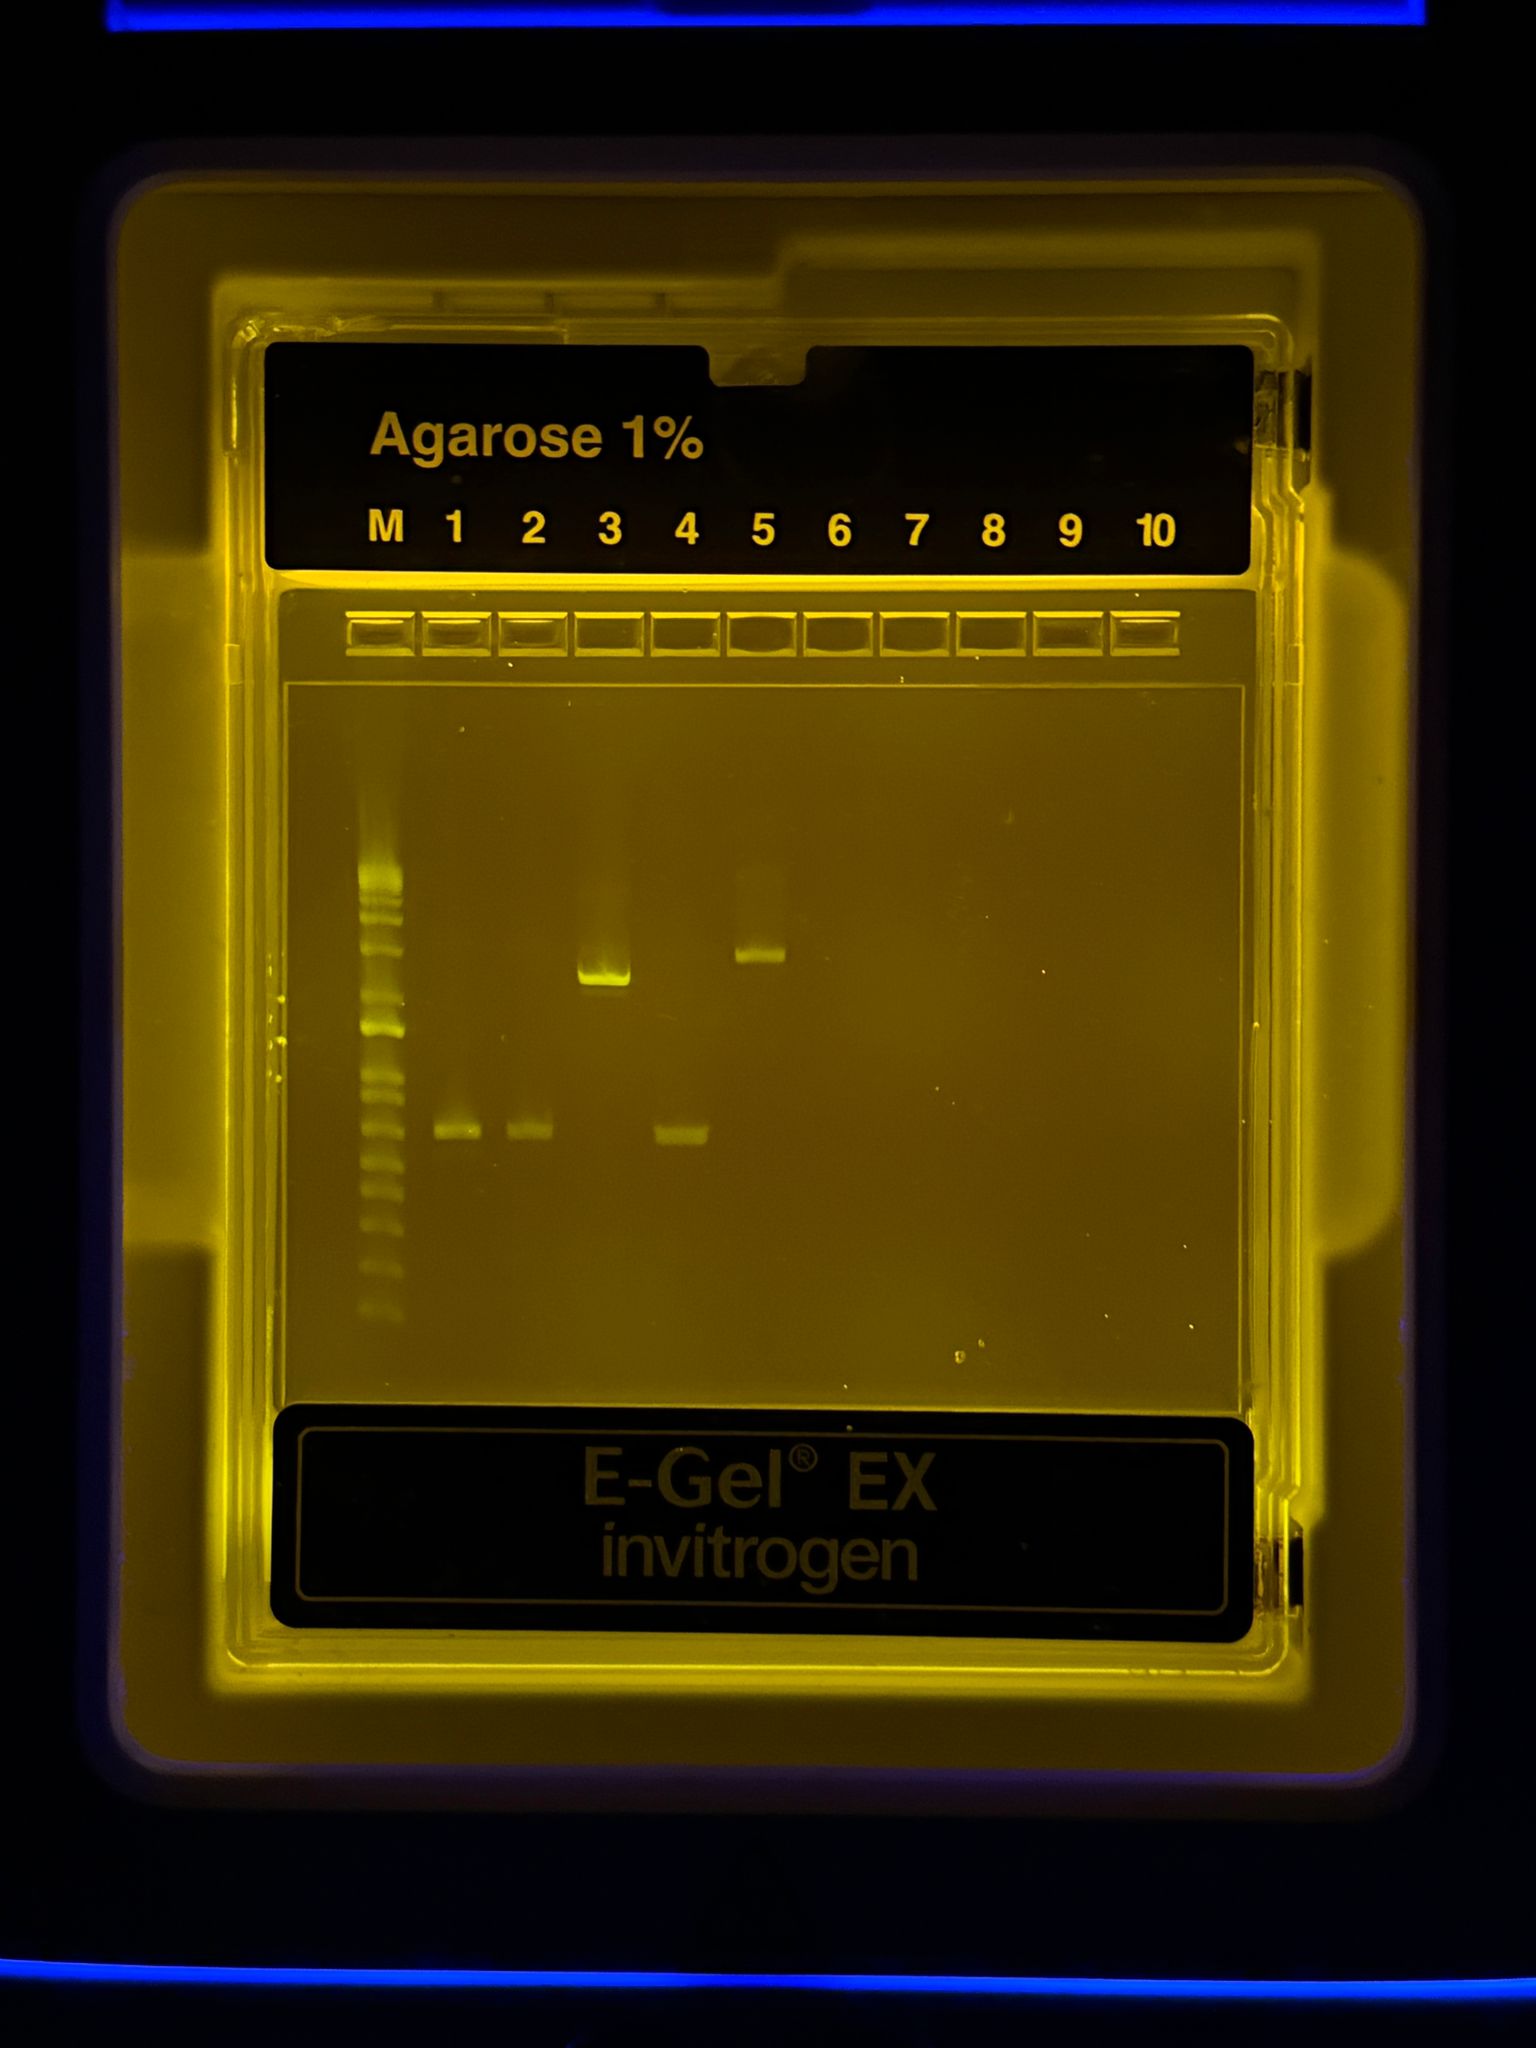
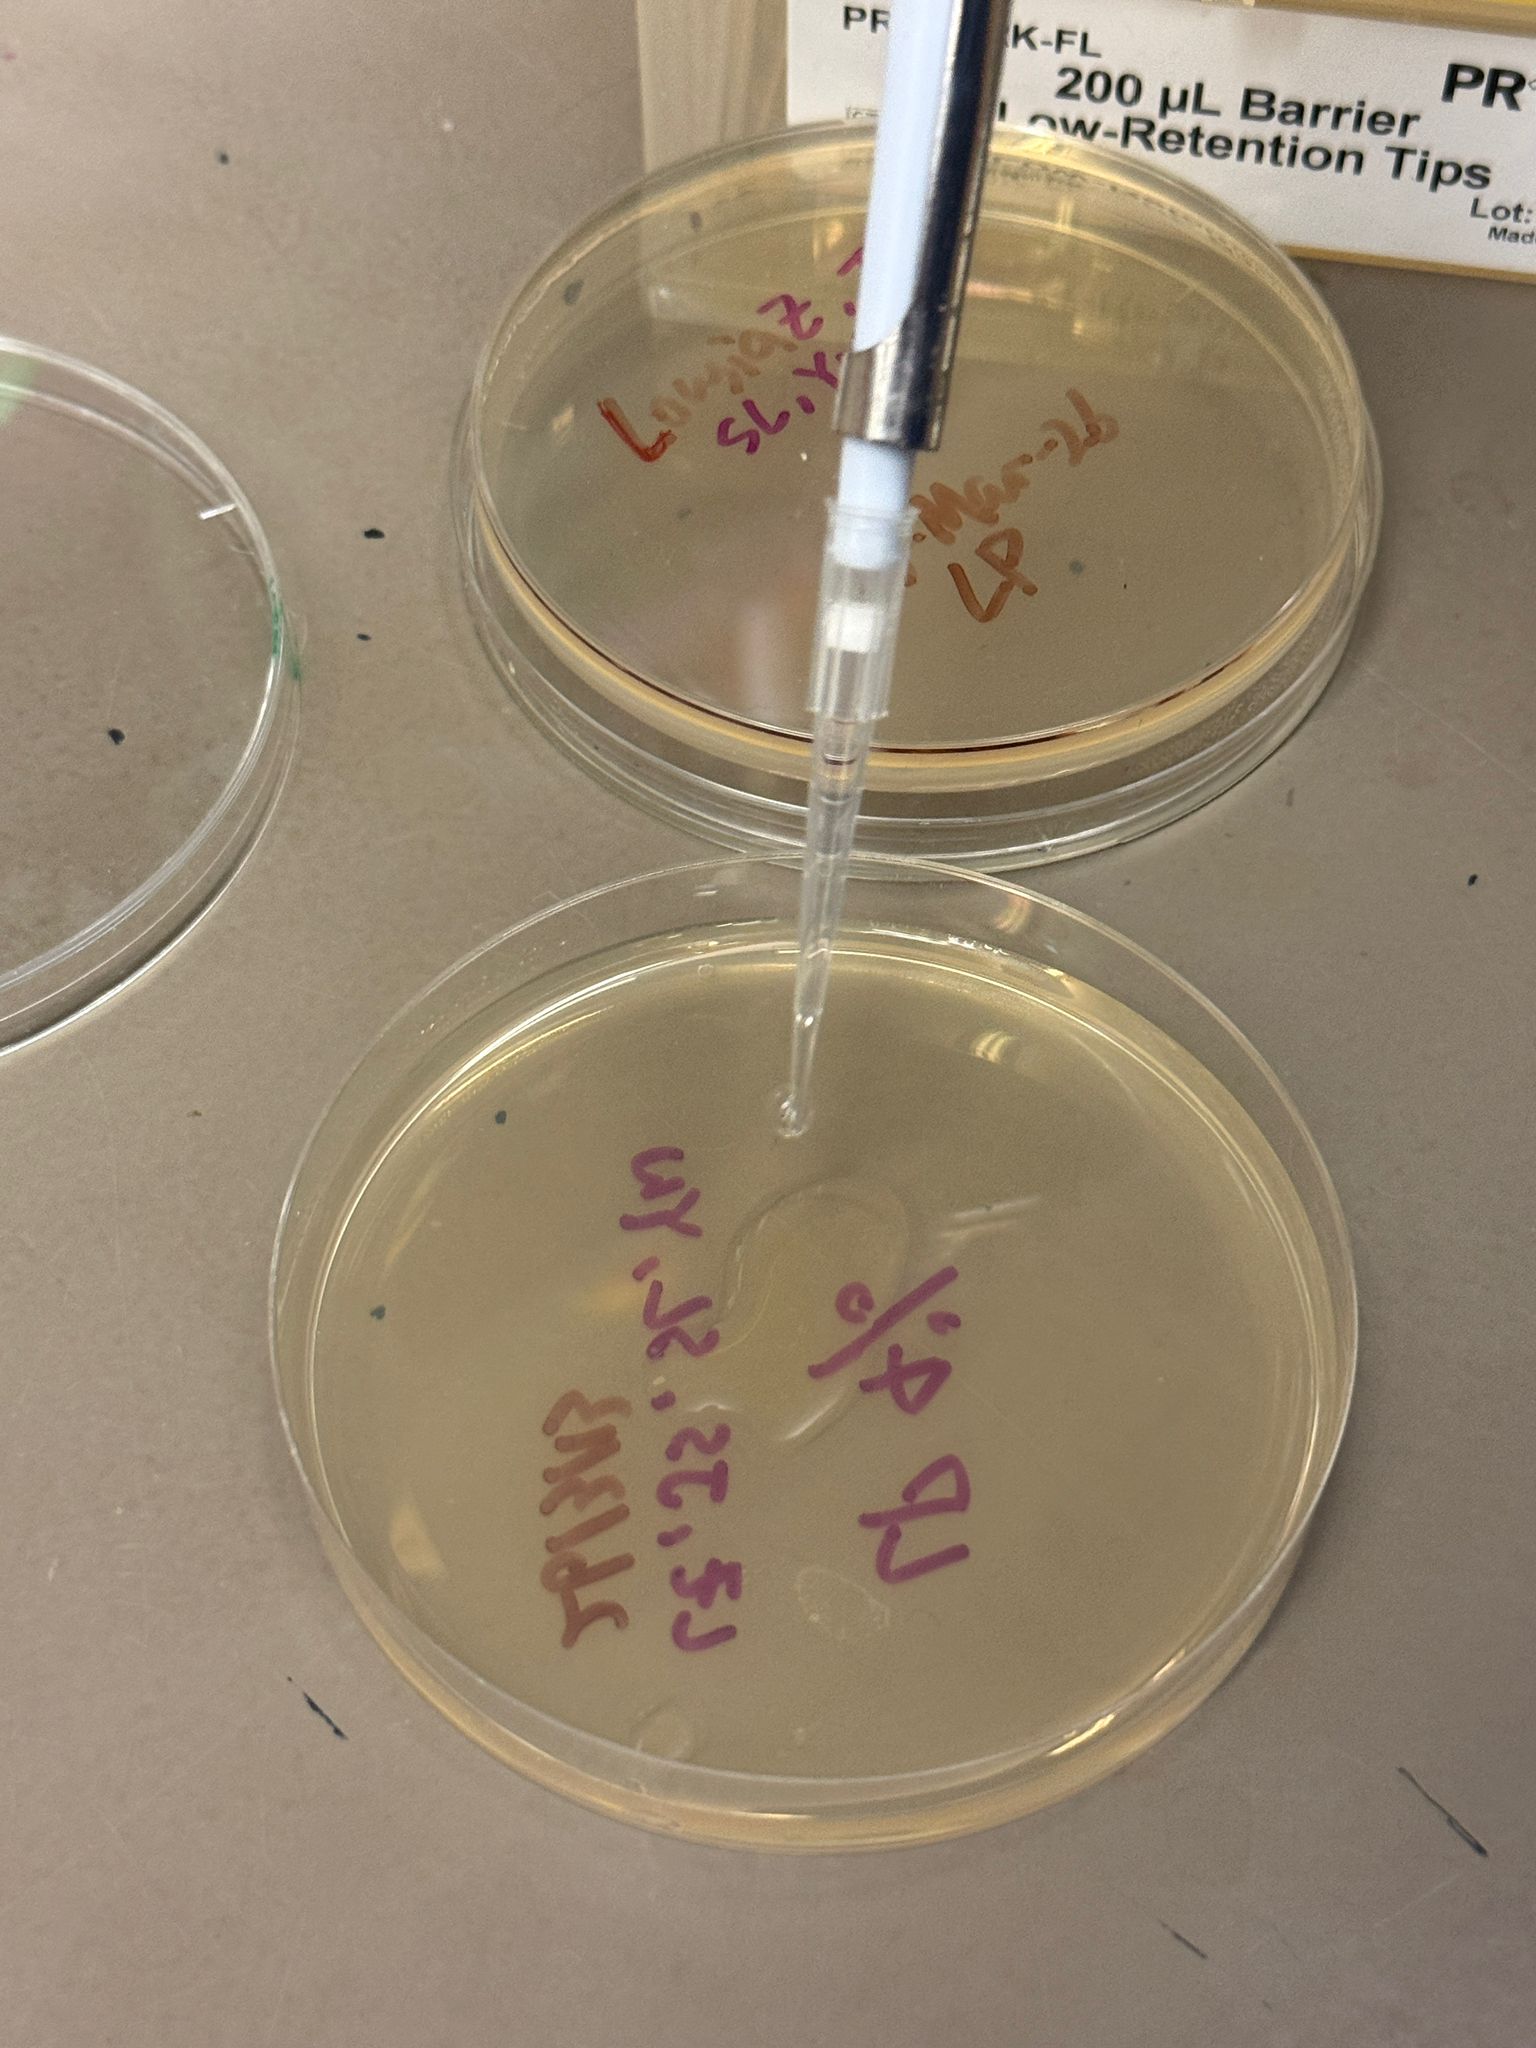
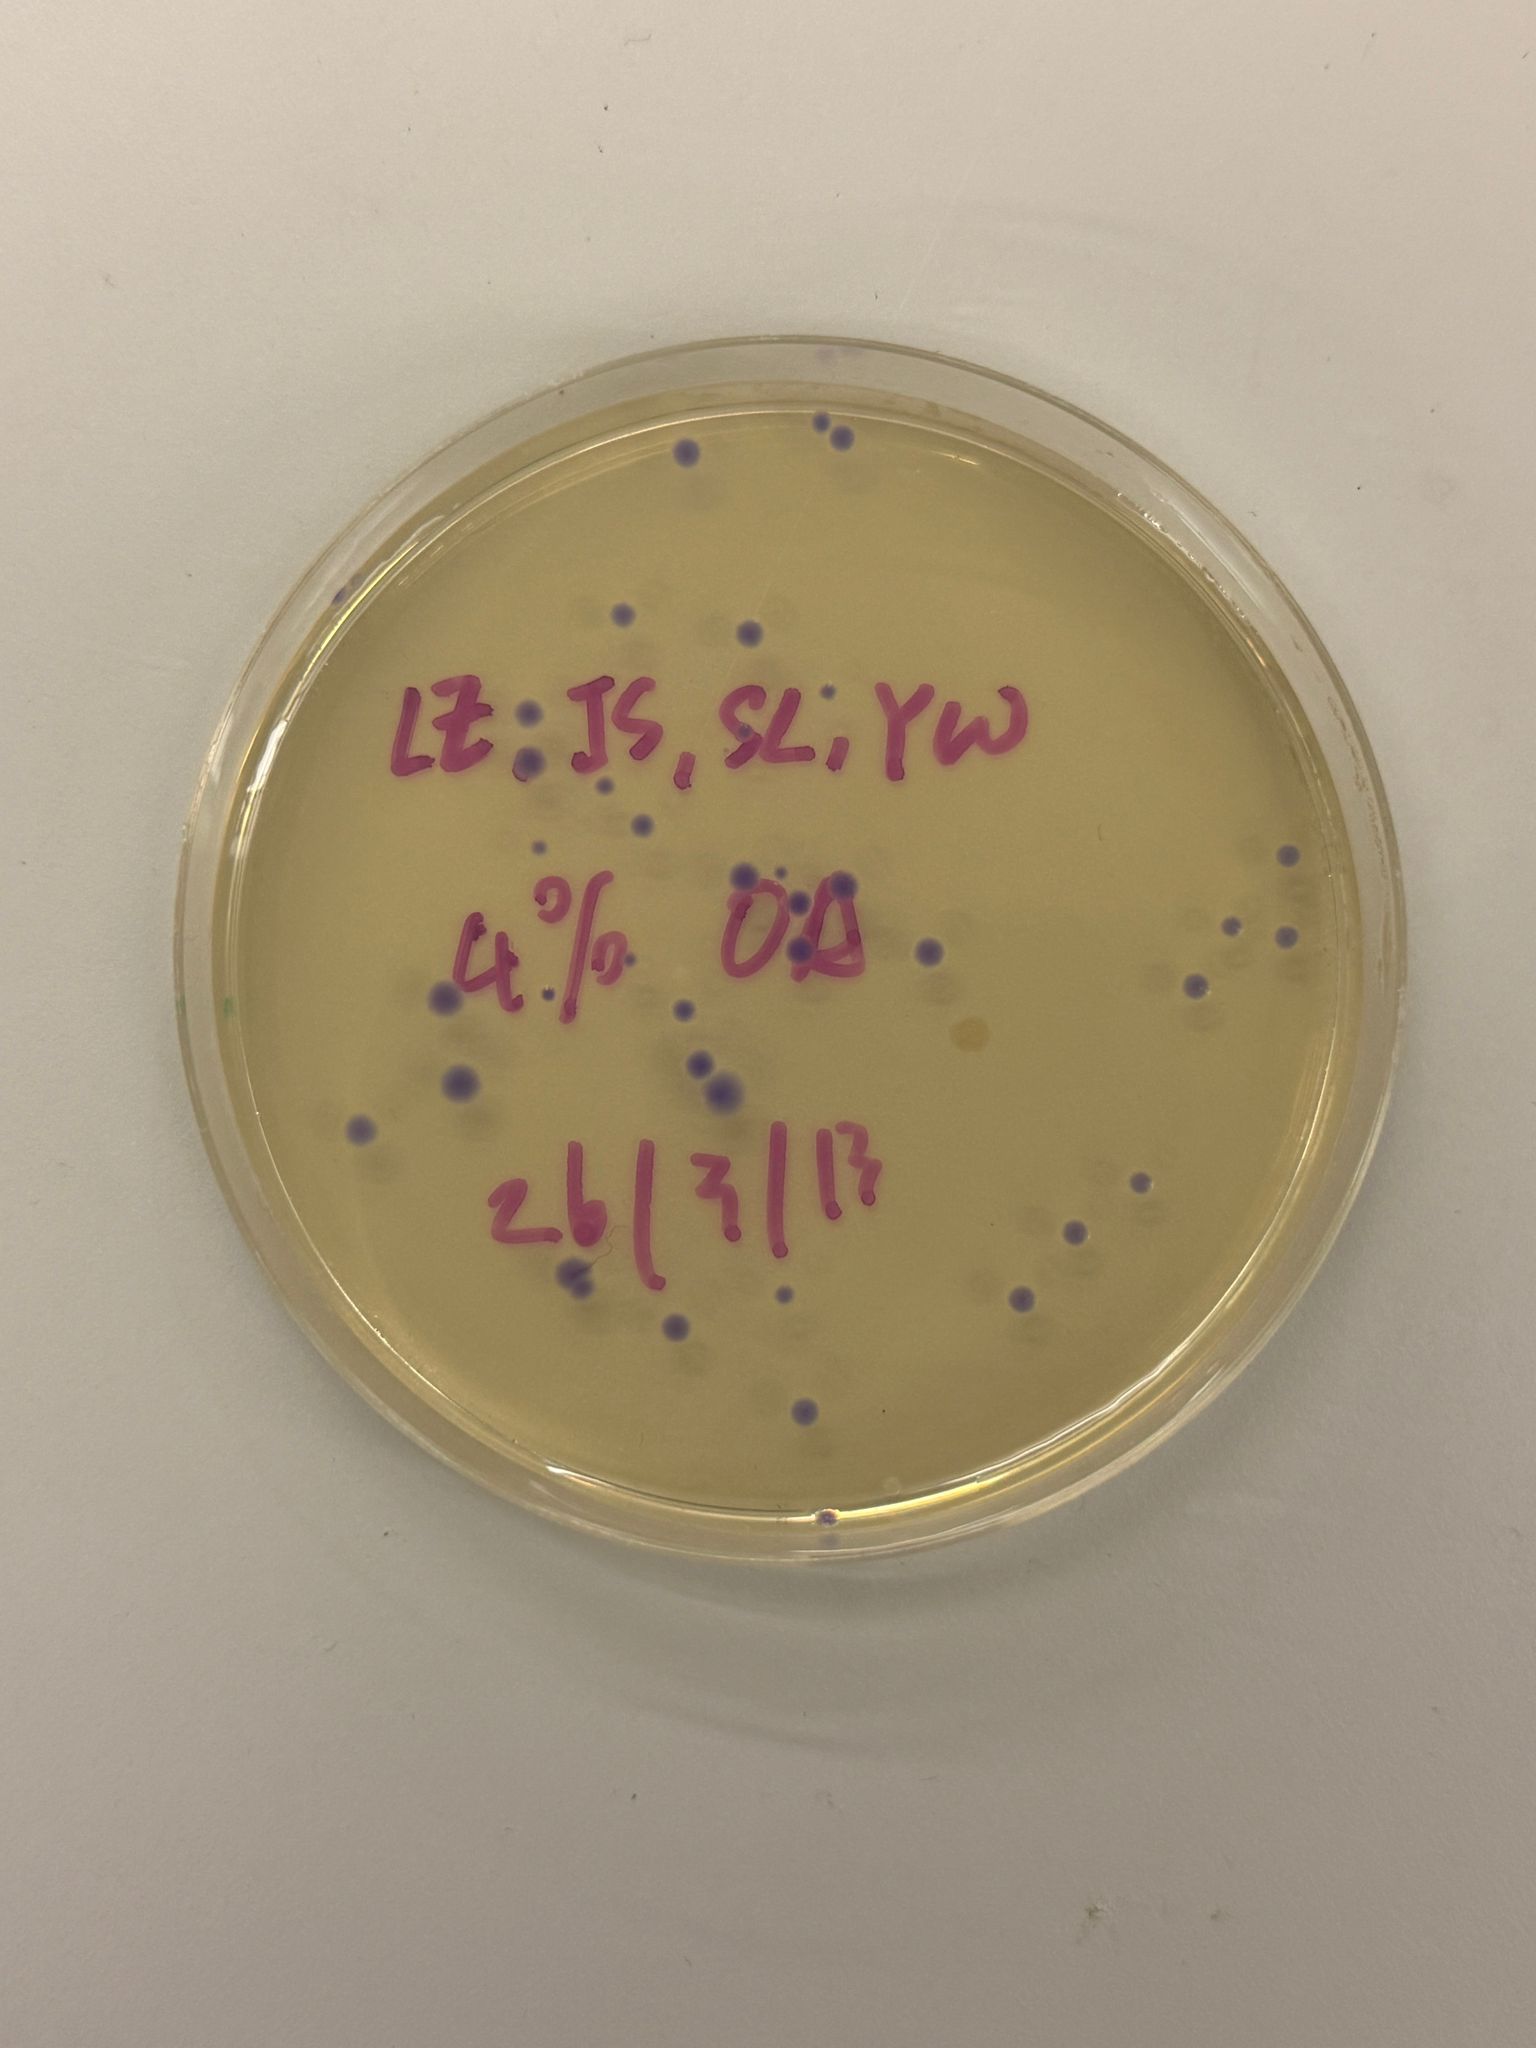
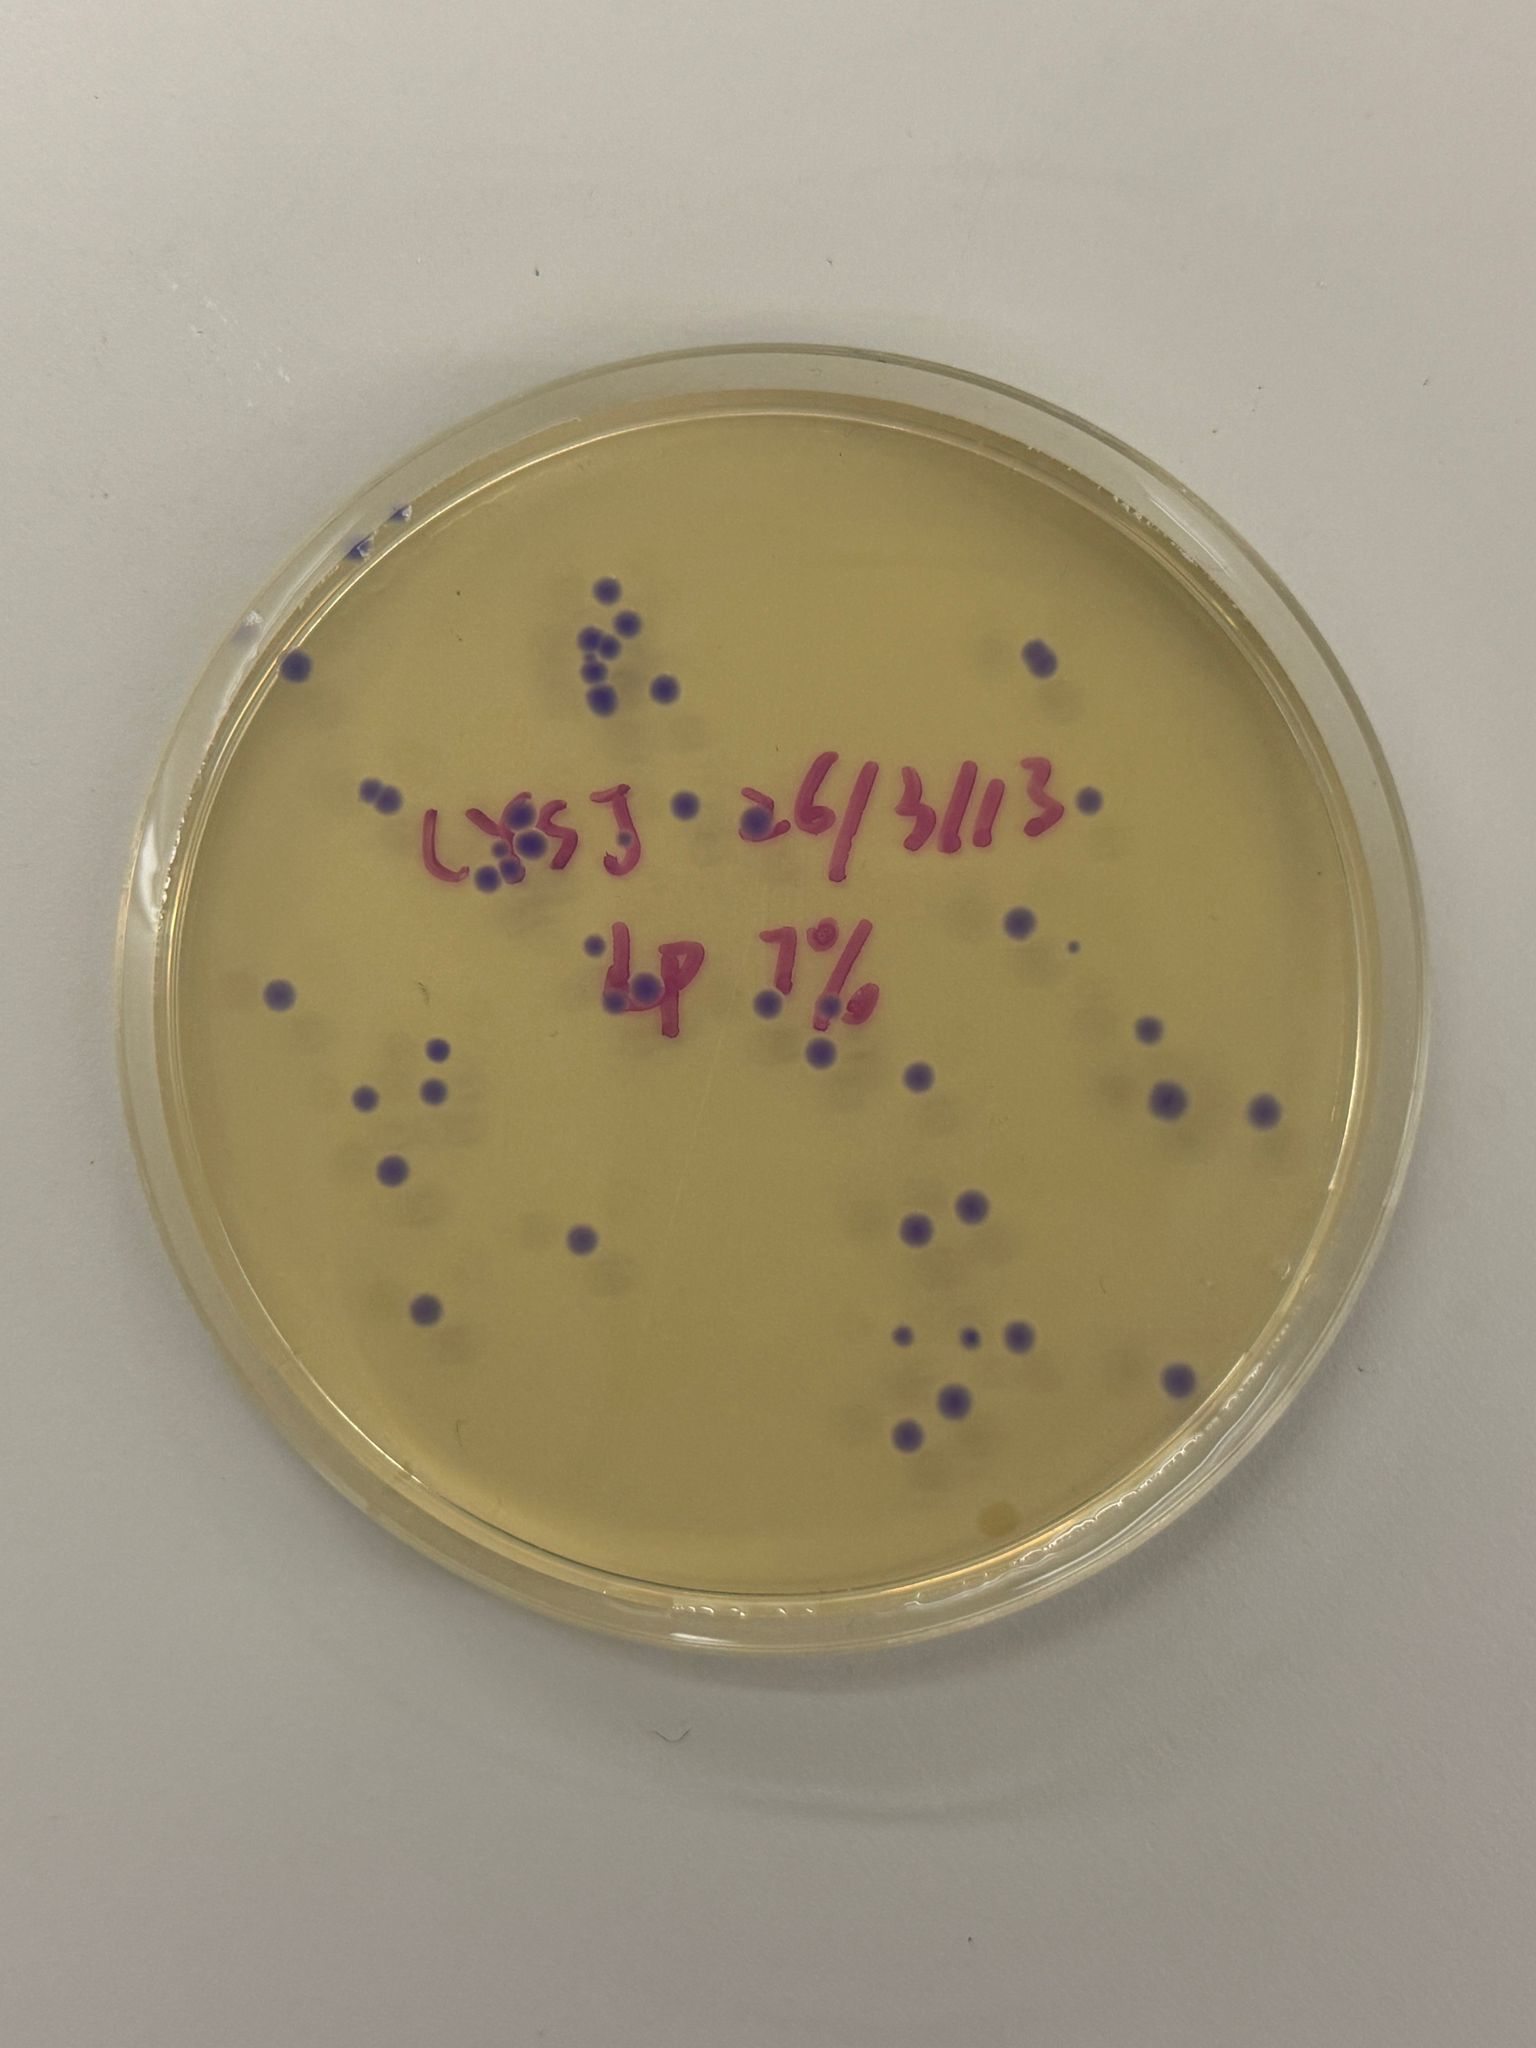
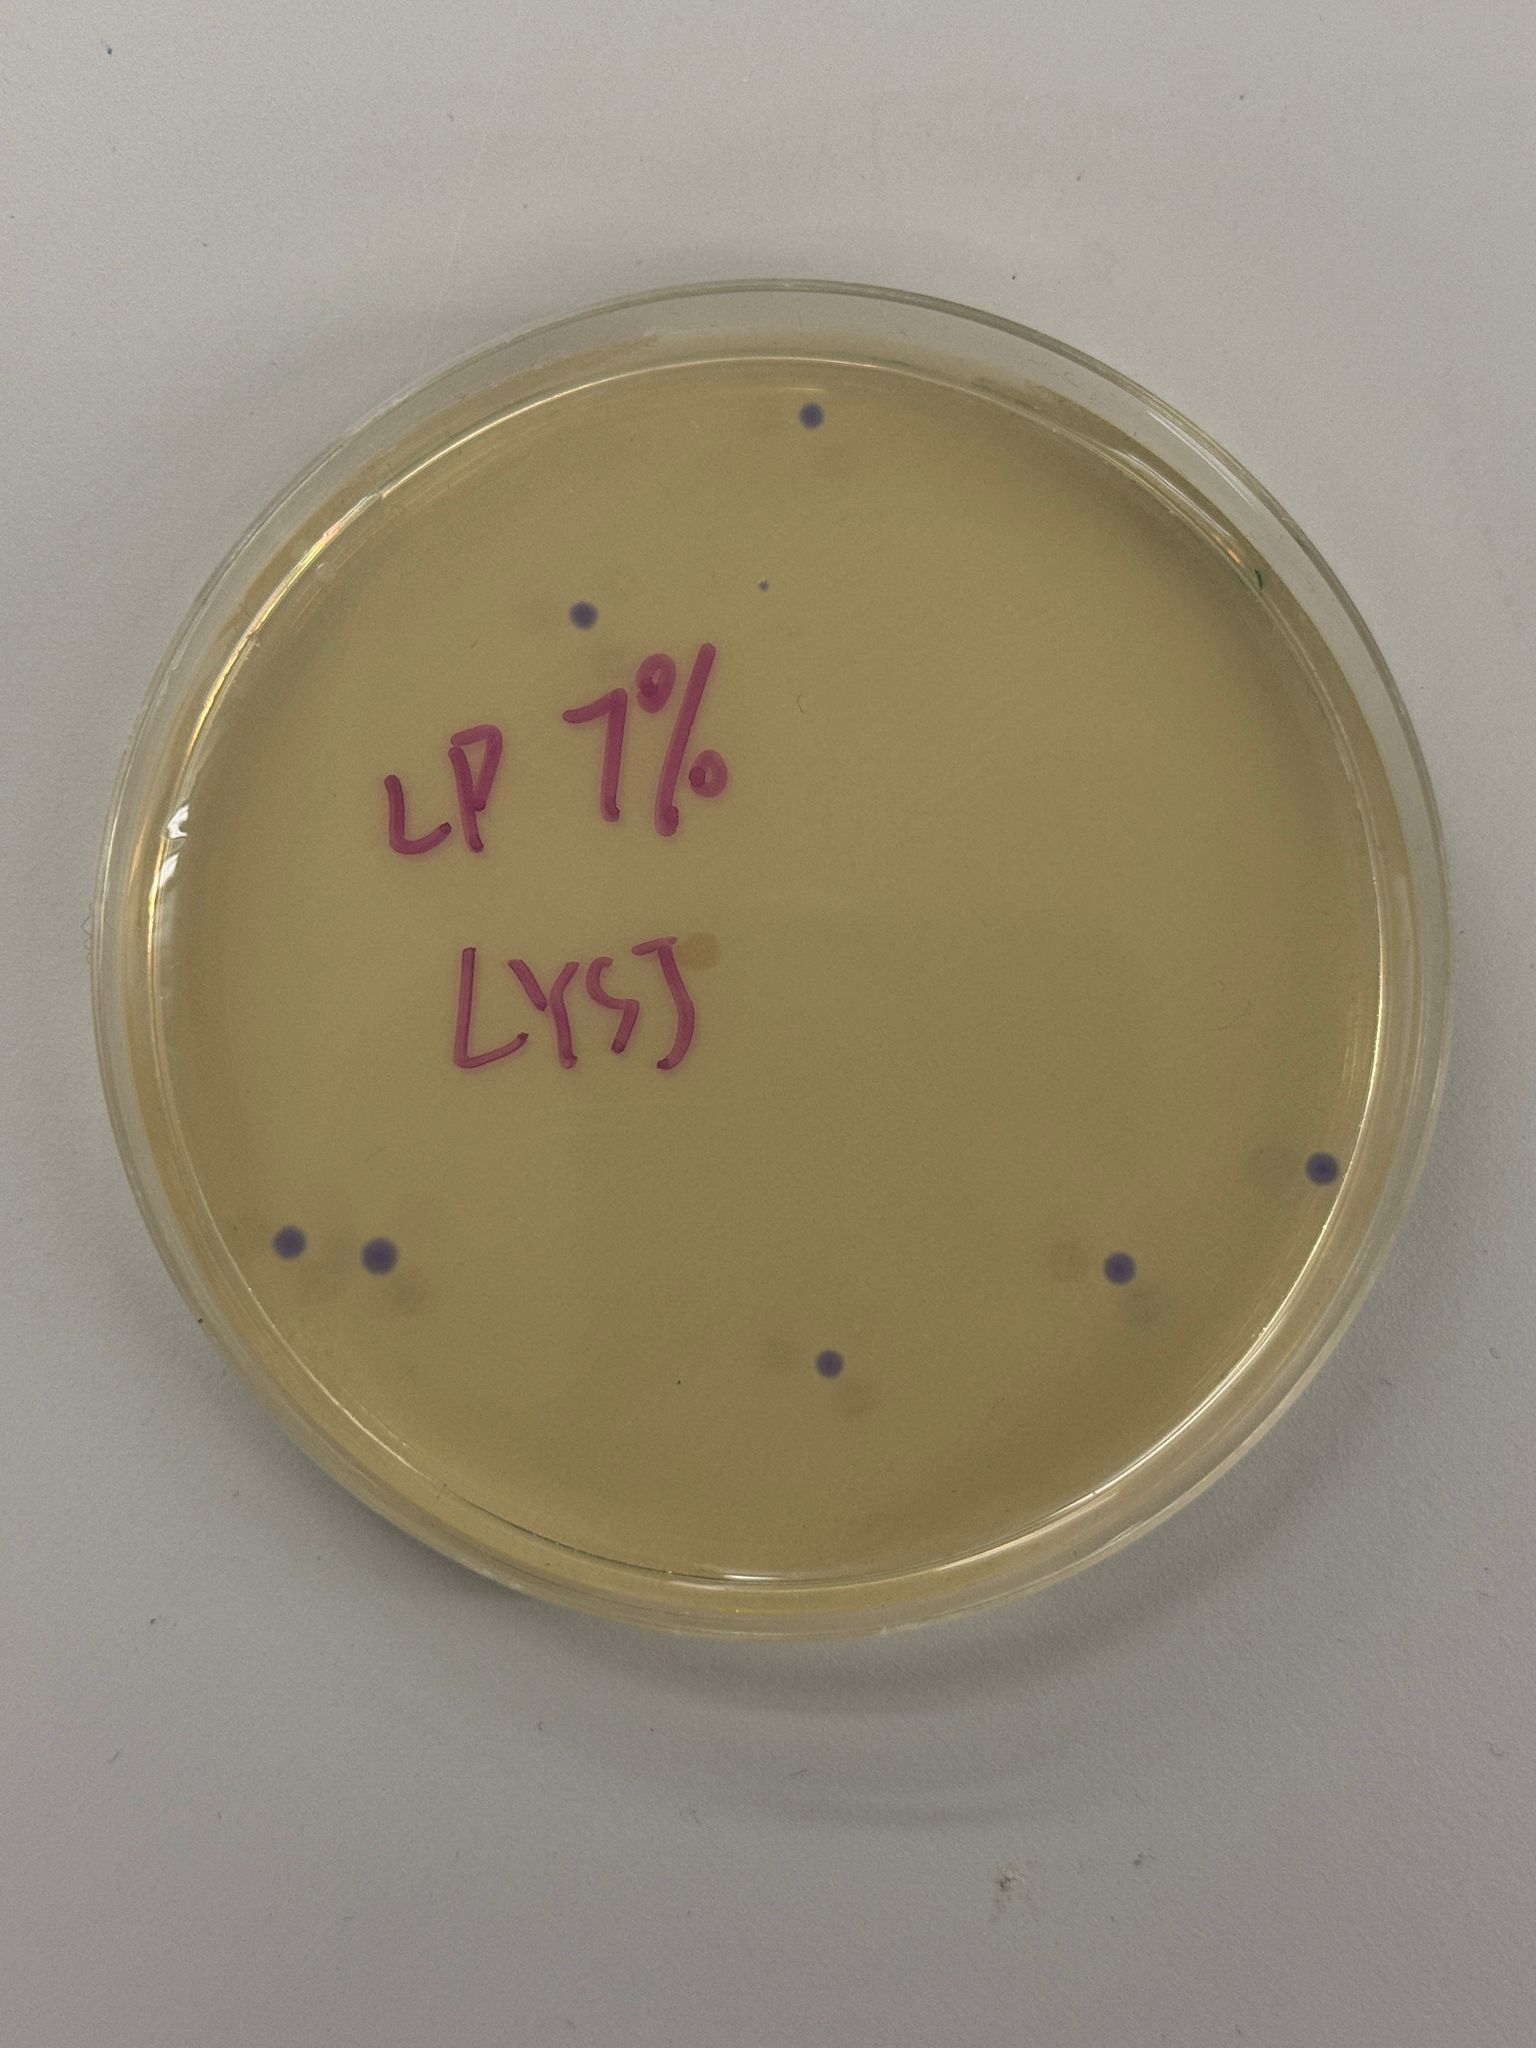
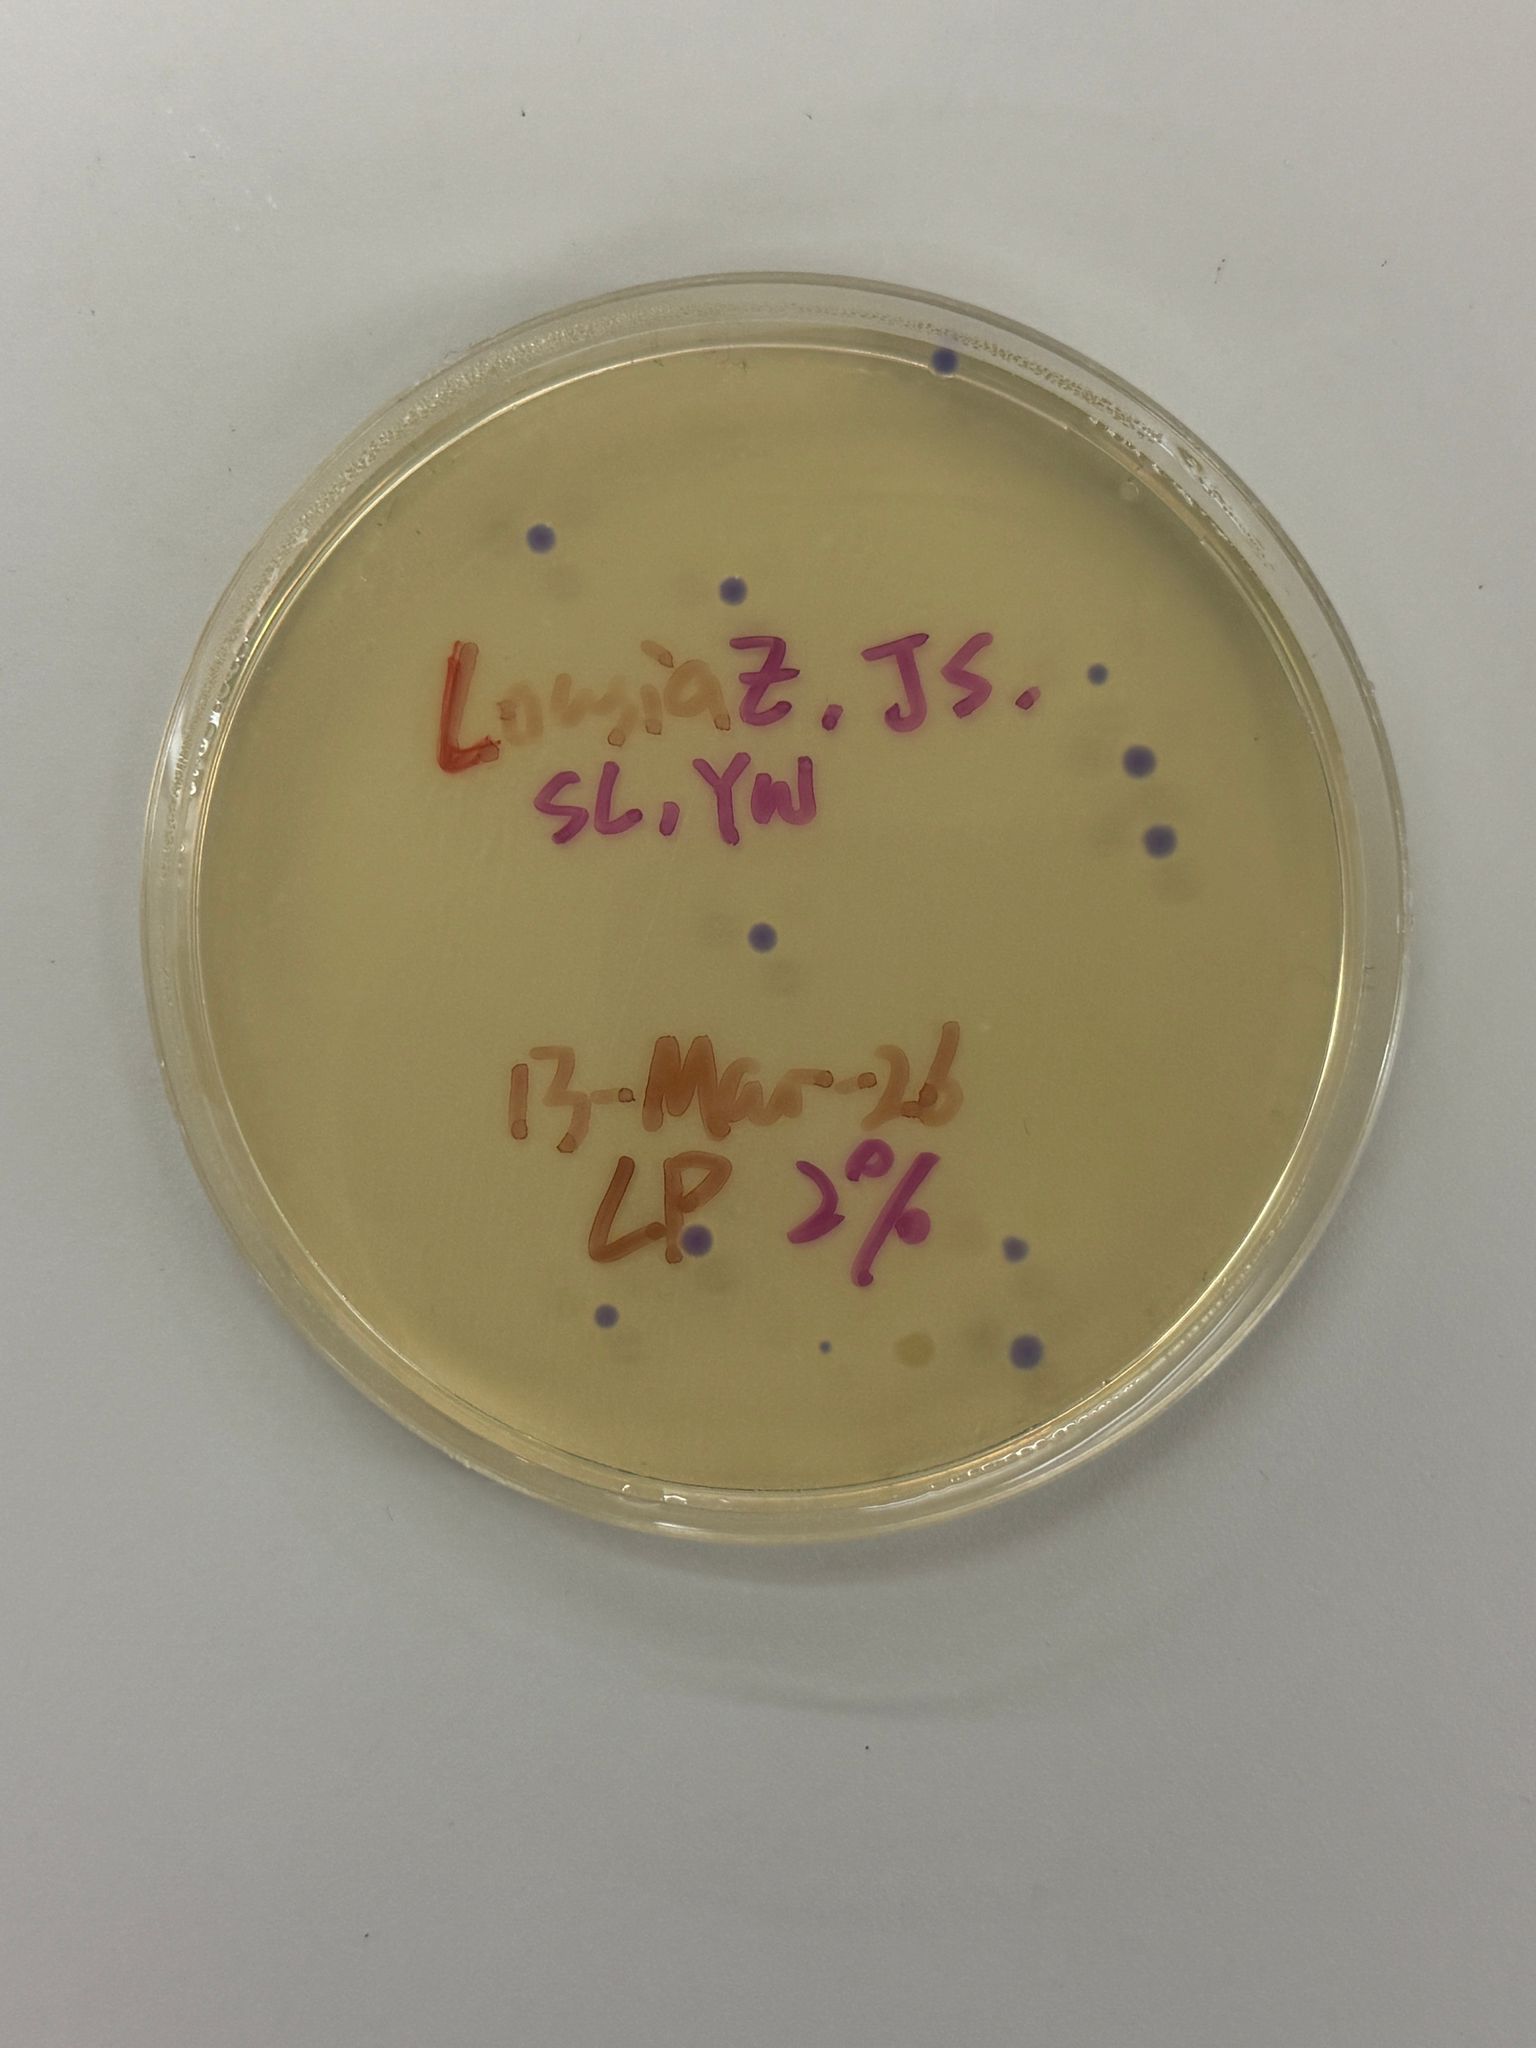
Louisa, Jasmine, Yutong and I worked on this lab together. TAE Buffer Preparation We mixed 8mL of TAE (50% concentration) with 492mL of deionized water to make 500mL of TAE buffer (1% concentration). We also added dye to the buffer to make the electrophoresis process traceable. Agarose Electrophoresis Gel Preparation First, we added 0.75g of agarose powder and 75mL of TAE buffer into a microwavable flask. We shaked the flask to mix the powder and the buffer.
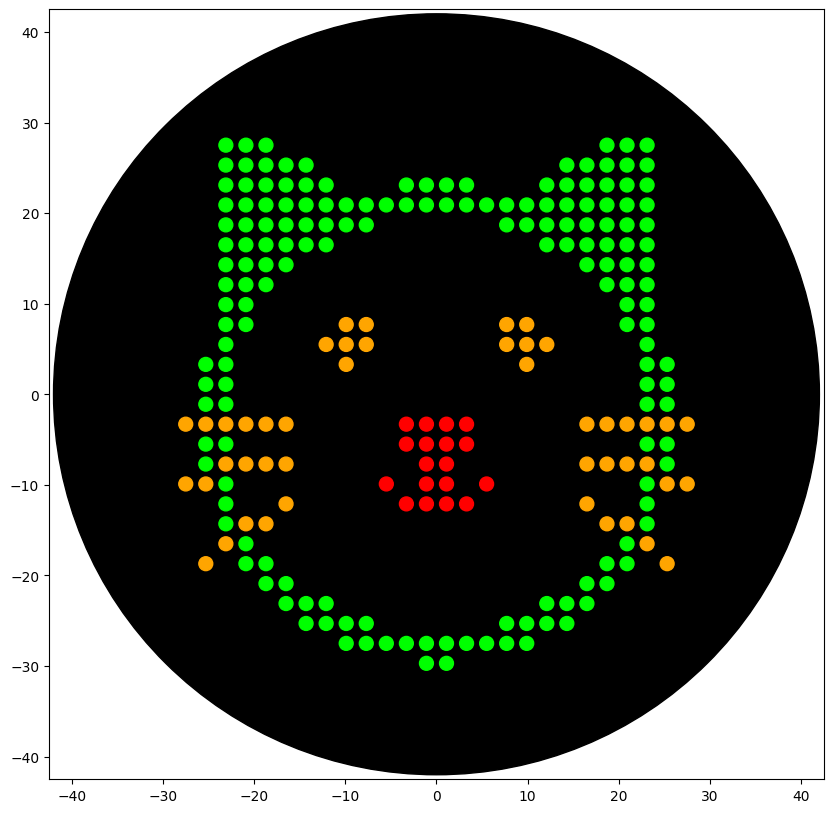
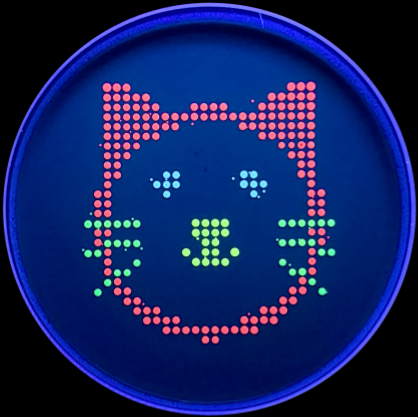
Python Script for Opentrons Artwork I created a design using opentrons-art.rcdonovan.com Opentrons-Art Website: https://opentrons-art.rcdonovan.com/?id=80fx569l8o4tho4 Google Colab: https://colab.research.google.com/drive/1UPiCmwBP3sIFD_rNVRHeT3YhuiQQ5ZGP#scrollTo=pczDLwsq64mk&line=6&uniqifier=1 Result With the help of our TA Ronan, the art was printed with an Opentrons robot. The result is shown below:
Week 4 Lab: Protein Design Part I
See Homework 4.
Week 5 Lab: Protein Design Part II
See Homework 5.
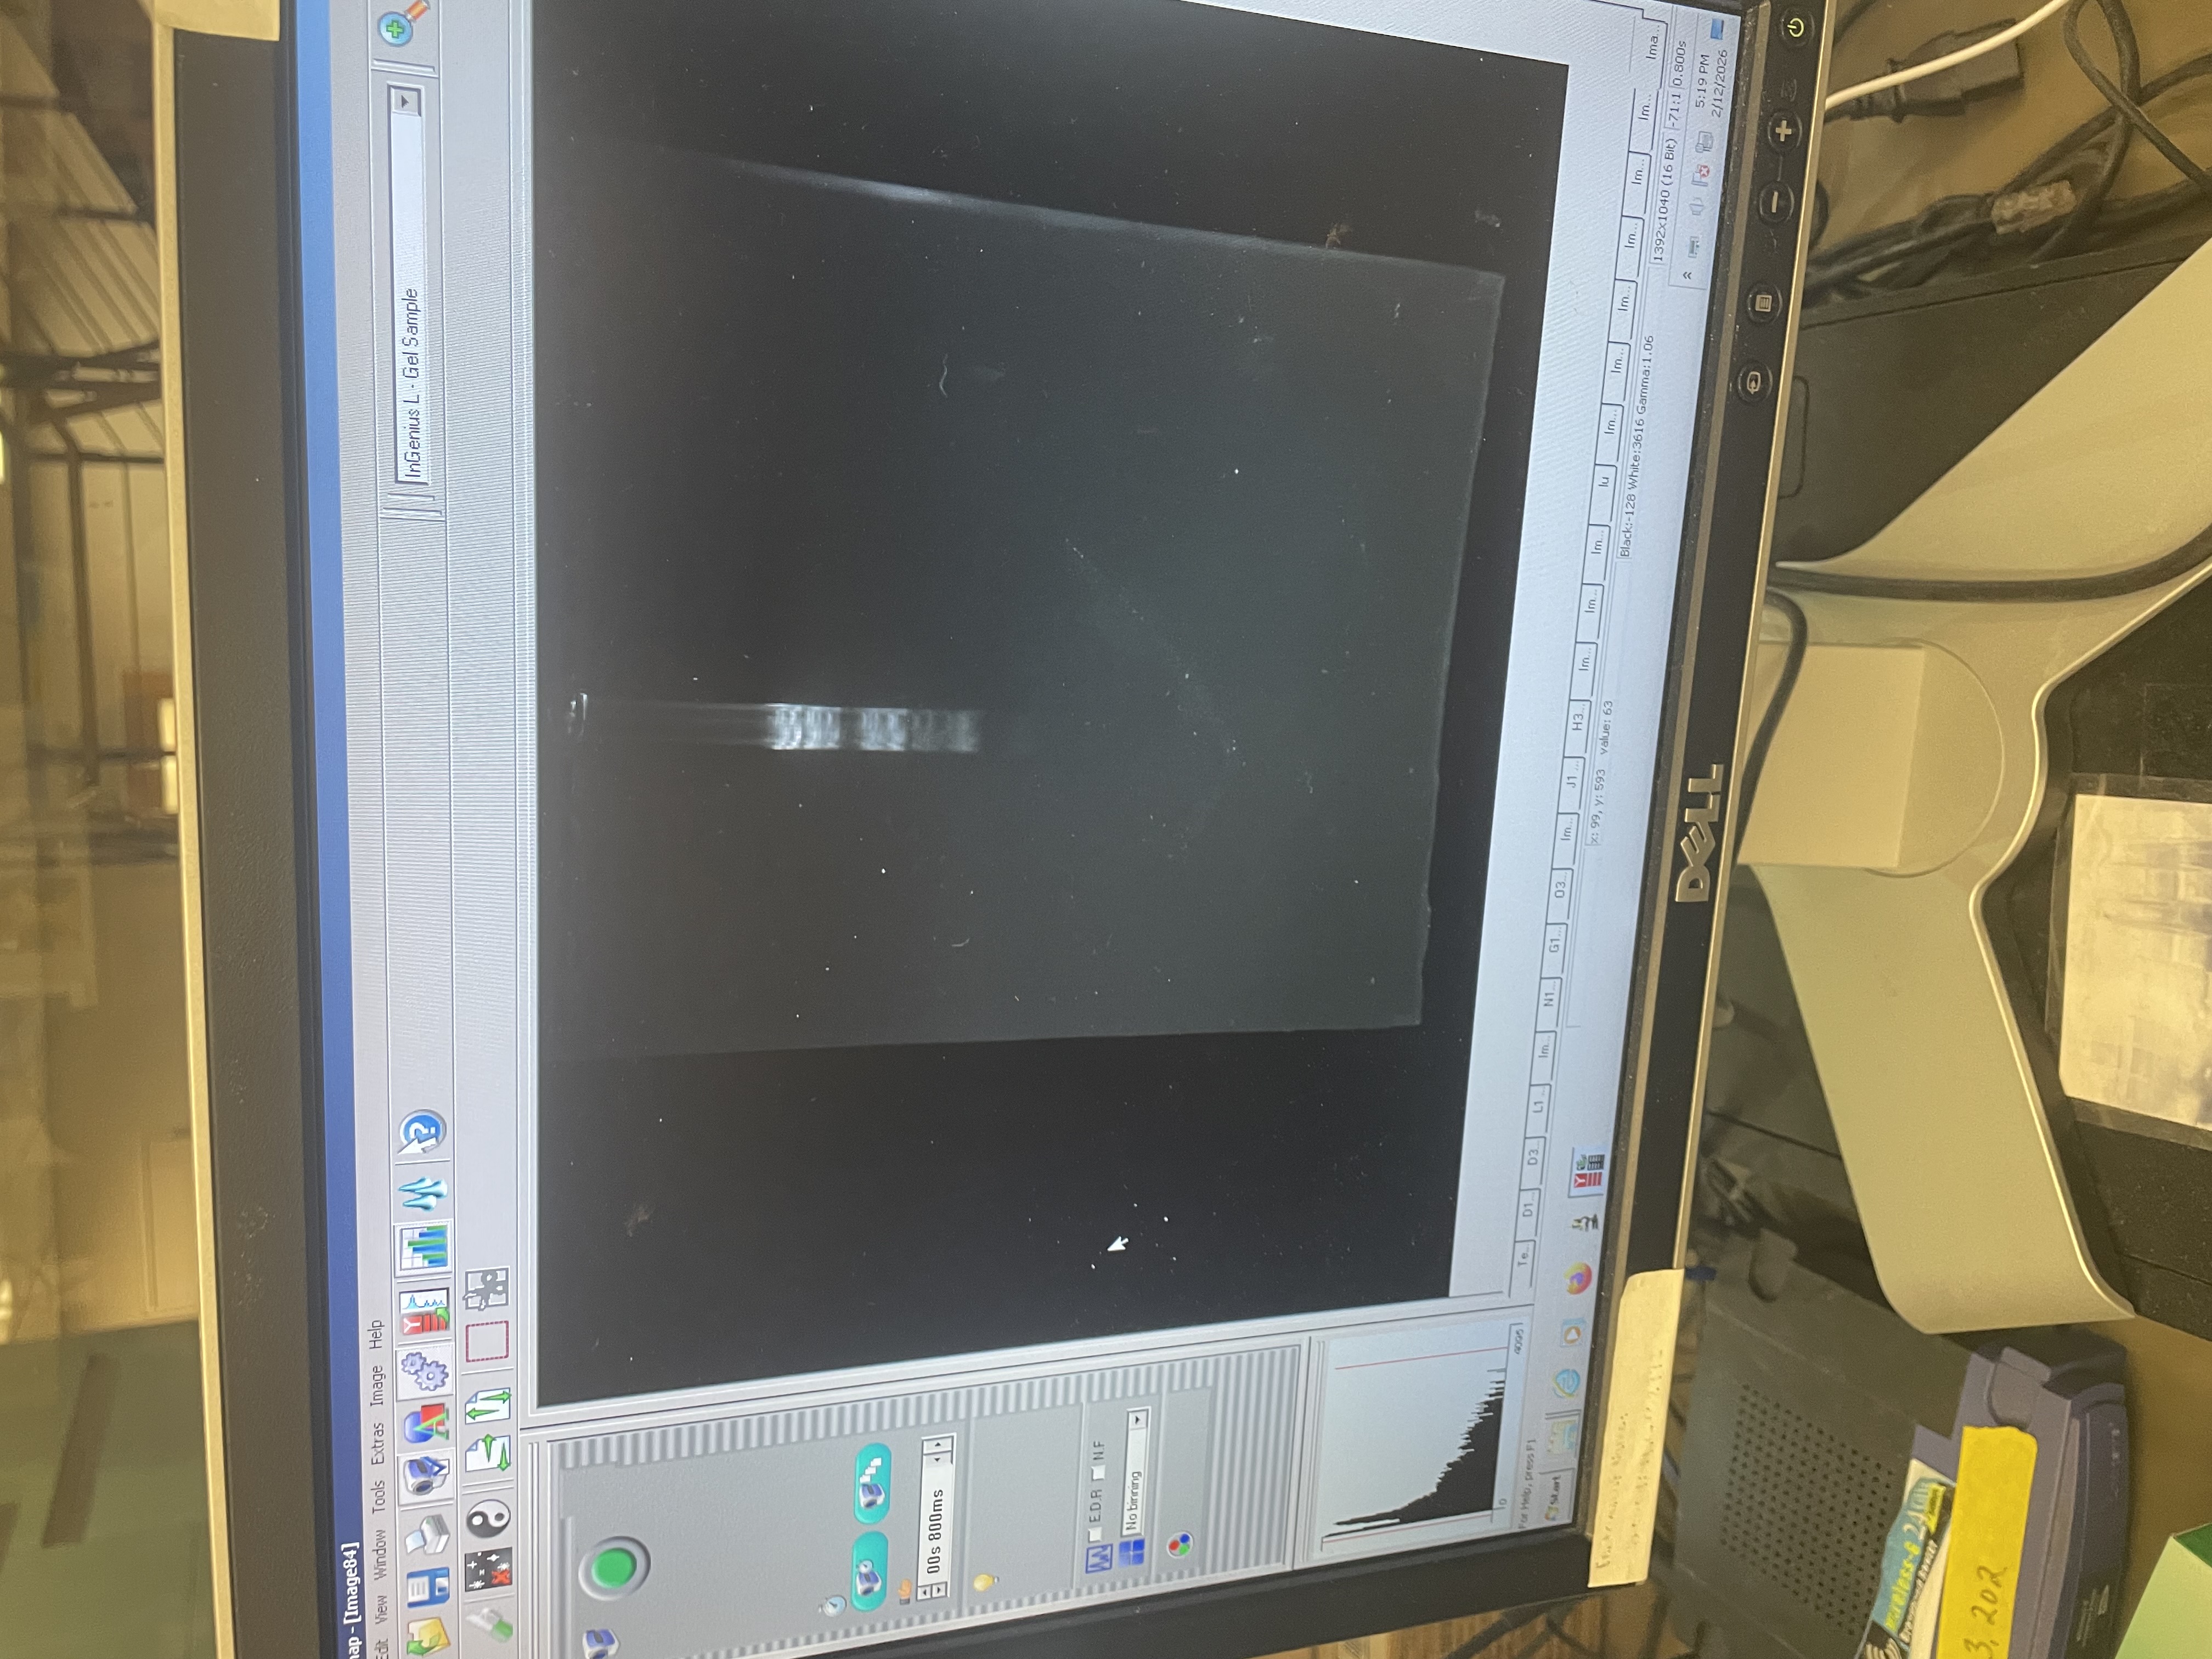
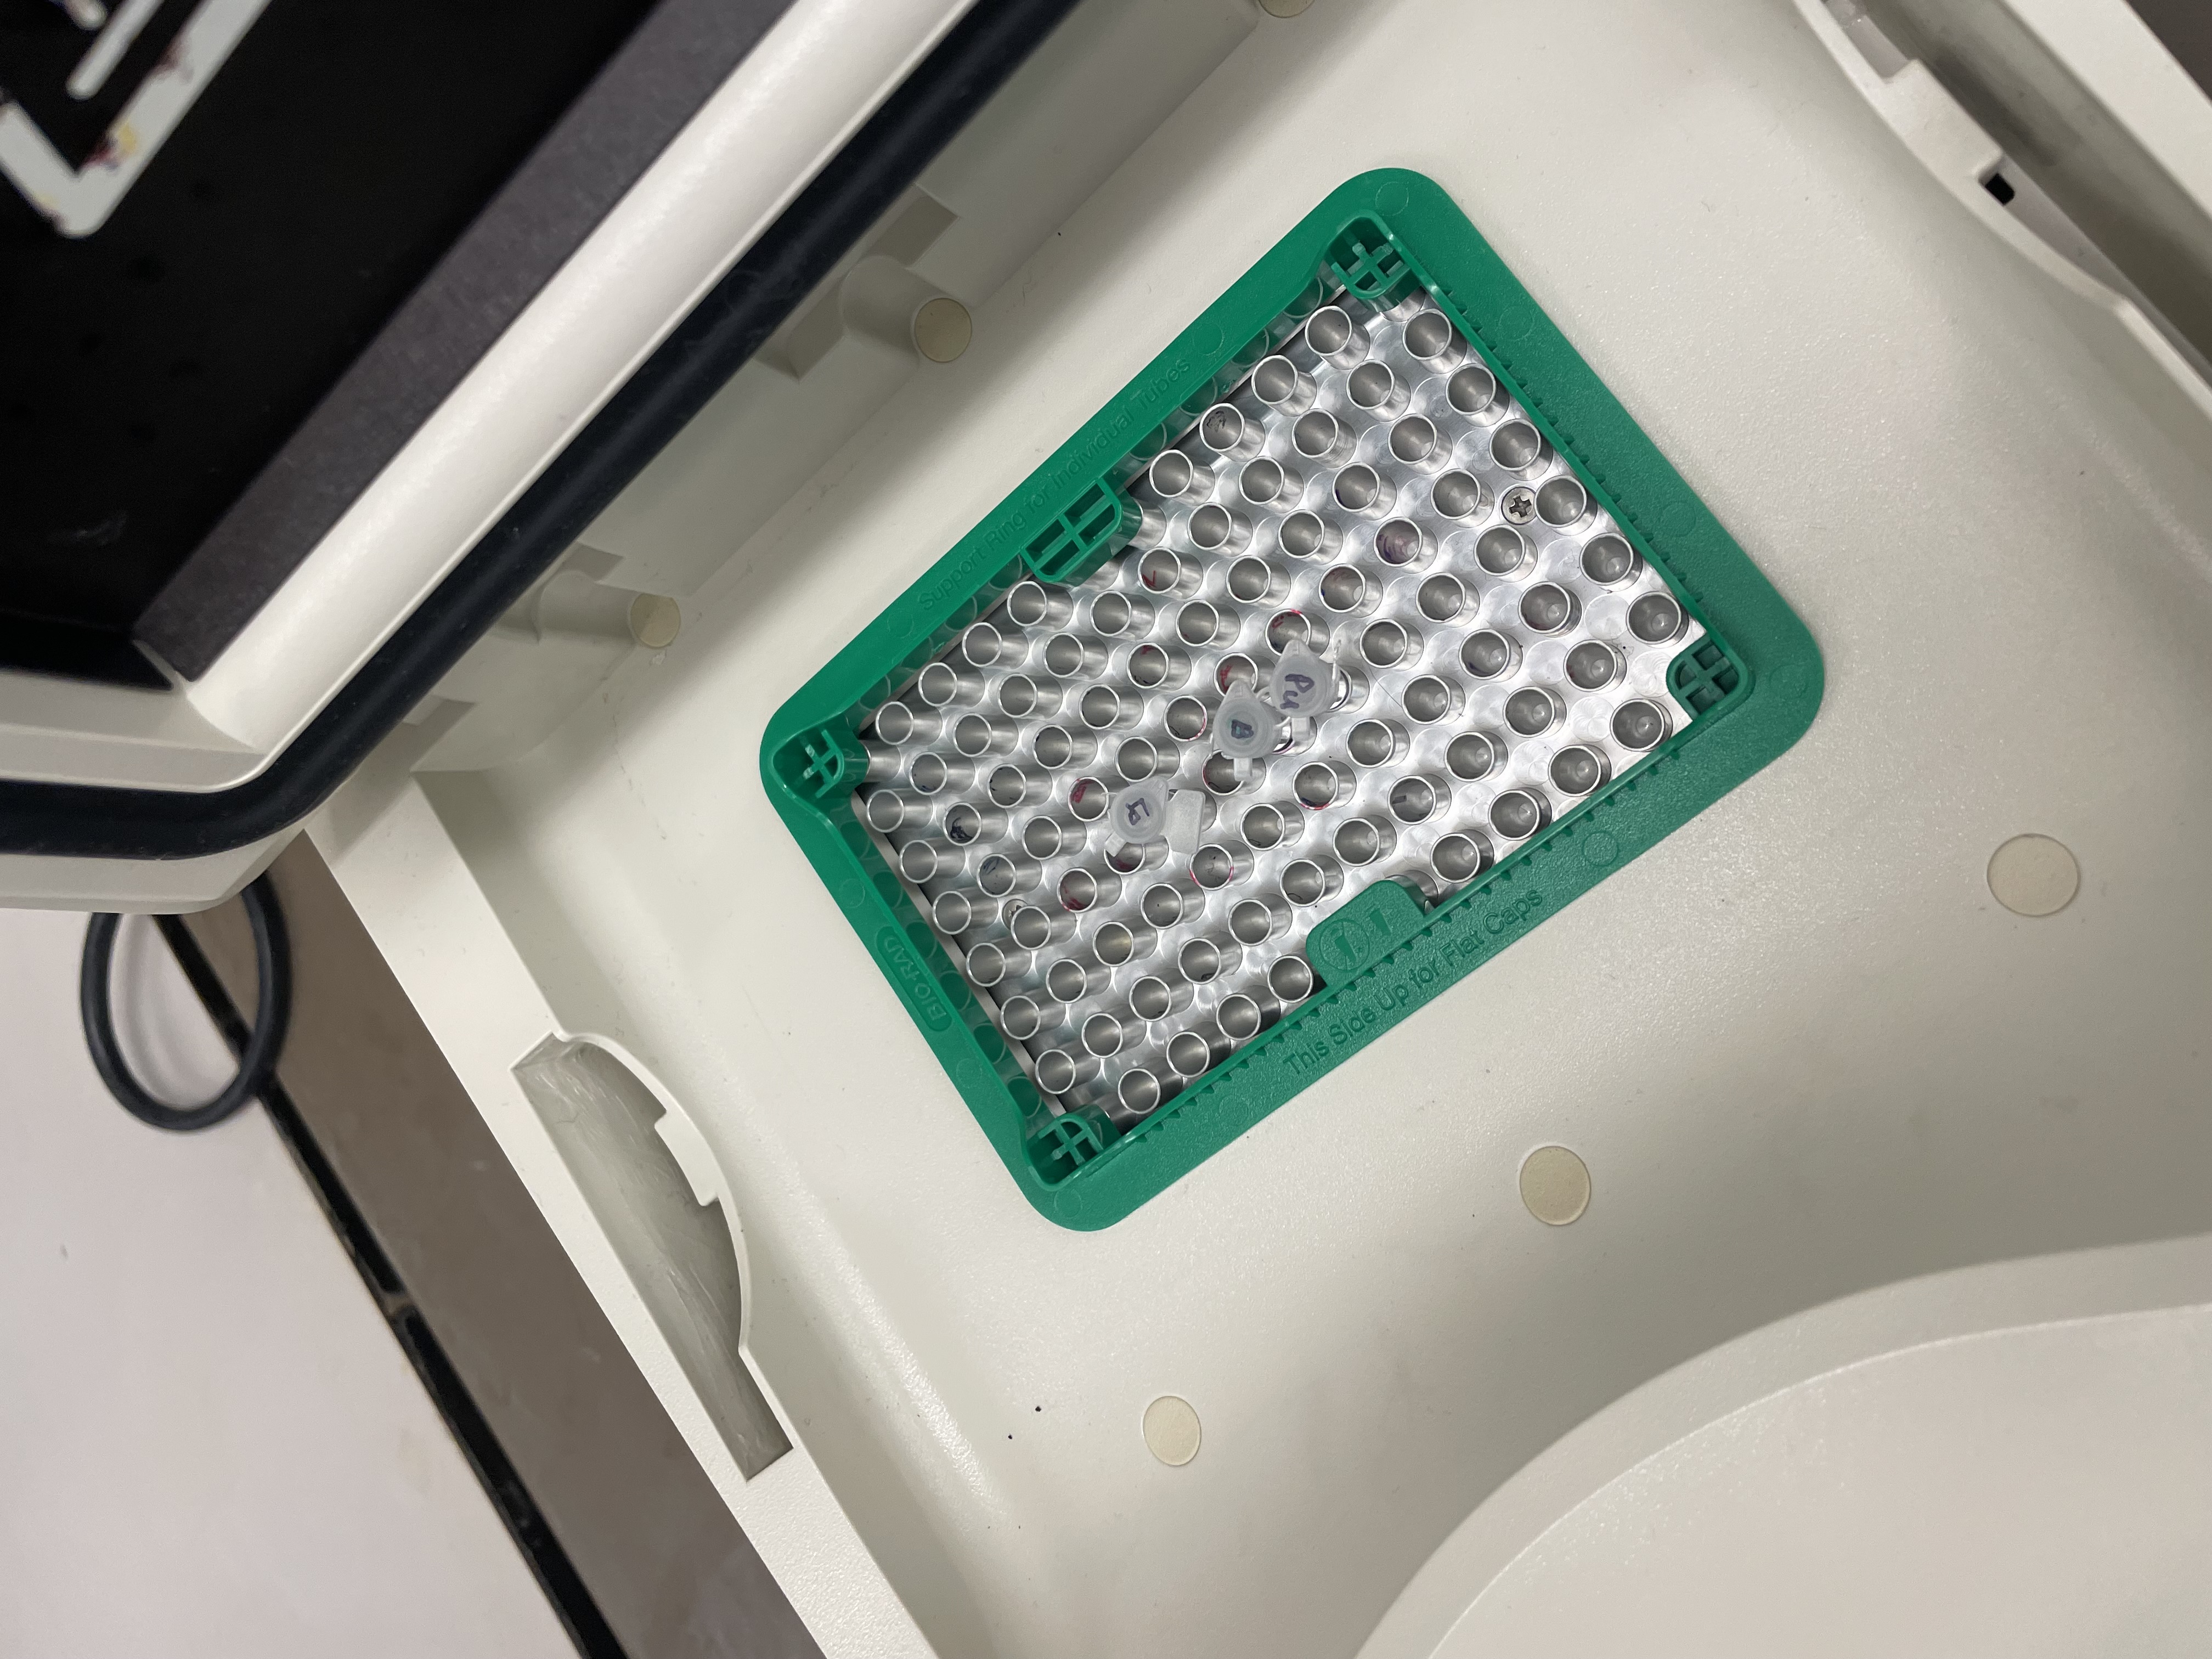
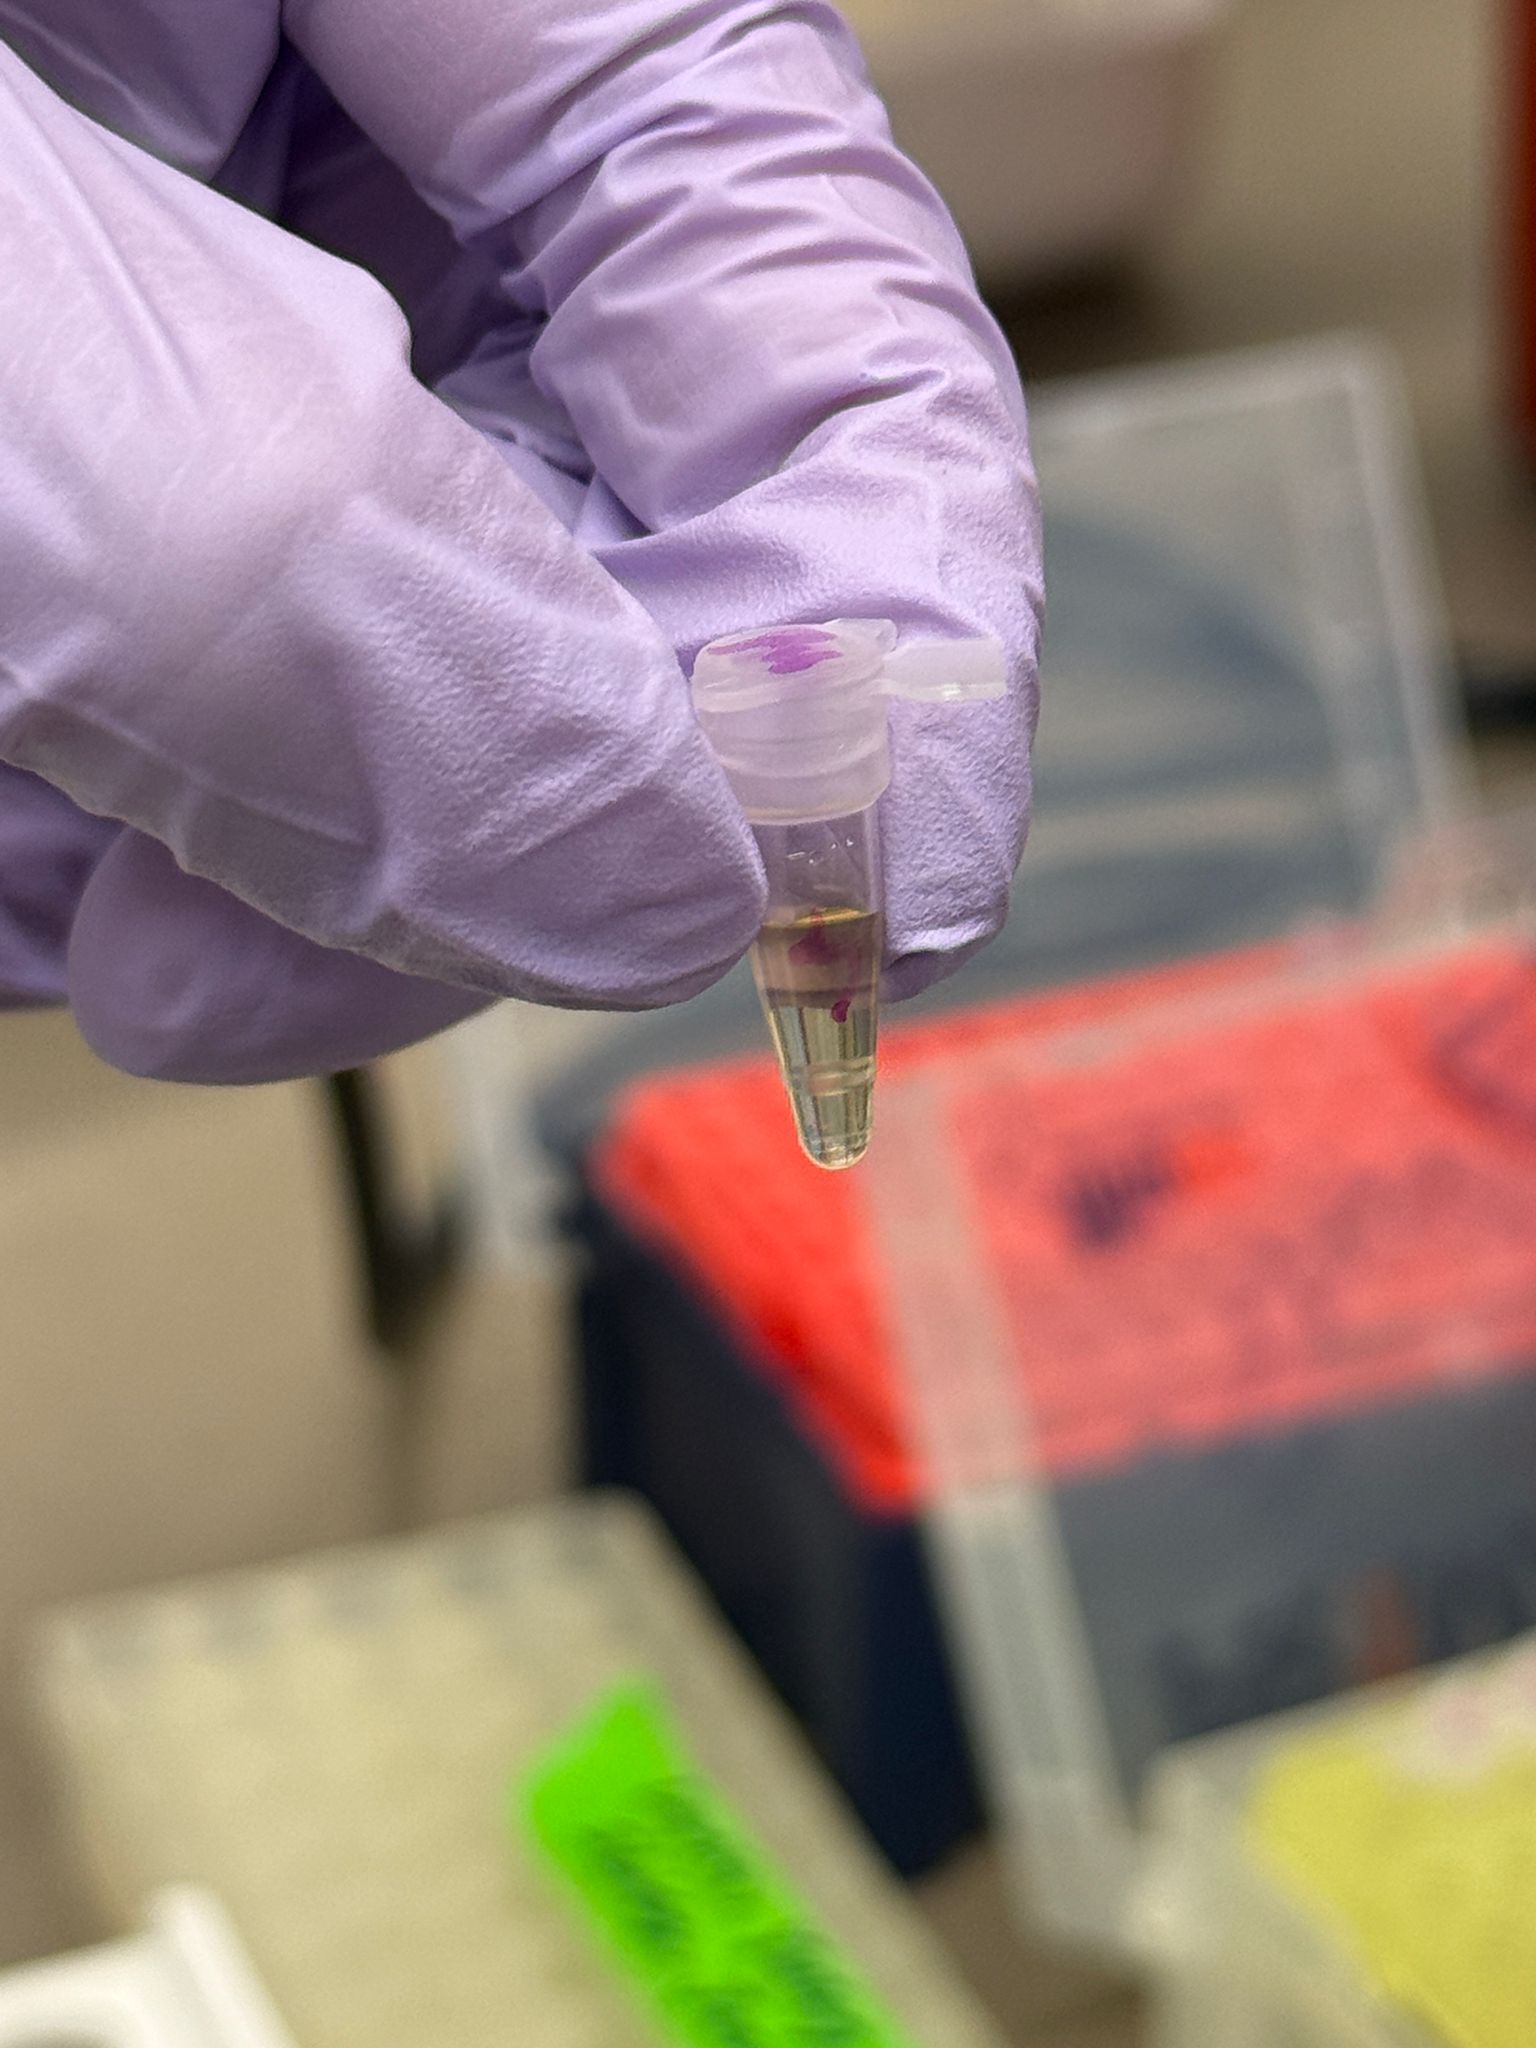
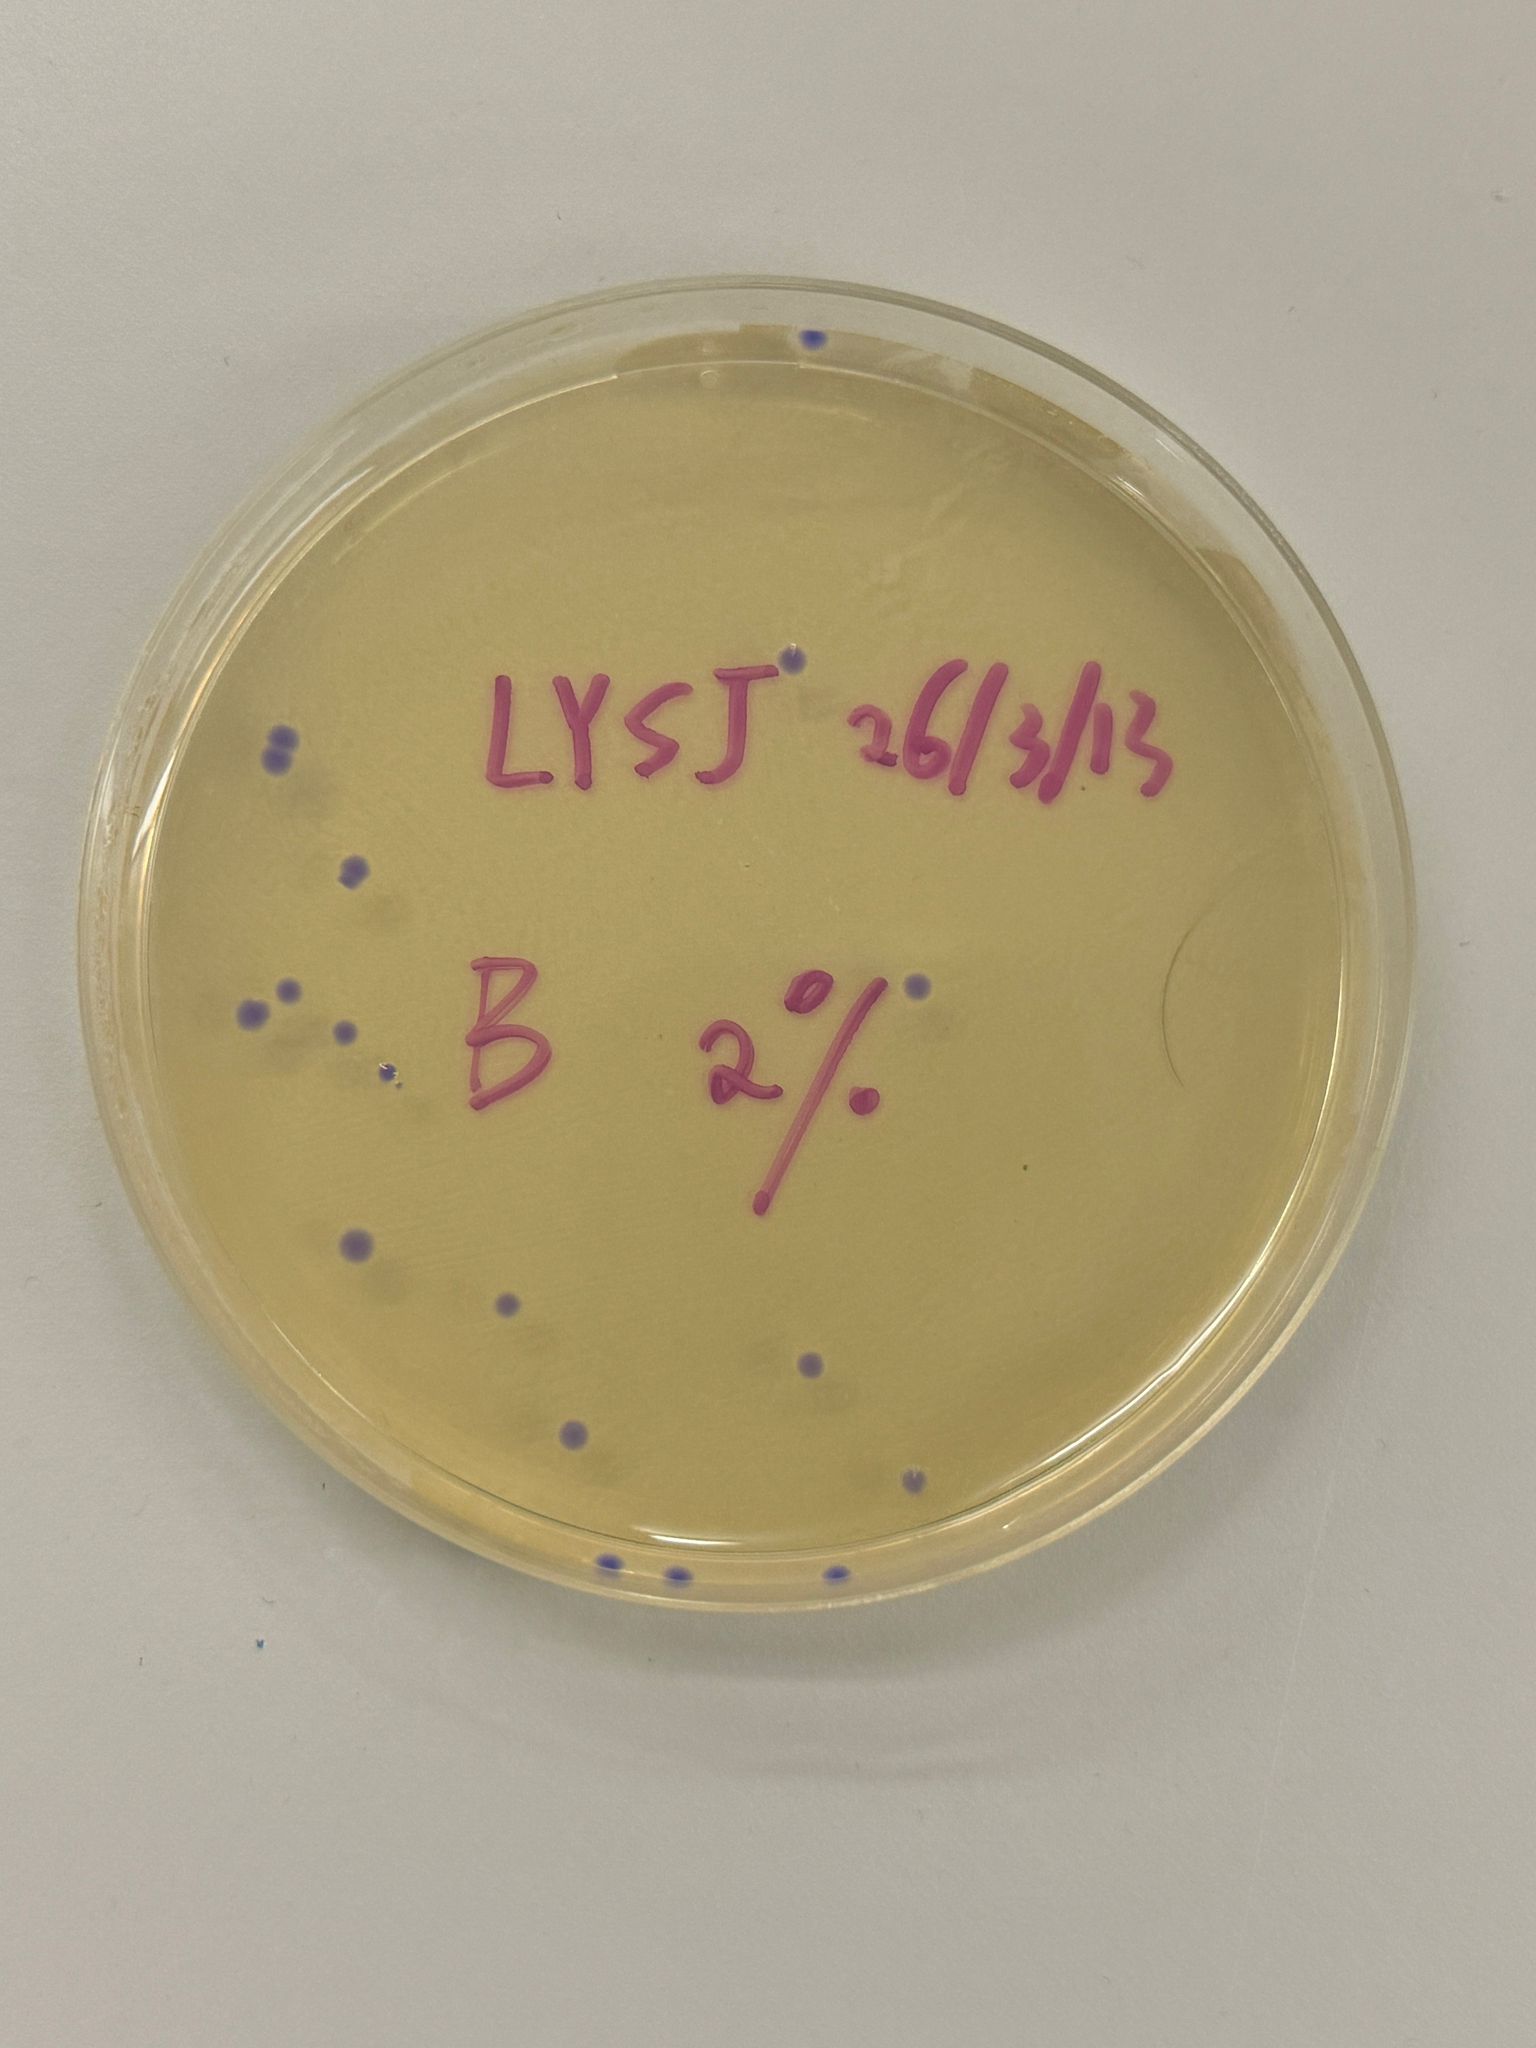
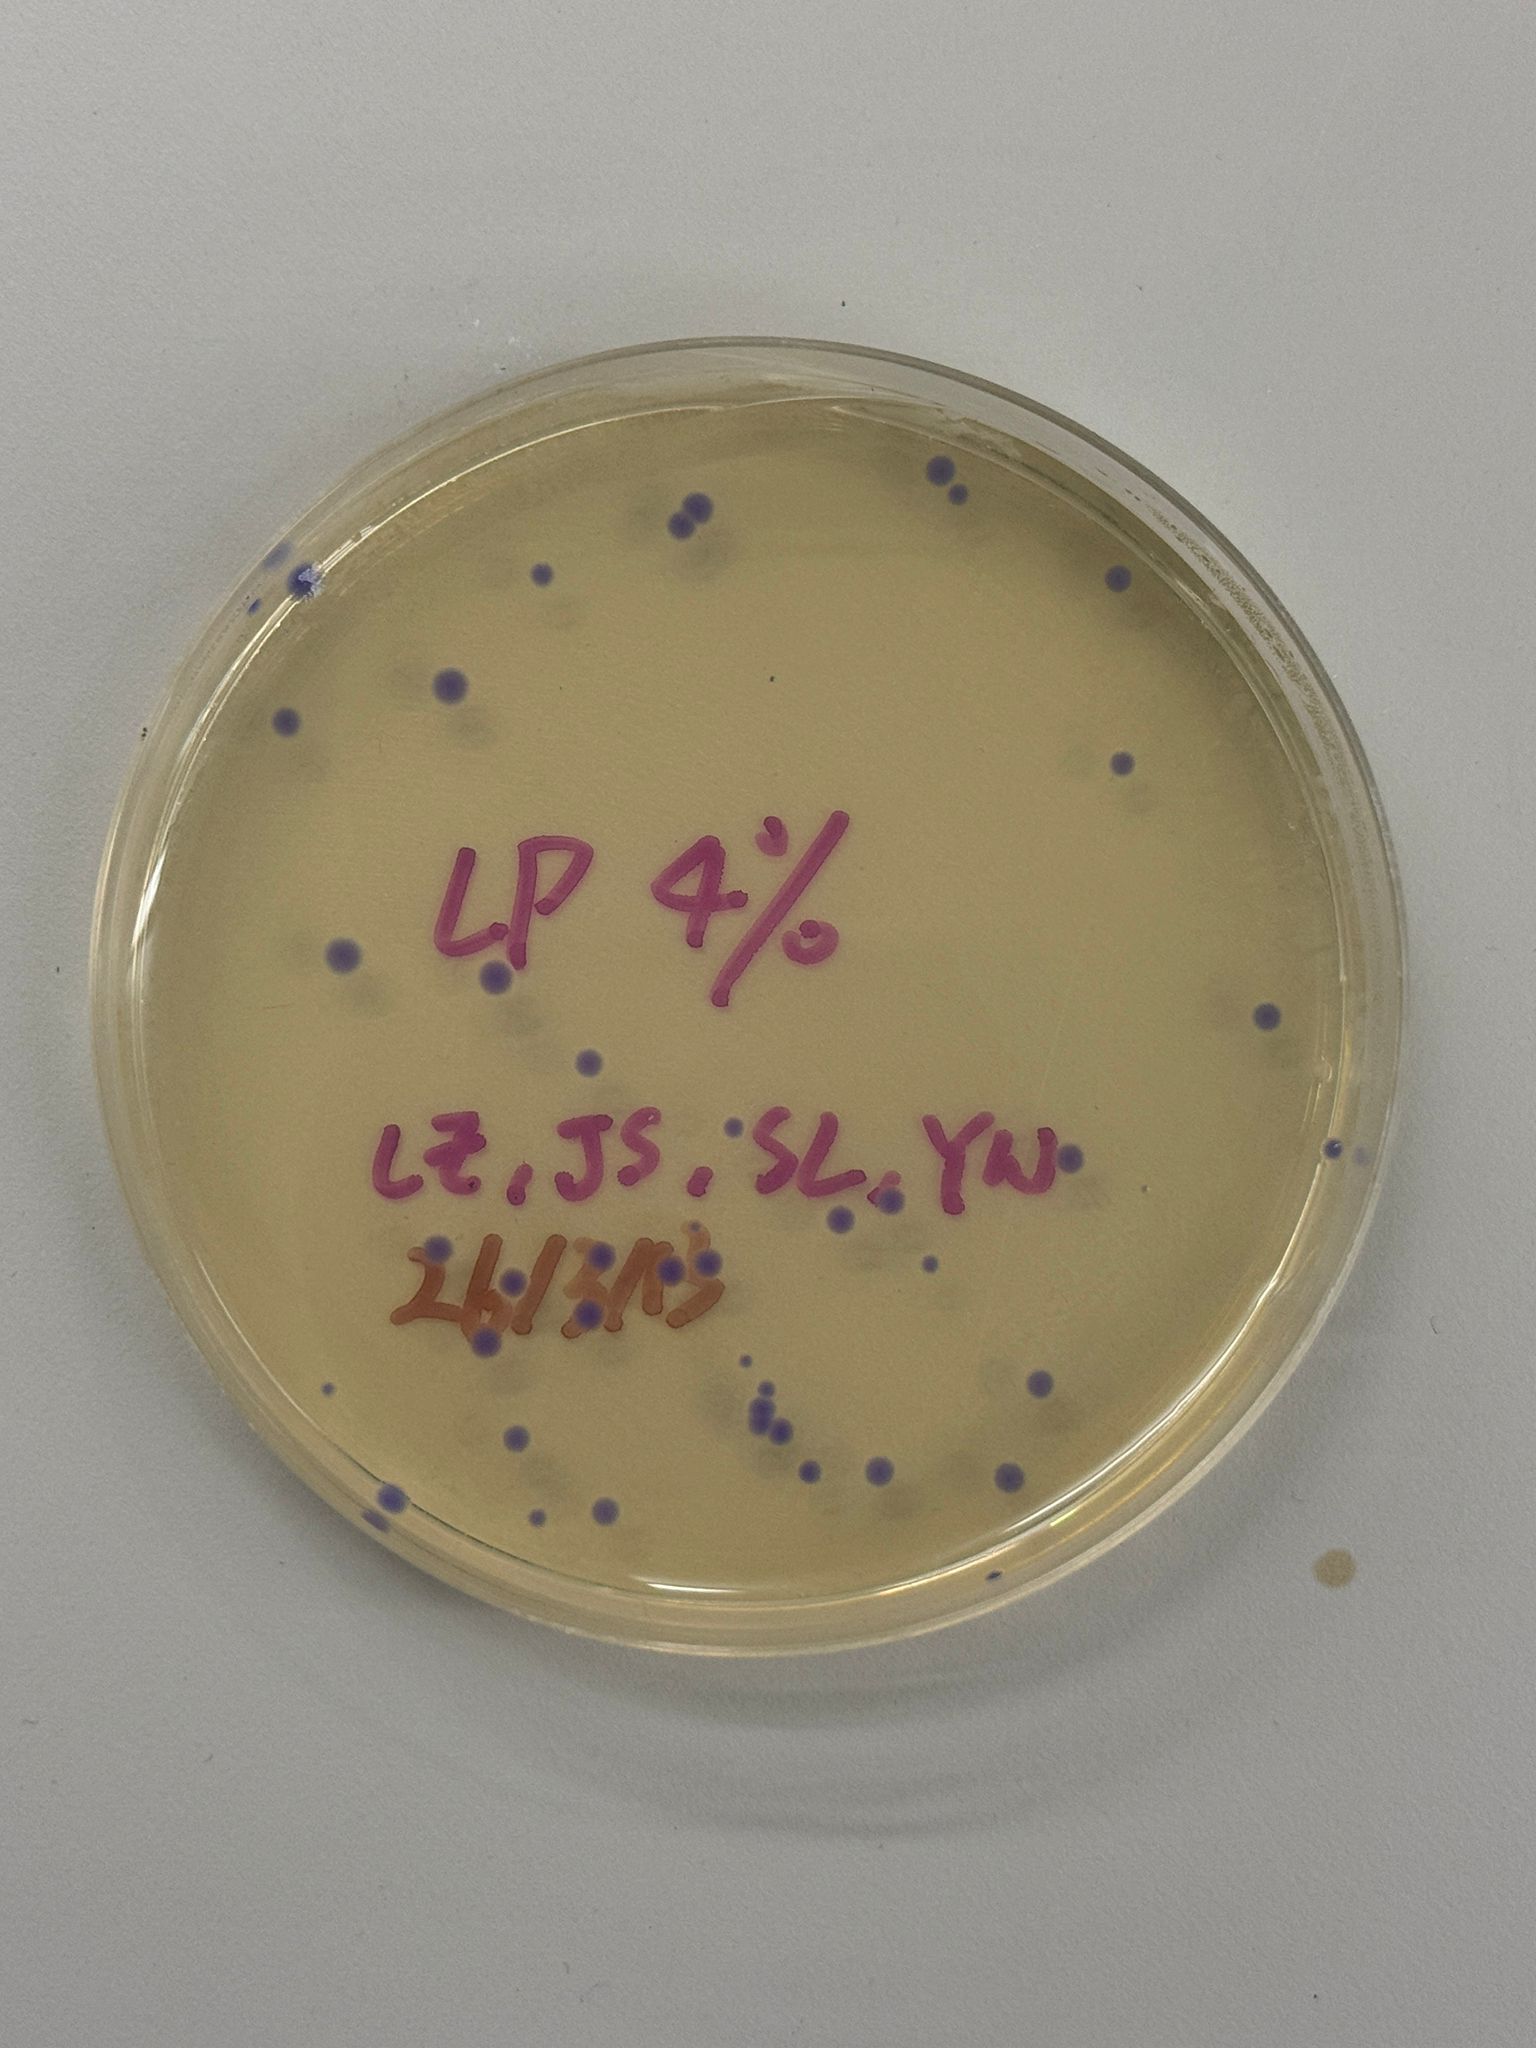
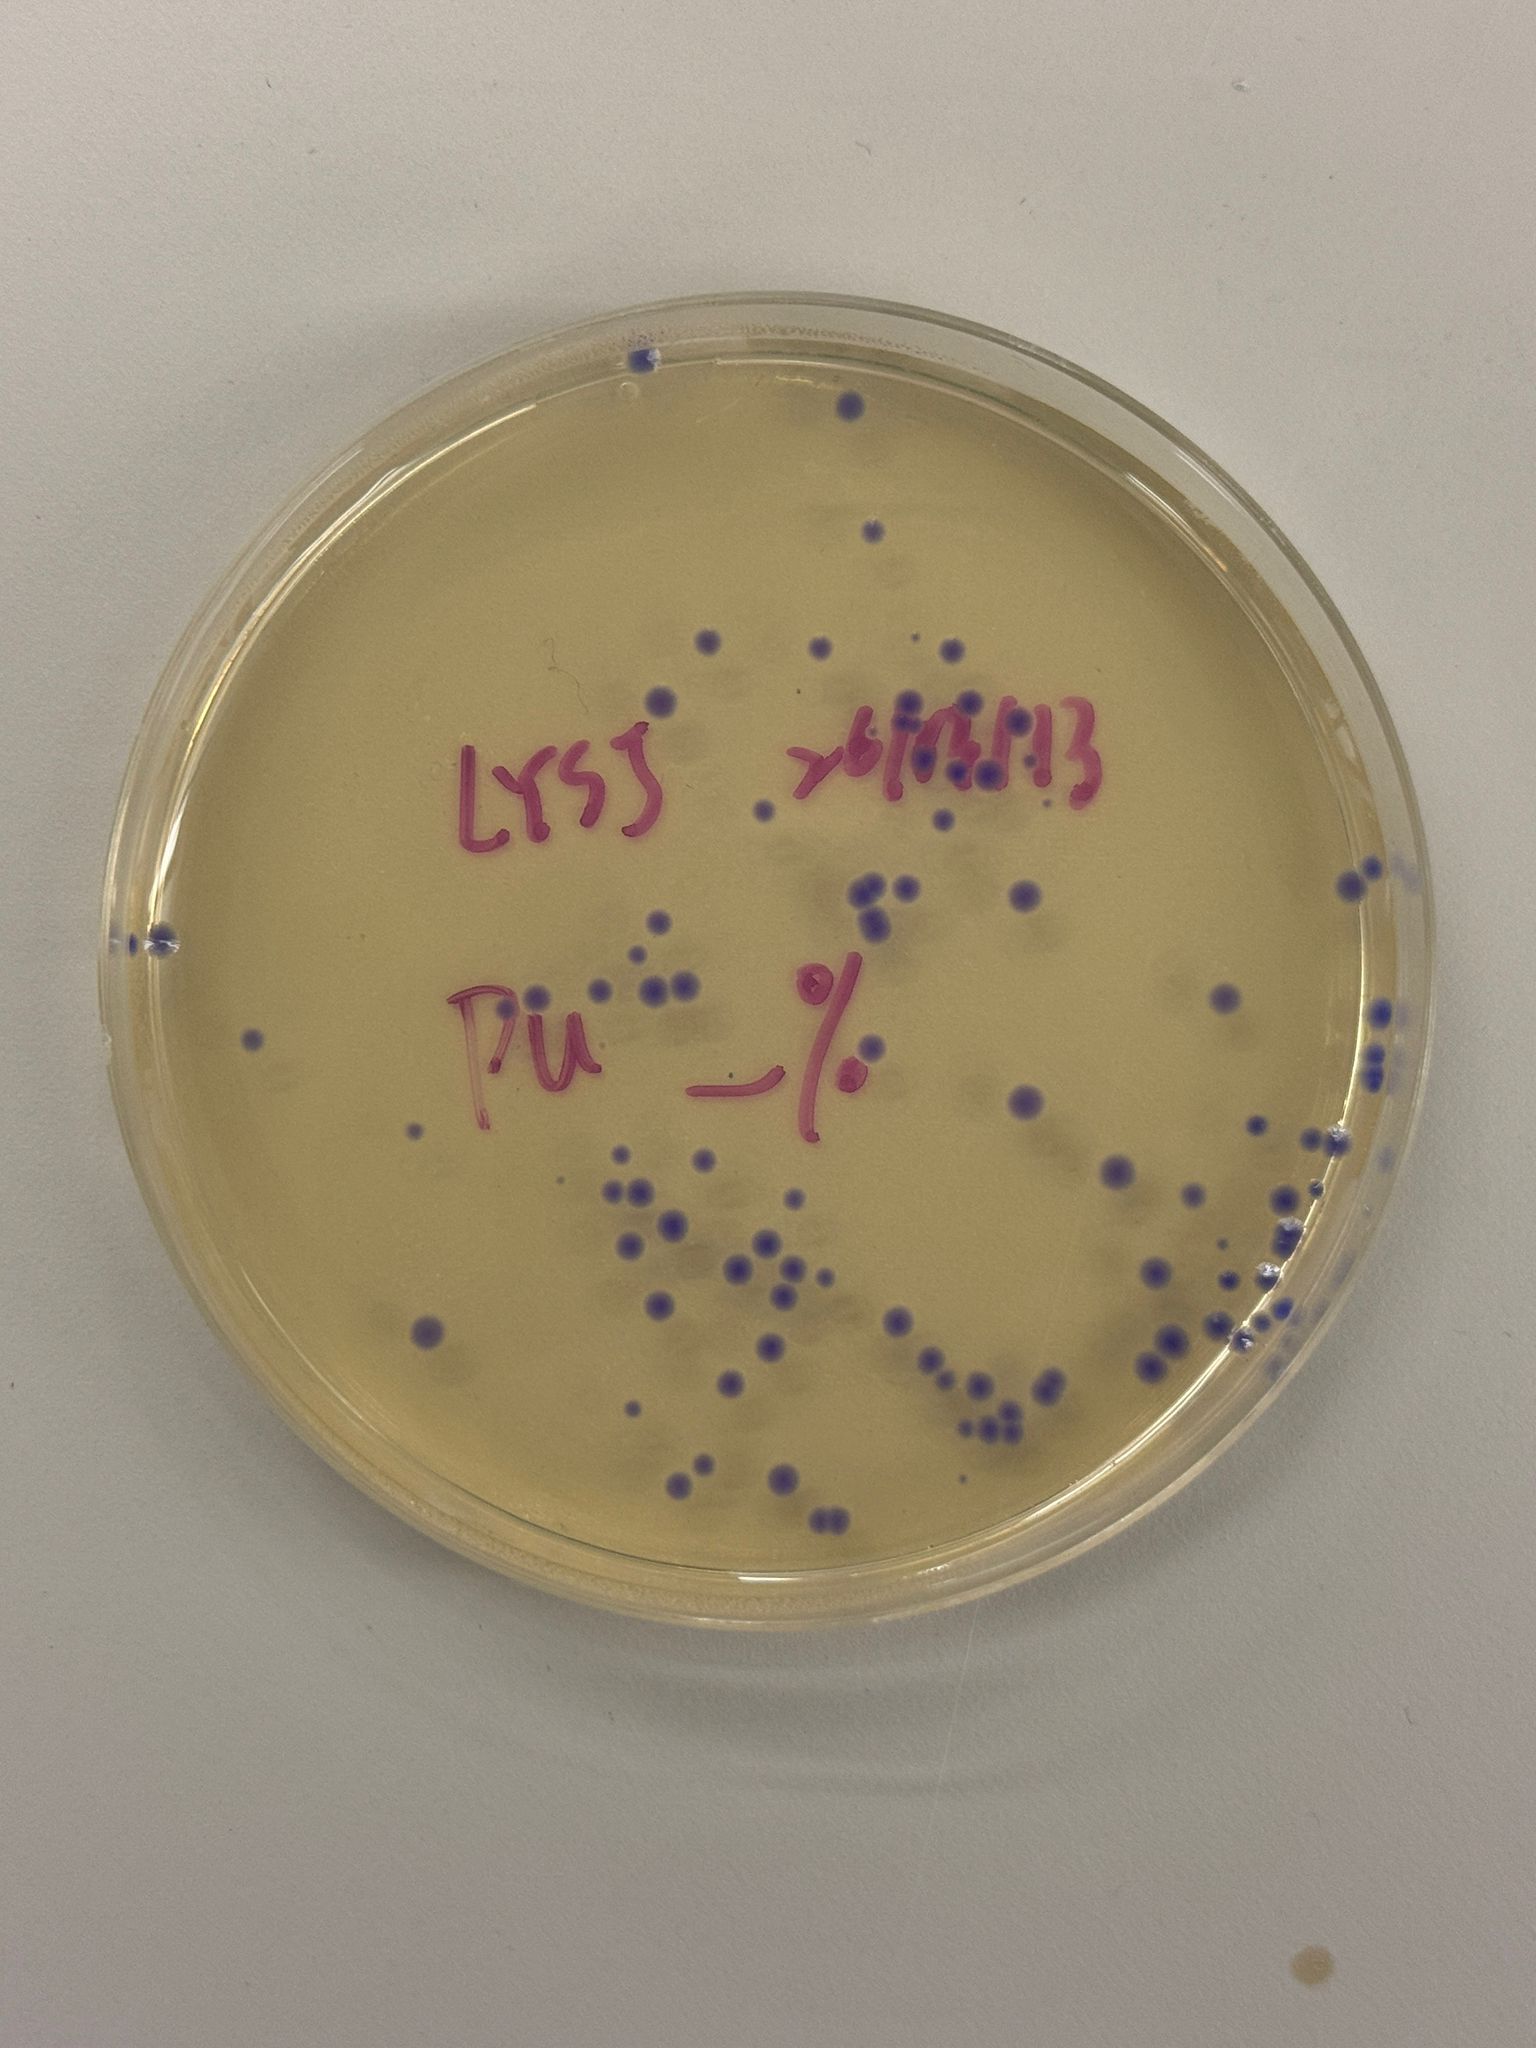
Louisa, Yutong, Jasmine and I worked together to complete this lab. Day 1: PCR and DNA Purification PCR First, we performed PCR to amplify the backbone and color DNA fragments. We prepared the PCR reactions according to the tables below, and ran the PCR program on the thermocycler.
Week 7 Lab: Neuromorphic Circuits
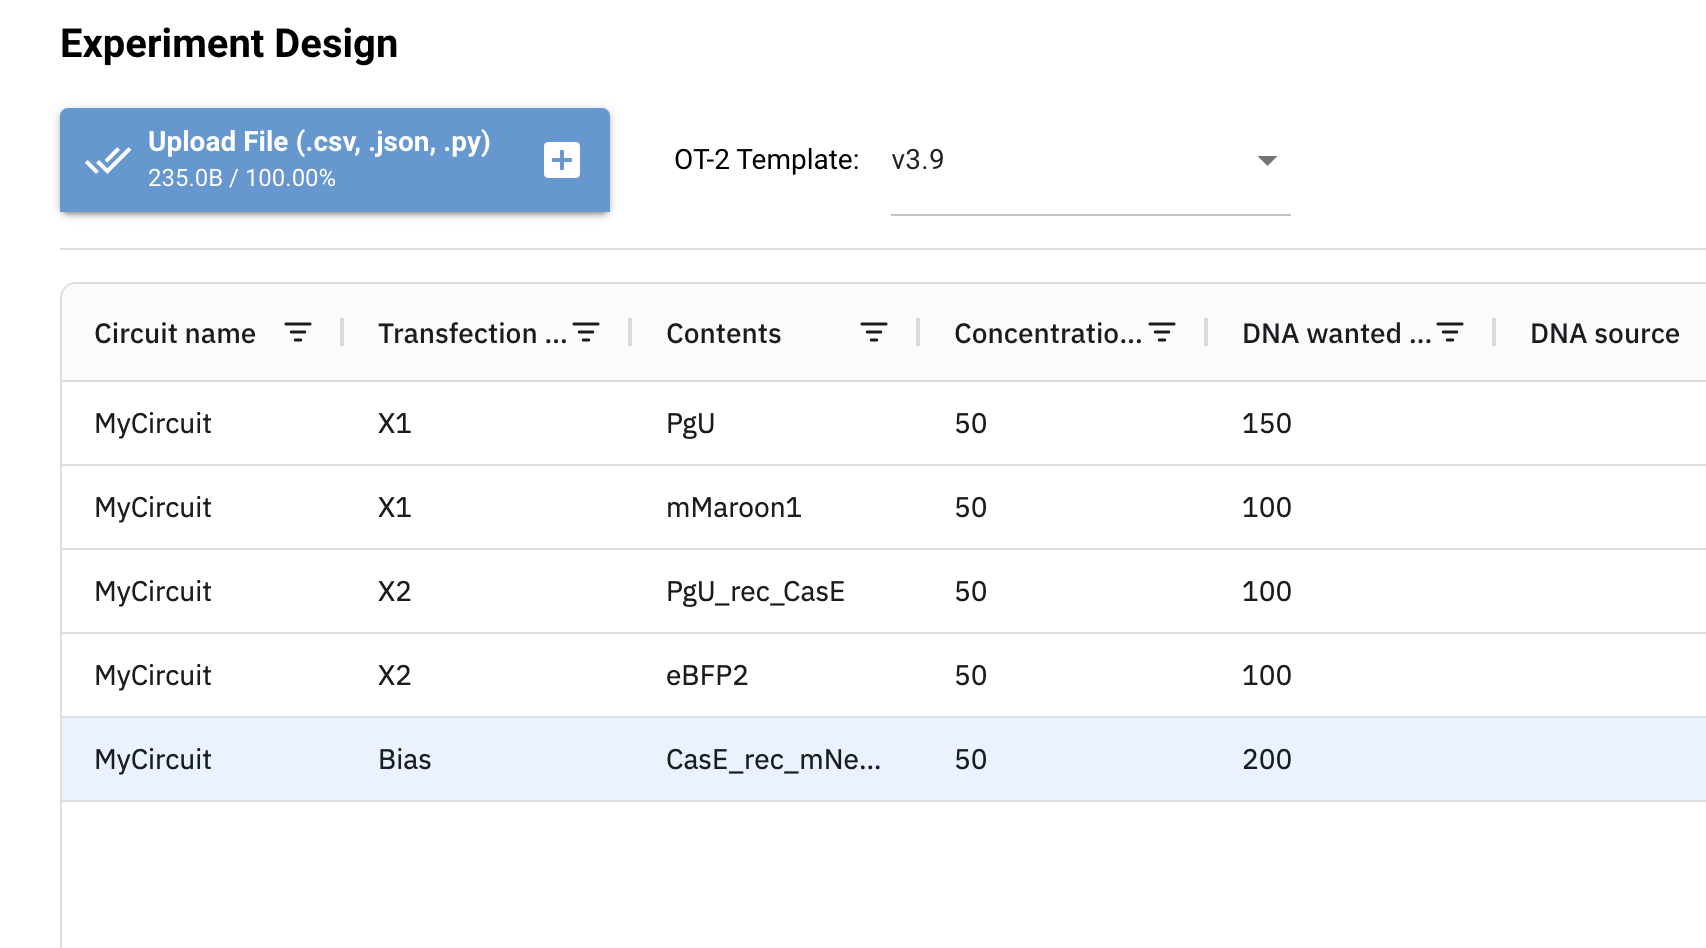
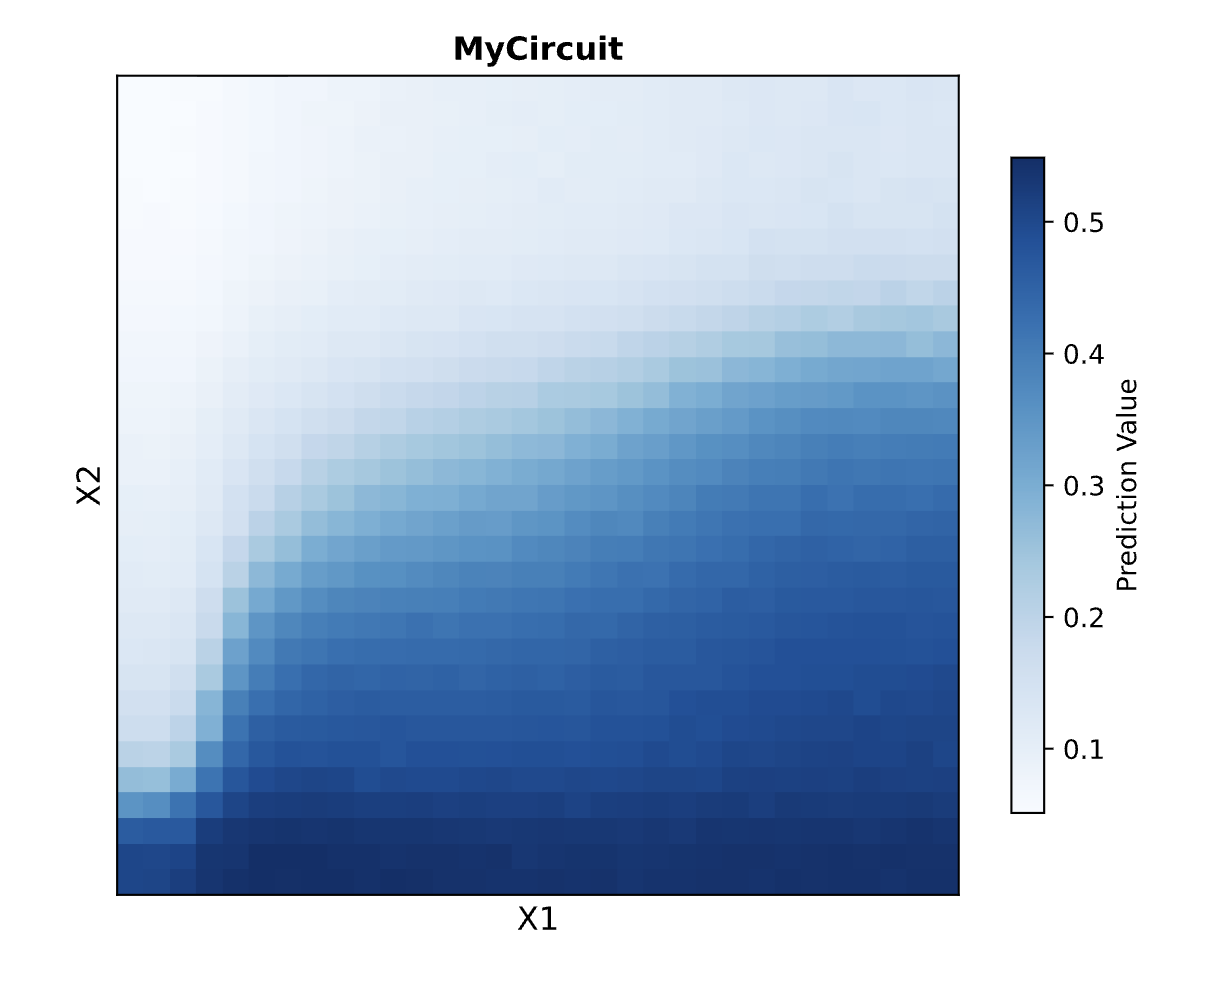
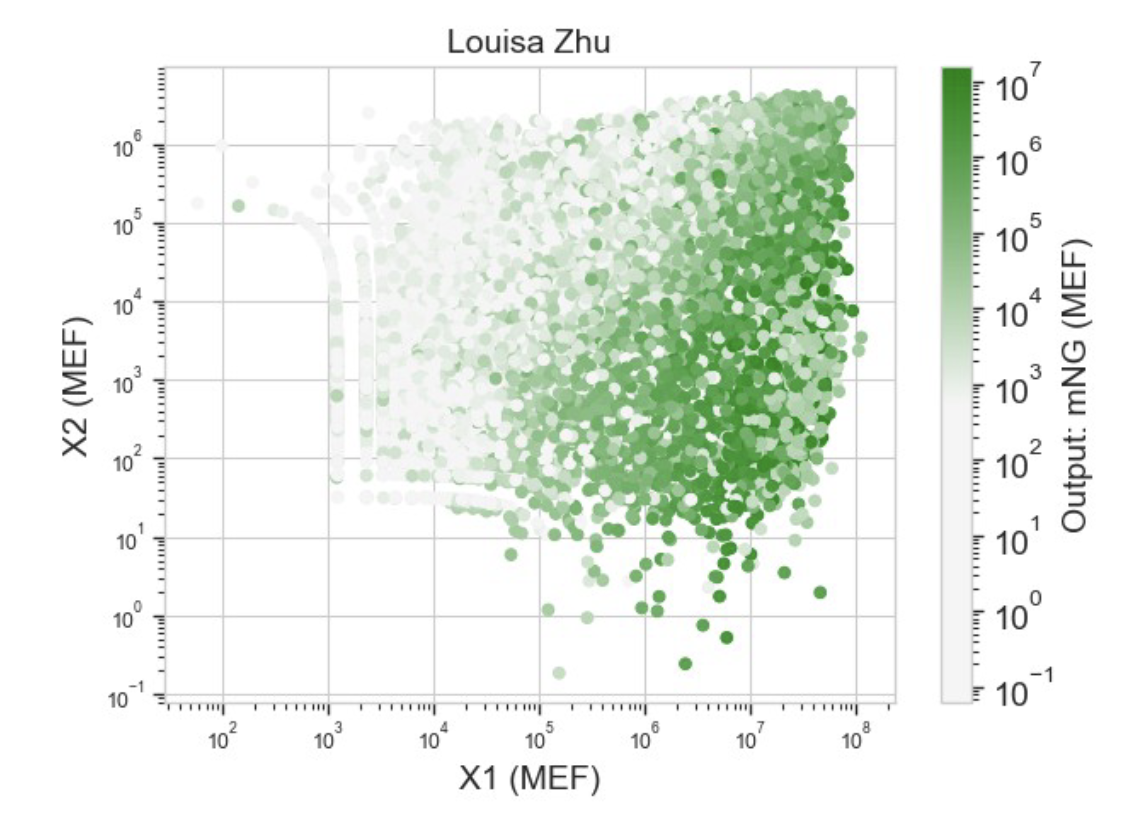
Louisa, Yao, and I worked together to complete this lab. Below is the design of the neuromorphic circuit. The first input signal X1 is PgU, and the second input signal X2 is PgU_rec_CasE. When PgU is high, it will repress CasE, and when CasE is repressed, mNeon will be high. Below are the simulation and results of the neuromorphic circuit. Simulation Result
See homework for this week.