Week 2: DNA Gel Art
Design
Coming from a design background, I find it really interesting that DNA digestion patterns could be treated as a visual medium. I played around with Ronan’s gel art website trying different combination of digest results and I found some band patterns that generated a robot design. After I landed on the design, I used benchling to perform the virtual digest with the corresponding enzymes.
 Ronan’s website allowed me to scroll through different enzyme combinations and randomize to see what patterns came up, which was much faster for exploring visual patterns.
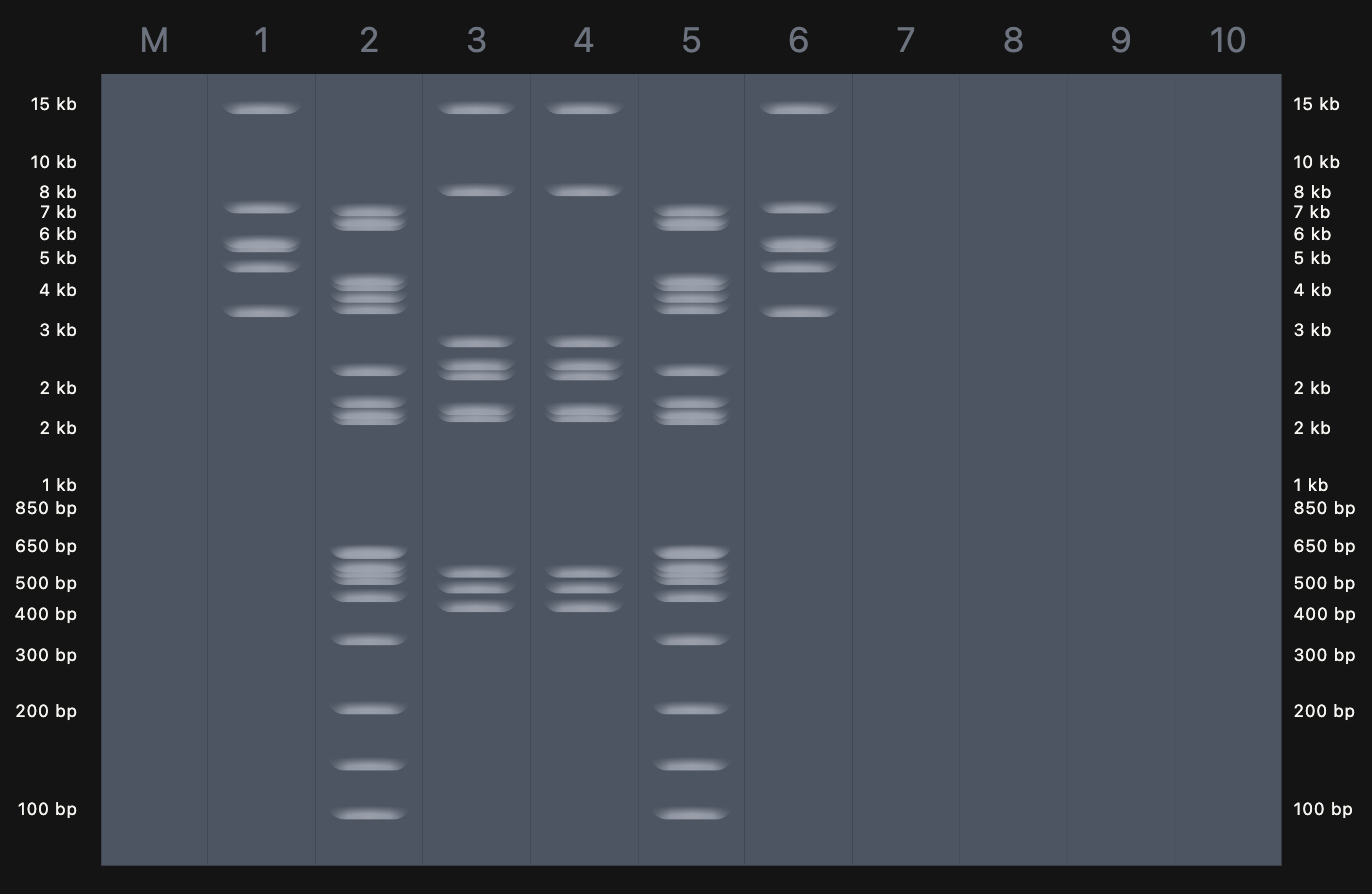
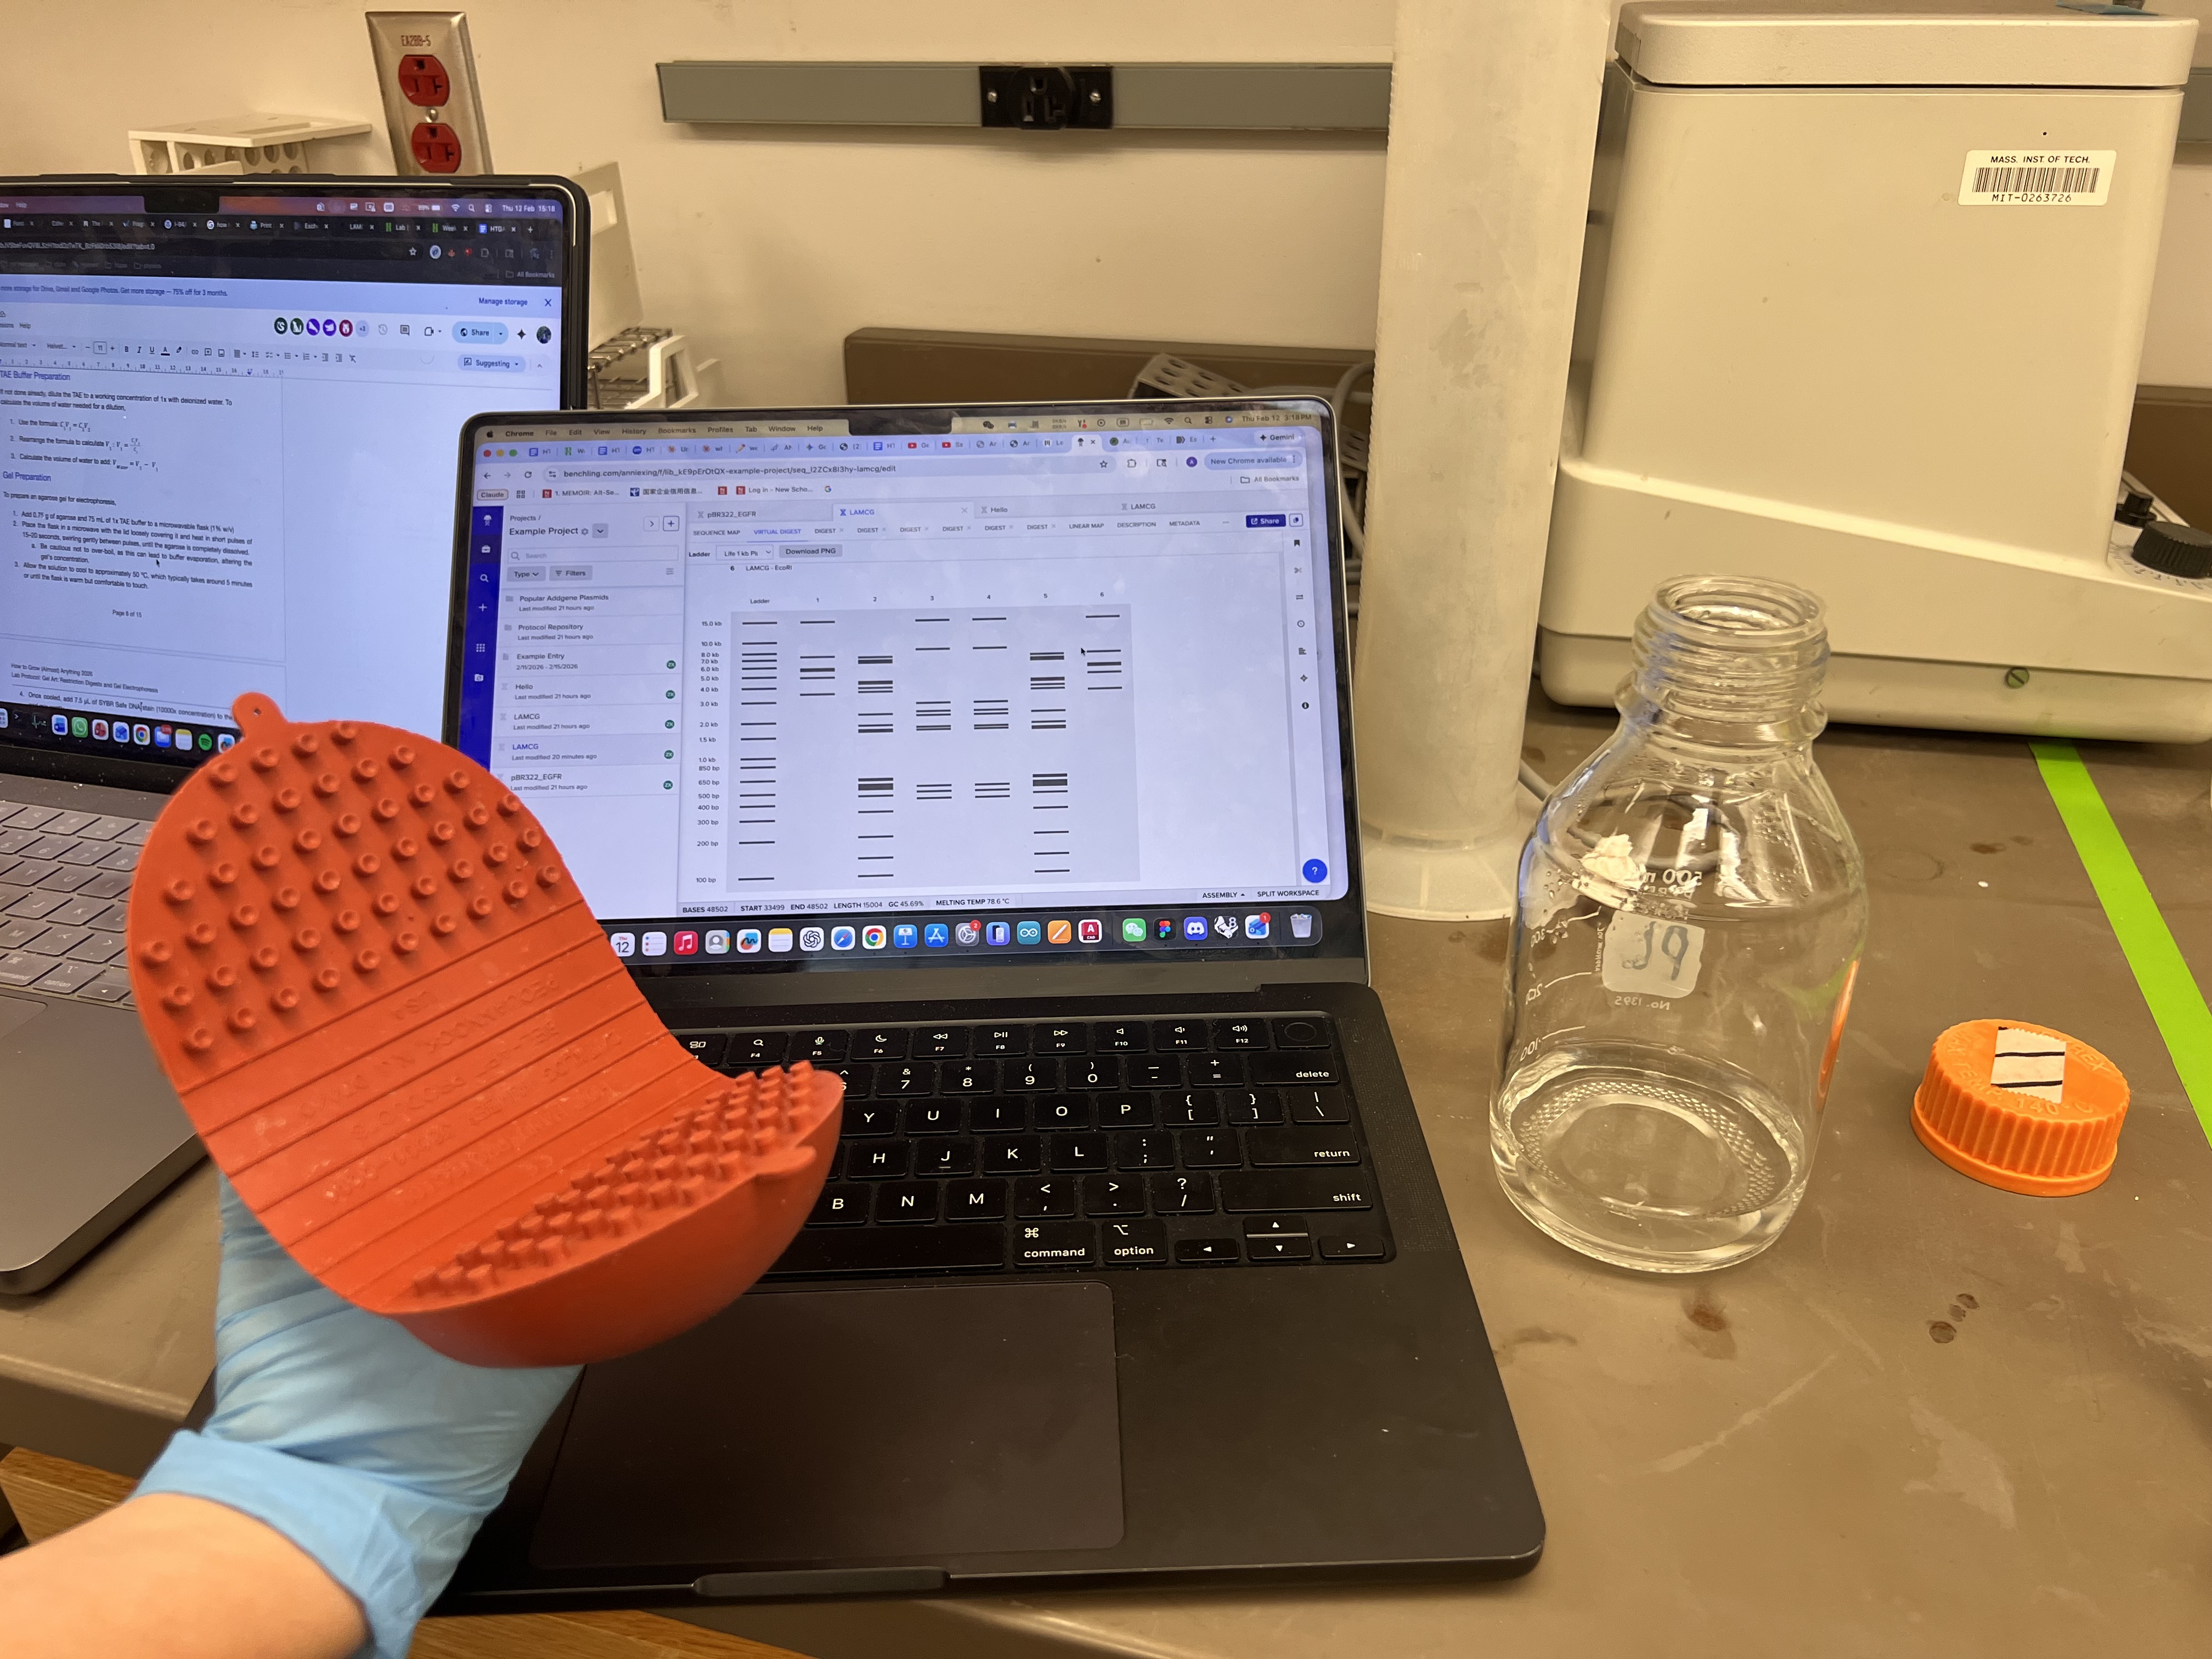
 Benchling virtual digest of my final 6-lane design, showing predicted band sizes for each enzyme combination against the 1 Kb Plus Thermo ladder.
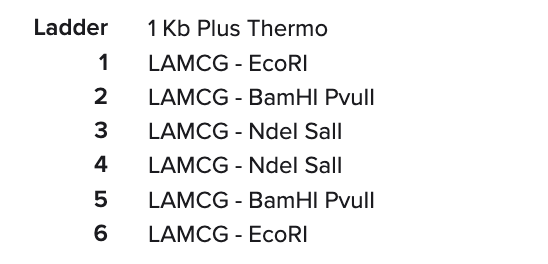
Lane Assignments
My final design uses 6 lanes cut with different restriction enzyme combinations, mirrored across the center:
Restriction Digest Preparation
Each digest reaction was prepared in a PCR tube with the following components:
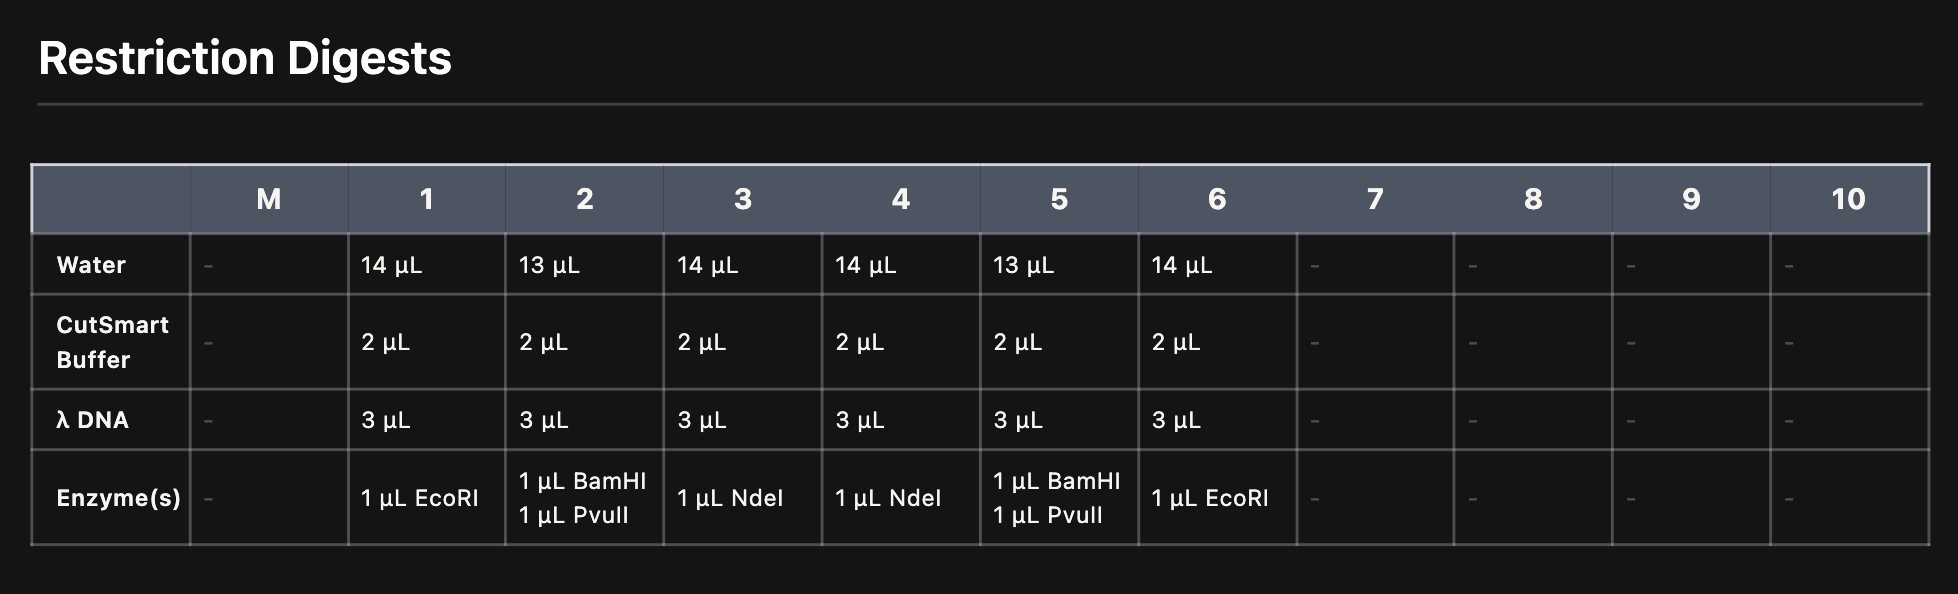 *Reaction setup for each lane. Each tube contained water, CutSmart buffer, Lambda DNA, and the specific enzyme(s). *
The reactions were incubated at 37°C for 30 minutes to allow the enzymes to fully cut the DNA.
Lab Process
Step 1: Prepare the TAE buffer and agarose gel
We used 1× TAE buffer to mix with agarose powder. The flask was microwaved until the cloudy color became completely clear as the solution just bagan to have some bubbles.
 Waiting for the solution to cool down
Step 2: Add DNA stain and pour the gel
Once the agarose cooled slightly, we added a small amount of SYBR Safe DNA stain which made the solution tinted pink.
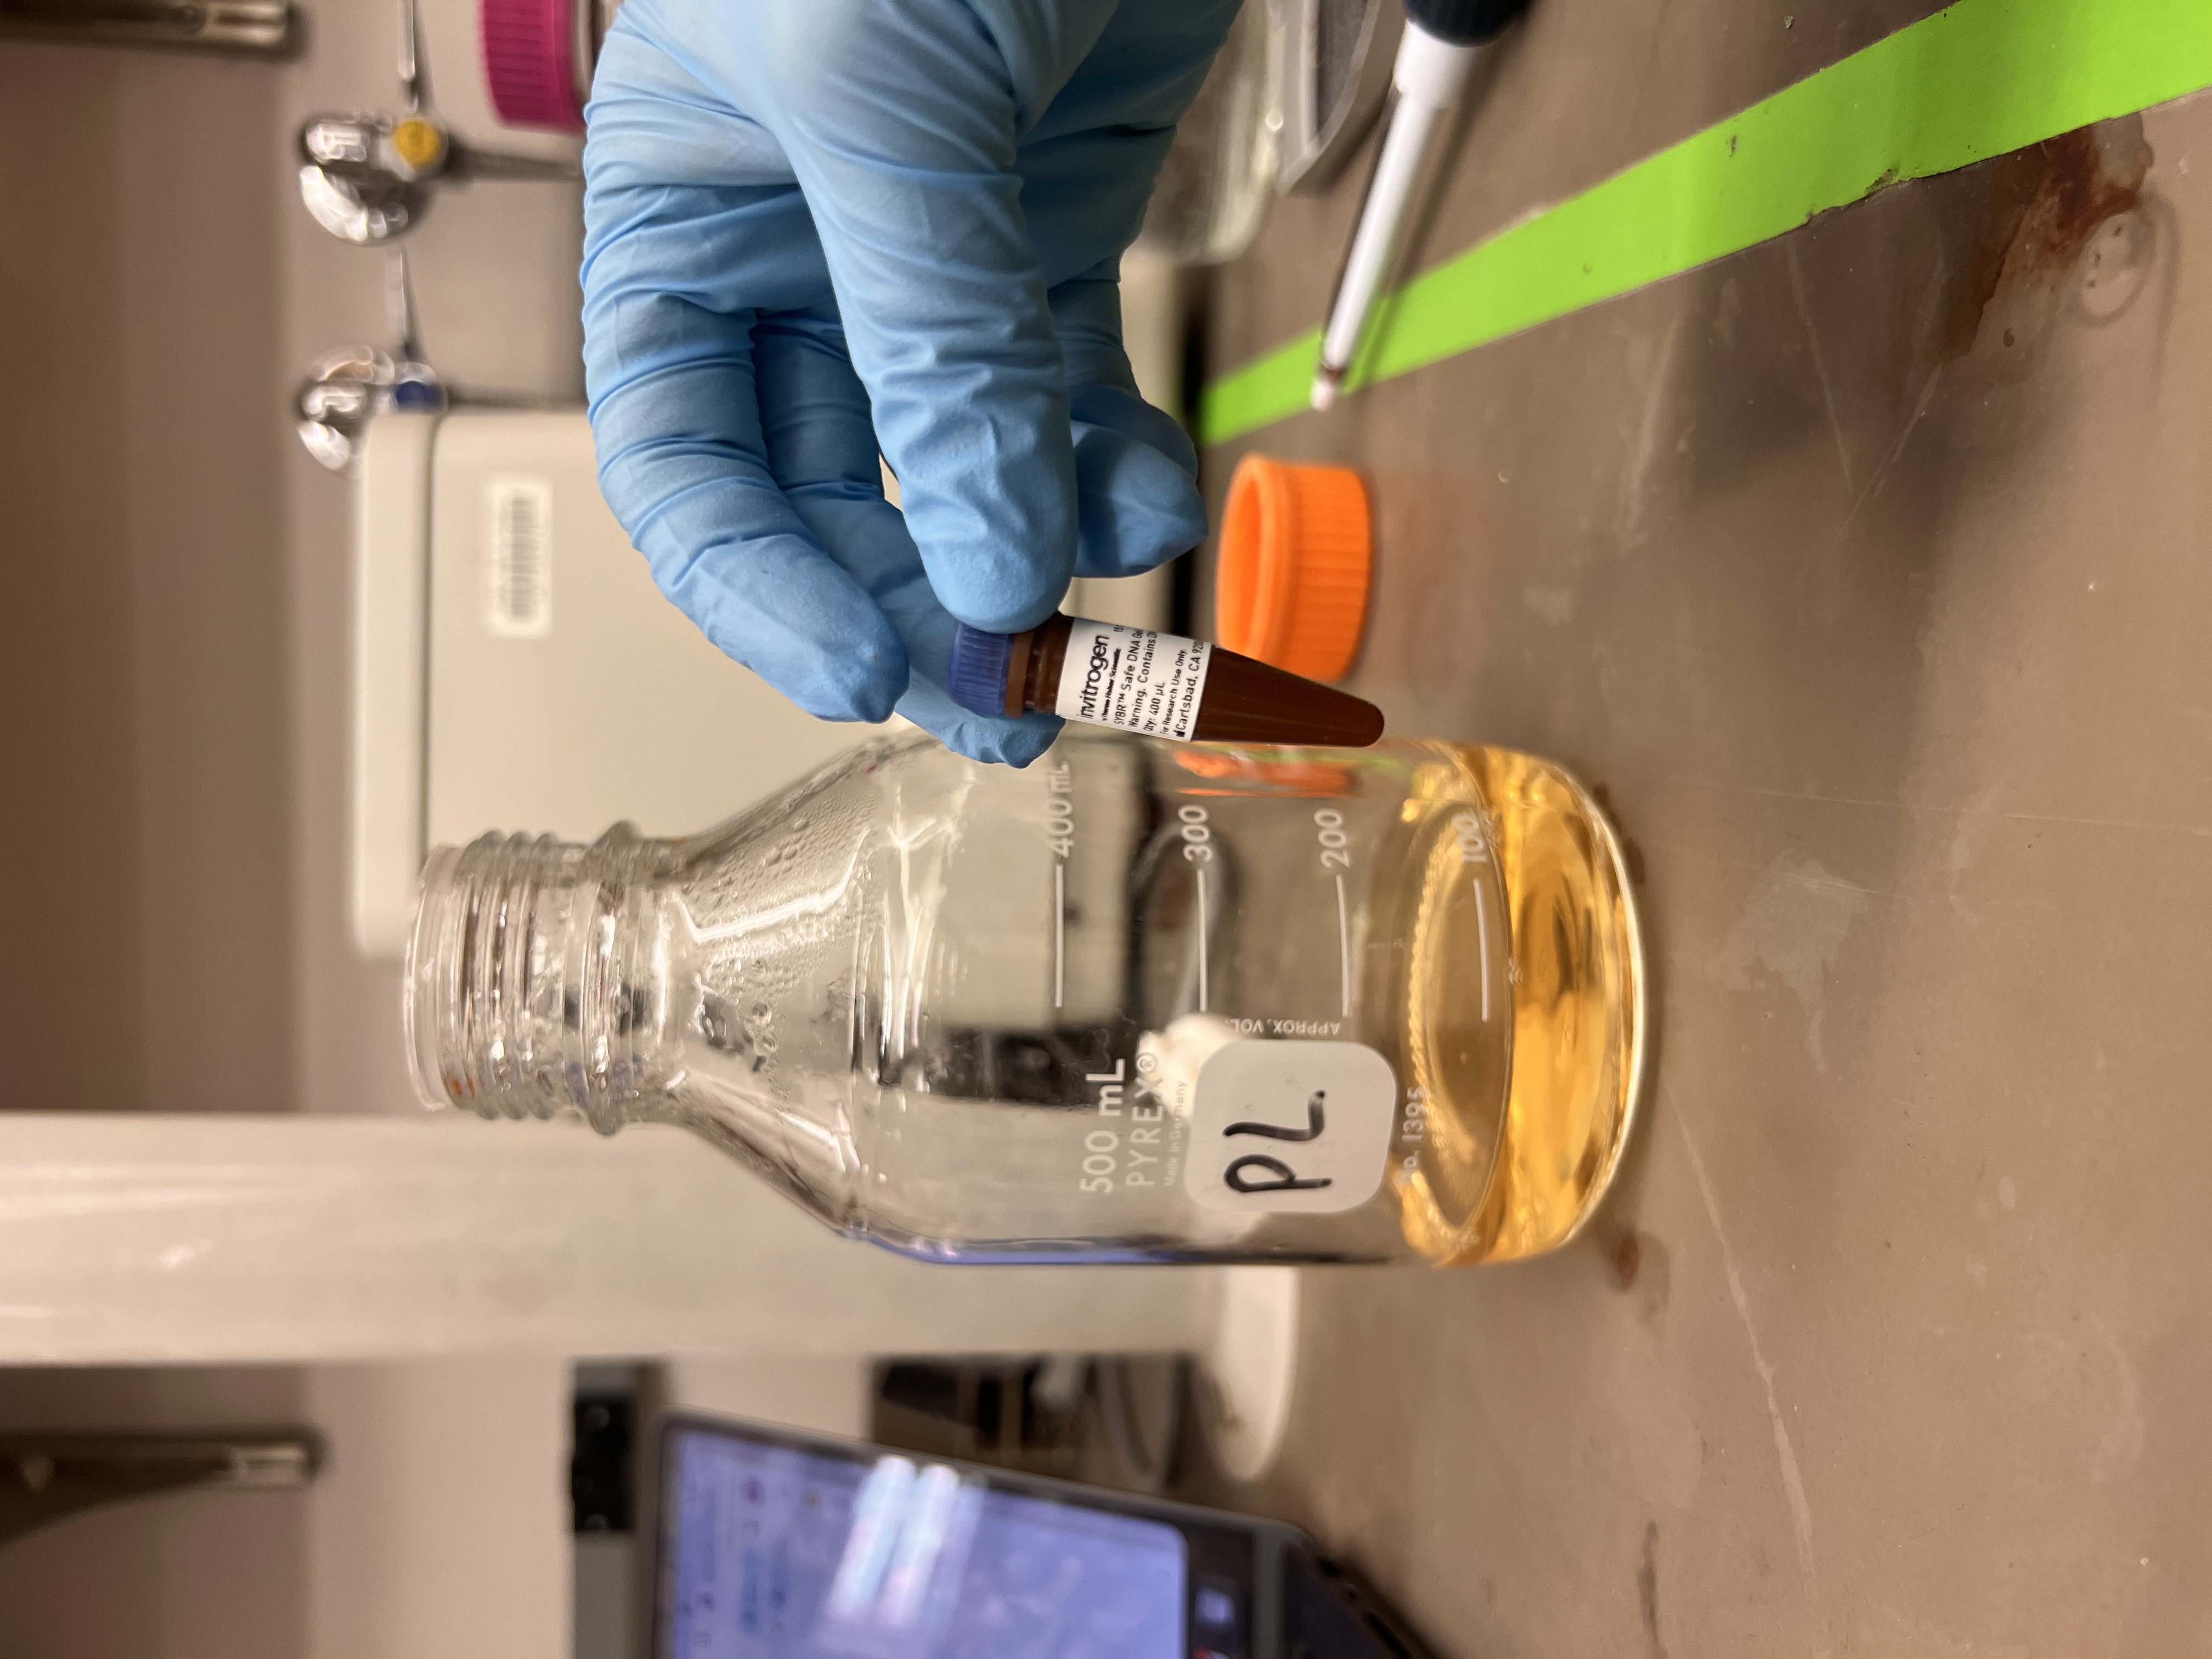 The SYBR Safe stain next to the flask of melted agarose.
We then poured the gel into the casting tray with the comb in place and waited for it to solidify.
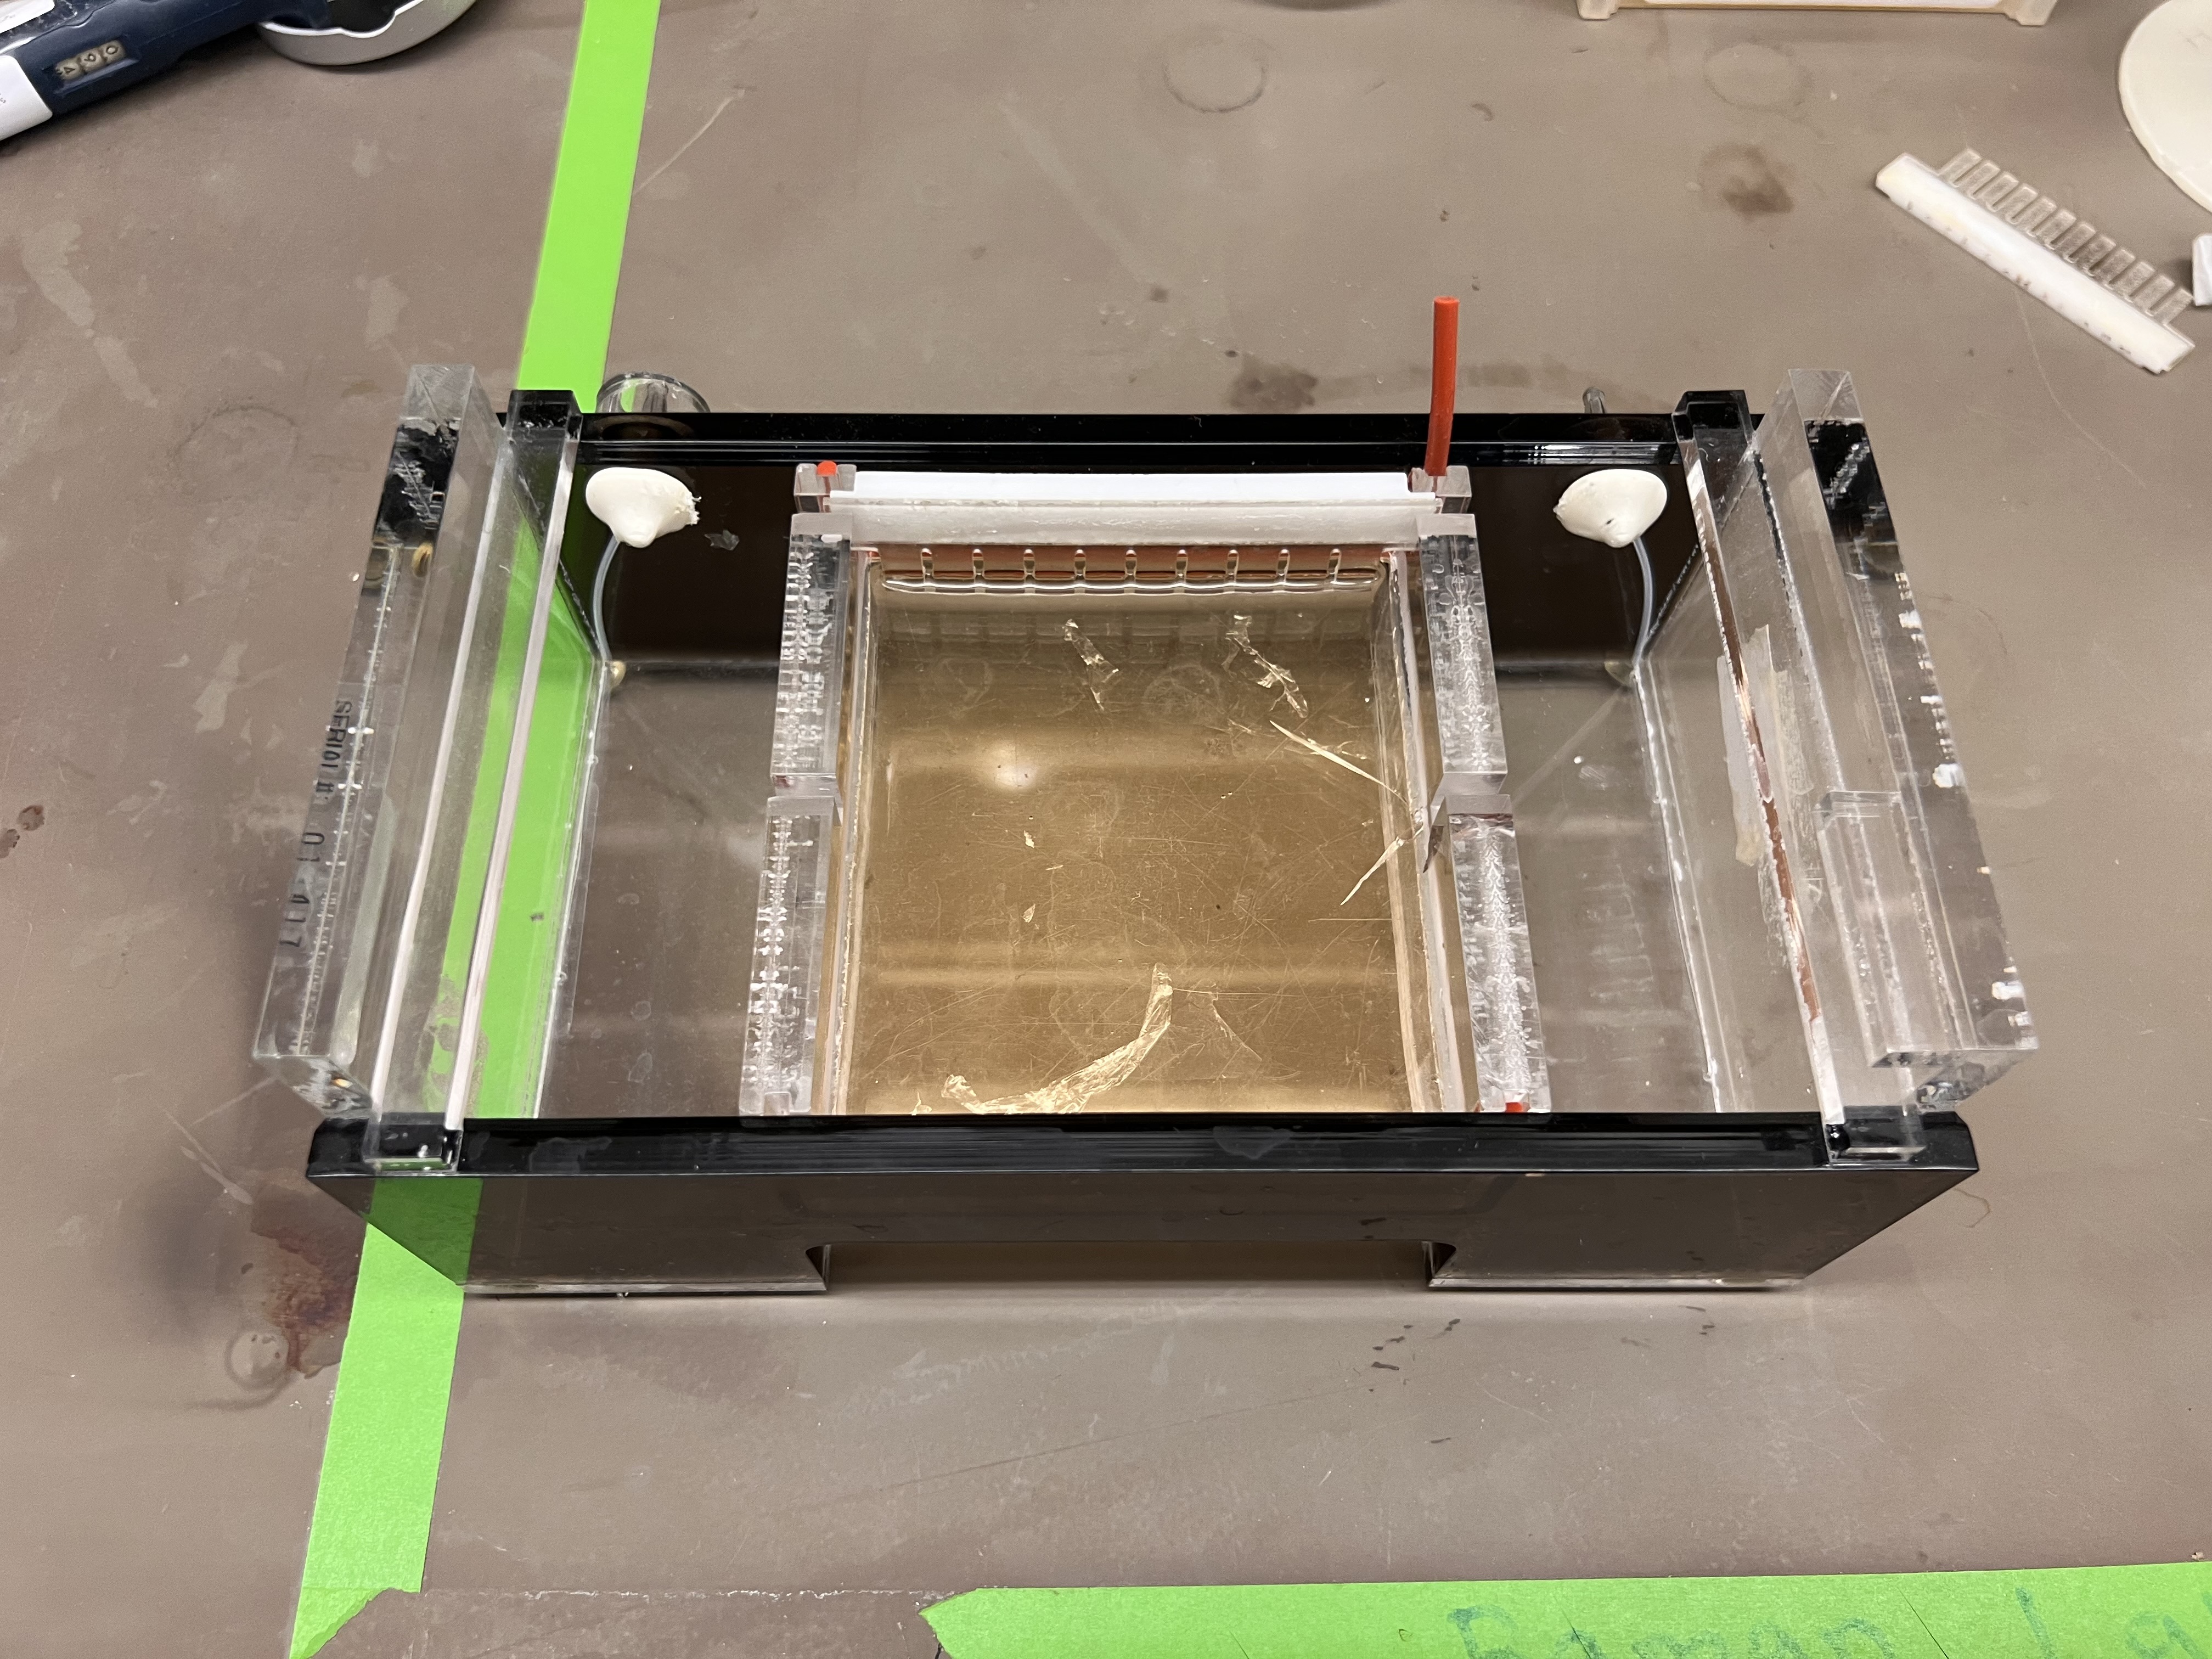 The gel cast in the electrophoresis tray with the comb creating wells at the top.
Step 3: Prepare the digest reactions
While waiting for the gel, we prepared the restriction digest reactions. Each tube was labeled 1-6 corresponding to our lane design. We pipetted water, CutSmart buffer, Lambda DNA, and the specific enzymes into each tube.
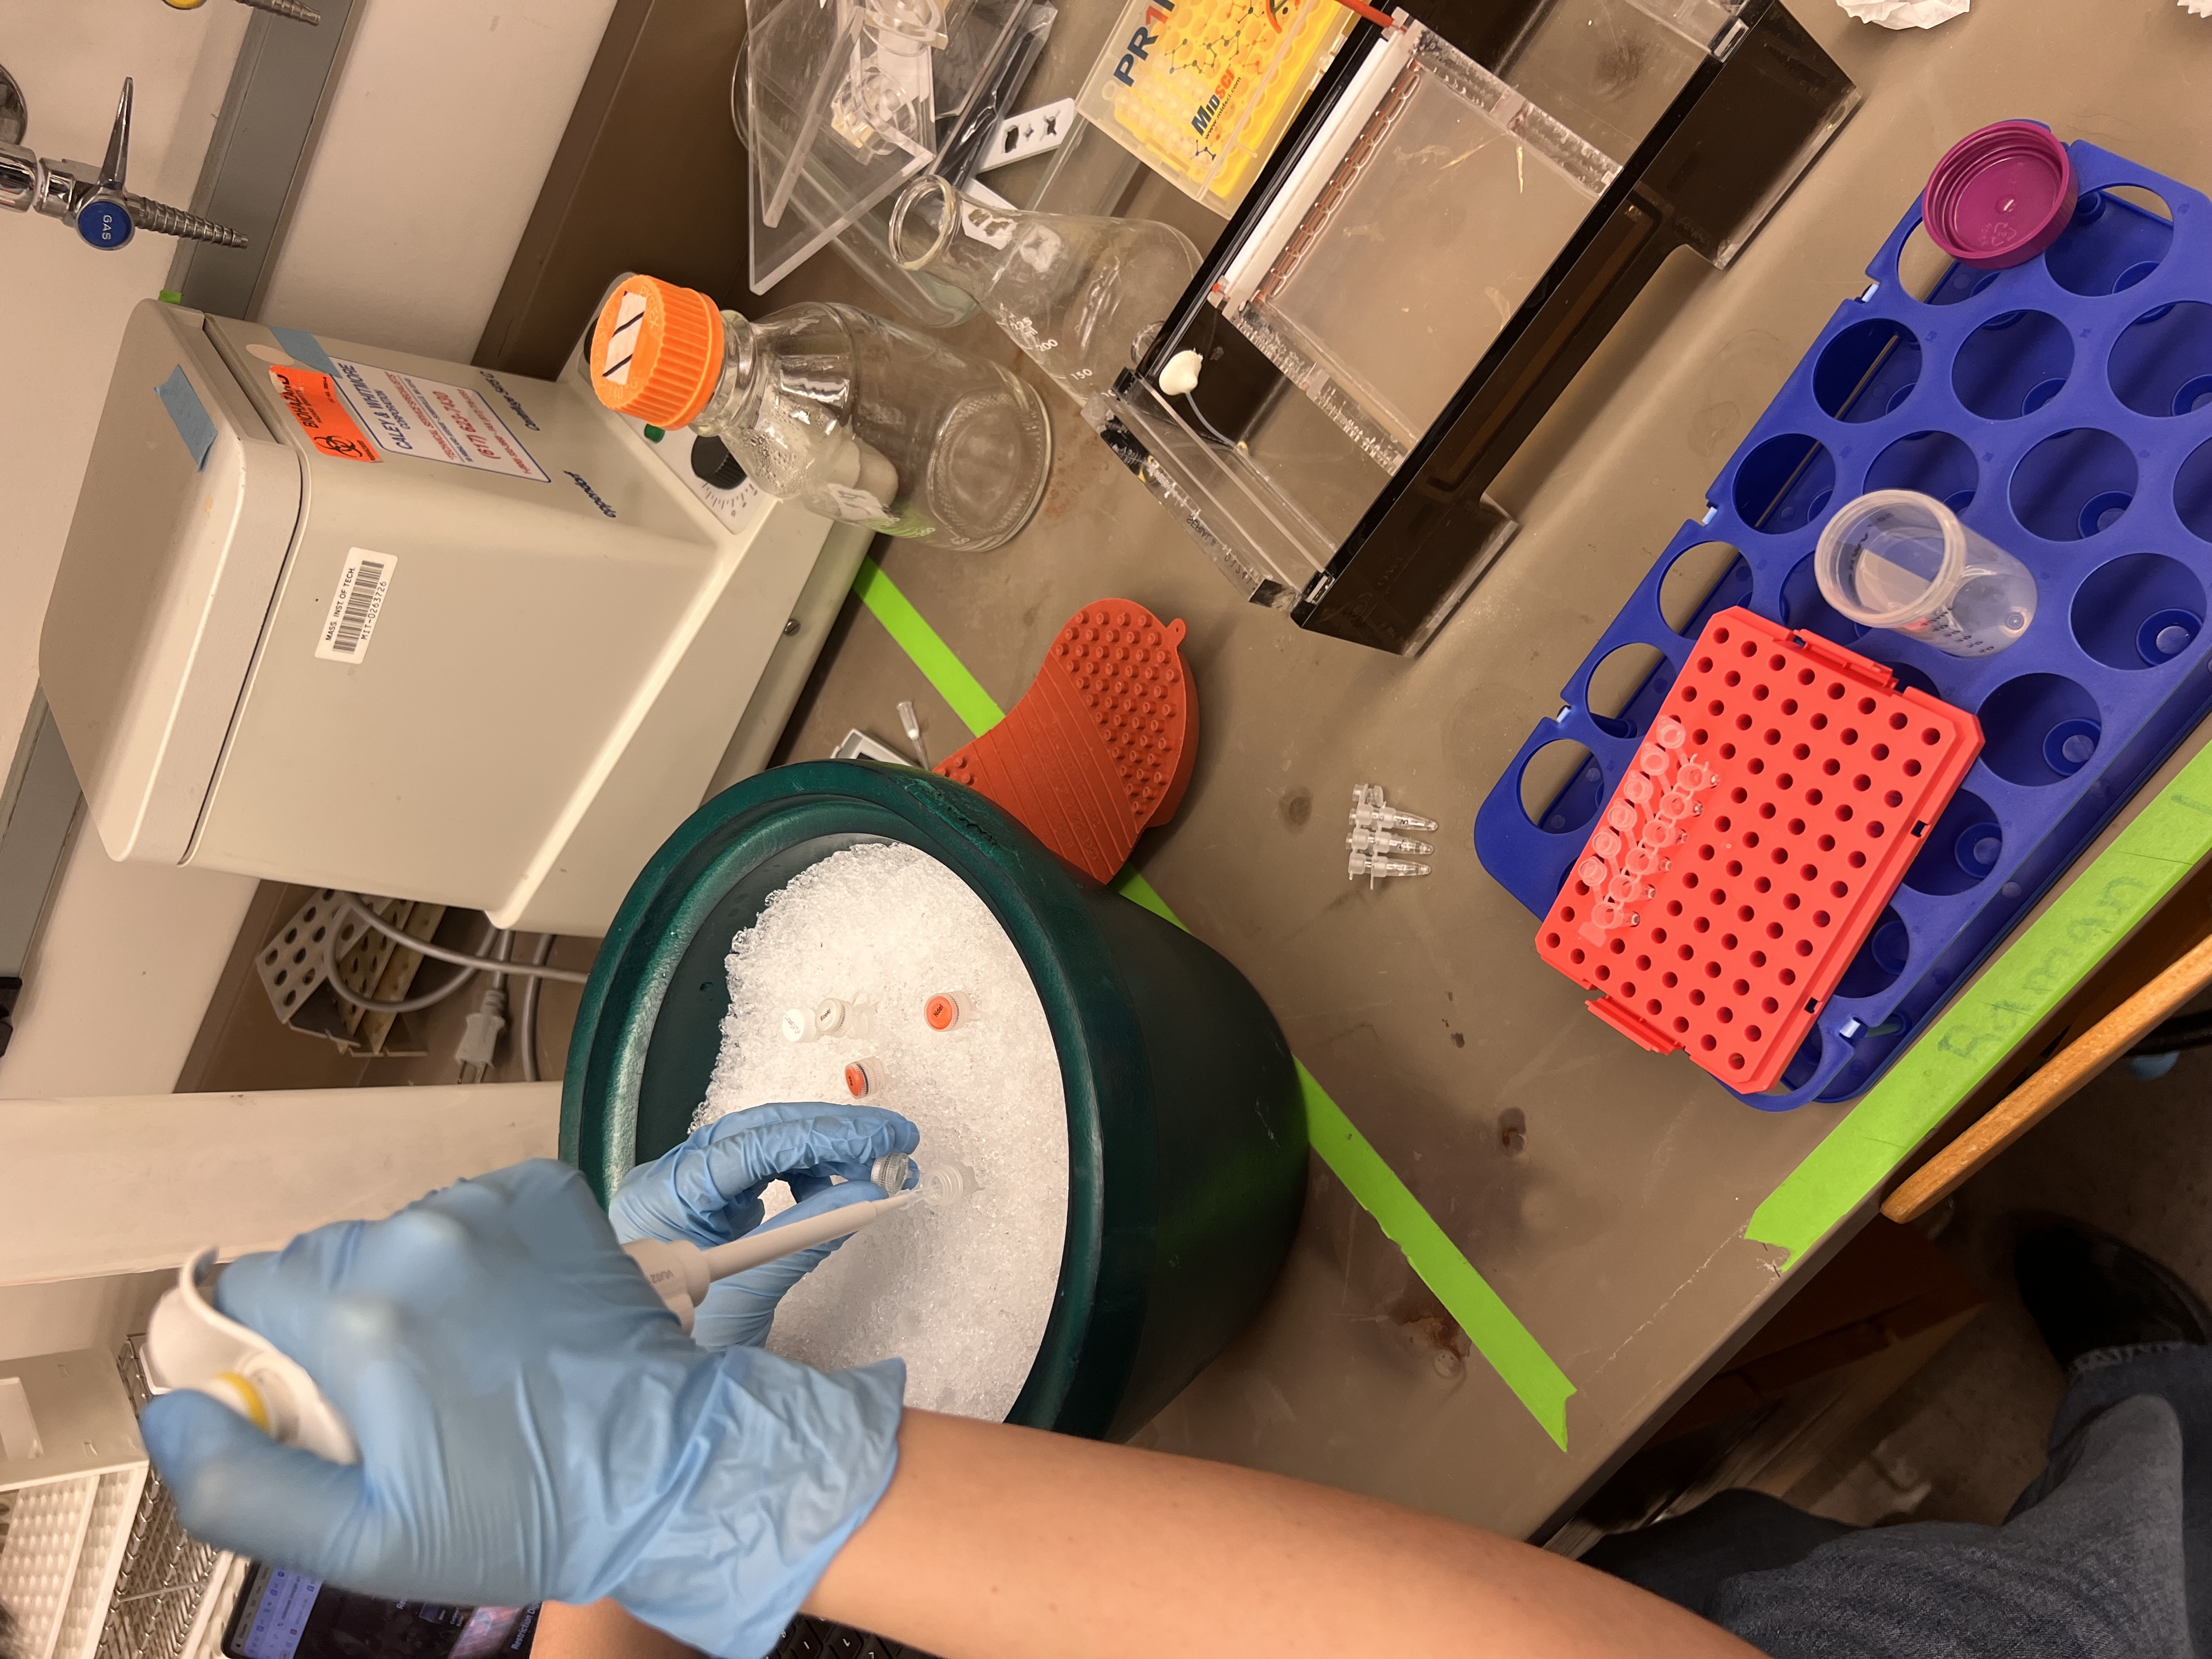 Pipetting enzymes and Lambda DNA stored on ice.
This was the most challenging part because the micropipetting was tricky. It was hard to tell whether we had the right amount, since the volumes are so small they’re essentially invisible in the pipette tip.
 Six labeled digest tubes ready for incubation.
Step 4: Add loading dye and load the gel
After incubation, we added loading dye to each reaction which would help us visually track how far the gel has run.
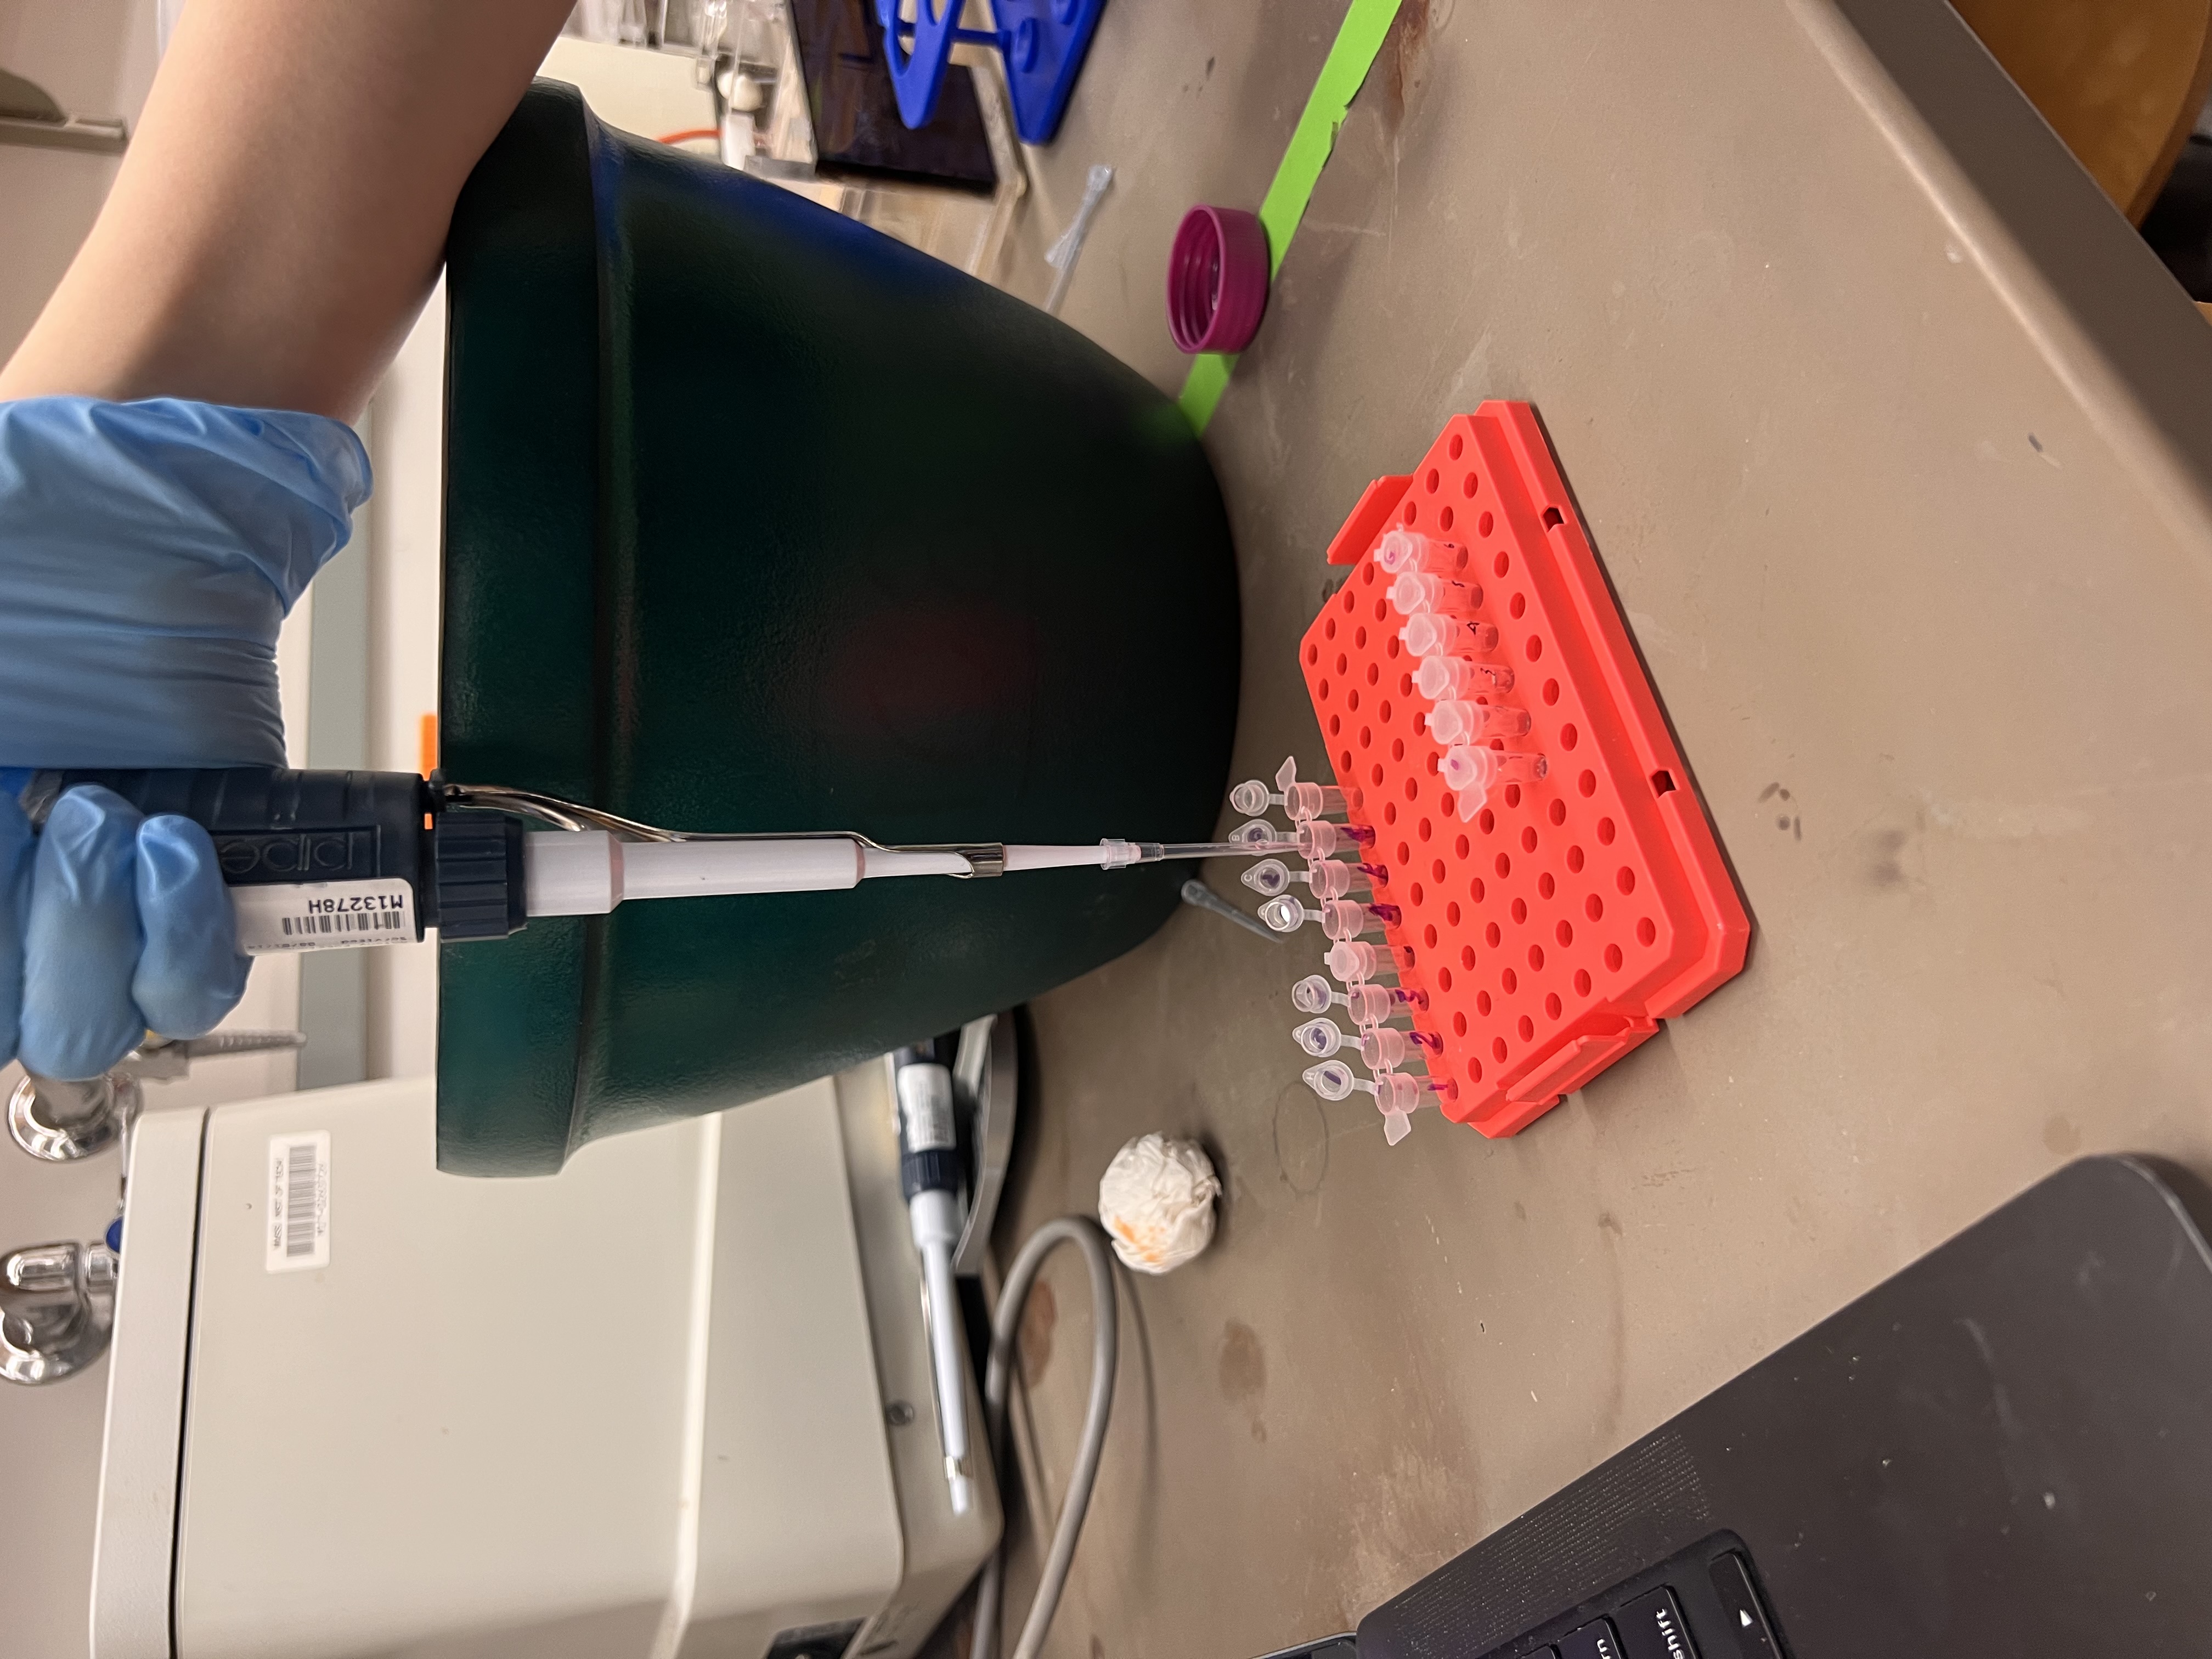 Adding loading purple dye to the digest reactions before loading into the gel.
We then filled casting wells with 1x TAE and loaded 20 uL of each samples
Step 5: Run the gel
Once loaded, we connected the electrodes and started running the gel. We noticed bubbles in the TAE buffer when the elctricity is on.
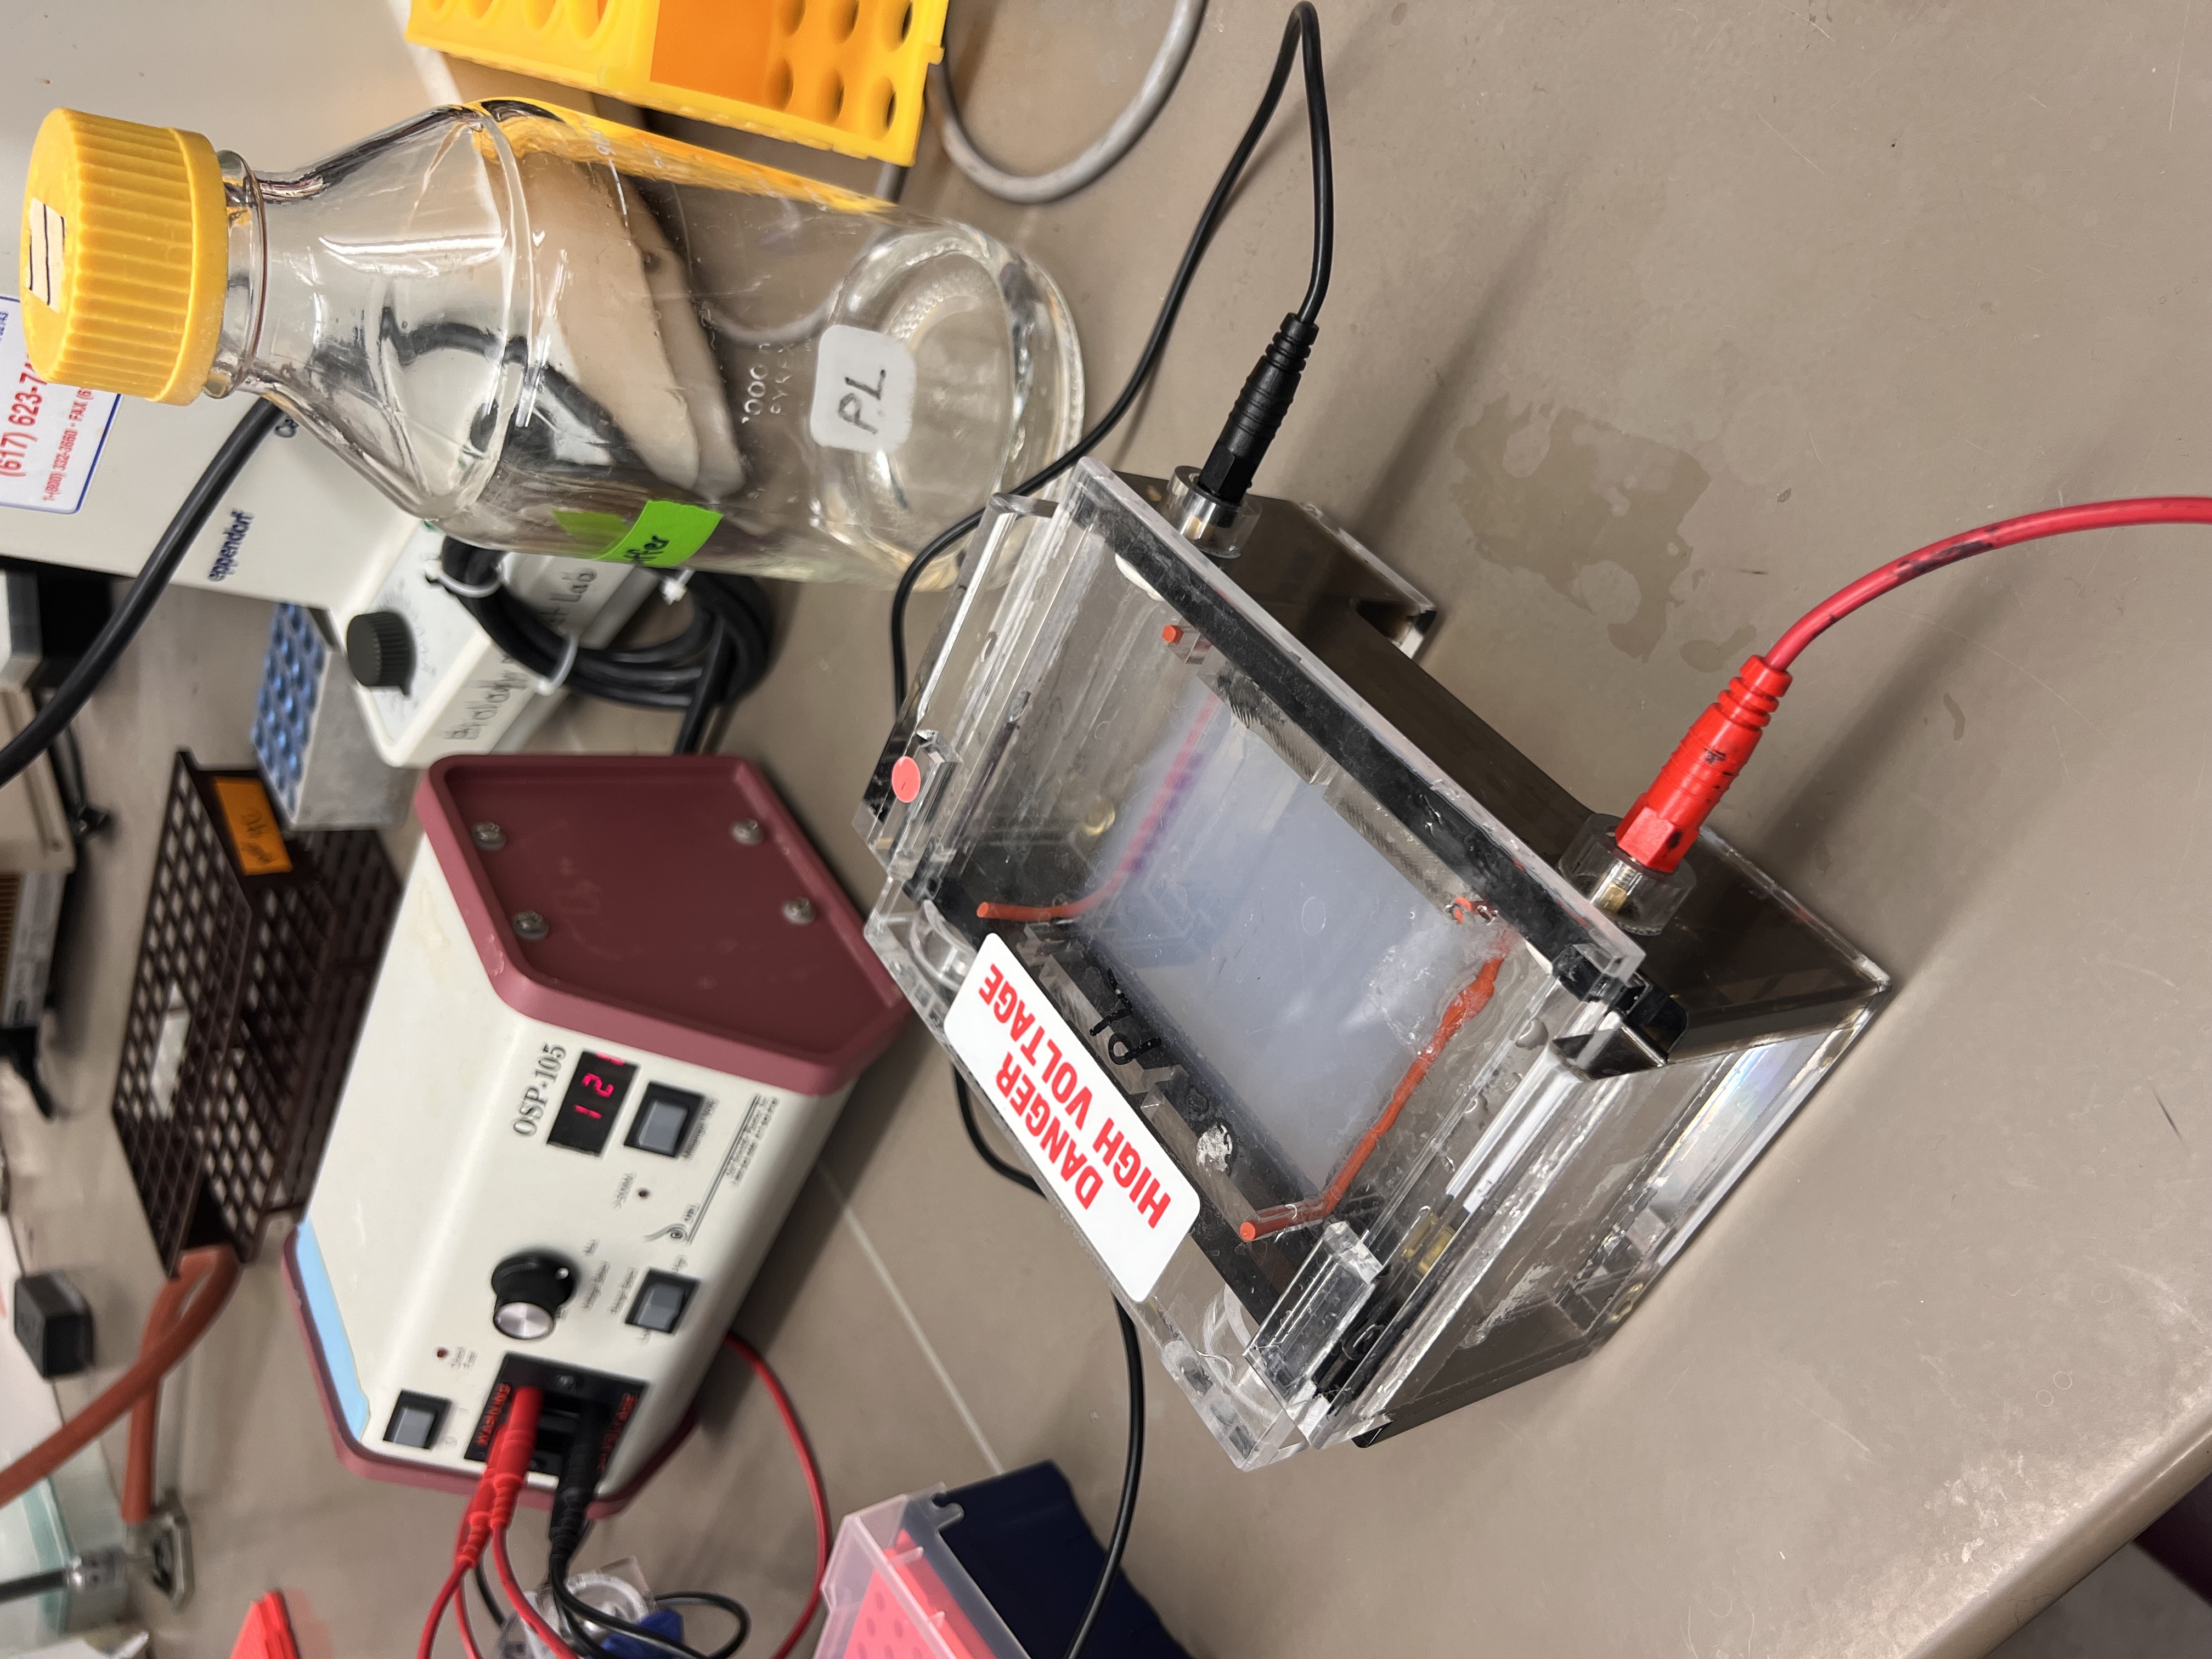 The electrophoresis setup running.
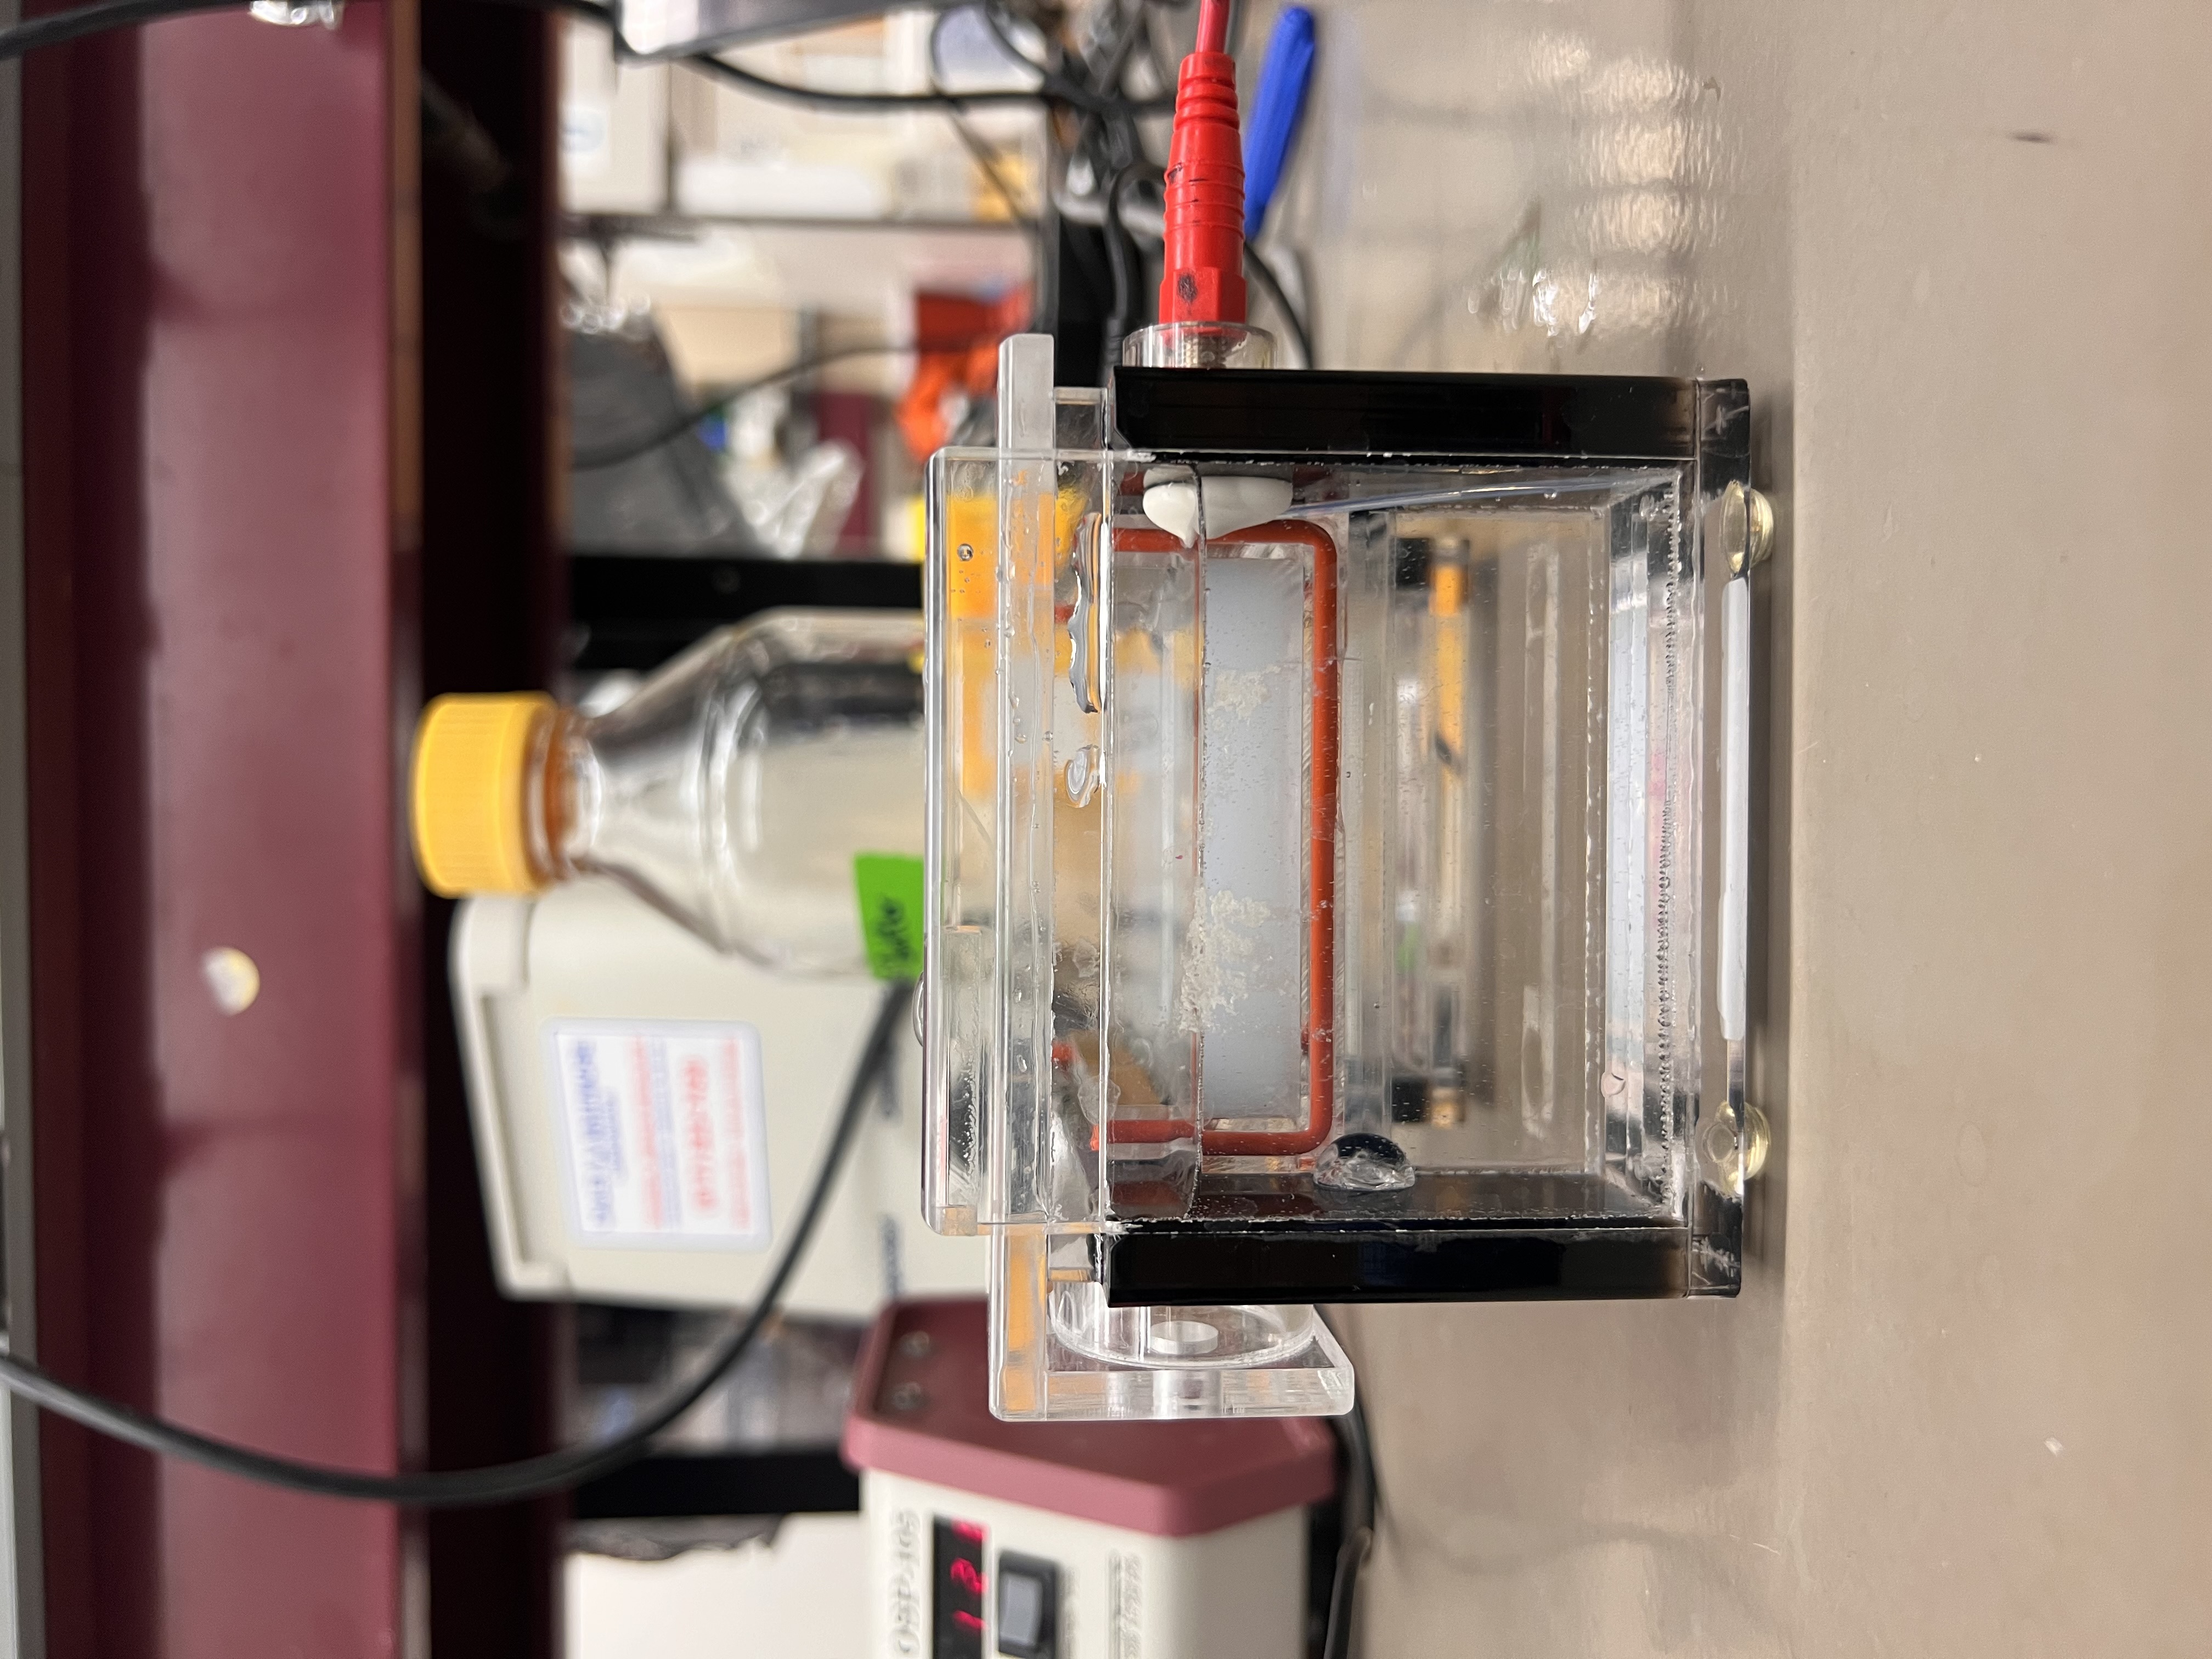 Small bubbles rising to surface
We ran it for about 45 minutes to allow the DNA to travel more than halfway throught the gel.
Results
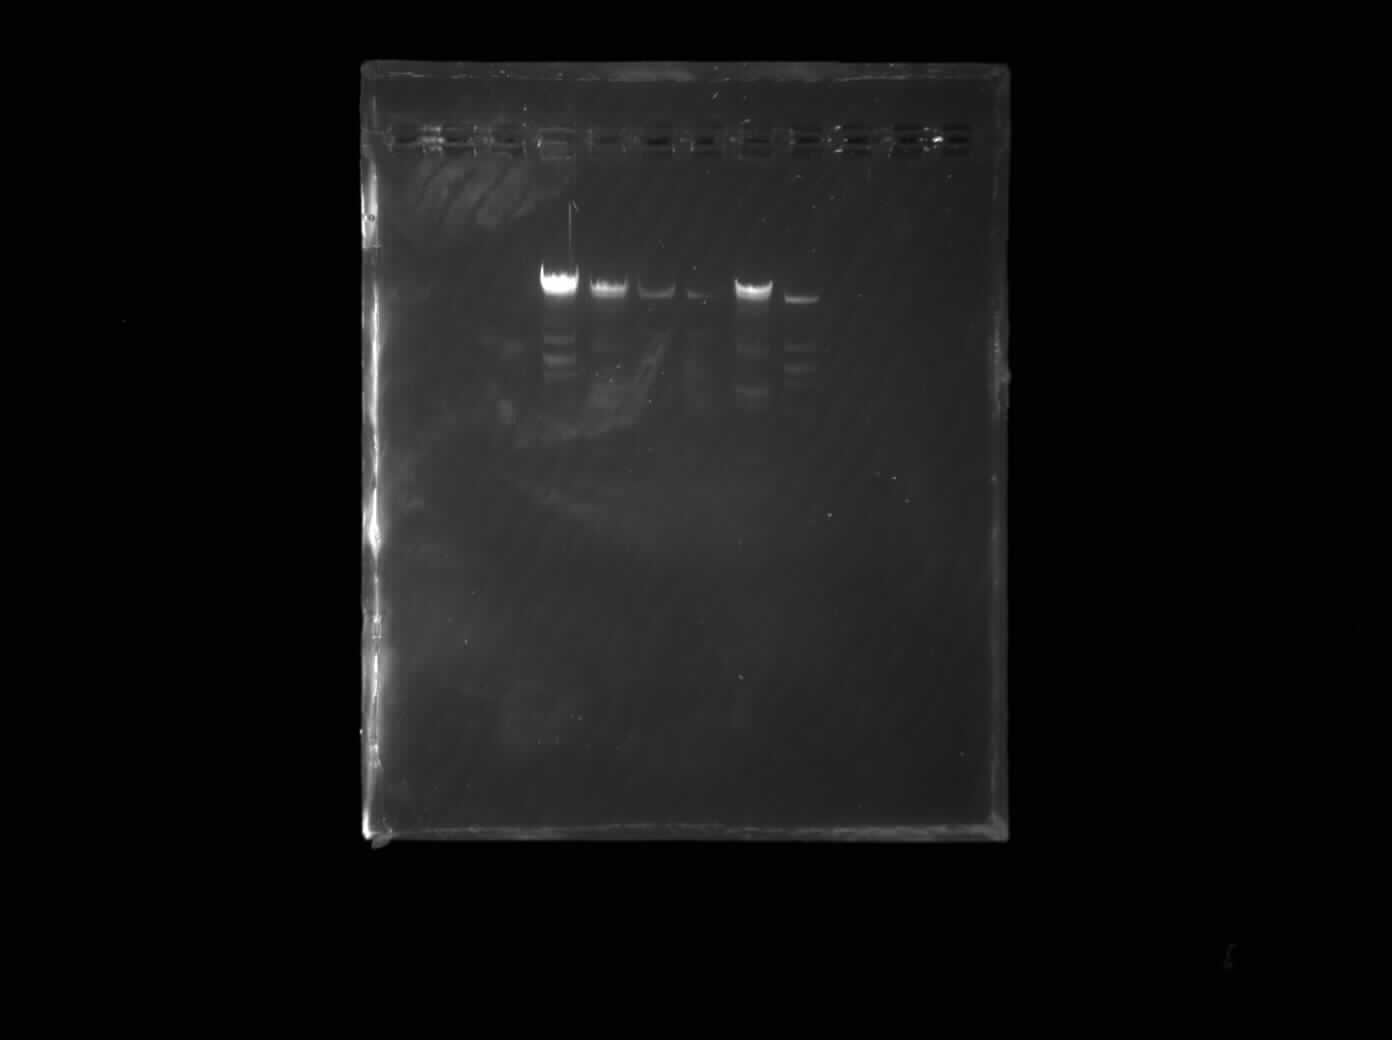
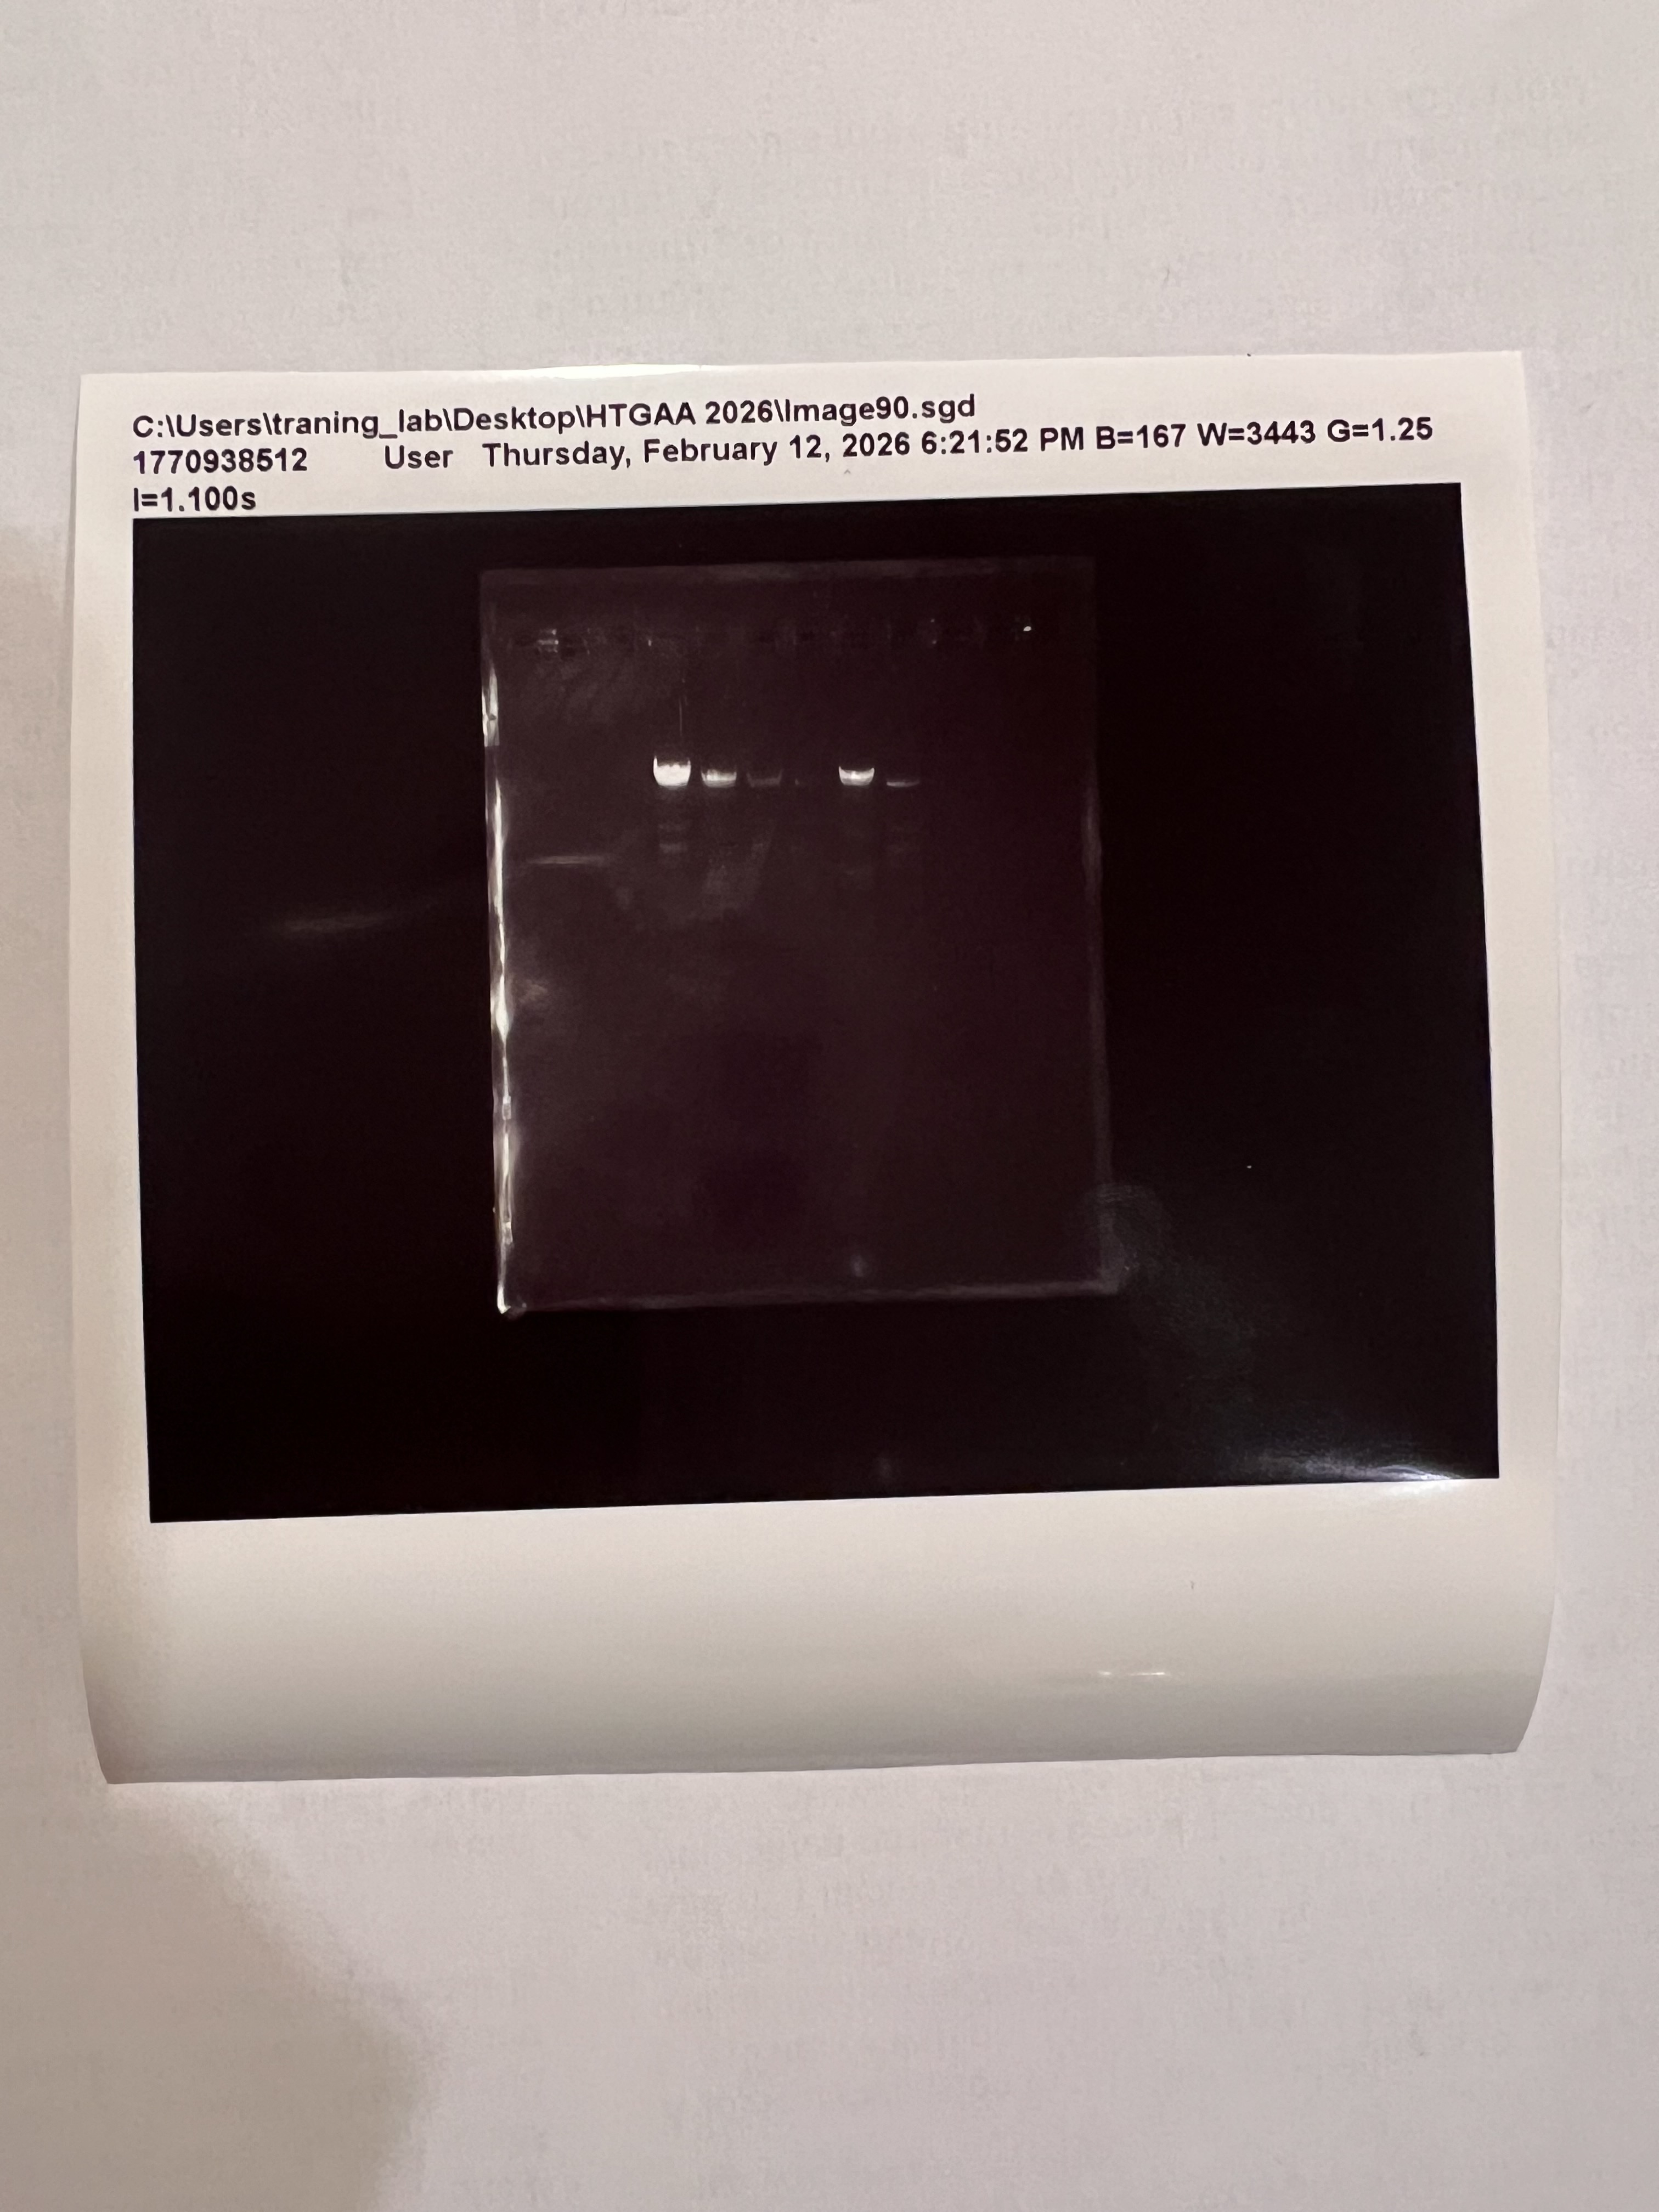 Printed gel image from the lab imager
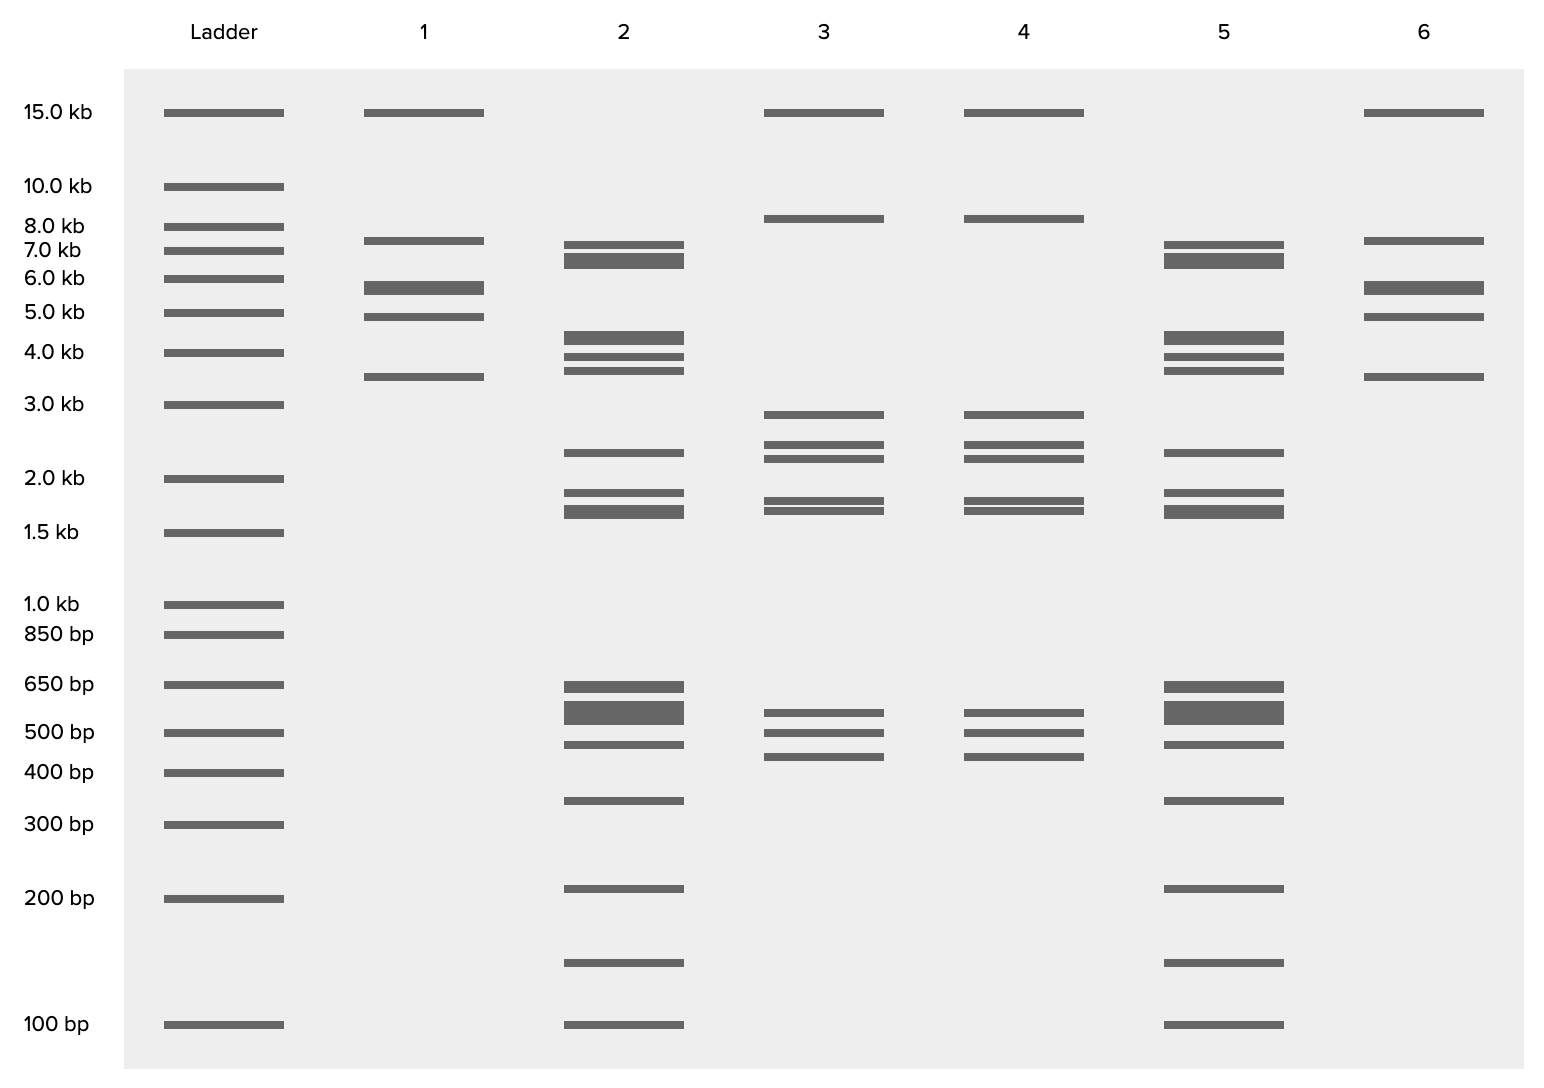
 Digital gel result
The symmetric design concept came through but the overall image was fainter and the lower section was not visible. Possible reasons might be too little DNA samples and shorter runtimes.