Subsections of Week 7 - Neuromorphic Networks Lab
Week 7 - Neuromorphic Networks Lab
Info
Installation Guide and Walk-through of the Neuromorphic Wizard Software.
Pre-lab: Installing the Neuromorphic Wizard
The following instruction were made with macOS 14.
Downloading the Software
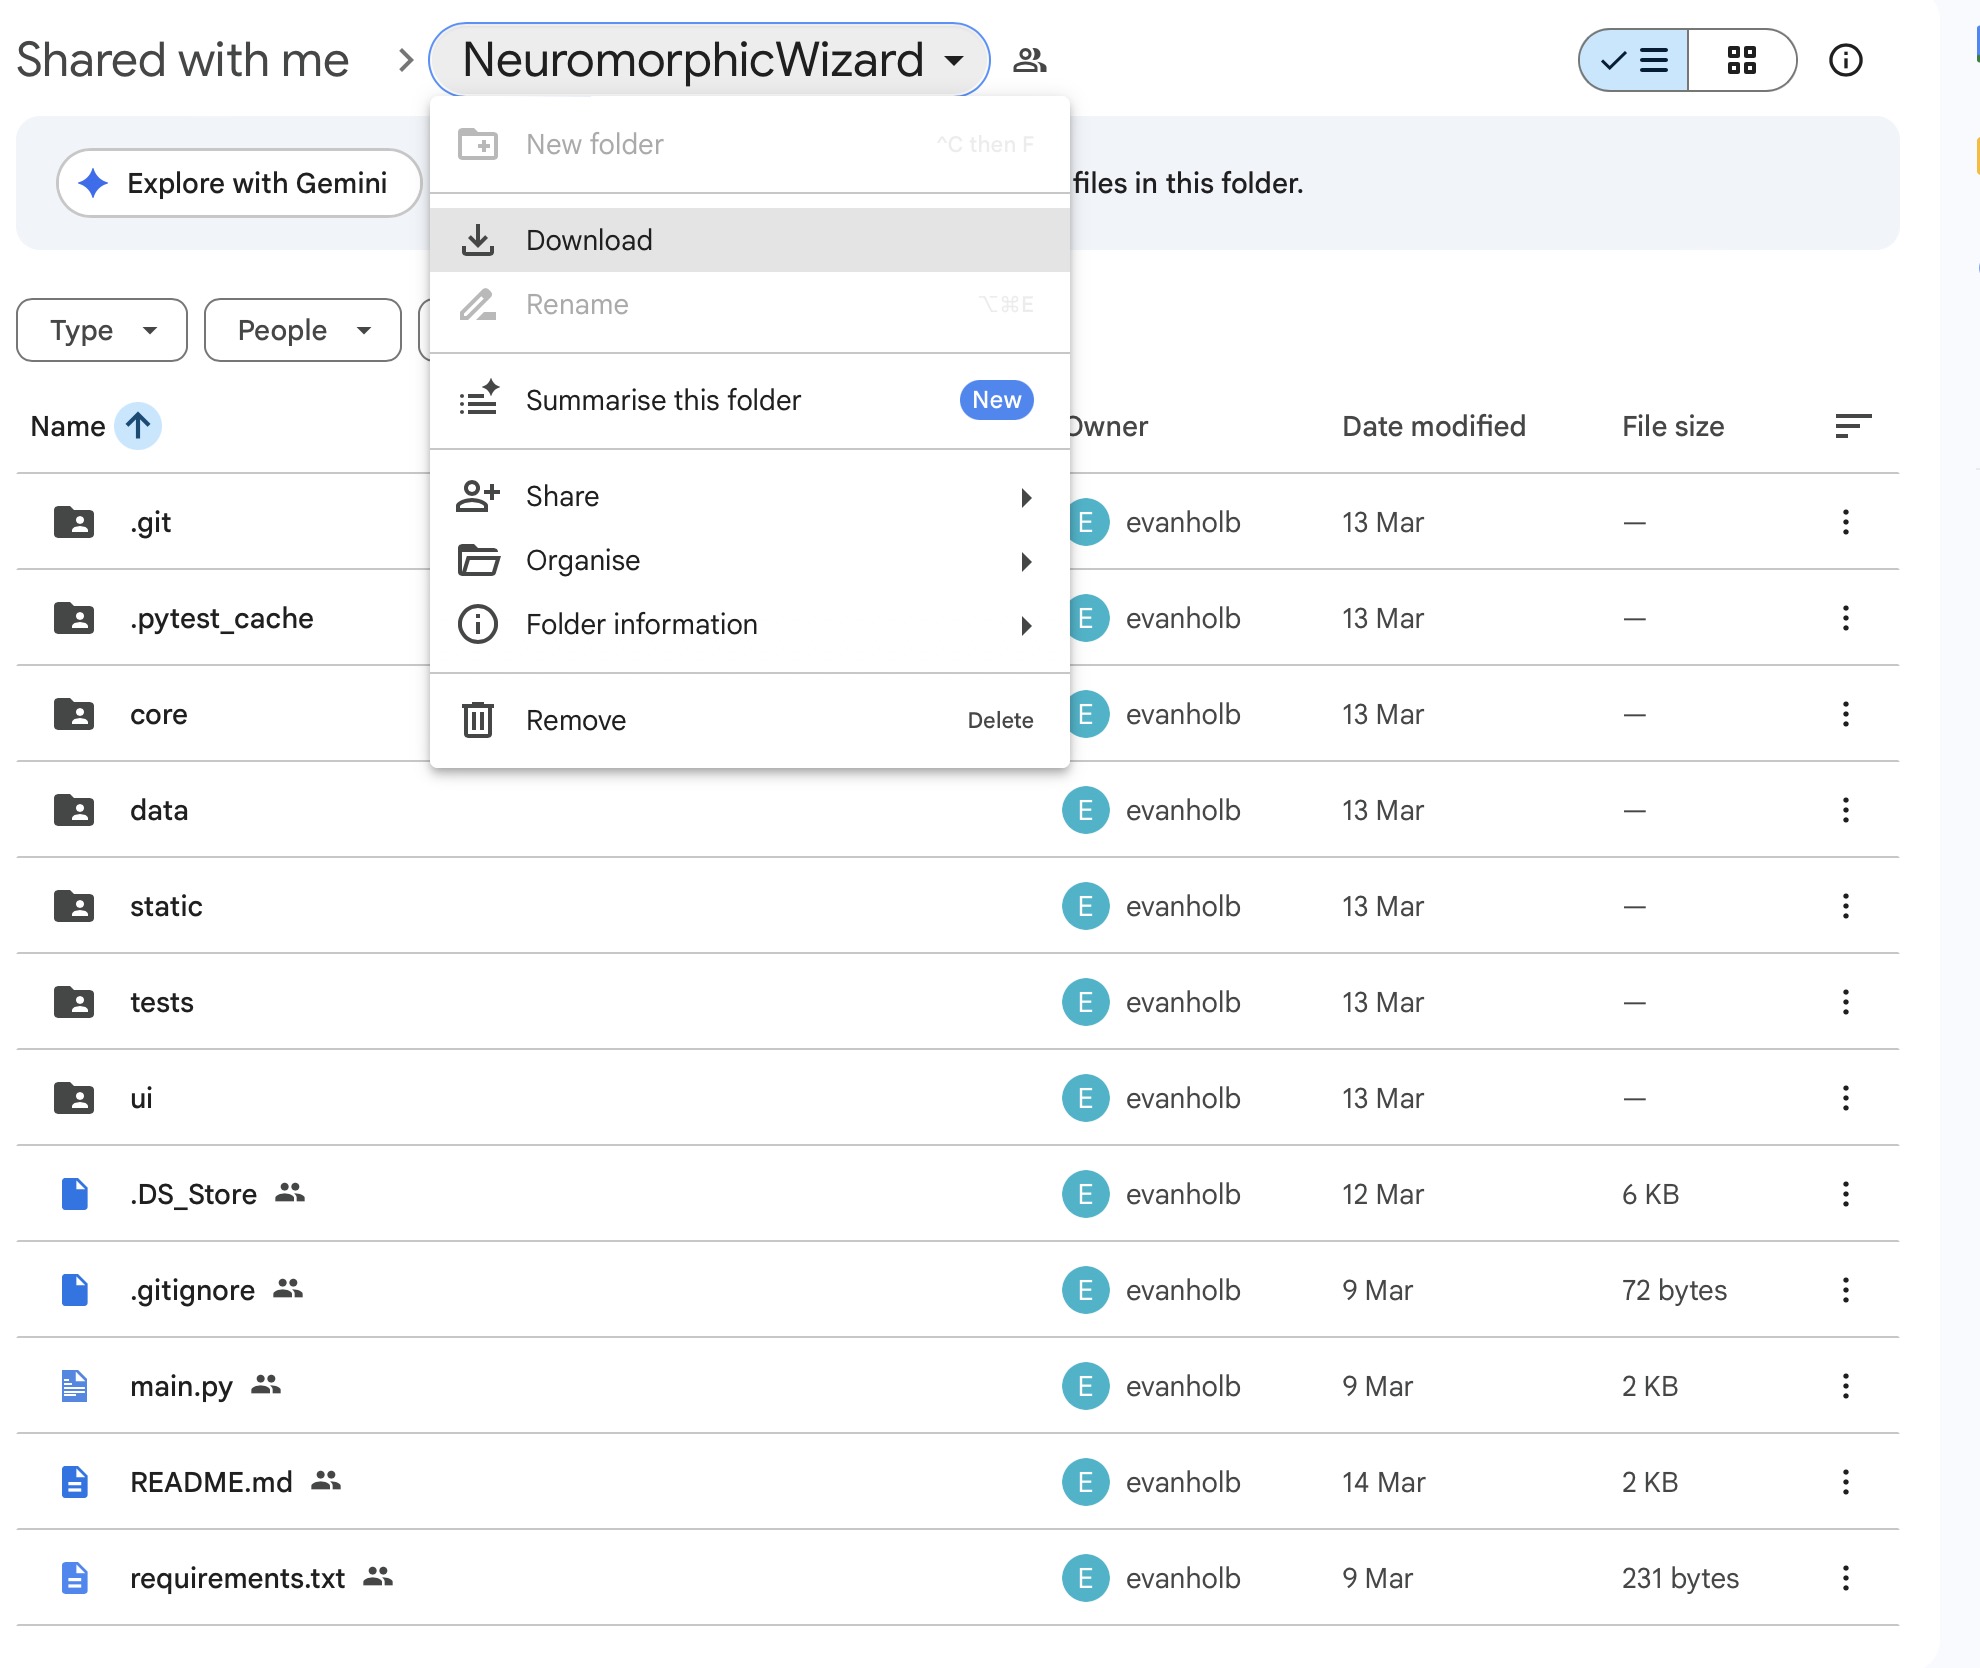
Evan is sharing the software as a Google Folder. Download the Folder by clicking Download in the Folder Menu.
Installing the Anaconda Package Manager
The Neuromorphic Wizard needs the Python Distribution & Package ManagerAnaconda to run. If you don’t have Anaconda on your system, download and install it.
You can check if you successfully installed Anaconda, by opening a Terminal and saying the following:
Which should give your something like:
Make sure that Anaconda is running before you proceed.
Installing the Software
We are installing the software from the Terminal.
Change into the Download Directory
In my case, I the directory into my Development Folder.
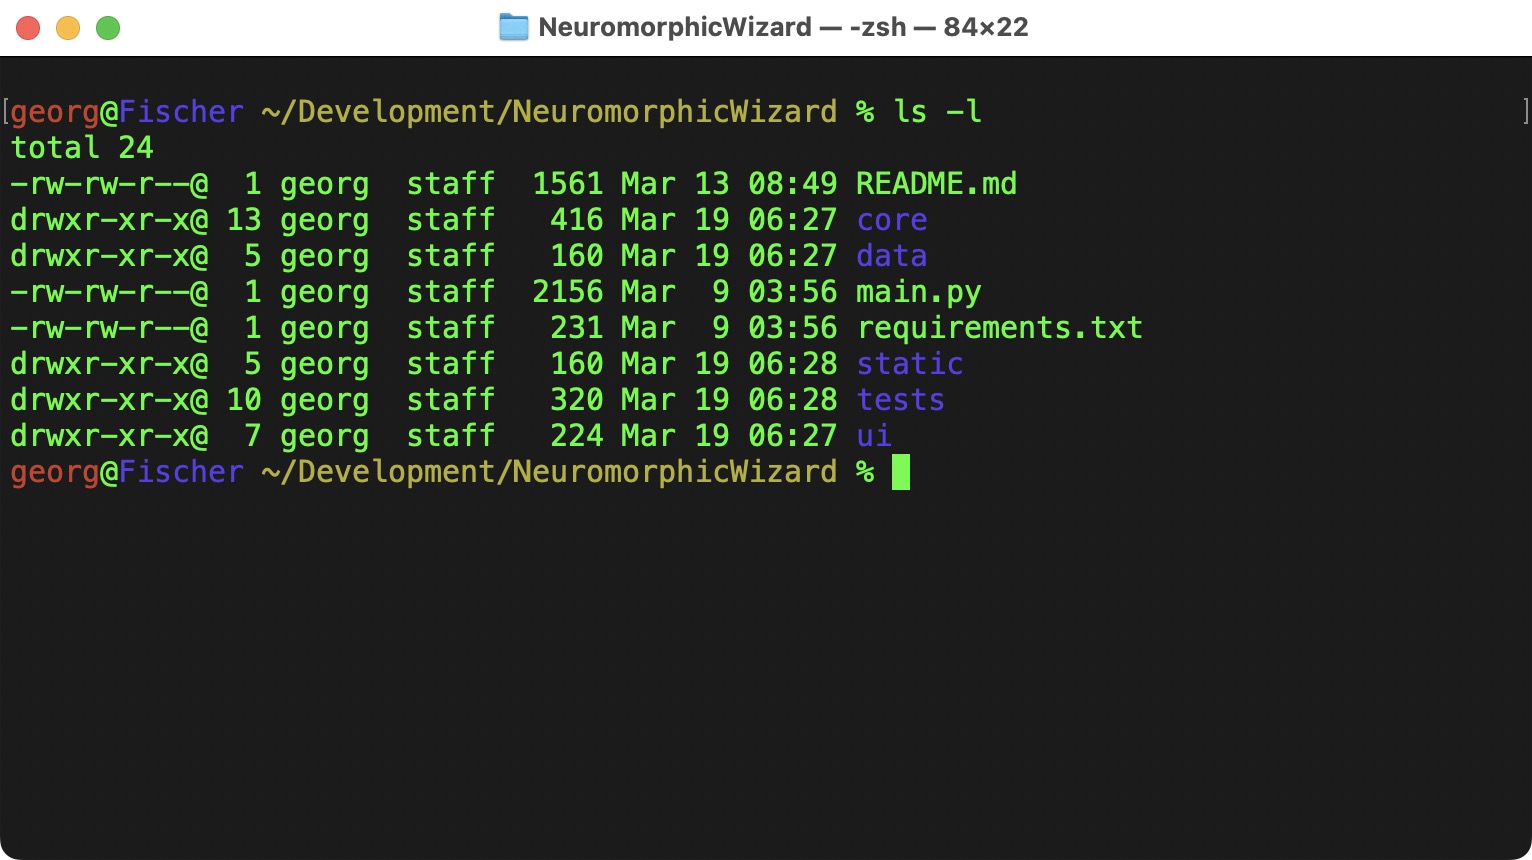
The README.md has more details about the installtion, but I am also summarizing them here.
Creating a Virtual Environment with Conda
Although there is a version of Python on most computers, we can use Virtual Environment to create an Environment that does not interfere with any other Python installation on your computer.
To create an enviroment with Python 3.10:
To activate it:
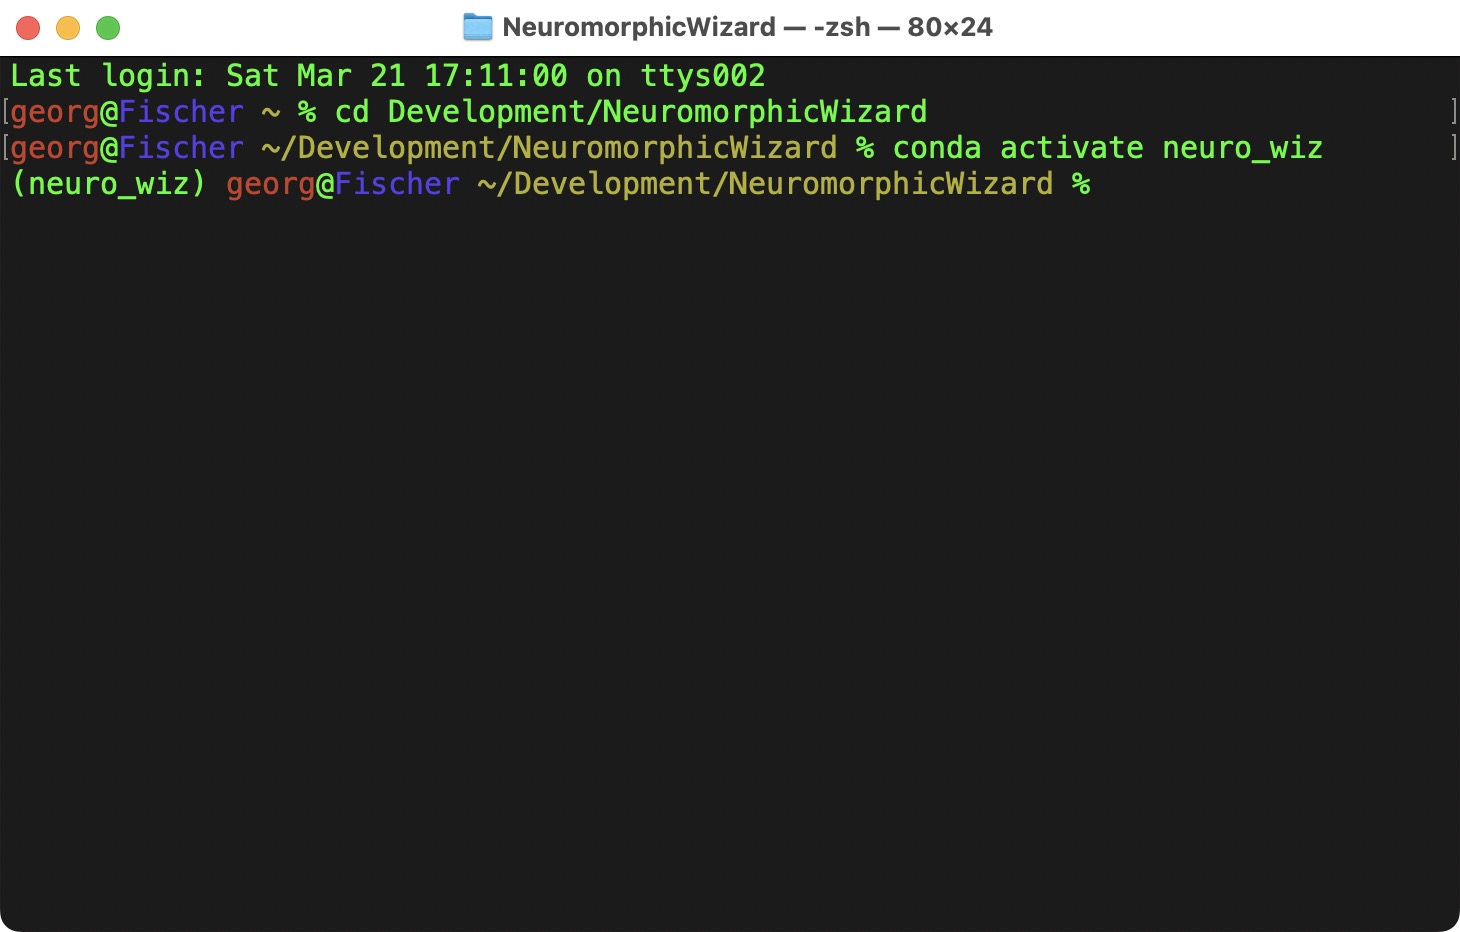
Now we have a fresh enviroment, where we can install the Neuromorphic Wizard and its dependencies into.
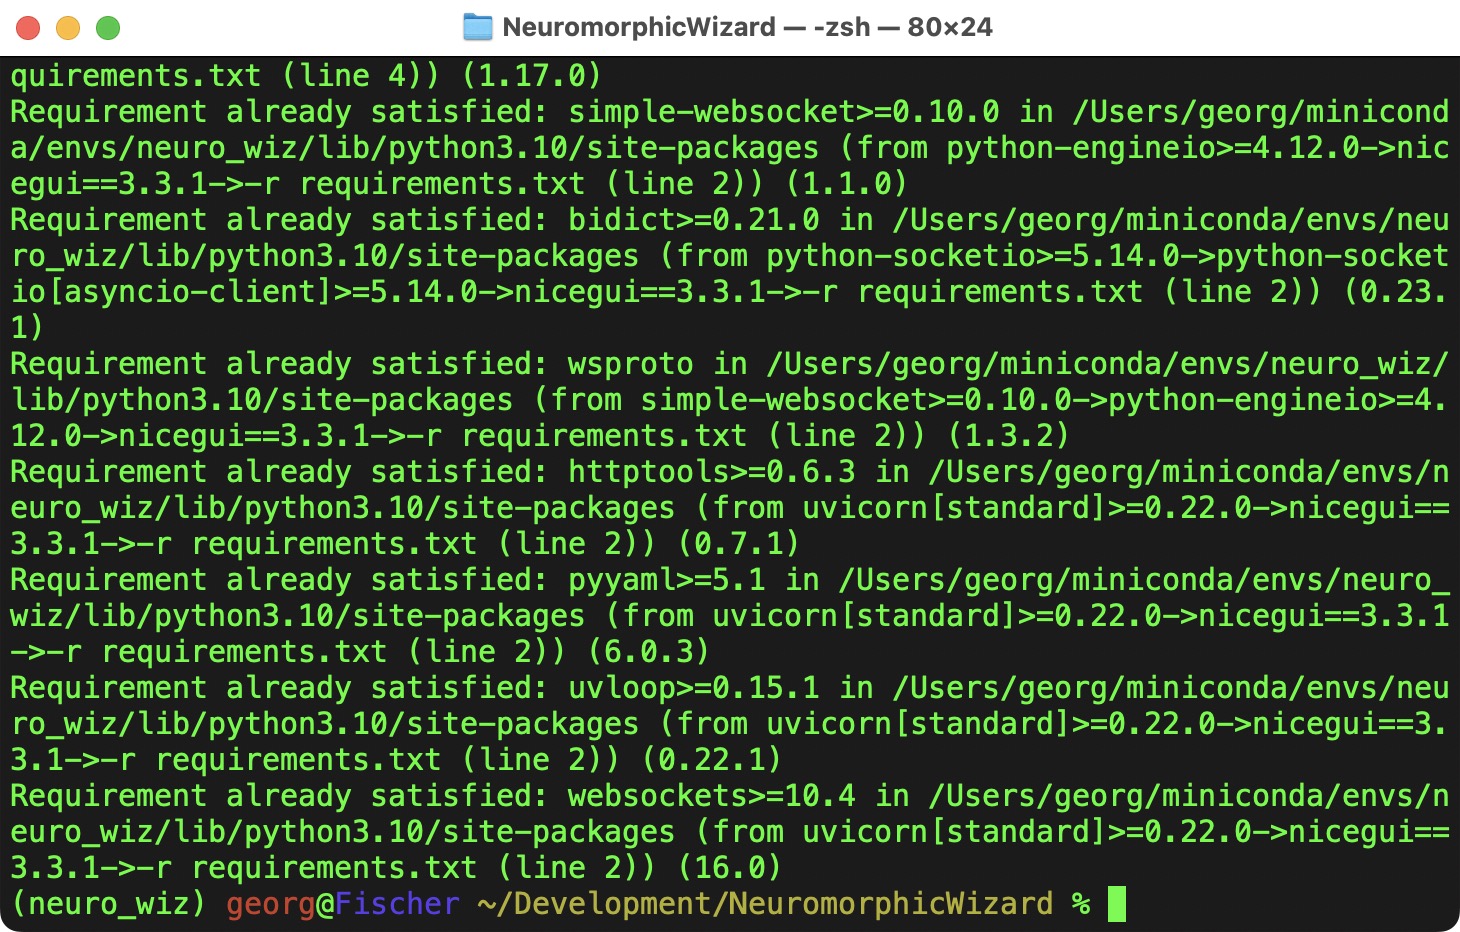
pip is the Python Package Manager, it takes the requirements listed in requirements.txt and install all the necessary packages.
Starting the Application
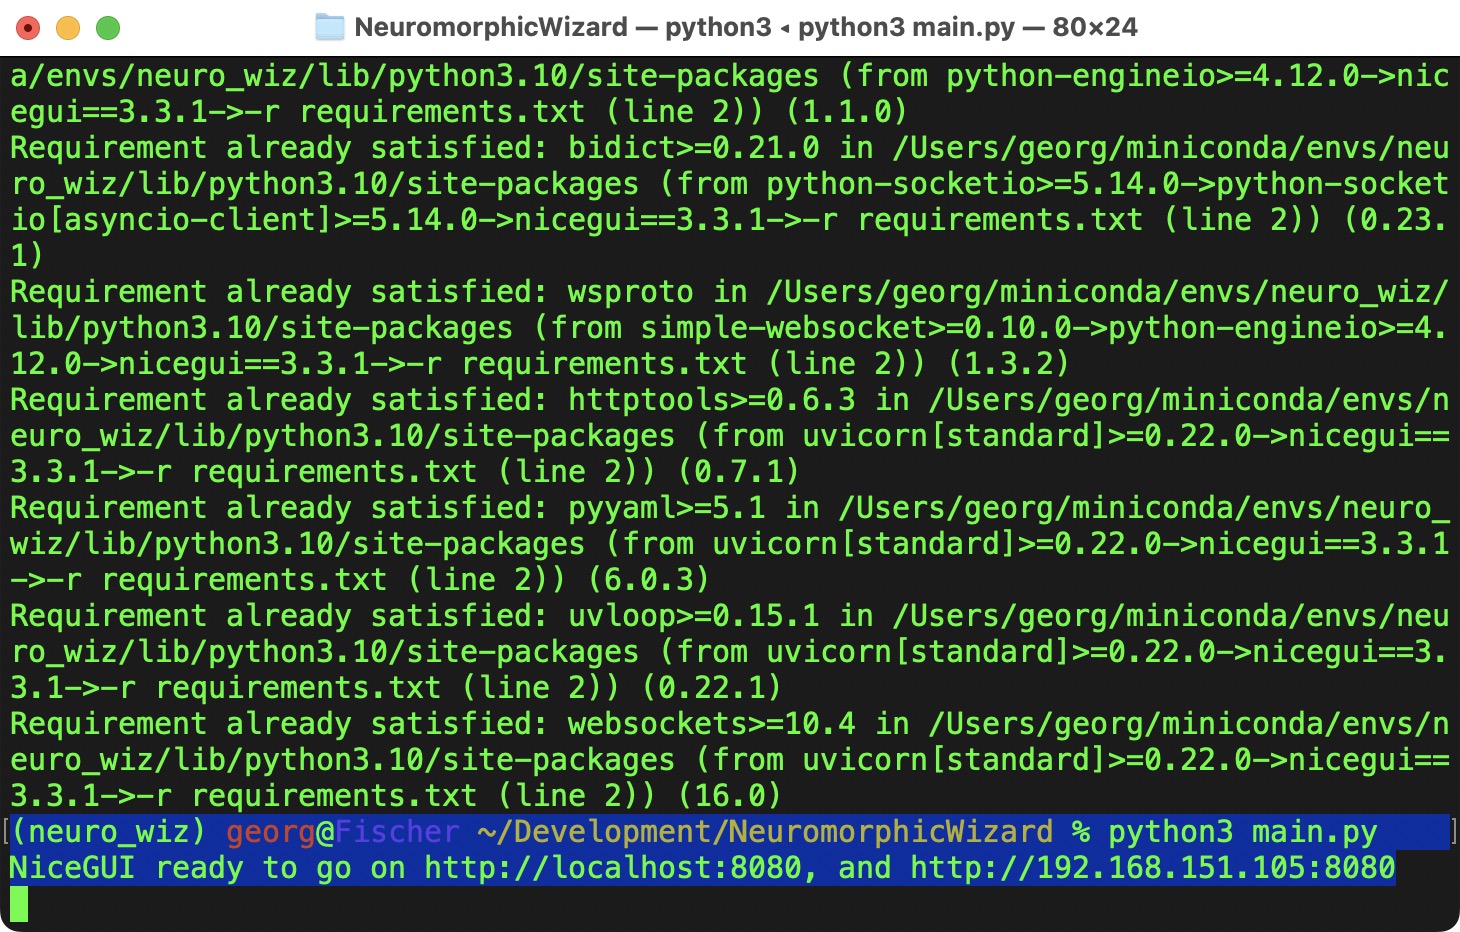
I might take a couple of seconds to start the application. A new browser should open - if it does not open automatically, go to http://localhost:8080.
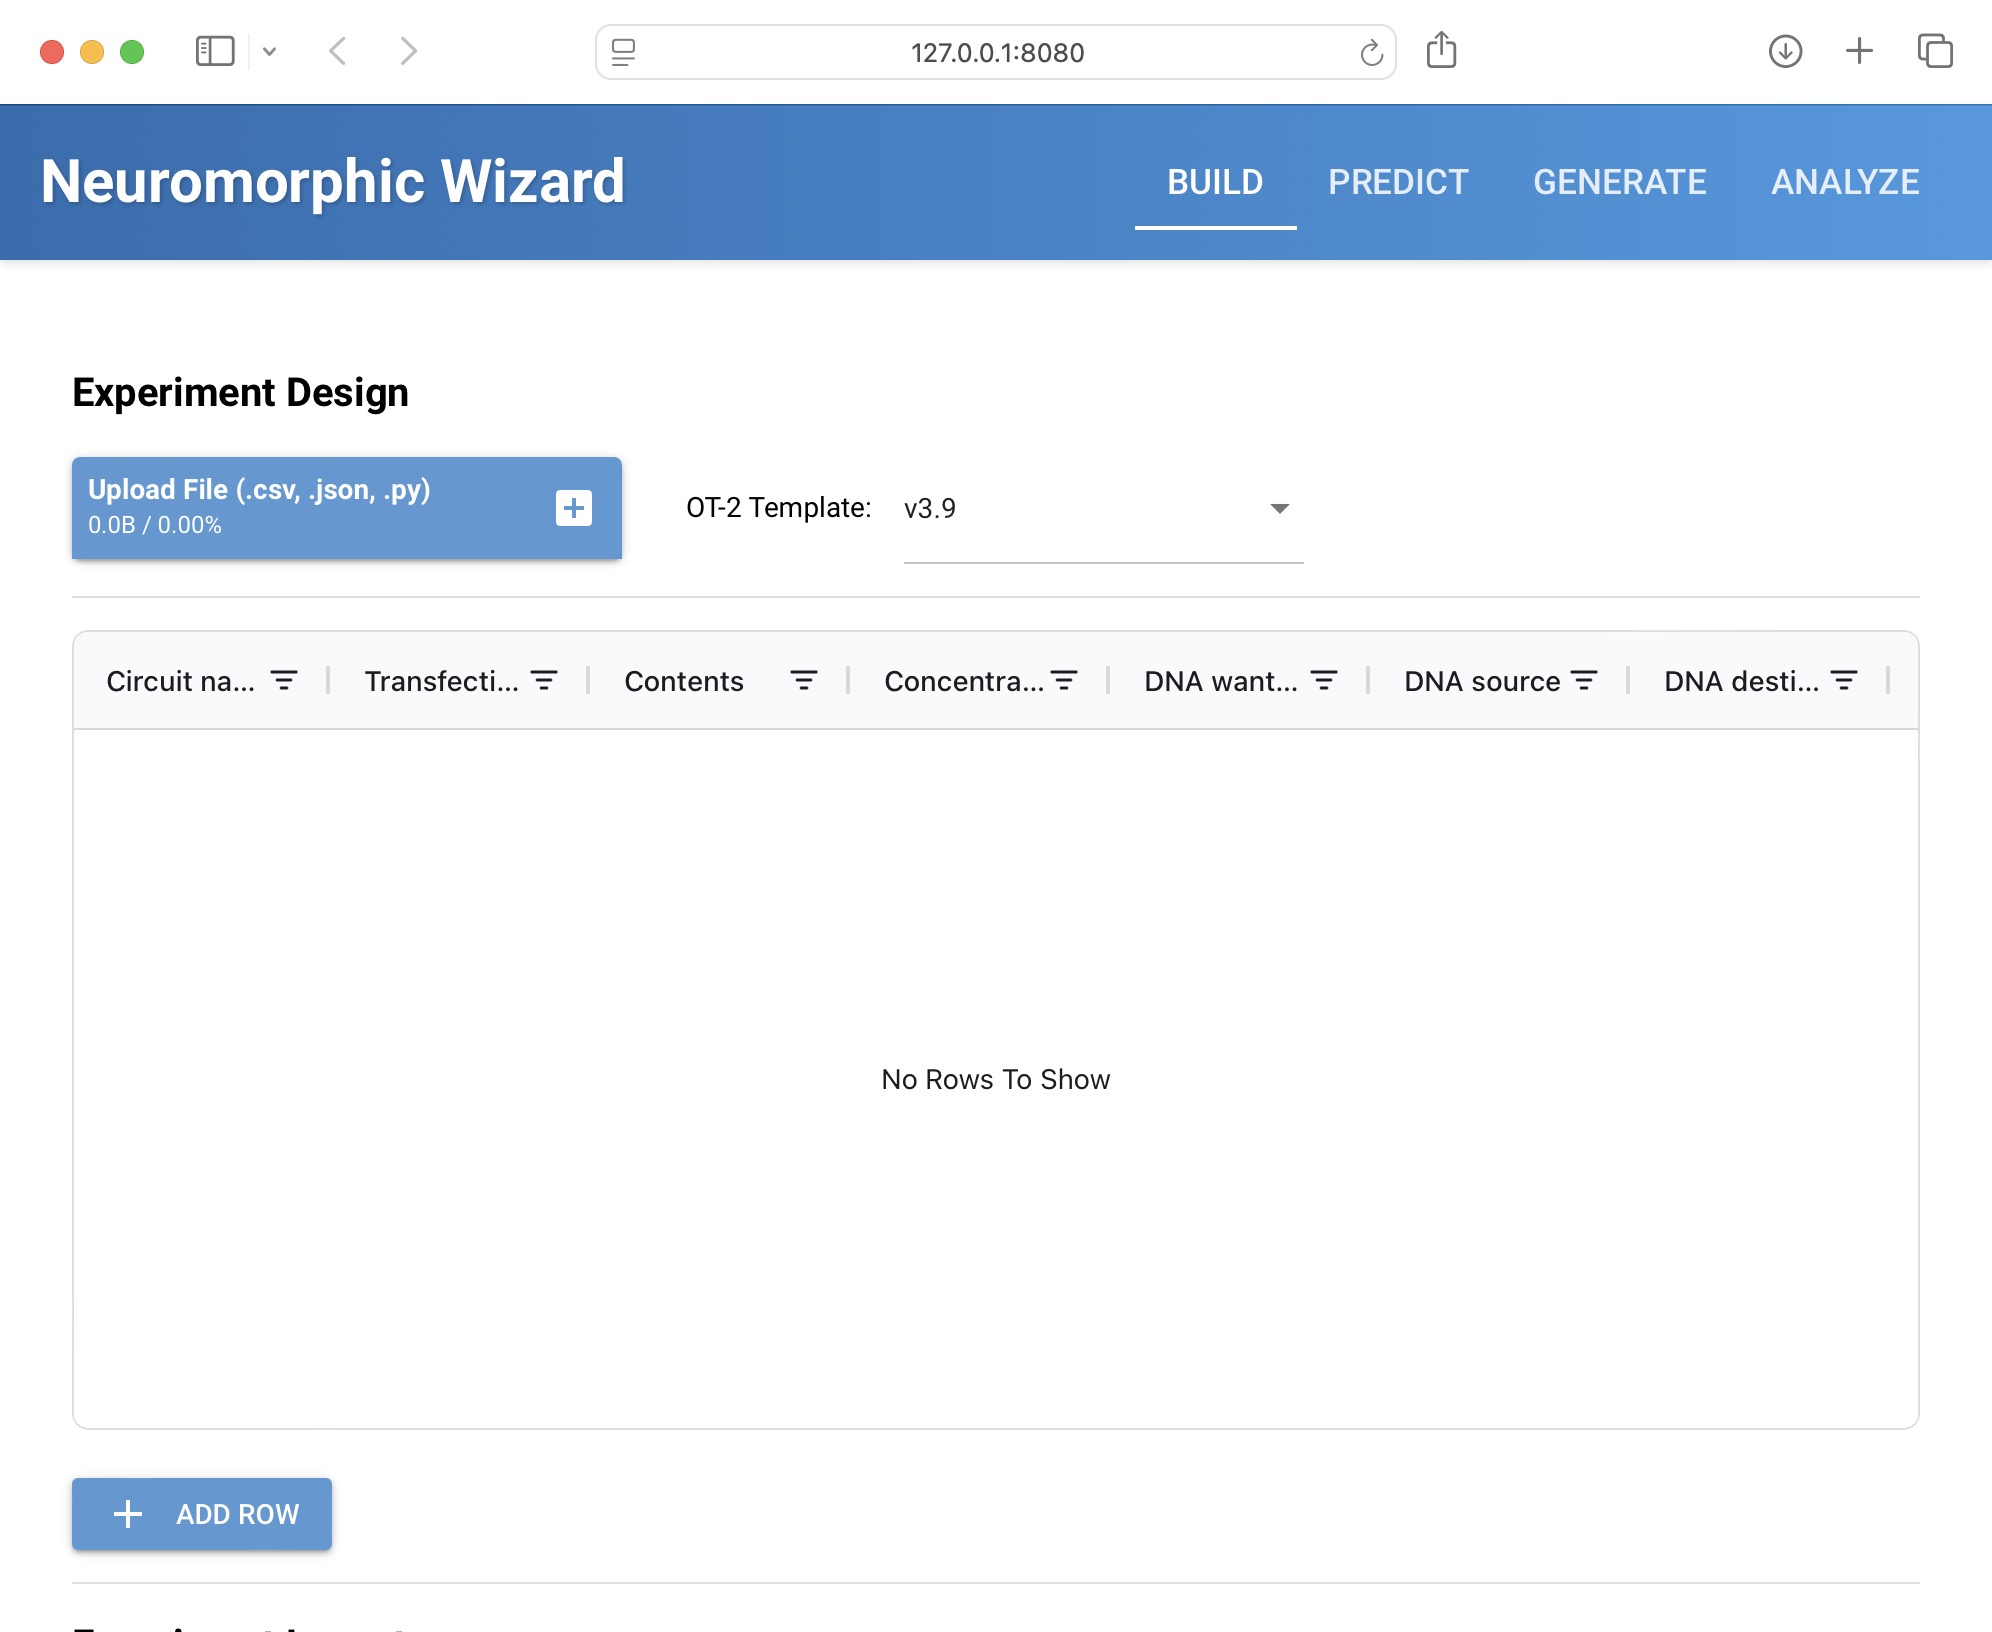
Now we are ready to design our IntraCellular Artificial Neural Networks!